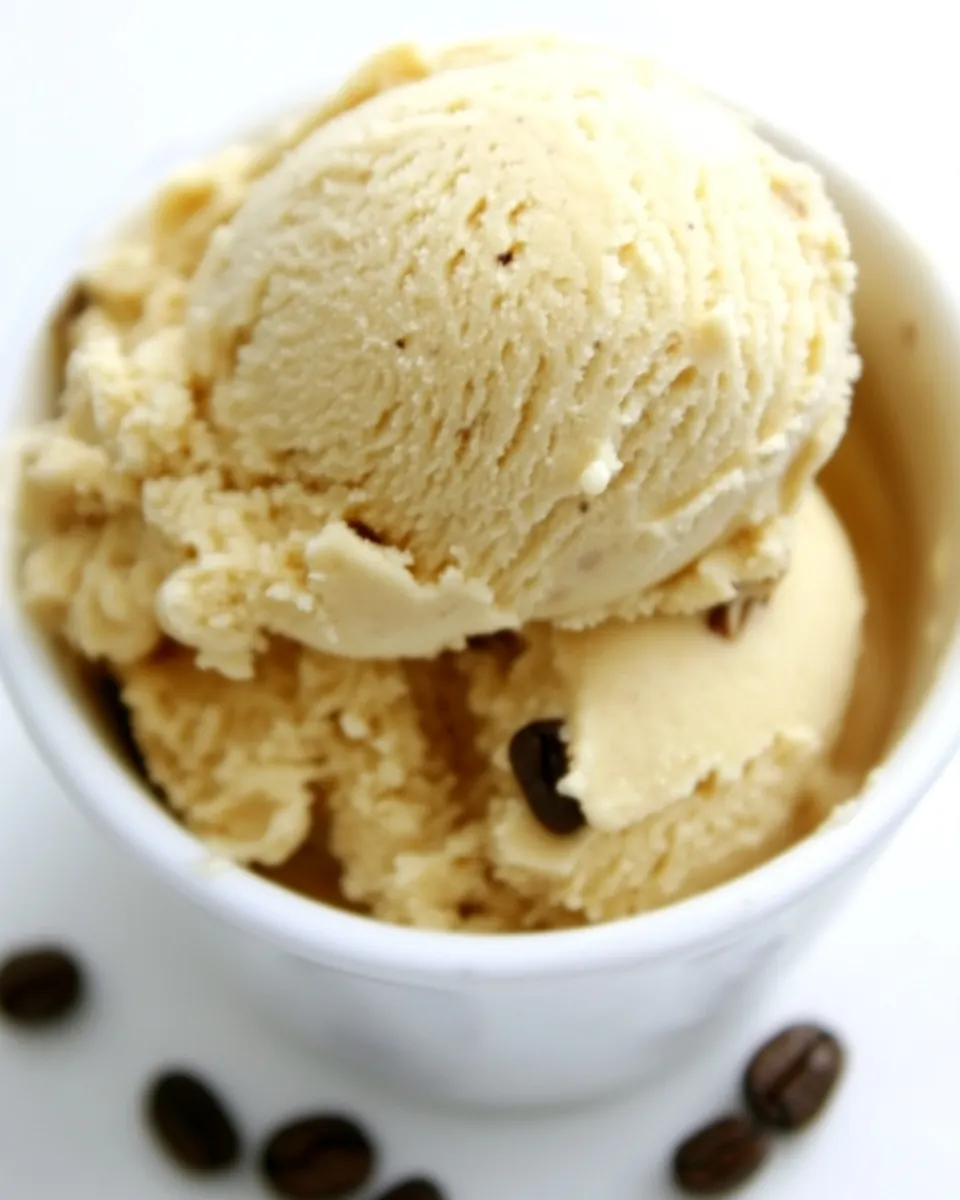
Espresso Ice Cream
Espresso Ice Cream has been a nightly ritual in my kitchen for years, the sort of recipe I reach for whenever I want a little grown up dessert that still feels like a hug. I first made this after a long shift, craving something cold and bold, and the way the roasted coffee aroma rose from the saucepan felt almost medicinal, settling me down while promising a bright, silky payoff. That first batch was imperfect, but the memory of that first spoonful, lush and slightly bitter, is why I keep returning to this recipe.
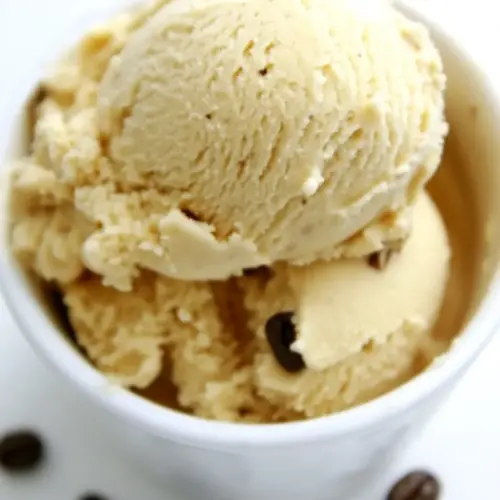
I still remember the small experiments that led me here, the times I steeped the beans too long or curbed the sugar then nudged it back, learning how much heavy cream makes the texture sing and how the egg yolks create a custard that is both rich and scoopable. I like to tell friends that good ice cream is equal parts patience and curiosity, and this Espresso Ice Cream rewards both. When you serve it, the surface has that classic silky sheen, and the aroma is unapologetically coffee forward, not a timid whisper.
Recipe Snapshot
1 hr 30 mins
60 mins
30 mins
Medium
250 kcal
American
Gluten-Free, Low FODMAP
Desserts
Medium saucepan, Mesh strainer, Ice cream maker, Mixing bowls, Instant read thermometer
Why This Espresso Ice Cream Is a Winner
Bold, not overpowering
I love that this Espresso Ice Cream delivers an honest coffee experience. The steeped beans and a touch of finely ground espresso layer flavors, so you taste roast, chocolatey notes, and a bright finish. I prefer it when the coffee asserts itself, but it never becomes sour or astringent when handled with care.
Silky custard texture
The use of extra heavy cream and a generous amount of egg yolks creates a custard base that is dense yet scoopable. I find that the mouthfeel is what sets this apart from a simpler churned milksicle. It feels indulgent without being cloying, and the fat content carries the coffee flavors beautifully.
Simple pantry ingredients
There is something satisfying about crafting this from common ingredients like whole milk and granulated sugar. It does not demand exotic syrups or stabilizers, just quality beans and patience. I always tell people that a small investment in good roasted beans makes everything better.
Flexible and personal
I appreciate how adaptable the recipe is. You can amplify the espresso for a punchier result or dial back the grind for a subtler profile. I often tweak steep times depending on the roast, and it responds well. That control keeps me engaged and curious every time.
Great for sharing
This feels like a treat to bring to a small gathering. It pairs well with a cookie or a simple fruit tart, but it also stands alone. I like presenting it in small bowls and watching people close their eyes at the first spoonful, which always makes me smile.
What You Need for Espresso Ice Cream
These ingredients work together to build a deeply flavored, creamy ice cream. The key players are the dairy and the egg yolks: whole milk and heavy cream provide richness and body, while the egg yolks create a custard that yields a smooth, scoopable texture. The coffee components give the recipe its backbone, and sugar balances the roast, leaving a pleasing bitterness rather than harshness.
- 1 1/2 cups (366 ml) whole milk: Provide creamy liquid base and moderate fat to create a smooth, silky texture in the ice cream; warms with sugar to extract coffee flavors and helps dissolve sugar during heating.
- 3/4 cup (150 g) granulated sugar: Add sweetness and aid in freezing point depression to keep the ice cream scoopable; caramelizes slightly with heat to contribute subtle flavor depth and balance the bitterness of coffee.
- 1 1/2 cups (105 g) whole bold-roast coffee beans: Impart intense coffee aroma and flavor when steeped in milk; release oils and compounds during heating that form the signature espresso character of the custard.
- Pinch of salt: Enhance and balance overall flavor with a small amount of saline contrast; heighten sweetness and round out bitter coffee notes without tasting salty.
- 1 1/2 cups (357 ml) heavy cream: Contribute rich fat and luxurious mouthfeel to the custard; fold in later to preserve creaminess and provide stability in the frozen dessert.
- 5 large egg yolks: Thicken and enrich the custard base by adding structure and body; emulsify fats and sugars when tempered into hot milk to produce a silky, custardy texture.
- 1/4 teaspoon (0.25 teaspoon) vanilla extract: Impart delicate aromatic vanilla notes and round out flavors; add a subtle sweet-savory nuance that complements coffee without overpowering it.
- 1/4 teaspoon (0.25 teaspoon) finely ground espresso: Provide concentrated espresso flavor in a fine form to intensify coffee notes; disperse evenly for a consistent, bold coffee presence throughout the ice cream.
How to Assemble Espresso Ice Cream
This process rewards attention and steady hands. You will steep, temper, cook to a custard, and chill thoroughly before churning. Move deliberately, and embrace the sensory cues they provide.
- Warm the milk, sugar, whole coffee beans, salt, and 1/2 cup of the cream in a medium saucepan. Once the mixture is warm, cover, remove from the heat, and let steep at room temperature for 1 hour.: As the mixture warms you will notice the sugar dissolving with a soft clink against the bottom of the pan and a rising coffee aroma that becomes more intense, floral and roasted at once. This gentle warming helps draw oils and soluble flavor from the beans, so keep the heat low enough to avoid boiling, which can volatilize delicate notes. A common mistake is bringing it to a rapid boil, which flattens the coffee profile and risks scorching the dairy. Watch for small steam wisps and a fragrant bloom, then remove from heat so the steep extracts best flavor compounds.
- Rewarm the coffee-infused milk mixture. Pour the remaining 1 cup cream into a large bowl and set a mesh strainer on top. In a separate medium bowl, whisk together the egg yolks. Slowly pour the warm coffee mixture into the egg yolks, whisking constantly, then scrape the warmed egg yolks back into the saucepan.: During this rest the aroma will deepen and the color will darken slightly as the beans continue to infuse the dairy, producing a concentrated flavor without extra bitterness. I like to cover the saucepan to trap aromatic oils, but avoid a hot environment which accelerates over extraction. Letting it sit too long can make the infusion astringent, so stick to the hour for balanced intensity.
- Stir the mixture constantly over medium heat with a heatproof spatula, scraping the bottom as you stir, until the mixture thickens and coats the spatula (and registers 170 degrees F on an instant-read thermometer). Pour the custard through the strainer and stir it into the cream. Press on the coffee beans in the strainer to extract as much of the coffee flavor as possible, then discard the beans. Mix in the vanilla and the finely ground espresso and stir until cool over an ice bath.: Bringing the steeped mixture back to warmth loosens the oils again so they move into solution, and you will sense a renewed coffee presence. Pour the remaining 1 cup cream into a large bowl and set a mesh strainer on top to catch the beans later. The warm aroma will fill the kitchen, and steam will carry the roast scent. Heat gently to tactile warmth, not a boil, to protect the dairy proteins. Avoid overheating which can cook the cream and alter texture.
- Chill the mixture thoroughly in the refrigerator, then freeze it in your ice cream maker according to the manufacturer's instructions.: The yolks should become smooth and slightly pale as you whisk, taking on a satiny sheen. This aeration helps them temper more evenly later. A frequent error is rushing this step and ending up with lumps when hot liquid is added; take your time to whisk until the yolks are homogeneous.
- Slowly pour the warm coffee mixture into the egg yolks, whisking constantly, then scrape the warmed egg yolks back into the saucepan: The slow pouring is where you protect the yolks from curdling, and you should feel the bowl warm in your hands without shock. This tempering step prevents scrambled bits and builds a unified custard base. If you pour too quickly the yolks will seize and you will need to strain and salvage, so keep a steady stream and continuous whisking.
- Stir the mixture constantly over medium heat with a heatproof spatula, scraping the bottom as you stir, until the mixture thickens and coats the spatula (and registers 170 degrees F on an instant-read thermometer): You will notice the sound change to a gentle simmer and the aroma intensify; the custard will visibly thicken and leave an even ribbon on the spatula. Constant stirring prevents hotspots and ensures even cooking, which is crucial for a smooth texture. The main trap here is walking away, which leads to curdling or grainy texture. Aim for that 170 degrees F target and remove promptly.
- Pour the custard through the strainer and stir it into the cream: The strained custard will be glossy and thick, and as it blends into the remaining cream it will lighten slightly in color while becoming silkier. Press on the coffee beans in the strainer to extract concentrated flavor, but do so gently to avoid releasing bitter compounds. A mistake is vigorous pressing which can force grounds through, creating gritty bits; press evenly and discard the spent beans.
- Press on the coffee beans in the strainer to extract as much of the coffee flavor as possible, then discard the beans: The extracted liquid will smell most intense now, carrying a rounded roast note. This final pressing is about efficiency: you want every bit of aromatic oil but none of the coarse grit. If you notice any sediment in the pan, pass it through a finer sieve to ensure a smooth base.
- Mix in the vanilla and the finely ground espresso and stir until cool over an ice bath: Adding the vanilla extract and the finely ground espresso at this stage layers sweetness and concentrated coffee punch. Stirring over an ice bath accelerates cooling and prevents bacterial growth while preserving texture. You should feel the bowl cool down within minutes; stop stirring once the base is noticeably cooler. The pitfall is cooling too slowly, which can lead to graininess, so be decisive with the ice bath.
- Chill the mixture thoroughly in the refrigerator: A deep chill not only improves texture but allows flavors to harmonize; the aromas blend and become more integrated as the fats solidify slightly. I usually chill for several hours or overnight for best results. Rushing to churn warm base risks poor texture and ice crystal formation, so be patient and ensure the mixture is cold throughout.
- Freeze it in your ice cream maker according to the manufacturer's instructions: As the machine churns, air will be incorporated and the base will thicken into soft serve, revealing a glossy, velvety surface and strong coffee scent. Follow your maker's guidelines for churn time to achieve the right overrun; under-churning yields dense ice cream, over-churning can make it grainy. After churning, harden in the freezer until scoopable.
Pro Tips and Tweaks
I like to keep a few tricks up my sleeve for consistently excellent results. These practical notes focus on texture, flavor balance, and timing so you can avoid common missteps and tailor the recipe to your taste.
- Choose quality beans: A bold roast with chocolate and caramel notes will complement the cream, giving depth without excessive bitterness.
- Control steep time: One hour at room temperature usually extracts the right flavors; extend only if you want a more assertive coffee punch.
- Temperature matters: Cook the custard to around 170 degrees F for safety and proper thickening; overheating yields a cooked egg flavor.
- Chill fully: Refrigerate the base until very cold before churning to reduce ice crystal formation and improve mouthfeel.
- Fine strain: Use a mesh and, if needed, a cheesecloth to remove any tiny particles for an ultra-smooth finish.
Great Combinations for Espresso Ice Cream
This ice cream can be served simply or as part of a composed dessert. Think about contrasts in texture and complementary flavors, and consider the occasion when plating.
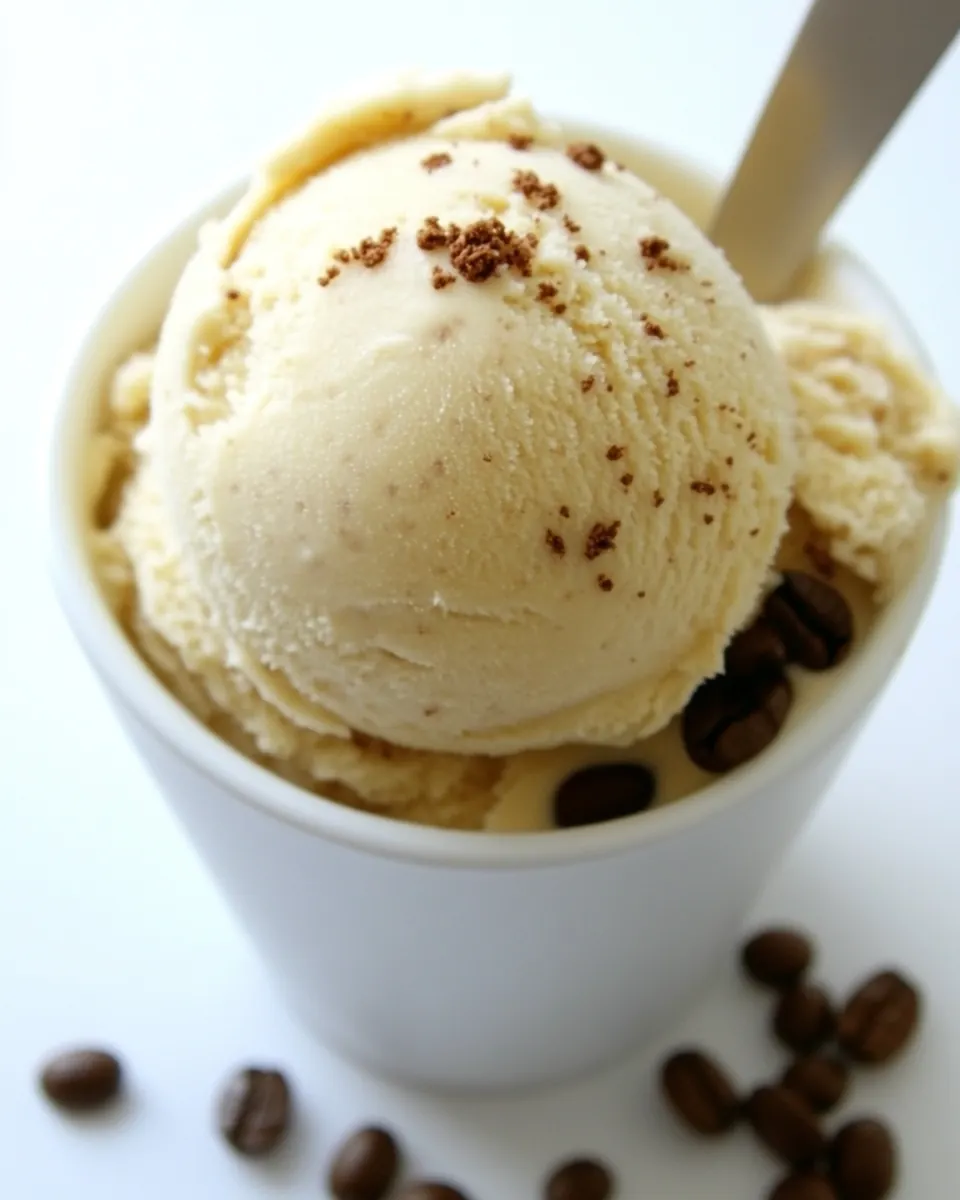
- Simple bowl: A single scoop in a chilled ramekin highlights the espresso aroma and silky texture, perfect for a quiet after-dinner treat.
- Biscotti pairing: Serve with crunchy biscotti for a textural contrast that lets the coffee notes sing, ideal for small gatherings or an afternoon coffee break.
- Affogato style: Spoon a scoop over a shortbread or cookie base for a decadent combination that balances cold and crisp with bold coffee.
- Party platter: Offer alongside small cookies and dark chocolate squares for guests to customize bites, suitable for celebrations or casual get togethers.
- Storage tips: Freeze in an airtight container with a piece of parchment on the surface to prevent ice crystals. Thaw in the fridge briefly for easier scooping.
- Seasonal serving: In summer, present in chilled bowls for a refreshing dessert; in cooler months, pair with warm baked goods to contrast temperature and texture.
FAQ
Conclusion
Espresso Ice Cream stands out for its bold coffee flavor and luxuriously creamy custard texture, making it a memorable dessert for coffee lovers. Give it a try the next time you want something sophisticated yet approachable, and let the rich roast notes and silky mouthfeel win you over. Share it with friends or savor it quietly, and enjoy the ritual of making a truly special frozen treat that rewards patience and attention.
Espresso Ice Cream
Equipment
- Medium Saucepan
- Mesh strainer
- Ice Cream Maker
- Mixing Bowls
- Instant read thermometer
Ingredients
- 1 1/2 cups (366 ml) whole milk Provide creamy liquid base and moderate fat to create a smooth, silky texture in the ice cream; warms with sugar to extract coffee flavors and helps dissolve sugar during heating.
- 3/4 cup (150 g) granulated sugar Add sweetness and aid in freezing point depression to keep the ice cream scoopable; caramelizes slightly with heat to contribute subtle flavor depth and balance the bitterness of coffee.
- 1 1/2 cups (105 g) whole bold-roast coffee beans Impart intense coffee aroma and flavor when steeped in milk; release oils and compounds during heating that form the signature espresso character of the custard.
- Pinch of salt Enhance and balance overall flavor with a small amount of saline contrast; heighten sweetness and round out bitter coffee notes without tasting salty.
- 1 1/2 cups (357 ml) heavy cream Contribute rich fat and luxurious mouthfeel to the custard; fold in later to preserve creaminess and provide stability in the frozen dessert.
- 5 large egg yolks Thicken and enrich the custard base by adding structure and body; emulsify fats and sugars when tempered into hot milk to produce a silky, custardy texture.
- 1/4 teaspoon (0.25 teaspoon) vanilla extract Impart delicate aromatic vanilla notes and round out flavors; add a subtle sweet-savory nuance that complements coffee without overpowering it.
- 1/4 teaspoon (0.25 teaspoon) finely ground espresso Provide concentrated espresso flavor in a fine form to intensify coffee notes; disperse evenly for a consistent, bold coffee presence throughout the ice cream.
Instructions
- Warm the milk, sugar, whole coffee beans, salt, and 1/2 cup of the cream in a medium saucepan. Once the mixture is warm, cover, remove from the heat, and let steep at room temperature for 1 hour.: As the mixture warms you will notice the sugar dissolving with a soft clink against the bottom of the pan and a rising coffee aroma that becomes more intense, floral and roasted at once. This gentle warming helps draw oils and soluble flavor from the beans, so keep the heat low enough to avoid boiling, which can volatilize delicate notes. A common mistake is bringing it to a rapid boil, which flattens the coffee profile and risks scorching the dairy. Watch for small steam wisps and a fragrant bloom, then remove from heat so the steep extracts best flavor compounds.
- Rewarm the coffee-infused milk mixture. Pour the remaining 1 cup cream into a large bowl and set a mesh strainer on top. In a separate medium bowl, whisk together the egg yolks. Slowly pour the warm coffee mixture into the egg yolks, whisking constantly, then scrape the warmed egg yolks back into the saucepan.: During this rest the aroma will deepen and the color will darken slightly as the beans continue to infuse the dairy, producing a concentrated flavor without extra bitterness. I like to cover the saucepan to trap aromatic oils, but avoid a hot environment which accelerates over extraction. Letting it sit too long can make the infusion astringent, so stick to the hour for balanced intensity.
- Stir the mixture constantly over medium heat with a heatproof spatula, scraping the bottom as you stir, until the mixture thickens and coats the spatula (and registers 170 degrees F on an instant-read thermometer). Pour the custard through the strainer and stir it into the cream. Press on the coffee beans in the strainer to extract as much of the coffee flavor as possible, then discard the beans. Mix in the vanilla and the finely ground espresso and stir until cool over an ice bath.: Bringing the steeped mixture back to warmth loosens the oils again so they move into solution, and you will sense a renewed coffee presence. Pour the remaining 1 cup cream into a large bowl and set a mesh strainer on top to catch the beans later. The warm aroma will fill the kitchen, and steam will carry the roast scent. Heat gently to tactile warmth, not a boil, to protect the dairy proteins. Avoid overheating which can cook the cream and alter texture.
- Chill the mixture thoroughly in the refrigerator, then freeze it in your ice cream maker according to the manufacturer's instructions.: The yolks should become smooth and slightly pale as you whisk, taking on a satiny sheen. This aeration helps them temper more evenly later. A frequent error is rushing this step and ending up with lumps when hot liquid is added; take your time to whisk until the yolks are homogeneous.
- Slowly pour the warm coffee mixture into the egg yolks, whisking constantly, then scrape the warmed egg yolks back into the saucepan: The slow pouring is where you protect the yolks from curdling, and you should feel the bowl warm in your hands without shock. This tempering step prevents scrambled bits and builds a unified custard base. If you pour too quickly the yolks will seize and you will need to strain and salvage, so keep a steady stream and continuous whisking.
- Stir the mixture constantly over medium heat with a heatproof spatula, scraping the bottom as you stir, until the mixture thickens and coats the spatula (and registers 170 degrees F on an instant-read thermometer): You will notice the sound change to a gentle simmer and the aroma intensify; the custard will visibly thicken and leave an even ribbon on the spatula. Constant stirring prevents hotspots and ensures even cooking, which is crucial for a smooth texture. The main trap here is walking away, which leads to curdling or grainy texture. Aim for that 170 degrees F target and remove promptly.
- Pour the custard through the strainer and stir it into the cream: The strained custard will be glossy and thick, and as it blends into the remaining cream it will lighten slightly in color while becoming silkier. Press on the coffee beans in the strainer to extract concentrated flavor, but do so gently to avoid releasing bitter compounds. A mistake is vigorous pressing which can force grounds through, creating gritty bits; press evenly and discard the spent beans.
- Press on the coffee beans in the strainer to extract as much of the coffee flavor as possible, then discard the beans: The extracted liquid will smell most intense now, carrying a rounded roast note. This final pressing is about efficiency: you want every bit of aromatic oil but none of the coarse grit. If you notice any sediment in the pan, pass it through a finer sieve to ensure a smooth base.
- Mix in the vanilla and the finely ground espresso and stir until cool over an ice bath: Adding the vanilla extract and the finely ground espresso at this stage layers sweetness and concentrated coffee punch. Stirring over an ice bath accelerates cooling and prevents bacterial growth while preserving texture. You should feel the bowl cool down within minutes; stop stirring once the base is noticeably cooler. The pitfall is cooling too slowly, which can lead to graininess, so be decisive with the ice bath.
- Chill the mixture thoroughly in the refrigerator: A deep chill not only improves texture but allows flavors to harmonize; the aromas blend and become more integrated as the fats solidify slightly. I usually chill for several hours or overnight for best results. Rushing to churn warm base risks poor texture and ice crystal formation, so be patient and ensure the mixture is cold throughout.
- Freeze it in your ice cream maker according to the manufacturer's instructions: As the machine churns, air will be incorporated and the base will thicken into soft serve, revealing a glossy, velvety surface and strong coffee scent. Follow your maker's guidelines for churn time to achieve the right overrun; under-churning yields dense ice cream, over-churning can make it grainy. After churning, harden in the freezer until scoopable.
Notes
- Choose quality beans: A bold roast with chocolate and caramel notes will complement the cream, giving depth without excessive bitterness.
- Control steep time: One hour at room temperature usually extracts the right flavors; extend only if you want a more assertive coffee punch.
- Temperature matters: Cook the custard to around 170 degrees F for safety and proper thickening; overheating yields a cooked egg flavor.
- Chill fully: Refrigerate the base until very cold before churning to reduce ice crystal formation and improve mouthfeel.
- Fine strain: Use a mesh and, if needed, a cheesecloth to remove any tiny particles for an ultra-smooth finish.