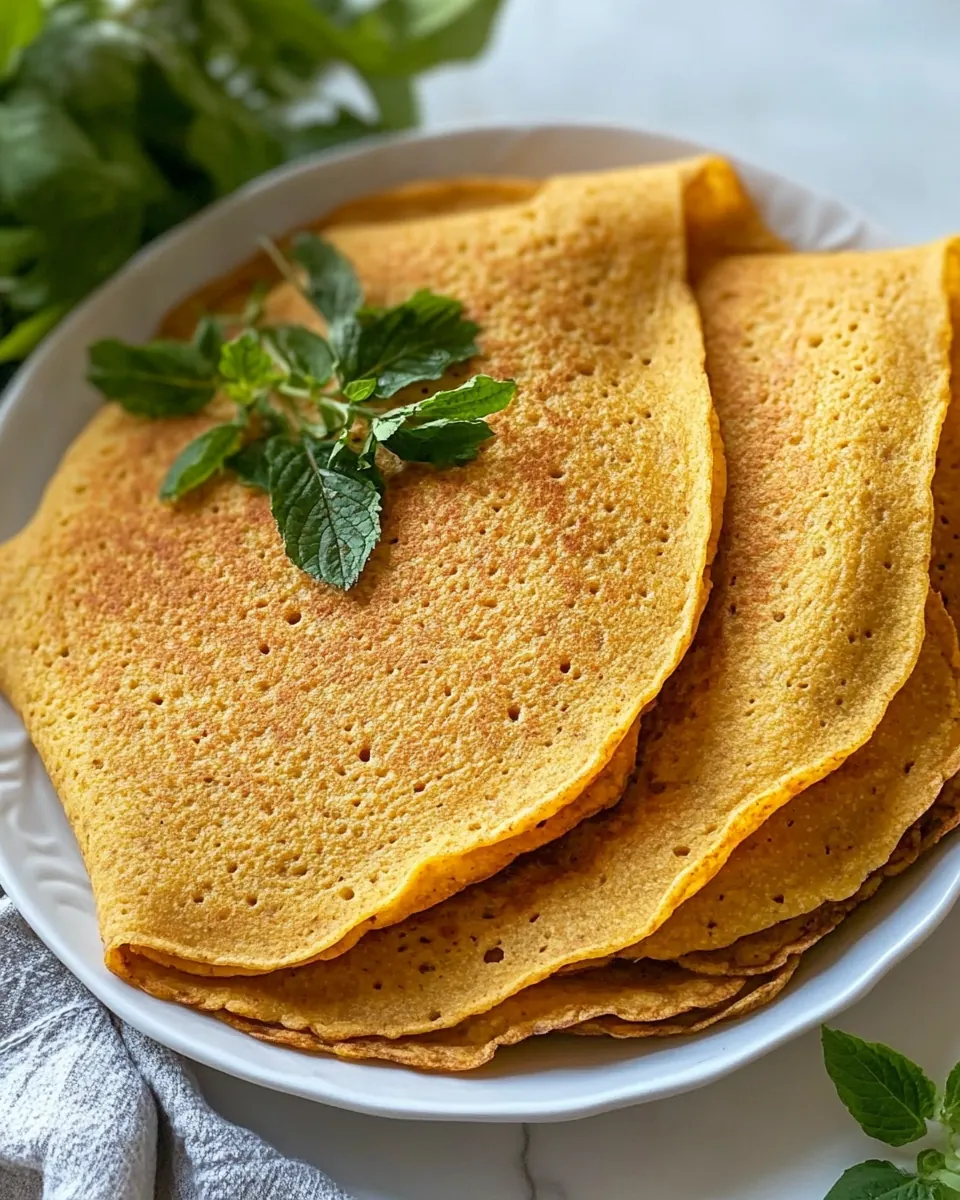
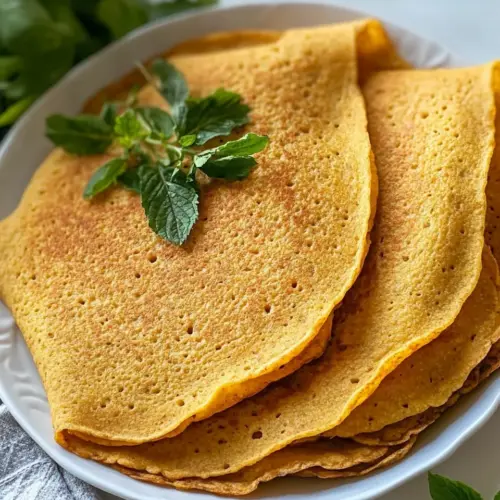
Easy Red Lentil Pancakes
Easy Red Lentil Pancakes are one of those simple, honest recipes I reach for when I want something nourishing, quick, and a little unexpected. The first time I made them I was surprised by how few ingredients truly mattered, and how a humble bag of red lentils could turn into a flexible, savory flatbread that soaks up flavors from whatever I serve alongside it. I remember stirring the thick batter and thinking this will either be a disaster or a revelation, and happily it was the latter.
Over the years I have tweaked the technique, learning how texture and patience change everything. These pancakes are forgiving, and they let you experiment with spices, or keep them neutral so they pair with salads and wraps. I often make a double batch and keep extras in the fridge for busy days. The smell while they cook is quietly toasty, and when you lift the edge to check for color, that first golden patch always feels like a small victory.
Recipe Snapshot
2 hr 15 mins
120 mins
15 mins
Hard
200 kcal
Mediterranean
Vegan, Gluten-Free
Dinner
Blender, Non stick pan, Spatula
What Sets This Easy Red Lentil Pancakes Apart
They are ridiculously simple
I love that Easy Red Lentil Pancakes need just a handful of pantry players. When life is chaotic I can pull red lentils and still water out of the cupboard and create a filling flatbread. No yeast, no long proofing, just soaking, blending, and frying. For weeknights this ease is a game changer because it gives you tasty results without fuss.
Flavor builds from tiny changes
What makes these stand out is how malleable they are. Add a pinch of your favorite spice and the whole personality shifts. I like to adjust the seasoning depending on what I plan to serve them with. The pancakes themselves develop a nutty, mildly sweet aroma when cooked, and a little spice can push them toward Mediterranean, Middle Eastern, or Indian profiles. I enjoy that flexibility because it means one base recipe supports many meals.
Texture that surprises
The batter transforms into a soft, slightly chewy flatbread with a crisped exterior when fried correctly. I aim for a gentle crust on each side while keeping the inside tender, which makes them perfect for wrapping or layering in bowls. The contrast between the lightly golden outside and the pillowy interior is why I keep coming back to this recipe.
Good for batch cooking and variations
Once you master the soak and blend rhythm, you can scale easily. I often make extra to reheat or fold into wraps with fresh vegetables. They hold up well in the fridge and reheat quickly in a pan to bring back that original sizzle. For gatherings, they are a simple vehicle for condiments and salads, and guests always ask for seconds.
Healthy and hearty
Because red lentils are the star, these pancakes deliver plant based protein and fiber. They feel satisfying without heaviness, and they pair well with crisp vegetables to round out the plate. I appreciate recipes that are both nourishing and adaptable, and this one delivers on both counts.
What to Buy for Easy Red Lentil Pancakes
For these Easy Red Lentil Pancakes the ingredient list is intentionally short. The philosophy here is minimalism with purpose: each item has a clear role in texture, structure, or flavor. The red lentils give body and protein, the still water hydrates and becomes the batter base, a touch of cooking oil helps with frying and browning, and the seasonings let you make the pancakes yours. Together they yield a soft, slightly crisp flatbread that serves as a versatile canvas.
- 250 g red lentils: Rinse and pulse into a smooth batter base; provides the protein-rich foundation and thickens when blended with water. Ensures earthy flavor and a tender crumb while cooking quickly for light pancakes.
- 550 ml still water: Hydrate and loosen the blended lentils to form a pourable batter; controls batter consistency for cooking. Helps bloom flavors and prevents the pancakes from drying out while frying.
- Cooking oil (if you're not using a non-stick pan): Lightly coat the pan to prevent sticking and promote even browning; enables crisp edges and easy flipping without tearing. Use sparingly if using a non-stick surface to minimize excess oil.
- Your favorite spices: Season and enhance the savory profile with preferred spices; introduces aromatic complexity and balances the natural lentil taste. Add gradually and taste-adjust to match desired heat and herb intensity.
Easy Red Lentil Pancakes Instructions
These steps are straightforward, but paying attention to texture and timing makes all the difference. I walk you through sensory cues so you can feel confident at the stove, and I include troubleshooting tips to avoid common missteps. Read each step, then move through them with calm focus.
- Soak the lentils in still water and let them sit for at least 2 hours or until they absorb all the liquid.: When the red lentils sit in the still water , you will notice they plump and soften, the surface going from matte to slightly glossy, which is the key sign they are ready. This soaking hydrates the legumes and shortens blending time, producing a silkier batter. If you rush this step, the blender will work harder, leaving behind small grit and a grainy texture, so avoid skipping it. A common error is using hot water to speed things up, but that can begin to cook the lentils unevenly, making them harder to blend smoothly. Patience here pays off with a tender interior in the final pancake.
- Then add them to a blender and blend until you get a liquid, soft pancake batter-like consistency.: As you blend, listen for the motor smooth out into a steady hum, and watch the color shift to a uniform, slightly glossy orange hue. The batter should flow slowly when you tip the blender, similar to a thick crepe batter, with no visible whole lentils. If the blade struggles, pause and scrape down the sides with a spatula, then continue. Overblending can heat the mixture and thin it excessively, so aim for smoothness without turning it watery. A blender that leaves tiny fibrous bits indicates under blending, which can create a crumbly pancake, so adjust time accordingly.
- In a non-stick pan pour 2-3 tablespoons of the batter and spread it gently with a spatula (the batter is thick and will not spread by turning the pan as you would for pancakes).: When you drop the batter into the heated pan, you should hear a soft sizzle as moisture meets heat, and the surface will start to set within moments. Use a spatula to coax the thick batter outward into a round shape, noting that it resists sliding like traditional pancake batter. This spreading technique creates a consistent thickness which ensures even cooking. If you try to tilt the pan to spread, the batter will stay put and create uneven edges, so press gently with the spatula. Too much pressure will compress air and make the pancake dense, while too little pressure leaves it lopsided.
- Cook on both sides for 2-3 minutes or until firm enough to handle easily.: While cooking, watch for tiny bubbles forming at the edges and a subtle color change to a light golden brown; that tells you the interior has set. The first side will firm and release naturally when it is ready to flip. You should hear a quiet frying sound, and the surface will feel slightly springy when touched with the spatula. Flipping too early can tear the pancake, while flipping too late risks over crisping. A common mistake is using high heat; maintain medium heat so the outside browns while the center fully cooks without burning.
- Repeat until you use up all the batter.: As you cook successive pancakes, you will notice slight variation in browning depending on pan temperature and batter thickness, so adjust heat as needed. The aroma will grow nuttier and richer across the batch, which is a good cue that your pan is in the sweet spot. If the later pancakes darken too quickly, lower the heat to let the interior catch up. Stacking hot pancakes without a paper barrier can make them steam and lose crispness, so separate layers with a clean towel if stacking to keep the edges crisper.
- Enjoy with fresh vegetables, in wraps, with salads or soups.: The finished pancakes offer a warm, slightly chewy bite with a toasty fragrance, and they pair beautifully with crisp vegetables or leafy greens for textural contrast. I like to tuck them into flatbread style wraps or serve alongside a bowl to scoop, because their mild flavor complements many preparations. If you store leftovers, the pancakes reheat best in a dry skillet to revive that initial sizzle; microwaving makes them soft and less appealing. Resist piling on very wet toppings immediately, as they can make the pancakes soggy.
- You can also add spices to the batter or use a splash of oil when frying if you don't have a non-stick pan.: When you stir spices into the batter, the aroma will lift and the surface will toast to amplify those notes. A small splash of cooking oil in the pan helps achieve an evenly browned exterior when you do not have a non stick surface, and it contributes a pleasant crisp. Be cautious not to over oil, because excess will create greasy pancakes. One slip is heating the oil until it smokes, which will impart a bitter flavor, so keep the temperature moderate and steady.
How to Switch It Up
These ideas help you adapt Easy Red Lentil Pancakes for different meals and cravings. Below are practical, tested variations to explore, with the first phrase of each tip highlighted so you can scan quickly and choose what suits your plans.
- Spice the batter: Try adding a small pinch of ground cumin or coriander to the batter for warm, aromatic notes that pair well with roasted vegetables or yogurt sauces.
- Herbed version: Finely chopped fresh herbs folded into the batter after blending bring a bright, green lift perfect for spring lunches.
- Heat it up: Add chili flakes or a small amount of ground cayenne for a spicy edge that stands up to richer condiments.
- Oil technique: If you lack a non stick pan, lightly brush the surface with neutral oil for each pancake to achieve even browning without sticking.
- Batch and freeze: Cool completely then layer between parchment in a freezer safe bag; reheat directly from frozen in a hot skillet for a quick warm snack.
- Wrap friendly: Make them a bit thinner when spreading in the pan to create pliable wraps that hold fillings without tearing.
What to Pair With Easy Red Lentil Pancakes
These pancakes are versatile and can be dressed up for many occasions. Below I offer detailed serving ideas, seasonal pairings, and storage notes to help you plan meals that feel thoughtful and balanced. Use the list to match textures and flavors based on where you serve them.
- Fresh vegetable platter: Serve the pancakes with a selection of sliced cucumbers, tomatoes, and crunchy radishes for a bright, casual meal that’s great for lunch or a light dinner.
- Salad bowls: Layer torn pancakes under warm roasted vegetables and a citrusy dressing to create a satisfying bowl for weeknight dinners.
- Wrap station: Set up a DIY wrap bar with shredded greens and sliced vegetables so guests can fold pancakes into handheld meals, ideal for gatherings or packed lunches.
- Soup accompaniment: Use the pancakes as a dipping partner for brothy soups during cooler months, adding a comforting, hearty element to the bowl.
- Seasonal sides: In spring and summer, pair with crisp salads; in fall and winter, pair with roasted root vegetables for a warmer, heartier plate.
- Storage and reheating: Keep cooled pancakes in an airtight container in the refrigerator for up to three days, or freeze with parchment between layers; reheat in a dry skillet to restore crisp edges.
FAQ
Conclusion
These Easy Red Lentil Pancakes are special because they transform a single pantry ingredient into a flexible, nourishing flatbread that works across meals. Give them a try and notice how simple technique and gentle seasoning produce satisfying results that are easy to scale and adapt. I hope you find them as reliable and comforting as I do, whether you fold them into wraps, serve them with a bowl, or enjoy them straight from the pan.
Easy Red Lentil Pancakes
Equipment
- Blender
- Non-stick pan
- Spatula
Ingredients
- 250 g red lentils Rinse and pulse into a smooth batter base; provides the protein-rich foundation and thickens when blended with water. Ensures earthy flavor and a tender crumb while cooking quickly for light pancakes.
- 550 ml still water Hydrate and loosen the blended lentils to form a pourable batter; controls batter consistency for cooking. Helps bloom flavors and prevents the pancakes from drying out while frying.
- Cooking oil (if you're not using a non-stick pan) Lightly coat the pan to prevent sticking and promote even browning; enables crisp edges and easy flipping without tearing. Use sparingly if using a non-stick surface to minimize excess oil.
- Your favorite spices Season and enhance the savory profile with preferred spices; introduces aromatic complexity and balances the natural lentil taste. Add gradually and taste-adjust to match desired heat and herb intensity.
Instructions
- Soak the lentils in still water and let them sit for at least 2 hours or until they absorb all the liquid.: When the red lentils sit in the still water , you will notice they plump and soften, the surface going from matte to slightly glossy, which is the key sign they are ready. This soaking hydrates the legumes and shortens blending time, producing a silkier batter. If you rush this step, the blender will work harder, leaving behind small grit and a grainy texture, so avoid skipping it. A common error is using hot water to speed things up, but that can begin to cook the lentils unevenly, making them harder to blend smoothly. Patience here pays off with a tender interior in the final pancake.
- Then add them to a blender and blend until you get a liquid, soft pancake batter-like consistency.: As you blend, listen for the motor smooth out into a steady hum, and watch the color shift to a uniform, slightly glossy orange hue. The batter should flow slowly when you tip the blender, similar to a thick crepe batter, with no visible whole lentils. If the blade struggles, pause and scrape down the sides with a spatula, then continue. Overblending can heat the mixture and thin it excessively, so aim for smoothness without turning it watery. A blender that leaves tiny fibrous bits indicates under blending, which can create a crumbly pancake, so adjust time accordingly.
- In a non-stick pan pour 2-3 tablespoons of the batter and spread it gently with a spatula (the batter is thick and will not spread by turning the pan as you would for pancakes).: When you drop the batter into the heated pan, you should hear a soft sizzle as moisture meets heat, and the surface will start to set within moments. Use a spatula to coax the thick batter outward into a round shape, noting that it resists sliding like traditional pancake batter. This spreading technique creates a consistent thickness which ensures even cooking. If you try to tilt the pan to spread, the batter will stay put and create uneven edges, so press gently with the spatula. Too much pressure will compress air and make the pancake dense, while too little pressure leaves it lopsided.
- Cook on both sides for 2-3 minutes or until firm enough to handle easily.: While cooking, watch for tiny bubbles forming at the edges and a subtle color change to a light golden brown; that tells you the interior has set. The first side will firm and release naturally when it is ready to flip. You should hear a quiet frying sound, and the surface will feel slightly springy when touched with the spatula. Flipping too early can tear the pancake, while flipping too late risks over crisping. A common mistake is using high heat; maintain medium heat so the outside browns while the center fully cooks without burning.
- Repeat until you use up all the batter.: As you cook successive pancakes, you will notice slight variation in browning depending on pan temperature and batter thickness, so adjust heat as needed. The aroma will grow nuttier and richer across the batch, which is a good cue that your pan is in the sweet spot. If the later pancakes darken too quickly, lower the heat to let the interior catch up. Stacking hot pancakes without a paper barrier can make them steam and lose crispness, so separate layers with a clean towel if stacking to keep the edges crisper.
- Enjoy with fresh vegetables, in wraps, with salads or soups.: The finished pancakes offer a warm, slightly chewy bite with a toasty fragrance, and they pair beautifully with crisp vegetables or leafy greens for textural contrast. I like to tuck them into flatbread style wraps or serve alongside a bowl to scoop, because their mild flavor complements many preparations. If you store leftovers, the pancakes reheat best in a dry skillet to revive that initial sizzle; microwaving makes them soft and less appealing. Resist piling on very wet toppings immediately, as they can make the pancakes soggy.
- You can also add spices to the batter or use a splash of oil when frying if you don't have a non-stick pan.: When you stir spices into the batter, the aroma will lift and the surface will toast to amplify those notes. A small splash of cooking oil in the pan helps achieve an evenly browned exterior when you do not have a non stick surface, and it contributes a pleasant crisp. Be cautious not to over oil, because excess will create greasy pancakes. One slip is heating the oil until it smokes, which will impart a bitter flavor, so keep the temperature moderate and steady.
Notes
- Spice the batter: Try adding a small pinch of ground cumin or coriander to the batter for warm, aromatic notes that pair well with roasted vegetables or yogurt sauces.
- Herbed version: Finely chopped fresh herbs folded into the batter after blending bring a bright, green lift perfect for spring lunches.
- Heat it up: Add chili flakes or a small amount of ground cayenne for a spicy edge that stands up to richer condiments.
- Oil technique: If you lack a non stick pan, lightly brush the surface with neutral oil for each pancake to achieve even browning without sticking.
- Batch and freeze: Cool completely then layer between parchment in a freezer safe bag; reheat directly from frozen in a hot skillet for a quick warm snack.
- Wrap friendly: Make them a bit thinner when spreading in the pan to create pliable wraps that hold fillings without tearing.