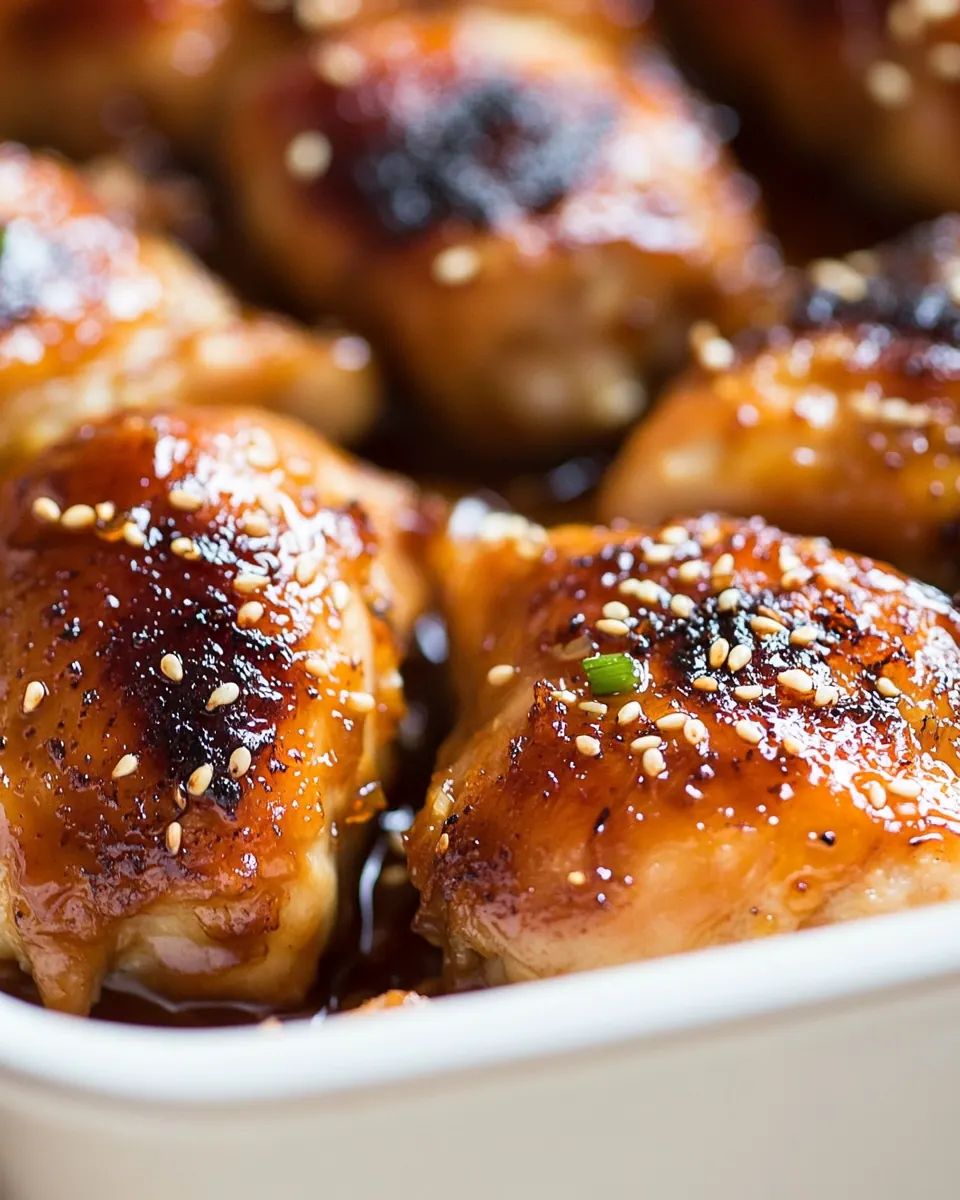
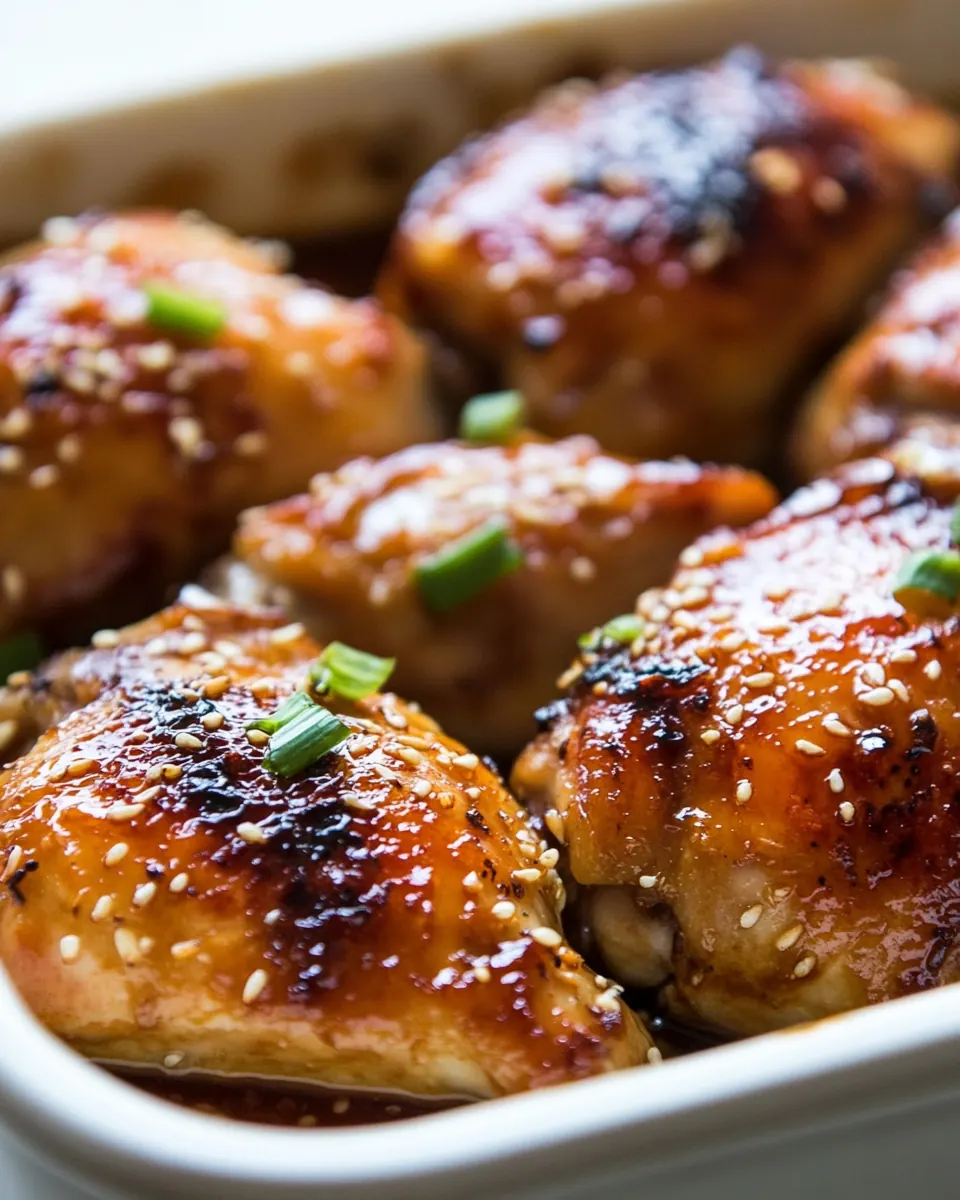
Easy Baked Honey Garlic Chicken
Easy Baked Honey Garlic Chicken is one of those recipes I turn to when I want something comforting, hands off, and reliably delicious. The first time I made it I was juggling a hectic week and a picky eater, and the sticky, glossy glaze won everyone over without any drama. I remember the aroma filling the kitchen, that sweet honey note balancing the pungent garlic, and the way the skin crisped up into caramelized little pockets of flavor.
Over the years I have tweaked small details, like using dark soy for depth and a touch of vinegar to brighten the sauce, but the heart of the dish remains the same. I often choose leg quarters for their generous dark meat, which stays juicy during the bake, while the skin delivers that craveable texture. Whenever guests arrive unexpectedly, this dish is my quiet showstopper because it looks impressive yet cooks itself.
Recipe Snapshot
55 mins
10 mins
45 mins
Medium
350 kcal
American
Paleo, Gluten-Free
Dinner
Baking dish, Mixing bowl, Whisk, Aluminum foil, Meat thermometer
Why This Easy Baked Honey Garlic Chicken Hits Different
Simple ingredients, big impact
I love how Easy Baked Honey Garlic Chicken uses just a handful of pantry staples to produce complex flavor. The marriage of honey and garlic creates sweet savory tension, while the dark soy sauce adds umami and color. It proves that you do not need an arsenal of spices to make something memorable.
Great for busy nights
As someone who cooks after long days, I appreciate recipes that let me do other things while the oven works. Once the sauce is whisked and the chicken is arranged, the oven does most of the lifting. The hands off nature means I can get side dishes ready or tidy up without hovering over the stove.
Flexible and family friendly
This recipe adapts easily. Whether you are feeding a family or meal prepping for a few days, the flavors hold up well when reheated. Kids usually love the sweet glaze, while adults can enjoy the depth from dark soy sauce and the bright note from white vinegar.
Textural payoff
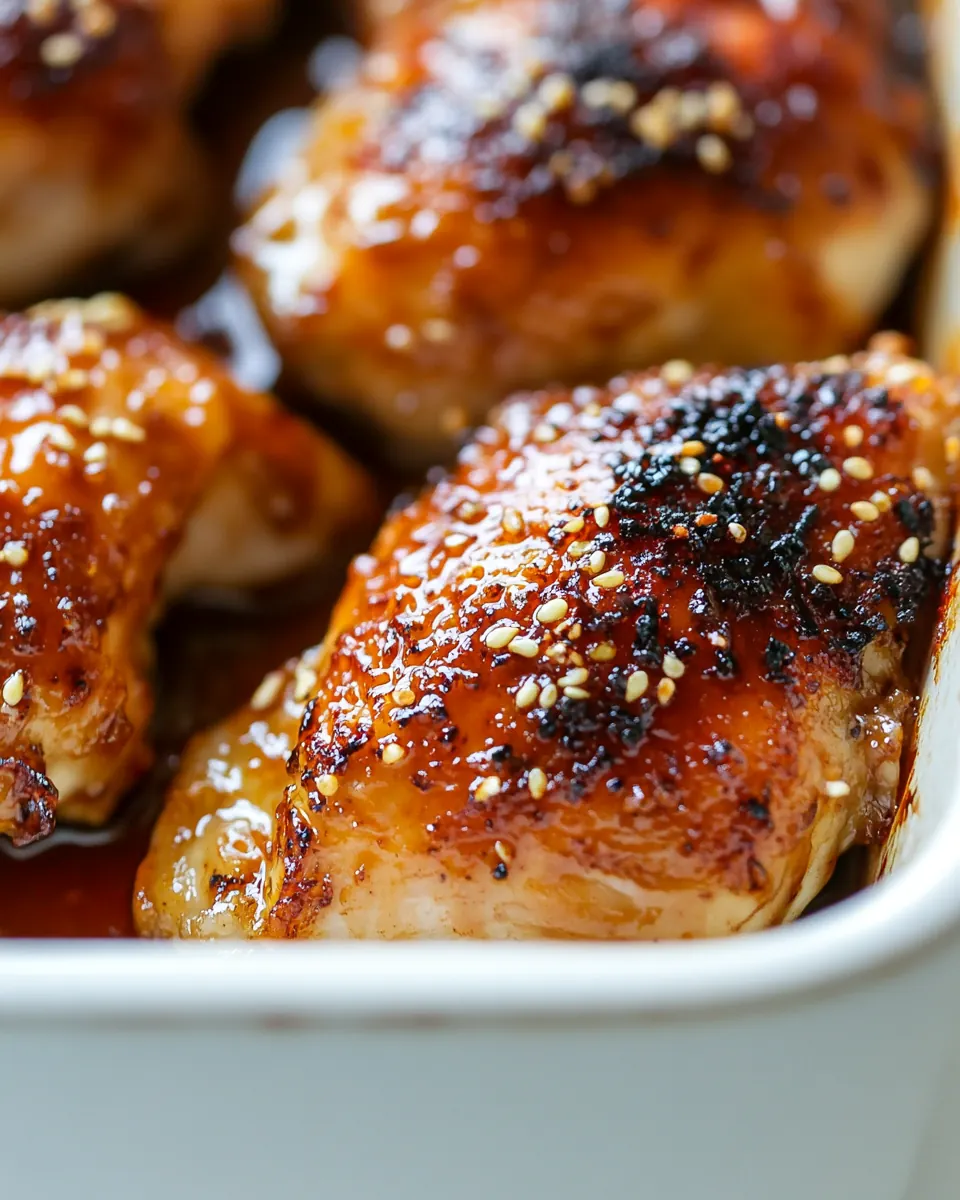
I adore the contrast between juicy chicken meat and crisped, caramelized skin. Baking at a hot temperature creates rendered fat and crispy edges, then a quick broil if you want extra char elevates the dish into something restaurant worthy. That texture contrast makes every bite interesting.
Minimal cleanup
Because this is a one pan bake, cleanup is straightforward. Lining the dish with foil cuts down on scrubbing, and the sticky glaze usually wipes away with a quick soak. That low fuss finish makes me more likely to cook it on busy evenings.
What’s In This Easy Baked Honey Garlic Chicken
These ingredients are chosen for balance and clarity. The chicken provides the hearty base, garlic brings pungent depth, honey supplies sticky sweetness for caramelization, dark soy sauce lends savory color, and white vinegar cuts through the richness. Together they form a simple glaze that clings to the meat, producing glossy, flavorful skin and moist interior.
- 3 lbs chicken leg quarters, with skin (about 4 legs quarters): Provide rich, moist flavor and tender meat while crisping the skin during baking; chicken leg quarters offer a balance of dark meat and fat that absorbs marinades well, ensuring juicy results. Use skin-on pieces to develop caramelized edges and deeper savory notes as the honey–garlic glaze reduces in the oven.
- 4 cloves garlic, minced: Add sharp, aromatic bite and depth by releasing essential oils when minced; garlic infuses the marinade with savory complexity and supports browning on the chicken surface. Mince finely to distribute flavor evenly and allow quick mingling with honey and soy for a cohesive glaze.
- 1/4 cup honey: Contribute natural sweetness and help create a glossy, caramelized coating as it heats; honey balances the salty and acidic elements while promoting browning on the skin. Choose a runny honey for easy mixing and to help the glaze adhere to the chicken throughout baking.
- 2 tablespoons dark soy sauce: Impart salty, savory umami and a dark color that complements the honey; dark soy sauce intensifies the overall savory profile and helps create a richly flavored glaze. Use measured amounts to avoid overpowering sweetness while enhancing depth and glazing properties.
- 1 tablespoon white vinegar: Provide bright acidity to balance sweetness and saltiness, tenderize the meat slightly, and brighten the overall flavor profile. Add vinegar sparingly to lift the glaze and prevent cloying sweetness while helping flavors meld during marination.
Instructions for Easy Baked Honey Garlic Chicken
This is an approachable bake that delivers big flavor with minimal effort. Below I break down each step into sensory detail, explain why it matters, and share common pitfalls so you can nail the result. Keep your oven thermometer handy and move confidently through each stage.
- Heat oven to 400 F degrees F. Line a baking dish with aluminum foil (optional); set aside.: When the oven reaches a steady 400 F , you will get immediate contact heat that starts rendering fat from the chicken skin, which is crucial for crisping. You should hear a faint sizzle as the hot air hits the cold meat when it goes in, and the initial burst of heat helps the glaze begin to caramelize. If the oven is not fully preheated, the skin will take longer to crisp and the meat might dry out while waiting, so always confirm the temperature before baking.
- Layer the chicken legs on the baking dish. In a small bowl combine the garlic, honey, soy, and vinegar. Whisk until fully combined. Pour mixture onto chicken legs, coating evenly.: Lining the dish with foil makes cleanup effortless and prevents sticky glaze from bonding to the pan. The foil will crinkle and reflect heat, but do not let it touch the oven elements. If you skip foil the dish will require more scrubbing later, and the glaze may become more deeply caramelized where it sticks, which can be harder to remove.
- Bake 40-45 minutes or until skin is crisp and caramelized and chicken is cooked through.: Arrange the chicken with space between pieces so hot air circulates, allowing even browning. When arranged properly you will see the skin begin to blister and brown after about 20 minutes, signaling good progress. Overcrowding causes steaming rather than roasting, which prevents the skin from crisping and yields a softer exterior.
- For dark crispy skin: Place chicken under the broiler for 3-5 minutes or until desired crispness.: Whisk these until smooth so the garlic disperses and the honey integrates with the dark soy sauce and white vinegar . The mixture should be glossy and slightly thick, which helps it cling to the chicken . If the honey is crystallized, warm it slightly before whisking; failing to fully combine can leave pockets of undissolved honey or uneven flavor distribution.
- Whisk until fully combined: A well emulsified glaze ensures even coating and consistent flavor. You should see a uniform sheen and the minced garlic suspended throughout the mix. If it looks separated, whisk longer or add a tiny pinch of warm water to help it come together. An uneven mix can lead to some bites being overly salty or overly sweet.
- Pour mixture onto chicken legs coating evenly: Pour the glaze over the arranged chicken , using a spoon or brush to spread it so every piece gets covered. The aroma of garlic and sweet honey will intensify as it hits the warm meat. Be careful not to drown the pan in liquid, as excess moisture can prevent browning; aim for a glossy coating rather than a pool in the pan.
- Bake 40-45 minutes or until skin is crisp and caramelized and chicken is cooked through: As the chicken bakes you will notice the glaze darken and thicken, and the skin will go from pale to golden to deep amber near the end. The meat should register 165 F in the thickest part, and juices should run clear. A common mistake is removing the meat too early; undercooked dark meat can be pink near the bone, so always check temperature rather than color alone.
- For dark crispy skin Place chicken under the broiler for 3-5 minutes or until desired crispness: A final broil creates blistered, almost charred edges that taste smoky and concentrated. Watch closely because the sugar in the honey can burn quickly, and you want a deep mahogany finish rather than blackened spots. If your broiler is intense, position the rack farther from the element and broil in short bursts to avoid scorching.
Helpful Hints
A few pointers will help you get the best result with minimal fuss. I share practical tips I use every time I make Easy Baked Honey Garlic Chicken, focusing on timing, temperature, and flavor balance so your bake comes out consistent.
- Preheat fully Ensure the oven reaches a steady 400 F before you put the chicken in, this jumpstart is essential for rendering skin fat quickly and beginning caramelization right away.
- Even coating After whisking the glaze, pour it slowly and use a spoon to help the mixture adhere to all sides of the chicken, this prevents pools of sauce and ensures every bite is flavorful.
- Watch the broiler If you use the broiler for extra crispness, stay close and broil in short intervals because the honey can burn fast, making the finish bitter rather than caramelized.
- Check temperature Use an instant read thermometer to verify the thickest part of the chicken reaches 165 F, this is the safest way to confirm doneness without overcooking.
- Adjust seasoning last Because the dark soy sauce is salty, taste the glaze before adding any extra salt and adjust with vinegar or a touch more honey if it seems overly salty.
- Rest before serving Let the baked chicken rest for 5 to 10 minutes so juices settle and the meat slices cleanly, giving a juicier eating experience.
Serving This Easy Baked Honey Garlic Chicken
This dish is versatile and fits into many mealtime occasions. Below I outline serving ideas, pairings, and storage notes so you can present it beautifully and keep leftovers tasting fresh.
- Weeknight dinner pairing Serve the chicken with steamed rice or simple roasted vegetables for a quick, balanced meal that showcases the glossy glaze.
- Casual family meal Pair with mashed potatoes or a buttered grain like couscous to soak up the sauce, creating a comforting plate everyone will reach for seconds of.
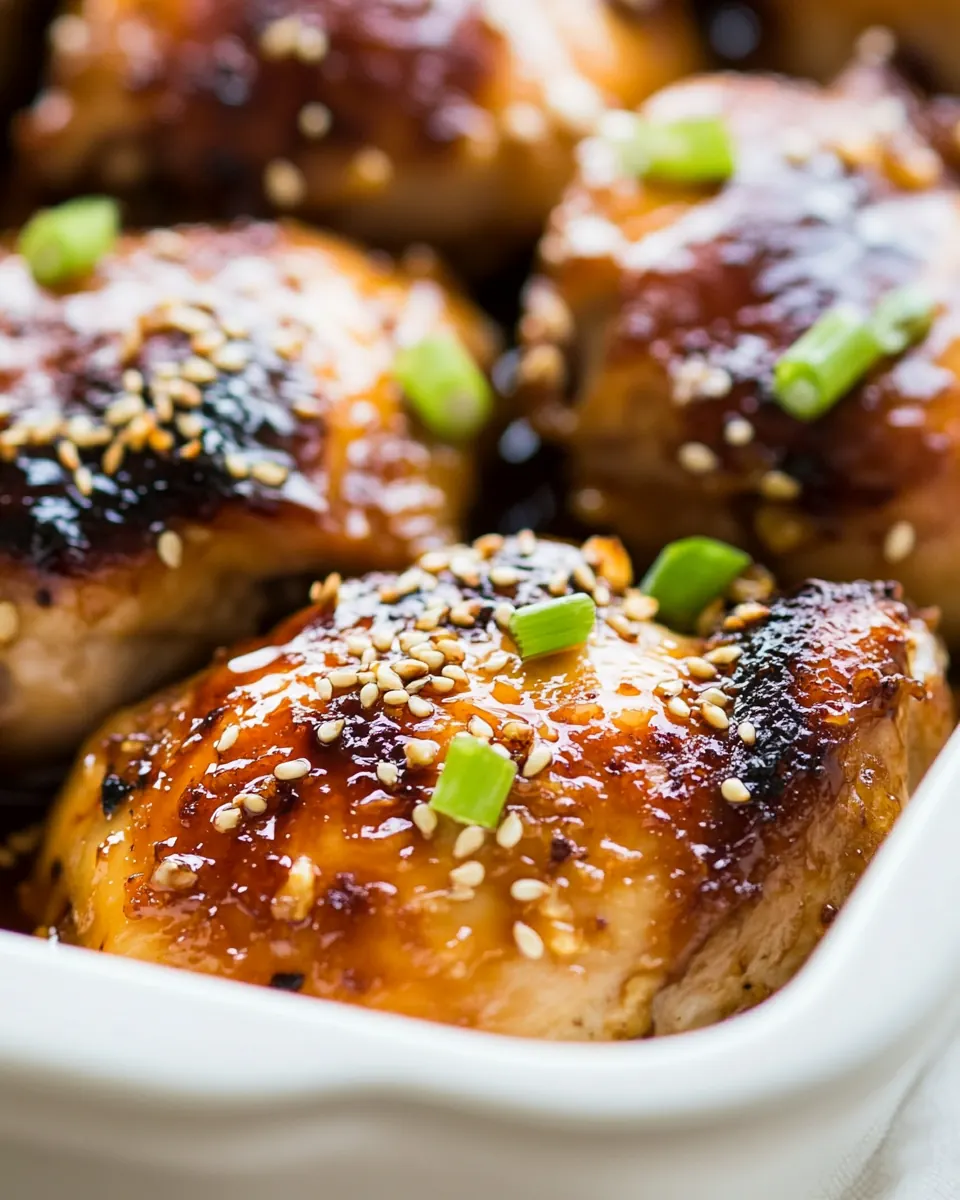
- Entertaining Arrange pieces on a platter with a garnish of fresh herbs and offer small bowls of extra glaze for guests to drizzle, making the presentation feel special without extra work.
- Storage Refrigerate leftover chicken in an airtight container for up to 3 days. Reheat gently in a low oven to preserve texture and avoid drying out the meat.
- Occasions This recipe is great for everyday dinners, casual gatherings, and seasons when you want a warm, satisfying main that travels well for potlucks.
FAQ
Conclusion
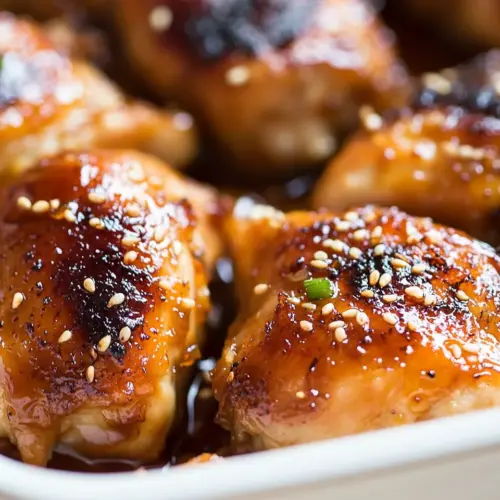
This Easy Baked Honey Garlic Chicken stands out because it transforms a few simple pantry staples into a glossy, flavorful main with minimal effort. The balance of sweet honey, savory dark soy sauce, bright white vinegar, and aromatic garlic yields comforting, craveable results that feel both homey and a bit special. I encourage you to give it a try when you want a dependable weeknight winner or a low fuss dish for guests; the caramelized skin and juicy meat make it a dish people ask to be repeated. Cook it with confidence and enjoy the warm, sticky goodness that keeps everyone coming back for seconds.
Easy Baked Honey Garlic Chicken
Equipment
- Baking Dish
- Mixing Bowl
- Whisk
- Aluminum Foil
- Meat Thermometer
Ingredients
- 3 lbs chicken leg quarters, with skin (about 4 legs quarters) Provide rich, moist flavor and tender meat while crisping the skin during baking; chicken leg quarters offer a balance of dark meat and fat that absorbs marinades well, ensuring juicy results. Use skin-on pieces to develop caramelized edges and deeper savory notes as the honey-garlic glaze reduces in the oven.
- 4 cloves garlic, minced Add sharp, aromatic bite and depth by releasing essential oils when minced; garlic infuses the marinade with savory complexity and supports browning on the chicken surface. Mince finely to distribute flavor evenly and allow quick mingling with honey and soy for a cohesive glaze.
- 1/4 cup honey Contribute natural sweetness and help create a glossy, caramelized coating as it heats; honey balances the salty and acidic elements while promoting browning on the skin. Choose a runny honey for easy mixing and to help the glaze adhere to the chicken throughout baking.
- 2 tablespoons dark soy sauce Impart salty, savory umami and a dark color that complements the honey; dark soy sauce intensifies the overall savory profile and helps create a richly flavored glaze. Use measured amounts to avoid overpowering sweetness while enhancing depth and glazing properties.
- 1 tablespoon white vinegar Provide bright acidity to balance sweetness and saltiness, tenderize the meat slightly, and brighten the overall flavor profile. Add vinegar sparingly to lift the glaze and prevent cloying sweetness while helping flavors meld during marination.
Instructions
- Heat oven to 400 F degrees F. Line a baking dish with aluminum foil (optional); set aside.: When the oven reaches a steady 400 F , you will get immediate contact heat that starts rendering fat from the chicken skin, which is crucial for crisping. You should hear a faint sizzle as the hot air hits the cold meat when it goes in, and the initial burst of heat helps the glaze begin to caramelize. If the oven is not fully preheated, the skin will take longer to crisp and the meat might dry out while waiting, so always confirm the temperature before baking.
- Layer the chicken legs on the baking dish. In a small bowl combine the garlic, honey, soy, and vinegar. Whisk until fully combined. Pour mixture onto chicken legs, coating evenly.: Lining the dish with foil makes cleanup effortless and prevents sticky glaze from bonding to the pan. The foil will crinkle and reflect heat, but do not let it touch the oven elements. If you skip foil the dish will require more scrubbing later, and the glaze may become more deeply caramelized where it sticks, which can be harder to remove.
- Bake 40-45 minutes or until skin is crisp and caramelized and chicken is cooked through.: Arrange the chicken with space between pieces so hot air circulates, allowing even browning. When arranged properly you will see the skin begin to blister and brown after about 20 minutes, signaling good progress. Overcrowding causes steaming rather than roasting, which prevents the skin from crisping and yields a softer exterior.
- For dark crispy skin: Place chicken under the broiler for 3-5 minutes or until desired crispness.: Whisk these until smooth so the garlic disperses and the honey integrates with the dark soy sauce and white vinegar . The mixture should be glossy and slightly thick, which helps it cling to the chicken . If the honey is crystallized, warm it slightly before whisking; failing to fully combine can leave pockets of undissolved honey or uneven flavor distribution.
- Whisk until fully combined: A well emulsified glaze ensures even coating and consistent flavor. You should see a uniform sheen and the minced garlic suspended throughout the mix. If it looks separated, whisk longer or add a tiny pinch of warm water to help it come together. An uneven mix can lead to some bites being overly salty or overly sweet.
- Pour mixture onto chicken legs coating evenly: Pour the glaze over the arranged chicken , using a spoon or brush to spread it so every piece gets covered. The aroma of garlic and sweet honey will intensify as it hits the warm meat. Be careful not to drown the pan in liquid, as excess moisture can prevent browning; aim for a glossy coating rather than a pool in the pan.
- Bake 40-45 minutes or until skin is crisp and caramelized and chicken is cooked through: As the chicken bakes you will notice the glaze darken and thicken, and the skin will go from pale to golden to deep amber near the end. The meat should register 165 F in the thickest part, and juices should run clear. A common mistake is removing the meat too early; undercooked dark meat can be pink near the bone, so always check temperature rather than color alone.
- For dark crispy skin Place chicken under the broiler for 3-5 minutes or until desired crispness: A final broil creates blistered, almost charred edges that taste smoky and concentrated. Watch closely because the sugar in the honey can burn quickly, and you want a deep mahogany finish rather than blackened spots. If your broiler is intense, position the rack farther from the element and broil in short bursts to avoid scorching.
Notes
- Preheat fully Ensure the oven reaches a steady 400 F before you put the chicken in, this jumpstart is essential for rendering skin fat quickly and beginning caramelization right away.
- Even coating After whisking the glaze, pour it slowly and use a spoon to help the mixture adhere to all sides of the chicken, this prevents pools of sauce and ensures every bite is flavorful.
- Watch the broiler If you use the broiler for extra crispness, stay close and broil in short intervals because the honey can burn fast, making the finish bitter rather than caramelized.
- Check temperature Use an instant read thermometer to verify the thickest part of the chicken reaches 165 F, this is the safest way to confirm doneness without overcooking.
- Adjust seasoning last Because the dark soy sauce is salty, taste the glaze before adding any extra salt and adjust with vinegar or a touch more honey if it seems overly salty.
- Rest before serving Let the baked chicken rest for 5 to 10 minutes so juices settle and the meat slices cleanly, giving a juicier eating experience.