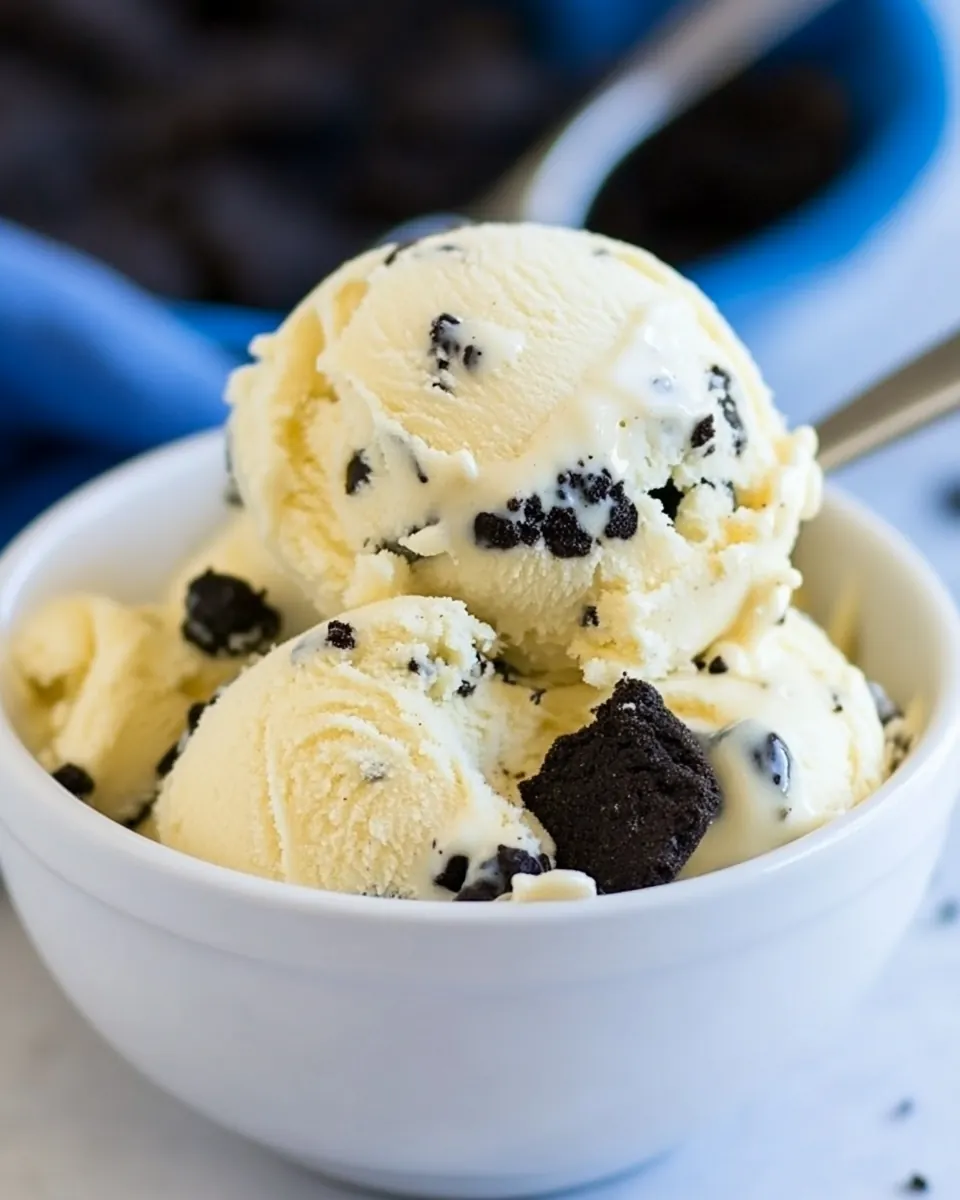
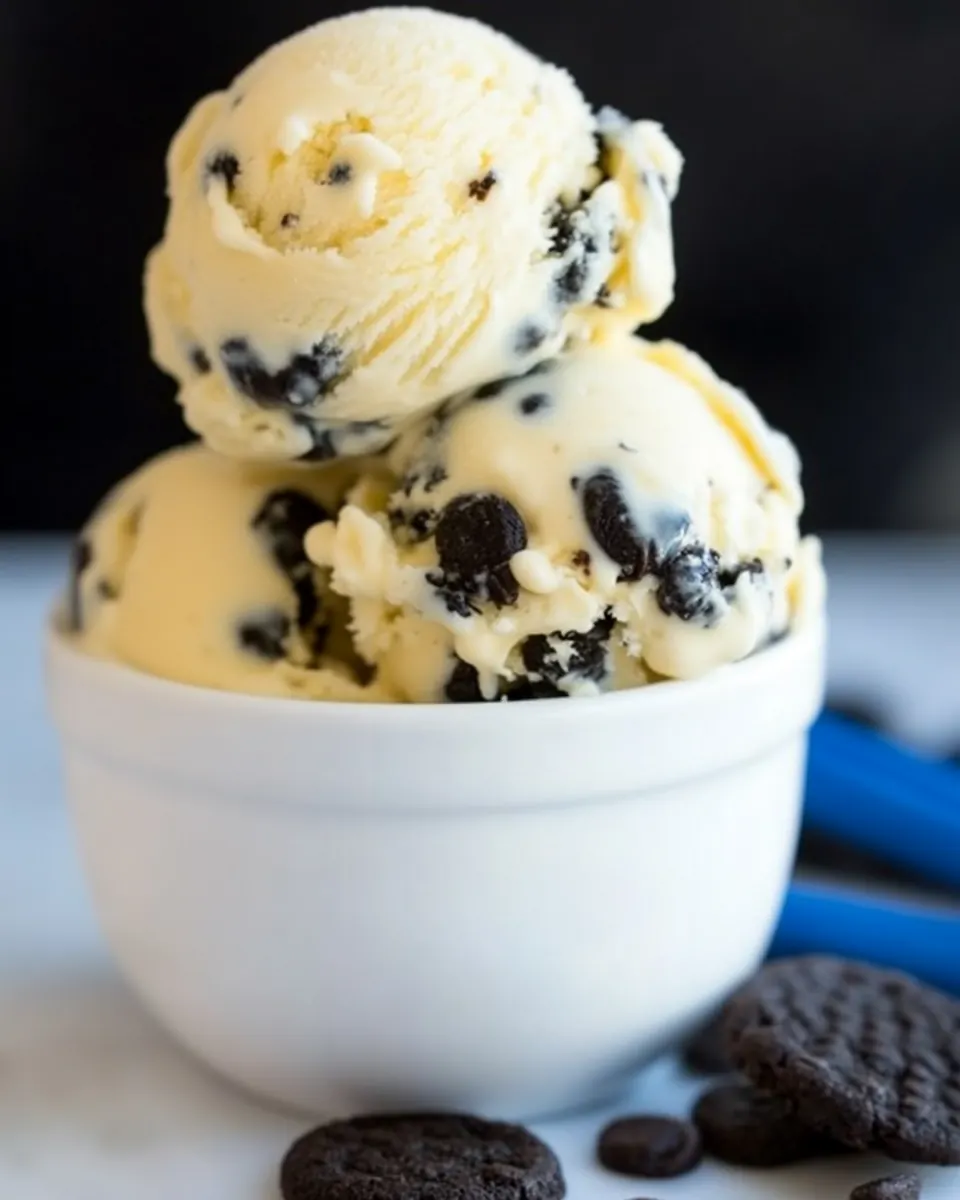
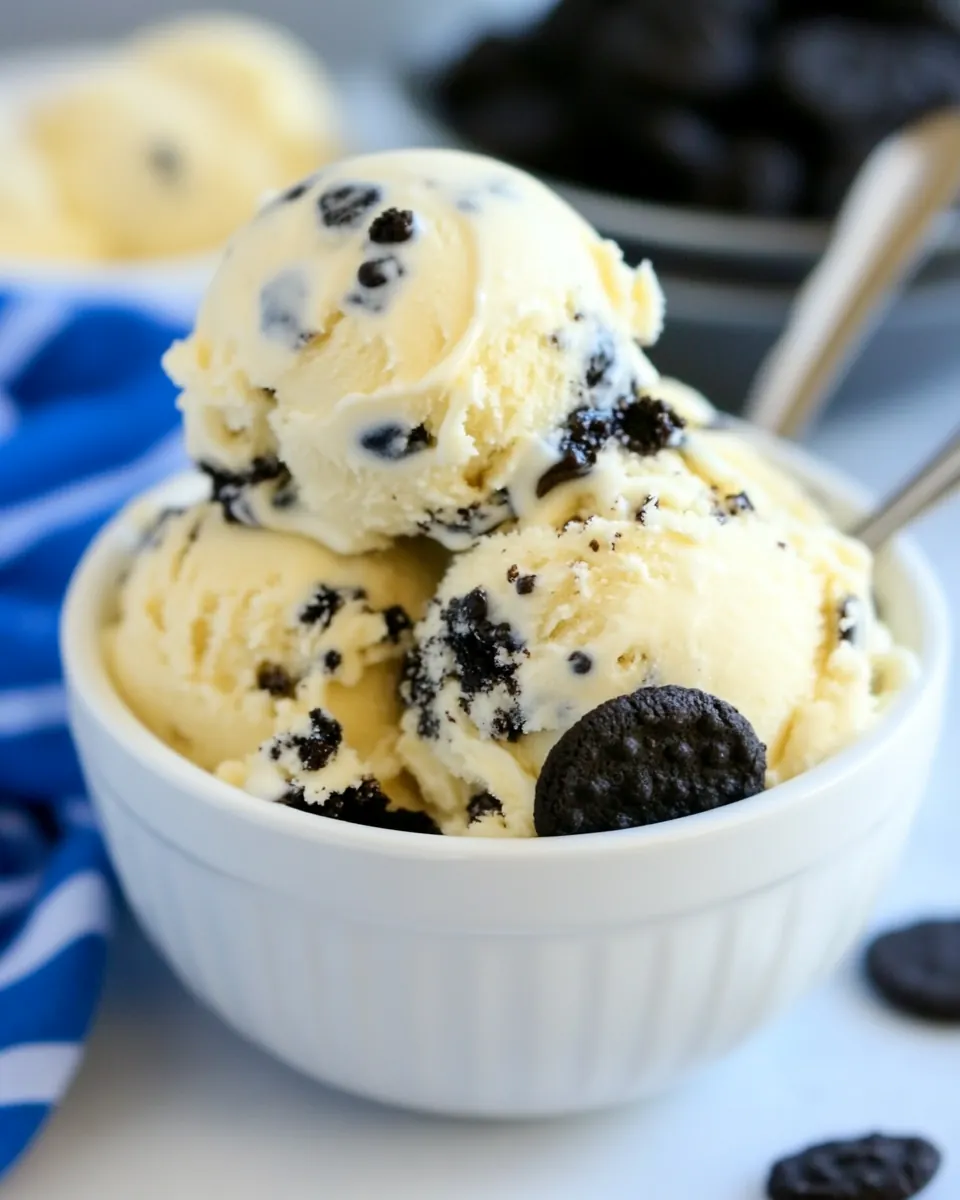
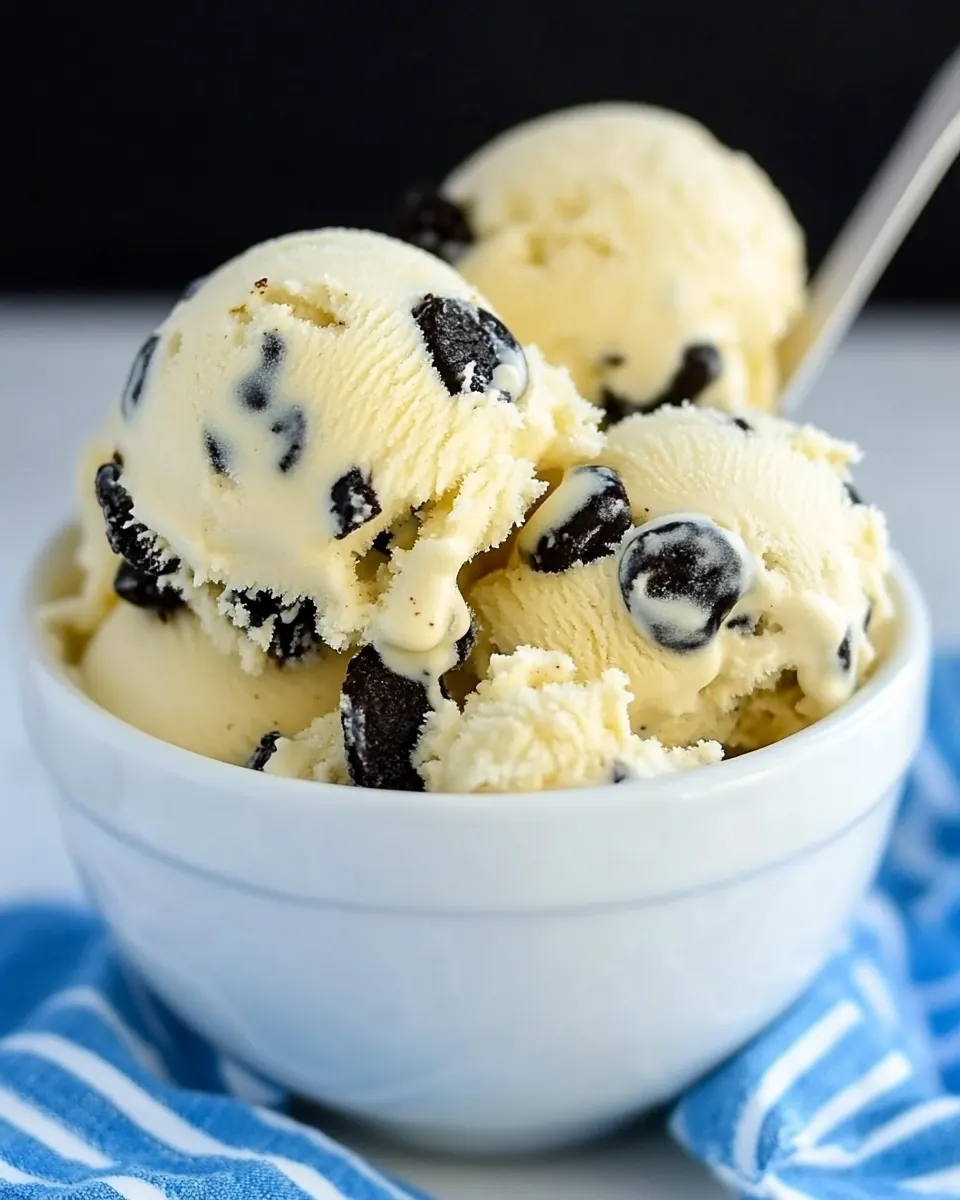
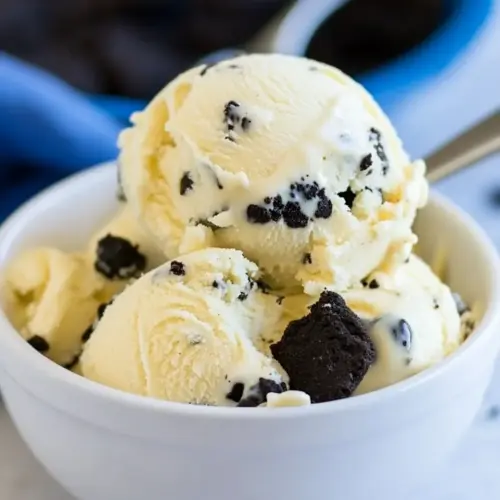
Cookies and Cream Ice Cream
Cookies and Cream Ice Cream has been my go to for sunny afternoons when I want something playful, nostalgic, and deeply satisfying.
When I was a kid I would sneak spoonfuls from the carton and marvel at how the crunchy dark bits contrasted with the milky, cold cream. Years later I kept chasing that perfect balance and learned how tiny technique changes transform texture and flavor. I still remember the first time I tempered egg yolks for a custard base, the warm steam rising, and the silky thickness that followed. That tactile memory is part of why I love making Cookies and Cream Ice Cream now, especially for friends who expect the familiar cookie bits but appreciate a truly smooth base.
Serving this feels like giving a gift wrapped in nostalgia, but upgraded. I often make a batch the evening before a gathering, letting the flavors marry overnight so the cookies soften just enough to be chewy inside, while the custard stays luxuriously creamy. It’s also one of those recipes that lets you slow down for a bit, stirring and tasting, noticing small wins along the way. If you enjoy hands on dessert projects that yield big smiles, Cookies and Cream Ice Cream will become one of your most requested treats.
Recipe Snapshot
1 hr 30 mins
60 mins
30 mins
Medium
250 kcal
American
Gluten-Free, Low FODMAP
Desserts
Wire mesh sieve, Large bowl, Medium saucepan, Heatproof spatula, Ice cream maker, Freezer safe container
Why This Cookies and Cream Ice Cream Stands Out
Classic flavor that everyone recognizes
I adore how Cookies and Cream Ice Cream captures a childhood favorite in a grown up, custardy package. The familiar cookie pieces offer contrast while the rich custard base makes each spoonful feel indulgent, so it always gets enthusiastic nods when I serve it.
Texture contrast that sings
The creamy, almost velvety mouthfeel of the custard combined with slightly crunchy cookie bits creates a delightful interplay. I like that the cookies retain some snap yet become pleasantly tender after a few hours in the freezer, making each bite interesting.
Technique driven but forgiving
While there are clear steps like tempering the yolks and chilling the custard, this recipe is forgiving. I find that careful stirring and patience pay off, and even a learning batch turns out tasty. I’ll walk you through the moments that matter most so you avoid common pitfalls.
Great for gatherings and make ahead
I appreciate recipes that free me up on party day. You can churn, layer with cookies, and freeze ahead of time so you’re not rushed. It keeps well, and the texture actually improves after a day in the freezer as flavors settle.
Flexible, yet specific
There is room to personalize the cookie ratio and how chunky you want the pieces, but the custard foundation remains the star. I like keeping the base clean so the cookie flavor shines, and that’s why I stick to tried and true ingredient balances.
Key Ingredients for Cookies and Cream Ice Cream
The ingredient list for Cookies and Cream Ice Cream is focused and purposeful. Each component plays a clear role: the egg yolks build a rich custard, the granulated sugar sweetens and stabilizes, the heavy cream and whole milk provide fat and silky mouthfeel, the kosher salt balances sweetness, the vanilla extract lifts flavor, and the chopped Oreo cookies bring the distinctive contrast that defines this dessert. Together they yield a creamy, flavorful frozen treat with delightful texture contrast.
- 5 egg yolks: Whisked into a custard base to provide richness, structure, and a smooth mouthfeel; yolks also help thicken the mixture when tempered with heated dairy, creating a creamy ice cream texture. Handle gently during heating to avoid scrambling and ensure a silky final product.
- 1/2 cup (100 g) granulated sugar, divided: Dissolved with eggs and dairy to add sweetness and aid in texture balance; splitting the sugar allows for controlled sweetness and contributes to proper dissolution and slight stabilization of the custard. Use half during tempering and reserve the rest as indicated for optimal consistency.
- 1 3/4 cup s (416.5 ml) heavy cream: Folded into the custard to impart fat and luxurious creaminess, heavy cream contributes to body, suppleness, and a rich flavor profile that defines classic ice cream. Chill thoroughly before churning to improve overrun and achieve a dense, velvety finish.
- 3/4 cup (183 ml) whole milk: Combined with cream to thin the custard slightly and balance richness; whole milk lightens the texture while providing dairy flavor and helps the mixture freeze more evenly. Use cold milk to speed chilling time and promote smoother churning.
- 1/4 teaspoon (0.25 teaspoon) kosher salt: Sprinkled into the base for subtle seasoning that enhances sweetness and rounds flavors; kosher salt also helps amplify the vanilla and cookie notes without making the ice cream taste salty. Measure carefully to avoid overpowering the dessert.
- 2 teaspoons vanilla extract: Added for aromatic sweetness and depth, vanilla extract lifts the custard with warm, familiar flavor and complements the chocolate cookie pieces. Stir in after cooking and cooling slightly to preserve the extract's delicate aromatics.
- 1 1/4 cup s (200 g) chopped Oreo cookies, about 15 cookies: Folded into churned ice cream to provide crunchy texture and intense chocolate-and-creme flavor; chopped Oreo cookies create contrast and visual interest throughout the frozen dessert. Add near the end of churning or mix in before freezing to retain cookie crunch.
How to Assemble Cookies and Cream Ice Cream
Assembling this ice cream is about patience and attention to cues rather than speed. The process moves from warming dairy to careful tempering, chilling, and churning, with a final layering step to distribute the cookie pieces. I like to keep everything ready ahead so each action flows smoothly.
- Set a wire-mesh sieve over a large bowl. Whisk together the egg yolks and 1/4 cup of the sugar in a large bowl; set aside.: The first sensory moment is the pale, ribbon like consistency you get when whisking the egg yolks with sugar, it should feel thick and slightly glossy as sugar dissolves. This texture is important because it indicates the yolks have been aerated and will accept warm dairy without seizing. You will notice a soft, custard colored batter forming, and it should coat the back of a spoon. One common error is to rush and not dissolve the sugar into the yolks fully, which can lead to grit in the finished custard. Work calmly, whisking until you feel smooth resistance, and set the bowl aside in a stable spot so you are ready for the tempering step.
- Warm the remaining 1/4 cup of sugar, cream, milk and salt in a medium saucepan over medium heat. When the mixture begins to simmer, slowly drizzle it into the egg yolk mixture, whisking constantly, then scrape the warmed egg yolks back into the saucepan.: As you warm the heavy cream and whole milk with sugar and kosher salt , you will first smell a faint sweet dairy aroma that becomes richer as steam rises. Watch for small bubbles forming at the edge to indicate a gentle simmer, do not let it boil violently. When you drizzle the warm dairy into the yolks while whisking, you will feel the temperature equalize and the mixture will warm without curdling. Then, when you return the combined mix to the saucepan, the heat becomes tactile as the custard thickens. A frequent mistake is pouring the hot liquid too fast, which cooks the yolks into scrambled bits. Move slowly and maintain a steady whisk to avoid that.
- Stir the mixture constantly over medium heat with a heatproof spatula, scraping the bottom as you stir, until the mixture thickens and coats the spatula. Pour the custard through the strainer and stir in the vanilla extract. Place the bowl in an ice bath and stir occasionally, until the mixture reaches room temperature. Cover the bowl and place the mixture in the refrigerator and chill at least 2 hours, or overnight.: When you heat the custard in the saucepan, pay attention to how it changes: from thin and glossy to noticeably thicker, leaving a clear film on the spatula. You should feel increased resistance when stirring and see slow ribbons forming when you lift the spatula. Straining removes any tiny cooked bits, leaving a silken custard. Stirring the warm custard in an ice bath cools it quickly, reducing bacterial risk and preserving texture. The aroma shifts to a warming vanilla and dairy scent as you stir. A common misstep is not chilling long enough, which prevents proper thickening and can result in a soft churn. Be patient, cool fully to room temperature, then chill thoroughly before churning.
- Churn the ice cream in your ice cream maker according to the manufacturer’s instructions. Once the ice cream is ready, layer it into your freezer-safe container with alternating layers of the chopped cookies, beginning and ending with the ice cream.: During churning you will sense the mixture gradually gaining body, moving from pourable to a soft serve like texture, with the motor providing a steady rhythmic sound. The finished churned base should be airy yet dense enough to hold spoon marks. This step is crucial for incorporating air and achieving the correct mouthfeel, so follow your machine’s cues rather than strict times, noting when the mixture pulls away from the sides and thickens. A typical pitfall is overfilling the machine, which prevents proper freezing and aeration, so churn in appropriate batches. Keep an eye on temperature and texture rather than stopwatch numbers.
- Once the ice cream is ready, layer it into your freezer safe container with alternating layers of the chopped cookies, beginning and ending with the ice cream.: As you spoon the churned ice cream into the container, you will feel a pleasant resistance as the base firms. Layering with the chopped Oreo cookies creates visual stripes and distributed bites. Press gently to remove large air pockets while keeping the cookie pieces intact. The cookie fragments will give immediate contrast, and after a short freeze they soften just enough to be chewy against the creamy custard. Avoid mixing everything vigorously, which will break the cookies into crumbs and create a muddy texture. Instead, layer deliberately so each scoop offers balanced cookie to cream ratios.
How to Switch It Up
If you want to vary Cookies and Cream Ice Cream, small adjustments change texture and flavor in delightful ways. Below are practical tips and ideas that preserve the core custard while offering new experiences. Each tip begins with a bold phrase to guide your choices.
- Adjust cookie chunk size: Try chopping the Oreo cookies into a mix of coarse and fine pieces to create a layered mouthfeel, with larger chunks for chew and smaller crumbs that meld into the custard.
- Control sweetness: If you prefer less sweetness, reduce the granulated sugar by up to one quarter and taste the custard before chilling, because sugar affects both flavor and freezing point.
- Vary chilling time: Chilling the custard overnight allows flavors to deepen and often produces a smoother final texture, as the proteins relax and the mixture stabilizes.
- Cookie distribution: Layer cookies rather than folding them in vigorously to preserve distinct bites and avoid turning the base uniformly dark and crumb filled.
- Makeahead planning: Churn the ice cream a day ahead and keep it sealed in a freezer safe container to let flavors meld, which often improves texture and taste for serving the next day.
- Serving temperature: Slightly soften frozen ice cream at room temperature for 5 to 10 minutes before scooping to reach an ideal scoopable consistency without melting.
Serving Ideas for Cookies and Cream Ice Cream
Cookies and Cream Ice Cream shines in many serving contexts, from casual family desserts to special occasion treats. Its playful cookie pieces make it ideal for celebrations, summer gatherings, or as a comforting finish to a weeknight meal. Below are ways I like to plate, pair, and store this dessert.
- Scoop and drizzle: Serve scoops in chilled bowls with a light drizzle of chocolate sauce for extra decadence, keeping the cookie texture prominent for contrast.
- Affogato style alternative: For a crowd pleaser, place a scoop in a small glass and top with a warm espresso substitute or very strong decaffeinated coffee, creating a warm cold contrast.
- Sundae station: Offer bowls with mini bowls of chopped cookies, chopped nuts, and sprinkles so guests can customize each scoop with their preferred textures and flavors.
- Pairing occasions: This ice cream works well for summer parties, birthday celebrations, or as a sweet finish during Eid and family gatherings, offering broad appeal across ages.
- Storage tips: Press a layer of plastic wrap directly onto the surface of the ice cream before sealing the lid to minimize ice crystals, and store in the coldest part of the freezer for best texture.
- Seasonal serving: In warm months present scoops with fresh berries on the side for brightness, while in cooler months serve slightly softened scoops with warm cookies for contrast.
FAQ
Conclusion
This Cookies and Cream Ice Cream stands out because it pairs a silky, custard driven base with crunchy, nostalgic cookie pieces for perfect textural contrast. Give it a try the next time you want a make ahead dessert that delights a crowd, because the technique rewards patience with truly indulgent results. I hope this recipe becomes a repeat favorite in your kitchen, bringing those familiar cookie flavors into a luxuriously creamy frozen format.
Cookies and Cream Ice Cream
Equipment
- Wire mesh sieve
- Large Bowl
- Medium Saucepan
- Heatproof spatula
- Ice Cream Maker
- Freezer safe container
Ingredients
- 5 egg yolks Whisked into a custard base to provide richness, structure, and a smooth mouthfeel; yolks also help thicken the mixture when tempered with heated dairy, creating a creamy ice cream texture. Handle gently during heating to avoid scrambling and ensure a silky final product.
- 1/2 cup (100 g) granulated sugar, divided Dissolved with eggs and dairy to add sweetness and aid in texture balance; splitting the sugar allows for controlled sweetness and contributes to proper dissolution and slight stabilization of the custard. Use half during tempering and reserve the rest as indicated for optimal consistency.
- 1 3/4 cup s (416.5 ml) heavy cream Folded into the custard to impart fat and luxurious creaminess, heavy cream contributes to body, suppleness, and a rich flavor profile that defines classic ice cream. Chill thoroughly before churning to improve overrun and achieve a dense, velvety finish.
- 3/4 cup (183 ml) whole milk Combined with cream to thin the custard slightly and balance richness; whole milk lightens the texture while providing dairy flavor and helps the mixture freeze more evenly. Use cold milk to speed chilling time and promote smoother churning.
- 1/4 teaspoon (0.25 teaspoon) kosher salt Sprinkled into the base for subtle seasoning that enhances sweetness and rounds flavors; kosher salt also helps amplify the vanilla and cookie notes without making the ice cream taste salty. Measure carefully to avoid overpowering the dessert.
- 2 teaspoons vanilla extract Added for aromatic sweetness and depth, vanilla extract lifts the custard with warm, familiar flavor and complements the chocolate cookie pieces. Stir in after cooking and cooling slightly to preserve the extract's delicate aromatics.
- 1 1/4 cup s (200 g) chopped Oreo cookies, about 15 cookies Folded into churned ice cream to provide crunchy texture and intense chocolate-and-creme flavor; chopped Oreo cookies create contrast and visual interest throughout the frozen dessert. Add near the end of churning or mix in before freezing to retain cookie crunch.
Instructions
- Set a wire-mesh sieve over a large bowl. Whisk together the egg yolks and 1/4 cup of the sugar in a large bowl; set aside.: The first sensory moment is the pale, ribbon like consistency you get when whisking the egg yolks with sugar, it should feel thick and slightly glossy as sugar dissolves. This texture is important because it indicates the yolks have been aerated and will accept warm dairy without seizing. You will notice a soft, custard colored batter forming, and it should coat the back of a spoon. One common error is to rush and not dissolve the sugar into the yolks fully, which can lead to grit in the finished custard. Work calmly, whisking until you feel smooth resistance, and set the bowl aside in a stable spot so you are ready for the tempering step.
- Warm the remaining 1/4 cup of sugar, cream, milk and salt in a medium saucepan over medium heat. When the mixture begins to simmer, slowly drizzle it into the egg yolk mixture, whisking constantly, then scrape the warmed egg yolks back into the saucepan.: As you warm the heavy cream and whole milk with sugar and kosher salt , you will first smell a faint sweet dairy aroma that becomes richer as steam rises. Watch for small bubbles forming at the edge to indicate a gentle simmer, do not let it boil violently. When you drizzle the warm dairy into the yolks while whisking, you will feel the temperature equalize and the mixture will warm without curdling. Then, when you return the combined mix to the saucepan, the heat becomes tactile as the custard thickens. A frequent mistake is pouring the hot liquid too fast, which cooks the yolks into scrambled bits. Move slowly and maintain a steady whisk to avoid that.
- Stir the mixture constantly over medium heat with a heatproof spatula, scraping the bottom as you stir, until the mixture thickens and coats the spatula. Pour the custard through the strainer and stir in the vanilla extract. Place the bowl in an ice bath and stir occasionally, until the mixture reaches room temperature. Cover the bowl and place the mixture in the refrigerator and chill at least 2 hours, or overnight.: When you heat the custard in the saucepan, pay attention to how it changes: from thin and glossy to noticeably thicker, leaving a clear film on the spatula. You should feel increased resistance when stirring and see slow ribbons forming when you lift the spatula. Straining removes any tiny cooked bits, leaving a silken custard. Stirring the warm custard in an ice bath cools it quickly, reducing bacterial risk and preserving texture. The aroma shifts to a warming vanilla and dairy scent as you stir. A common misstep is not chilling long enough, which prevents proper thickening and can result in a soft churn. Be patient, cool fully to room temperature, then chill thoroughly before churning.
- Churn the ice cream in your ice cream maker according to the manufacturer’s instructions. Once the ice cream is ready, layer it into your freezer-safe container with alternating layers of the chopped cookies, beginning and ending with the ice cream.: During churning you will sense the mixture gradually gaining body, moving from pourable to a soft serve like texture, with the motor providing a steady rhythmic sound. The finished churned base should be airy yet dense enough to hold spoon marks. This step is crucial for incorporating air and achieving the correct mouthfeel, so follow your machine’s cues rather than strict times, noting when the mixture pulls away from the sides and thickens. A typical pitfall is overfilling the machine, which prevents proper freezing and aeration, so churn in appropriate batches. Keep an eye on temperature and texture rather than stopwatch numbers.
- Once the ice cream is ready, layer it into your freezer safe container with alternating layers of the chopped cookies, beginning and ending with the ice cream.: As you spoon the churned ice cream into the container, you will feel a pleasant resistance as the base firms. Layering with the chopped Oreo cookies creates visual stripes and distributed bites. Press gently to remove large air pockets while keeping the cookie pieces intact. The cookie fragments will give immediate contrast, and after a short freeze they soften just enough to be chewy against the creamy custard. Avoid mixing everything vigorously, which will break the cookies into crumbs and create a muddy texture. Instead, layer deliberately so each scoop offers balanced cookie to cream ratios.
Notes
- Adjust cookie chunk size: Try chopping the Oreo cookies into a mix of coarse and fine pieces to create a layered mouthfeel, with larger chunks for chew and smaller crumbs that meld into the custard.
- Control sweetness: If you prefer less sweetness, reduce the granulated sugar by up to one quarter and taste the custard before chilling, because sugar affects both flavor and freezing point.
- Vary chilling time: Chilling the custard overnight allows flavors to deepen and often produces a smoother final texture, as the proteins relax and the mixture stabilizes.
- Cookie distribution: Layer cookies rather than folding them in vigorously to preserve distinct bites and avoid turning the base uniformly dark and crumb filled.
- Makeahead planning: Churn the ice cream a day ahead and keep it sealed in a freezer safe container to let flavors meld, which often improves texture and taste for serving the next day.
- Serving temperature: Slightly soften frozen ice cream at room temperature for 5 to 10 minutes before scooping to reach an ideal scoopable consistency without melting.