Coffee Cake Waffles
Coffee Cake Waffles came into my life on a slow, foggy morning when I was craving something familiar but fun, a little crunchy, and warmly spiced. I had leftover slices of coffee cake sitting on the counter and a waffle iron humming on the stove, and that cozy mismatch felt like a small kitchen adventure. I remember butter sizzling as I brushed it across the iron, the sweet scent of cinnamon and sugar lifting like a memory, and how that first bite combined soft cake and crisp waffle into something unexpectedly comforting.
That morning I learned how little it takes to transform a simple coffee cake slice into something that feels celebratory. Friends popped by, curious about the aroma, and we munched them hot from the iron, drizzled with syrup and topped with fruit. The contrast between the tender crumb and the lightly browned exterior made everyone smile, and I kept thinking about how versatile the idea is for brunch, a quick dessert, or a weekday treat.
Since then, I make Coffee Cake Waffles whenever I want an instant uplift without a lot of fuss. There is satisfaction in repurposing leftovers into a new dish that still feels indulgent. I like the ritual of brushing the melted butter on the hot surface, the hiss that follows, and the way the waffle pockets hold syrup. It’s a small ritual that turns ordinary mornings into ones worth lingering over.
Recipe Snapshot
15 mins
5 mins
10 mins
Easy
300 kcal
American
Keto, Gluten-Free
Breakfast
Waffle iron, Pastry brush
What You’ll Enjoy About This Coffee Cake Waffles
1. Comfort with a Twist
I love how Coffee Cake Waffles take a familiar bakery favorite and give it a playful makeover. The texture contrast is what hooks me, and I find guests are always intrigued by a dessert that came from leftover slices. This recipe is approachable, and it makes cozy mornings feel a little more special without extra time at the oven.
2. Ridiculously Quick and Reliable
We can have these on the table very quickly, which makes them perfect for unexpected guests or a rushed weekend brunch. Because you start with prebaked coffee cake, the cooking time is short, and the results are consistently golden and crisp when you watch the visual cues. That reliability is something I keep coming back to.
3. Built In Texture and Flavor
The coffee cake already brings cinnamon, sugar, and crumb topping for built in flavor, so all you need is a little melted butter and a hot iron to amplify those characteristics. I love how the butter caramelizes the edges, adding a toasty note that plays off the cake’s soft interior. It is a shortcut that still feels intentional and layered.
4. Endless Serving Options
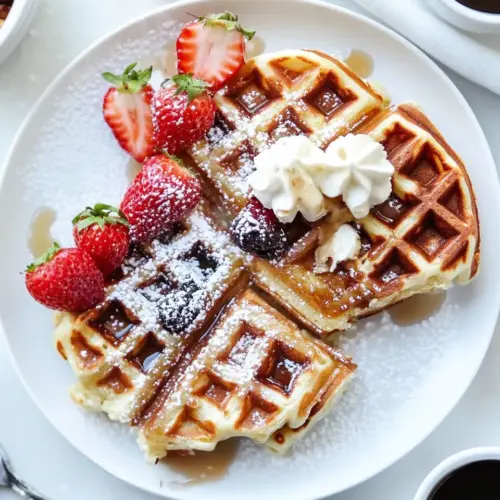
What keeps me excited is how versatile the finished waffle is. Serve it with syrup and fresh fruit for brunch, warm it with a scoop of ice cream for dessert, or offer it with a dusting of powdered sugar for a simple treat. Each serving style changes the mood, and I enjoy experimenting with toppings based on what’s in season.
5. Waste Not, Want Not
Turning leftover coffee cake into waffles feels smart and satisfying. I often find this recipe helps reduce waste while producing something that feels intentionally crafted. In my kitchen, that practical creativity is a big part of why I keep returning to this small technique.
Shopping List for Coffee Cake Waffles
These ingredients are delightfully simple, built around two main players that carry most of the work and flavor. The philosophy here is minimalism that leans on quality, warmth, and familiarity. The coffee cake supplies sweet spice, texture, and structure, while the melted butter adds browning, richness, and a crisp finish. Together they create contrast between soft crumb and toasty exterior.
- coffee cake slices: Sliced and repurposed to form the base, providing sweet, crumbly texture and cinnamon-infused flavor when pressed and warmed in the waffle iron. Enhances structure by offering pre-baked crumbs that crisp at the edges while retaining a tender interior, creating a contrast of textures. Allows for quick assembly by eliminating the need for batter preparation, making the recipe ideal for breakfast or brunch shortcuts.
- melted butter: Melted to coat and bind the slices, promoting even browning and a golden, crisp exterior when cooked. Contributes rich mouthfeel and helps distribute heat, encouraging caramelization of sugars in the coffee cake for enhanced flavor. Facilitates easy handling and prevents sticking to the waffle iron while adding subtle buttery aroma.
Cooking Method for Coffee Cake Waffles

These instructions are easy, but they benefit from attention to sensory cues. Keep an eye on color, listen for gentle sizzling, and test one waffle to dial in the timing for your particular waffle iron. The goal is a lightly browned exterior and a warm, tender interior.
- Brush butter onto heated waffle iron and place coffee cake slices down. Cook until cake is lightly browned. Remove from waffle iron and serve with maple syrup and your preferred fruit.: The moment the melted butter hits the plates you will hear a soft sizzle, and that sound signals the start of caramelization, which gives the edges a golden, toasty flavor. Pressing the coffee cake into the iron helps the batterless cake make contact with the hot surface so the sugars can melt and form crisp pockets. A common issue here is using too much butter; it should coat the surface lightly so the waffle does not become greasy. Visually you want a glossy sheen on the plates and a steady light hiss, not a loud sputter, which would mean the iron is too hot. Work quickly when placing the slices so hot and cold spots are minimized, and avoid stacking slices on top of each other while cooking, as that prevents even heat exposure.
- Cook until cake is lightly browned: As the cake warms the aroma of cinnamon and sugar will intensify, and you will see the edges darken first where the streusel or crumbs meet the iron. The sound will transition from a pronounced sizzle to a softer hissing as moisture evaporates, and visually you want a warm, amber brown rather than deep brown or black. This stage matters because it determines the contrast between crisp exterior and tender inside; undercooking leaves the center cold and gummy, while overcooking will dry the crumb. If your iron has a timer or indicator light, use it as a guide but rely on sight and smell for the best result. When you lift the lid, the waffle should release cleanly with a faint caramel sheen on the pressed surfaces.
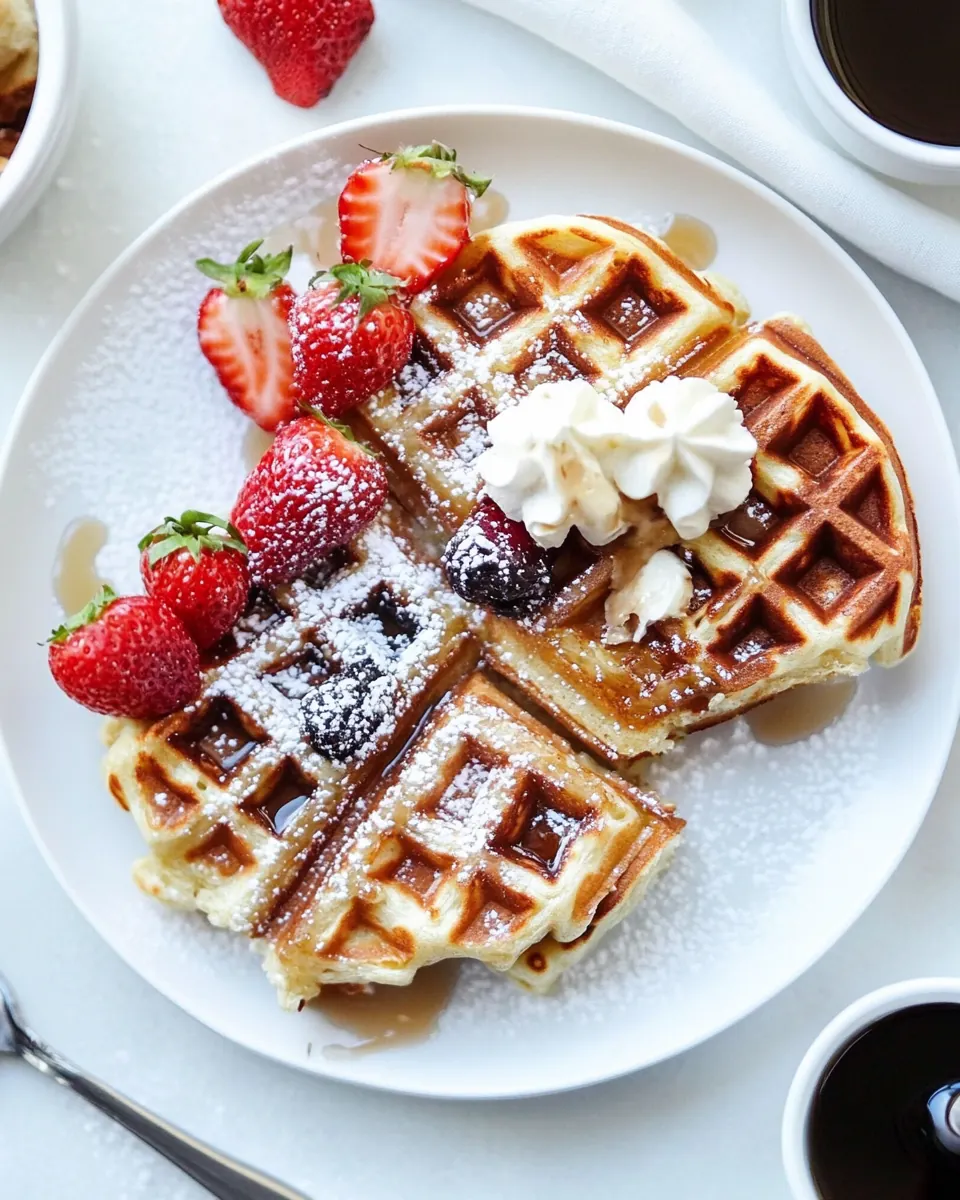
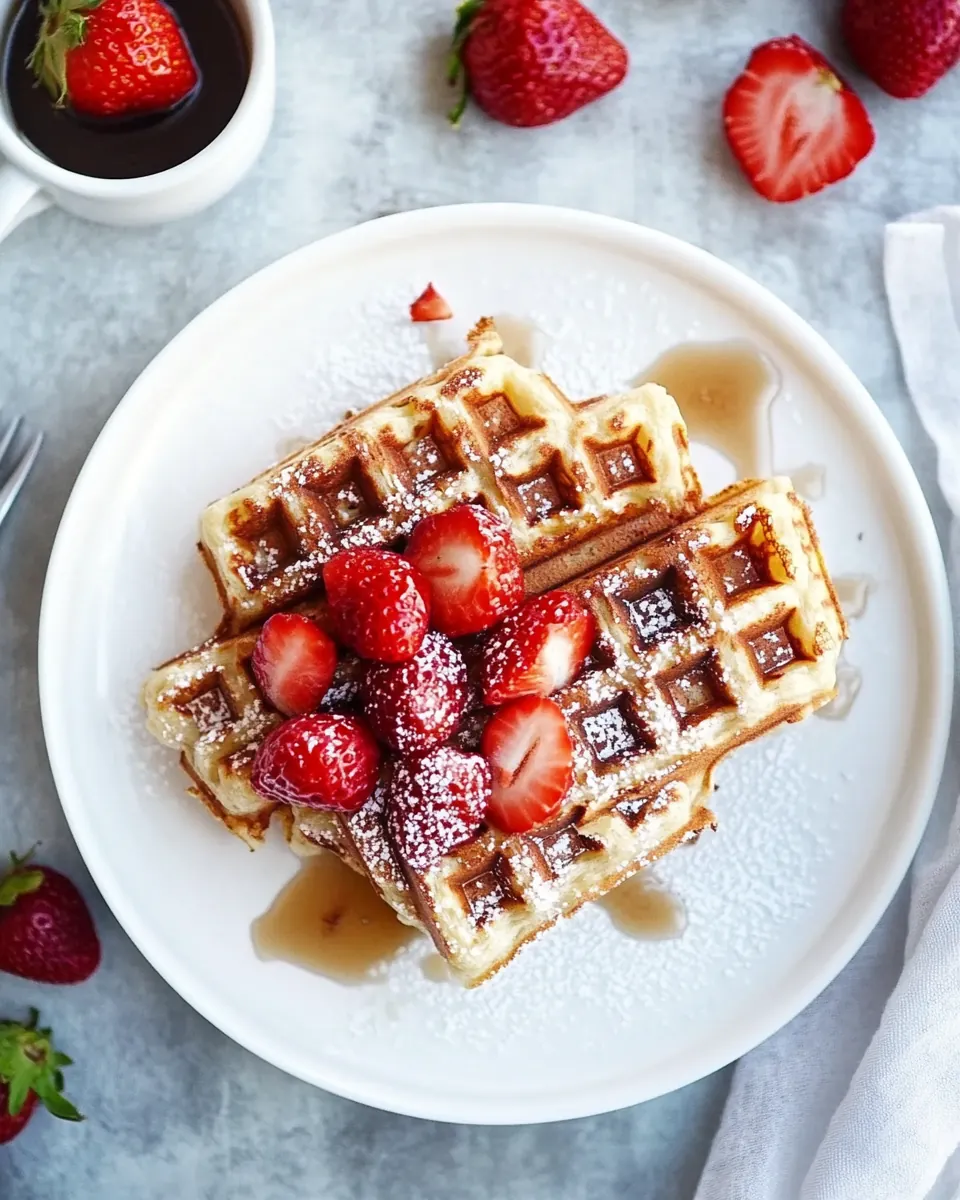
- Remove from waffle iron and serve with maple syrup and your preferred fruit: Once out of the iron, the crisp pockets will be most noticeable, and steam should be rising from the warm center, signaling readiness. The syrup will settle into the indentations, creating sweet pools that contrast with the cake s interior. Choose fresh slices of fruit that have bright acidity to cut through the sweetness, or keep it simple with syrup and a dusting of sugar. A common mistake is letting the waffles sit too long on a plate stacked narrowly, which traps steam and softens the crust; serve openly or on a rack to preserve texture. Pay attention to the first bite to judge sugar balance and adjust accompaniments accordingly.
Ways to Adapt This Recipe
This section offers flexible ideas to make Coffee Cake Waffles suit different occasions and palates. Each tip highlights a simple adaptation you can use without changing the core technique. I like having a handful of reliable tweaks to hand when serving guests or when using what I already have.
- Make it fruity Add a spoonful of warm, sliced fruit on top to introduce bright acidity and freshness that balances the cake s sweetness, and choose seasonal produce for the best flavor contrast.
- Create a crunch upgrade Sprinkle chopped nuts over the batter areas before pressing for extra texture, because the nuts toast quickly and give an appealing snap against the soft crumb.
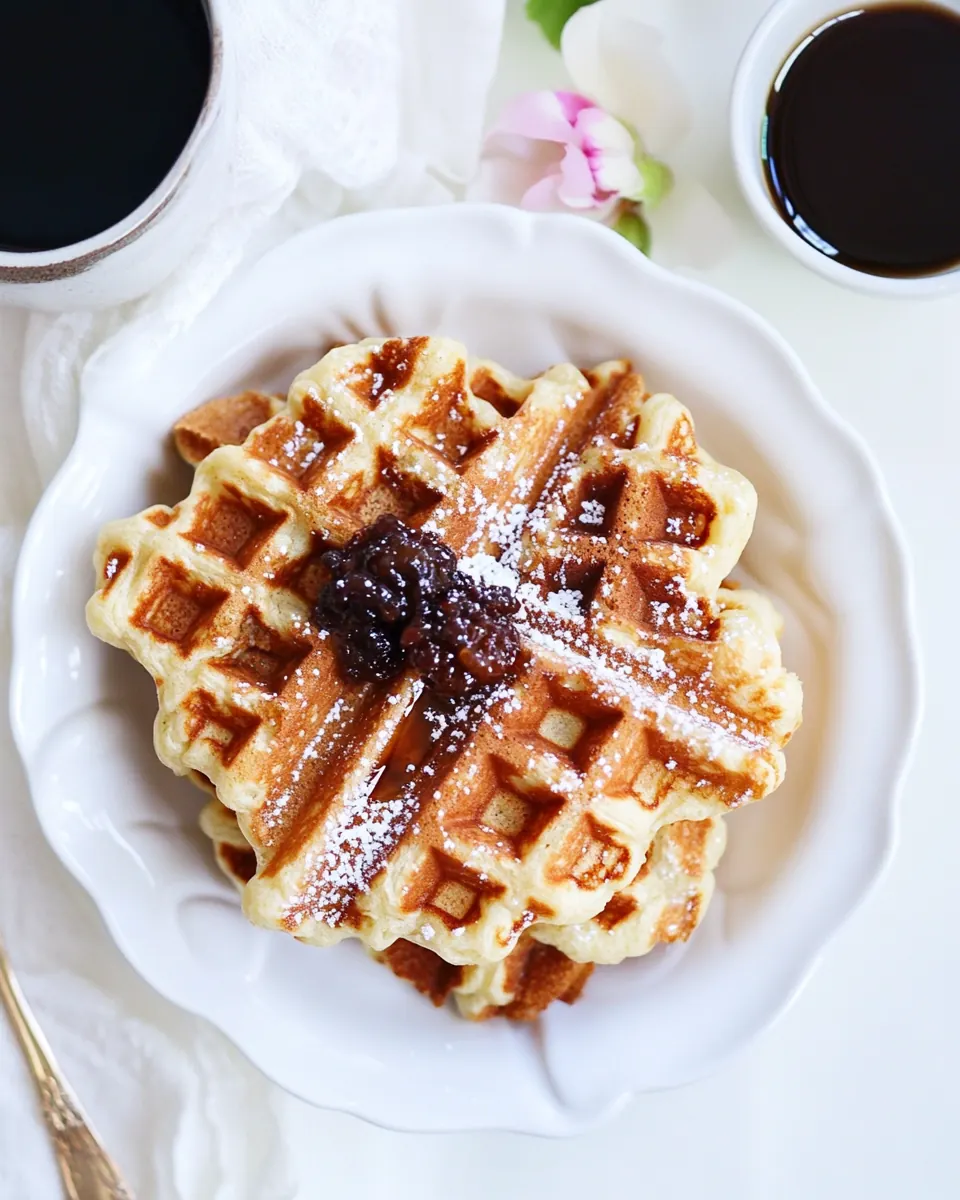
- Go simple and saucy Warm pure maple syrup or a fruit compote to spoon into the waffle pockets, since the warm liquid melts into the crevices and amplifies the cake s original flavors.
- Breakfast for dinner Serve alongside a light salad or yogurt to turn the dish into a fuller plate, because the combination balances richness and makes the meal feel intentional.
- Make ahead prep If you want to save time, preheat and butter the iron just before cooking and keep slices wrapped in the fridge until ready, because chilled slices often crisp more reliably than room temperature ones.
Perfect Pairings for Coffee Cake Waffles
A few thoughtful pairings will elevate Coffee Cake Waffles into a memorable meal. Consider textures, acidity, and temperature contrasts when composing a plate. Below are serving suggestions, occasions, and storage notes laid out so you can mix and match depending on the moment.
- Maple syrup and fresh berries The classic pairing, because syrup nests in the waffle pockets and berries add bright acidity that cuts sweetness.
- Warm fruit compote A cooked apple or berry compote adds warmth and a jammy texture that complements the cake s crumb and enhances spoonable comfort.
- Yogurt or whipped cream A dollop of unsweetened yogurt or a light whipped cream brings creaminess and gentle tang, balancing the richness of the buttered exterior.
- Brunch occasions Serve for weekend brunch with coffee and light savory sides, because the dish pairs well with eggs and fresh greens for a balanced spread.
- Storage tips Keep leftover waffles in an airtight container in the fridge for up to two days, and reheat briefly in the waffle iron or oven to restore crispness.
- Seasonal pairings In fall, pair with spiced apple compote, because autumn fruits and spices echo the cake s cinnamon elements and create harmony on the plate.
FAQ
Conclusion
What makes Coffee Cake Waffles special is their ability to turn something everyday into an unexpected treat, combining tender, spiced cake with a crisp, buttery exterior. Give this playful technique a try the next time you have leftover slices, and enjoy how little effort yields impressive results. It s a small, satisfying ritual that brings warmth and a moment of joy to mornings or gatherings, and I hope it becomes one of your quick go to recipes.
Coffee Cake Waffles
Equipment
- Waffle Iron
- Pastry Brush
Ingredients
- coffee cake slices Sliced and repurposed to form the base, providing sweet, crumbly texture and cinnamon-infused flavor when pressed and warmed in the waffle iron. Enhances structure by offering pre-baked crumbs that crisp at the edges while retaining a tender interior, creating a contrast of textures. Allows for quick assembly by eliminating the need for batter preparation, making the recipe ideal for breakfast or brunch shortcuts.
- melted butter Melted to coat and bind the slices, promoting even browning and a golden, crisp exterior when cooked. Contributes rich mouthfeel and helps distribute heat, encouraging caramelization of sugars in the coffee cake for enhanced flavor. Facilitates easy handling and prevents sticking to the waffle iron while adding subtle buttery aroma.
Instructions
- Brush butter onto heated waffle iron and place coffee cake slices down. Cook until cake is lightly browned. Remove from waffle iron and serve with maple syrup and your preferred fruit.: The moment the melted butter hits the plates you will hear a soft sizzle, and that sound signals the start of caramelization, which gives the edges a golden, toasty flavor. Pressing the coffee cake into the iron helps the batterless cake make contact with the hot surface so the sugars can melt and form crisp pockets. A common issue here is using too much butter; it should coat the surface lightly so the waffle does not become greasy. Visually you want a glossy sheen on the plates and a steady light hiss, not a loud sputter, which would mean the iron is too hot. Work quickly when placing the slices so hot and cold spots are minimized, and avoid stacking slices on top of each other while cooking, as that prevents even heat exposure.
- Cook until cake is lightly browned: As the cake warms the aroma of cinnamon and sugar will intensify, and you will see the edges darken first where the streusel or crumbs meet the iron. The sound will transition from a pronounced sizzle to a softer hissing as moisture evaporates, and visually you want a warm, amber brown rather than deep brown or black. This stage matters because it determines the contrast between crisp exterior and tender inside; undercooking leaves the center cold and gummy, while overcooking will dry the crumb. If your iron has a timer or indicator light, use it as a guide but rely on sight and smell for the best result. When you lift the lid, the waffle should release cleanly with a faint caramel sheen on the pressed surfaces.
- Remove from waffle iron and serve with maple syrup and your preferred fruit: Once out of the iron, the crisp pockets will be most noticeable, and steam should be rising from the warm center, signaling readiness. The syrup will settle into the indentations, creating sweet pools that contrast with the cake s interior. Choose fresh slices of fruit that have bright acidity to cut through the sweetness, or keep it simple with syrup and a dusting of sugar. A common mistake is letting the waffles sit too long on a plate stacked narrowly, which traps steam and softens the crust; serve openly or on a rack to preserve texture. Pay attention to the first bite to judge sugar balance and adjust accompaniments accordingly.
Notes
- Make it fruity Add a spoonful of warm, sliced fruit on top to introduce bright acidity and freshness that balances the cake s sweetness, and choose seasonal produce for the best flavor contrast.
- Create a crunch upgrade Sprinkle chopped nuts over the batter areas before pressing for extra texture, because the nuts toast quickly and give an appealing snap against the soft crumb.
- Go simple and saucy Warm pure maple syrup or a fruit compote to spoon into the waffle pockets, since the warm liquid melts into the crevices and amplifies the cake s original flavors.
- Breakfast for dinner Serve alongside a light salad or yogurt to turn the dish into a fuller plate, because the combination balances richness and makes the meal feel intentional.
- Make ahead prep If you want to save time, preheat and butter the iron just before cooking and keep slices wrapped in the fridge until ready, because chilled slices often crisp more reliably than room temperature ones.