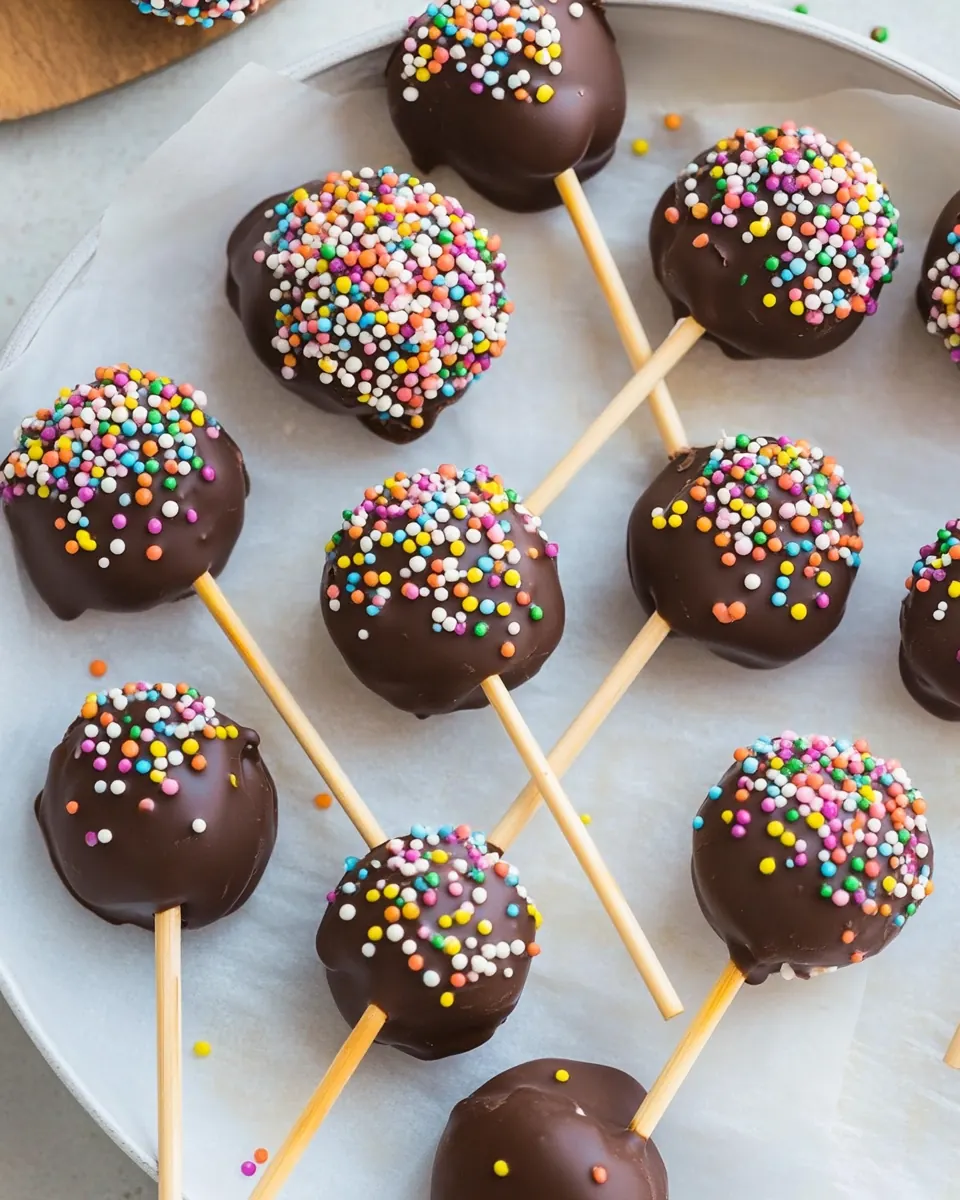
Chocolate Covered Apple Lollipops
Chocolate Covered Apple Lollipops are a nostalgic treat I always turn to when I want something playful and seasonal.
I remember the first time I made these with my niece, who insisted we call them magic pops. We set up a tiny production line on the kitchen counter, and she loved choosing toppings, sprinkling them with authority. The mix of crisp apples and glossy chocolate felt like childhood all over again, and the popsicle sticks made them perfect for passing around at a casual get together.
Over the years I refined the method so the coating sticks well and the slices stay firm, and now they are my go to for fall snack tables and lunchbox surprises. You can dress them up with crunchy or chewy toppers, or keep them minimalist with just a dusting of flaky sea salt. I like making a big batch in one afternoon, then freezing extras for a quick sweet bite later.
Recipe Snapshot
11 mins
10 mins
1 mins
Easy
150 kcal
American
Paleo, Vegan
Desserts
Microwave safe bowl, Parchment paper, Baking sheet, Popsicle sticks
Why This Chocolate Covered Apple Lollipops Is So Good
Crunch and Cream in Every Bite
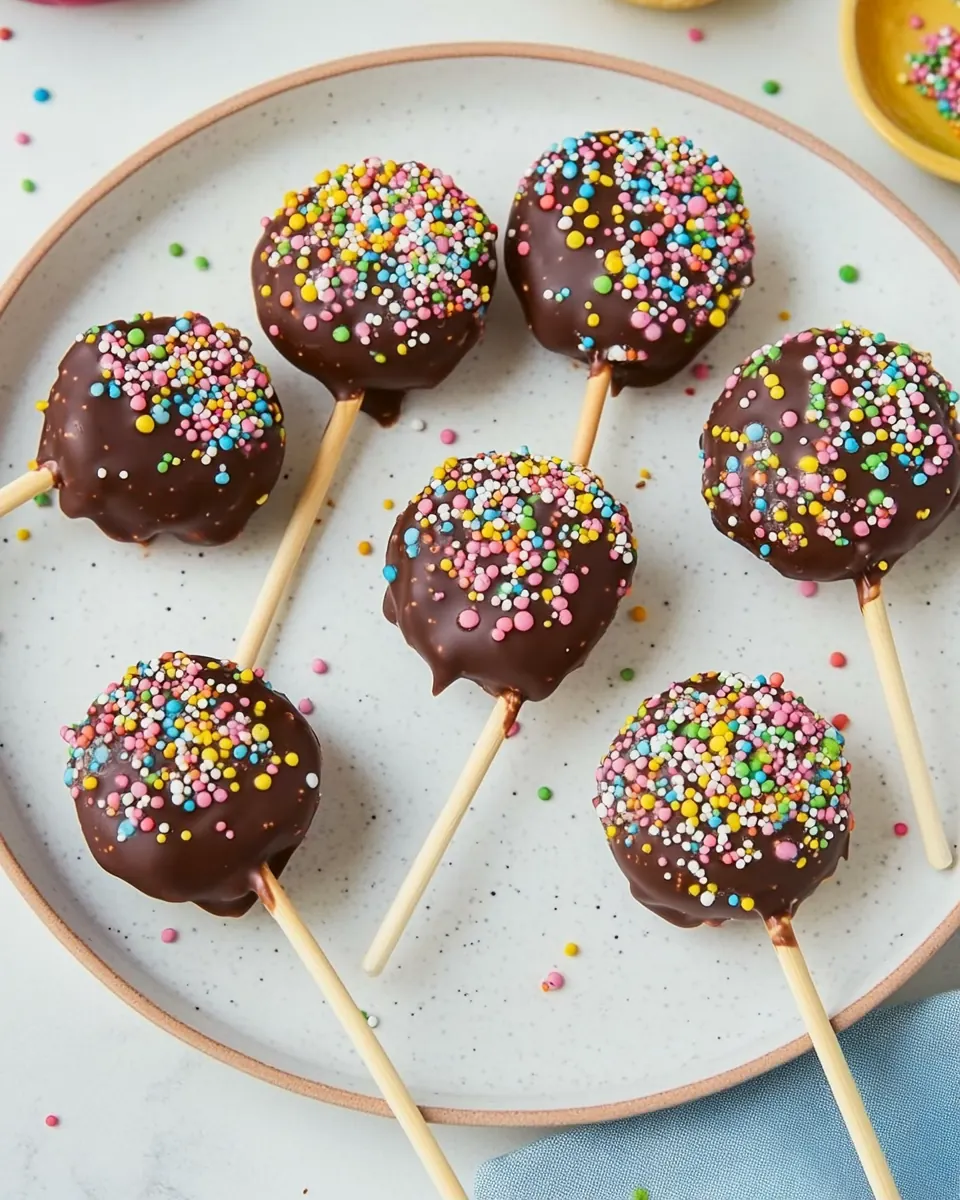
I love how Chocolate Covered Apple Lollipops deliver crisp apples alongside smooth chocolate, creating a contrast that keeps you coming back. The immediate snap of the fruit followed by the creamy melt of the coating is addictive, and it makes a simple ingredient list feel festive.
Kid Friendly and Hands On
These are a joy to assemble with kids. I enjoy watching little hands dip and decorate, and the stick format keeps mess to a minimum. It’s a fun way to teach simple kitchen steps without pressure, and you get to eat the lessons.
Versatile Toppings for Every Mood
One reason I return to this recipe is the topping playground it creates. From chopped nuts to mini chips, each choice shifts the flavor and texture. I often mix sweet and salty elements to keep things interesting and balanced.
Quick to Make, Big Impact
From washed apples to chilled pops, this is a low effort, high reward project. I can pull out the components, enlist helpers, and have a tray ready to chill in under an hour. It’s a fast treat that looks like it took more time than it did.
Seasonal and Shareable
For fall gatherings these feel timely without being fussy. I like preparing a platter of Chocolate Covered Apple Lollipops for holiday cookie swaps or casual coffee dates, and they always disappear fast. They travel well if placed on parchment in a snug container.
Shopping List for Chocolate Covered Apple Lollipops
These ingredients are intentionally simple, focusing on quality over complexity. The key players are the fresh apples for crunch, the chocolate for a silky coating, and the optional coconut oil which helps the melting and sheen. Toppings let you personalize texture and flavor, and the popsicle sticks transform the apple slices into portable, no fuss treats.
- 2 apples: Provide firm, crisp fruit on a stick that forms the base of each lollipop; choose apples that are slightly tart for flavor contrast and slice or halve them to create stable dipping surfaces. Wash and dry thoroughly so coatings adhere well, and remove cores or seeds as needed for safety and presentation.
- 1 cup semi sweet chocolate chips or chunks: Melt into a smooth, glossy coating that hardens slightly around the apple for a rich chocolate layer; semi–sweet chips or chunks deliver balanced sweetness and chocolate intensity. Stir gently while melting to avoid seizing and use enough to fully cover each apple piece for an even finish.
- 1 tablespoon coconut oil (optional): Help thin and smooth melted chocolate when added sparingly, producing a shinier, more pourable coating; coconut oil is optional but useful for achieving a glossy set and easier dipping. Keep usage minimal to maintain chocolate flavor, and add just before dipping to maintain good consistency.
- topping ideas: caramel, chopped nuts or seeds, sprinkles, cookie crumbles, mini chocolate chips or candies, chopped dried fruit, flaky sea salt: Provide texture, flavor contrast, and visual appeal when sprinkled onto wet chocolate; options like caramel, chopped nuts, sprinkles, or flaky sea salt allow customization for sweetness, crunch, or saltiness. Prepare toppings in small bowls for easy decoration immediately after dipping so they adhere before the coating sets.
- popsicle sticks: Anchor the apple pieces and create handheld lollipops that make dipping and eating simple; choose sturdy popsicle sticks that are long enough to insert securely without splitting the apple. Insert sticks firmly into the fruit before dipping and chill briefly after coating to set the chocolate around the stick.
Cooking Method for Chocolate Covered Apple Lollipops
Cooking these is mostly assembly with a short melting step. The rhythm is washing and slicing the apples, melting the chocolate, dipping, and decorating. Take your time on melting to preserve shine and texture, and use chilled surfaces for fast setting.
- Thoroughly wash and dry the apples. With the apples standing upright, cut into 1/2" slices.: When you begin, expect a crisp, fresh aroma from the apples , and run your fingers over them to ensure there are no waxy residues. Drying is crucial because surface moisture prevents the chocolate from adhering, and droplets can cause the coating to seize. Use a clean towel to pat each apple dry, and inspect for blemishes you might want to trim. A common mistake is hurrying this step, which leads to patchy coating and shorter-lasting pops.
- Carefully stick popsicle sticks into one side of the apple slice. The apples can split in half, so do this delicately.: You will hear a satisfying snap as you slice through firm apples , and the exposed flesh should look dense and juicy. Using a steady, even motion creates uniform thickness so each pop chills and sets at the same rate. If slices are uneven, some may bend or split when the stick is inserted, so aim for consistency. Avoid sawing quickly as that can bruise the flesh and make the presentation sloppy.
- Microwave chocolate chips and coconut oil in microwave safe bowl in 30 second intervals until smooth.: As you insert the popsicle sticks , you may feel resistance and a little give from the core area. Push gently until the stick feels secure without forcing it through the slice, because applying too much pressure can split the apple or create hairline cracks. Rotating the slice slightly while inserting can help seat the stick. The danger here is overenthusiastic pushing, which leads to broken, unusable pops.
- Dip each apple slice in chocolate, using a spoon to coat the entire slice. Allow excess chocolate to drip off, then place on a parchment lined baking sheet.: If a slice starts to split, set it aside and use it as a tasting piece instead, because once split it will not hold toppings well. The sound of a split slice is subtle, but you will notice a change in texture when handling it. Being patient and using steady hands prevents this; cold apples slice more cleanly. Avoid pushing sticks into slices that are already softened from sitting out.
- Top with any desired toppings like sprinkles, nuts, etc and freeze or refrigerate until solid.: The chocolate will first look glossy then thicken as it cools, and the smell becomes deeply cocoa rich. Stir between each 30 second burst to distribute heat and prevent hotspots. If you add coconut oil , it will melt into the chocolate , giving a silkier texture and sheen. The main risk is overheating, which causes the chocolate to seize into grainy clumps; if that happens, a teaspoon of warm oil and patient stirring can sometimes rescue it.
- Dip each apple slice in chocolate, using a spoon to coat the entire slice: As you dip, watch the way the chocolate flows and listen for a faint drip as excess runs off. Tilt the bowl and use a spoon to push the coating around so you get full coverage without making the pop heavy. The temperature matters here, if the chocolate is too warm it will run thin and swallow toppings, if too cool it will clump. A frequent error is double dipping too soon, which creates uneven layers.
- Allow excess chocolate to drip off, then place on a parchment lined baking sheet: The sound of chocolate landing on parchment is soft and reassuring, and visually you want a smooth, even shell without puddles. Give each pop a gentle shake over the bowl to remove excess, then set it down spaced apart so edges do not stick together. If you leave them too close, they might fuse when setting. Temperature and spacing are the usual culprits when coatings end up misshapen.
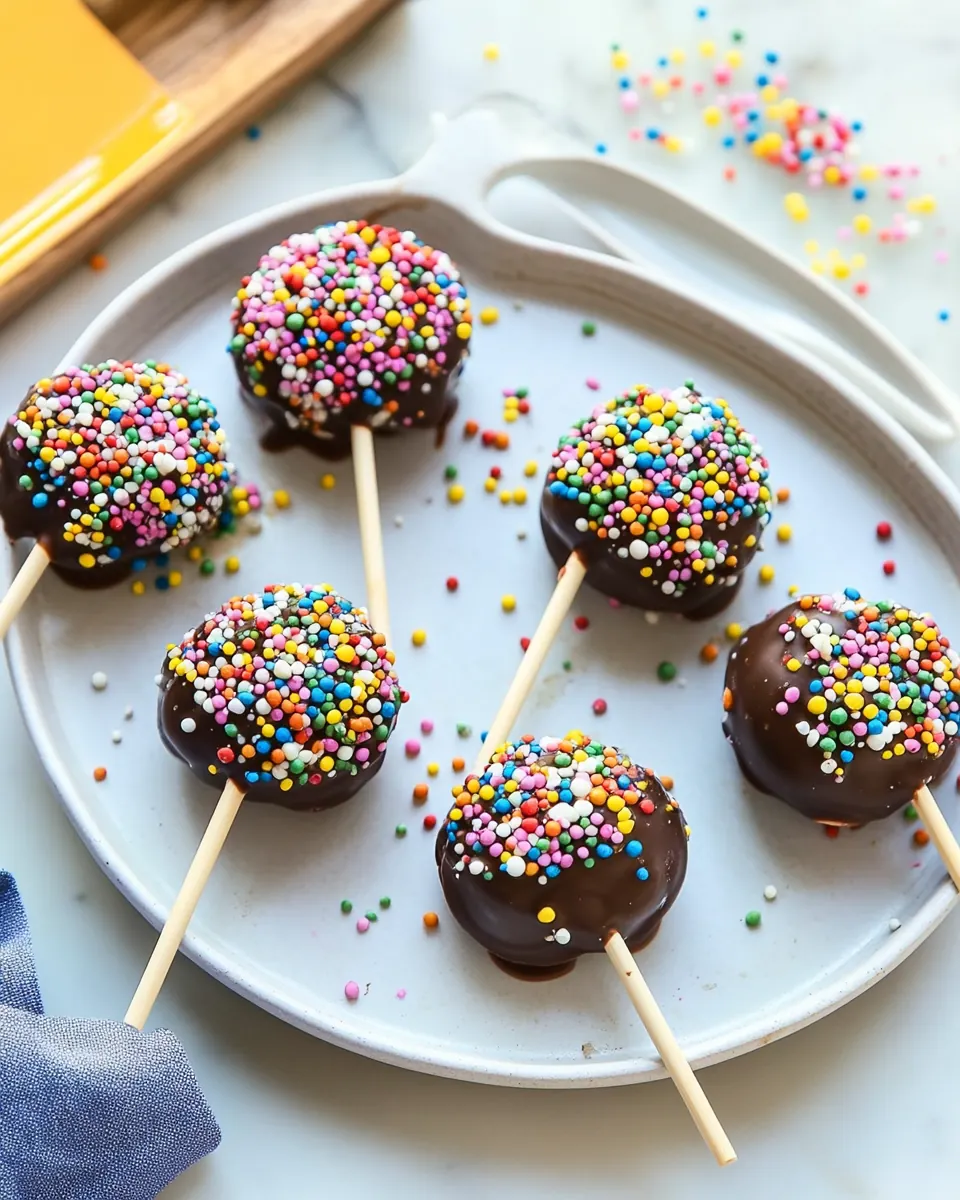
- Top with any desired toppings like sprinkles, nuts, etc and freeze or refrigerate until solid: When you add toppings, press lightly so they adhere. The immediate contrast of crunchy nuts or chewy caramel against the cooling chocolate is delightful, and you can see colors pop visually right away. Transfer the sheet to the fridge for a faster, glossy set, or to the freezer if you need them firm quickly. Avoid waiting too long to top them, because once the chocolate begins to set, toppings will not stick well and may fall off during storage.
Recipe Tips about Chocolate Covered Apple Lollipops
These tips will help you get glossy, firm coatings and picture perfect pops. Read them before you start so you can set up a smooth assembly line and avoid common pitfalls.
- Select firm fruit: Choosing crisp apples ensures each pop holds the stick and stays fresh longer, with a satisfying snap when bitten.
- Measure the oil: If using coconut oil, stick to the suggested amount to keep the chocolate glossy without thinning the coating too much.
- Temperature matters: Let melted chocolate cool slightly before dipping, as overly hot coating can slide off or cause toppings to sink.
- Quick topping trick: Have toppings ready in shallow bowls and press them gently onto the coating to help them stick before setting.
- Storage method: Store finished pops in a single layer in the fridge or freezer, separated by parchment, to maintain appearance and texture.
Perfect Matches for Chocolate Covered Apple Lollipops
These serving ideas will make your pop presentation shine, whether you are hosting a casual gathering or preparing treats for a seasonal table. The list below covers pairings and practical storage notes.
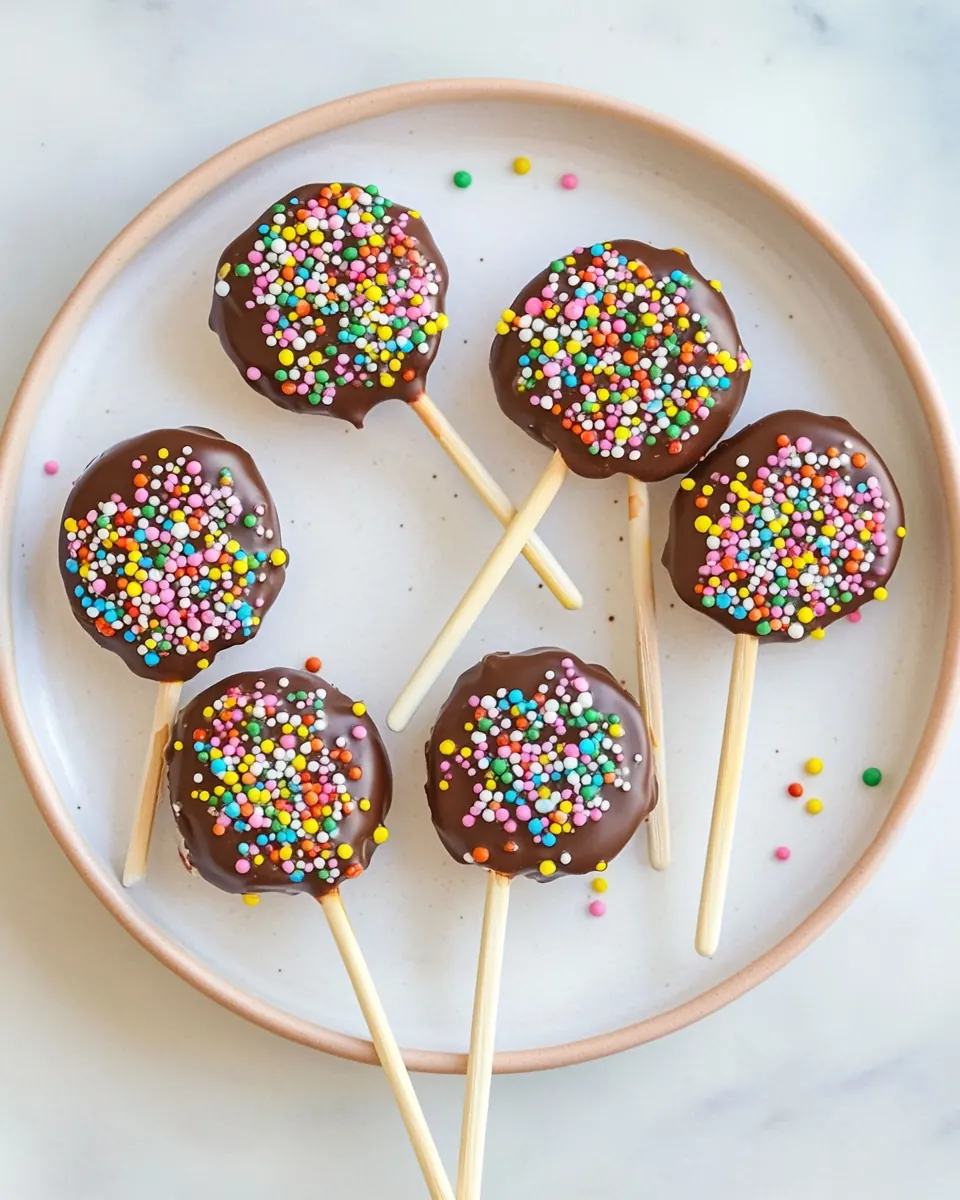
- Platter presentation: Arrange a variety of toppings and display Chocolate Covered Apple Lollipops on a large board with parchment to create a DIY station for guests.
- Occasions: Great for school parties, fall festivals, and casual dessert tables where handheld treats are preferred.
- Pairing ideas: Offer small bowls of extra toppings like chopped nuts, caramel sauce, or extra chocolate for dipping to complement the pops.
- Storage tips: Keep them chilled in an airtight container, layered with parchment, for up to three days in the fridge or longer in the freezer.
- Seasonal serving: For fall gatherings, mix in autumnal toppings and present on a wooden board with small seasonal decorations for a cozy feel.
- Transporting: For potlucks, pack them flat in a shallow box with parchment dividers to prevent smudging and preserve toppings.
FAQ
Conclusion
What makes these Chocolate Covered Apple Lollipops special is their playful contrast of crisp fruit and smooth chocolate, combined with endless topping possibilities for texture and flavor. Give them a try the next time you want an easy, shareable treat that feels festive without fuss. They are approachable for cooks of any level, and making a batch is a great way to bring people together around a simple, joyful kitchen task.
Chocolate Covered Apple Lollipops
Equipment
- Microwave-safe Bowl
- Parchment Paper
- Baking Sheet
- Popsicle sticks
Ingredients
- 2 apples Provide firm, crisp fruit on a stick that forms the base of each lollipop; choose apples that are slightly tart for flavor contrast and slice or halve them to create stable dipping surfaces. Wash and dry thoroughly so coatings adhere well, and remove cores or seeds as needed for safety and presentation.
- 1 cup semi sweet chocolate chips or chunks Melt into a smooth, glossy coating that hardens slightly around the apple for a rich chocolate layer; semi-sweet chips or chunks deliver balanced sweetness and chocolate intensity. Stir gently while melting to avoid seizing and use enough to fully cover each apple piece for an even finish.
- 1 tablespoon coconut oil optional Help thin and smooth melted chocolate when added sparingly, producing a shinier, more pourable coating; coconut oil is optional but useful for achieving a glossy set and easier dipping. Keep usage minimal to maintain chocolate flavor, and add just before dipping to maintain good consistency.
- topping ideas: caramel, chopped nuts or seeds, sprinkles, cookie crumbles, mini chocolate chips or candies, chopped dried fruit, flaky sea salt Provide texture, flavor contrast, and visual appeal when sprinkled onto wet chocolate; options like caramel, chopped nuts, sprinkles, or flaky sea salt allow customization for sweetness, crunch, or saltiness. Prepare toppings in small bowls for easy decoration immediately after dipping so they adhere before the coating sets.
- popsicle sticks Anchor the apple pieces and create handheld lollipops that make dipping and eating simple; choose sturdy popsicle sticks that are long enough to insert securely without splitting the apple. Insert sticks firmly into the fruit before dipping and chill briefly after coating to set the chocolate around the stick.
Instructions
- Thoroughly wash and dry the apples. With the apples standing upright, cut into 1/2" slices.: When you begin, expect a crisp, fresh aroma from the apples , and run your fingers over them to ensure there are no waxy residues. Drying is crucial because surface moisture prevents the chocolate from adhering, and droplets can cause the coating to seize. Use a clean towel to pat each apple dry, and inspect for blemishes you might want to trim. A common mistake is hurrying this step, which leads to patchy coating and shorter-lasting pops.
- Carefully stick popsicle sticks into one side of the apple slice. The apples can split in half, so do this delicately.: You will hear a satisfying snap as you slice through firm apples , and the exposed flesh should look dense and juicy. Using a steady, even motion creates uniform thickness so each pop chills and sets at the same rate. If slices are uneven, some may bend or split when the stick is inserted, so aim for consistency. Avoid sawing quickly as that can bruise the flesh and make the presentation sloppy.
- Microwave chocolate chips and coconut oil in microwave safe bowl in 30 second intervals until smooth.: As you insert the popsicle sticks , you may feel resistance and a little give from the core area. Push gently until the stick feels secure without forcing it through the slice, because applying too much pressure can split the apple or create hairline cracks. Rotating the slice slightly while inserting can help seat the stick. The danger here is overenthusiastic pushing, which leads to broken, unusable pops.
- Dip each apple slice in chocolate, using a spoon to coat the entire slice. Allow excess chocolate to drip off, then place on a parchment lined baking sheet.: If a slice starts to split, set it aside and use it as a tasting piece instead, because once split it will not hold toppings well. The sound of a split slice is subtle, but you will notice a change in texture when handling it. Being patient and using steady hands prevents this; cold apples slice more cleanly. Avoid pushing sticks into slices that are already softened from sitting out.
- Top with any desired toppings like sprinkles, nuts, etc and freeze or refrigerate until solid.: The chocolate will first look glossy then thicken as it cools, and the smell becomes deeply cocoa rich. Stir between each 30 second burst to distribute heat and prevent hotspots. If you add coconut oil , it will melt into the chocolate , giving a silkier texture and sheen. The main risk is overheating, which causes the chocolate to seize into grainy clumps; if that happens, a teaspoon of warm oil and patient stirring can sometimes rescue it.
- Dip each apple slice in chocolate, using a spoon to coat the entire slice: As you dip, watch the way the chocolate flows and listen for a faint drip as excess runs off. Tilt the bowl and use a spoon to push the coating around so you get full coverage without making the pop heavy. The temperature matters here, if the chocolate is too warm it will run thin and swallow toppings, if too cool it will clump. A frequent error is double dipping too soon, which creates uneven layers.
- Allow excess chocolate to drip off, then place on a parchment lined baking sheet: The sound of chocolate landing on parchment is soft and reassuring, and visually you want a smooth, even shell without puddles. Give each pop a gentle shake over the bowl to remove excess, then set it down spaced apart so edges do not stick together. If you leave them too close, they might fuse when setting. Temperature and spacing are the usual culprits when coatings end up misshapen.
- Top with any desired toppings like sprinkles, nuts, etc and freeze or refrigerate until solid: When you add toppings, press lightly so they adhere. The immediate contrast of crunchy nuts or chewy caramel against the cooling chocolate is delightful, and you can see colors pop visually right away. Transfer the sheet to the fridge for a faster, glossy set, or to the freezer if you need them firm quickly. Avoid waiting too long to top them, because once the chocolate begins to set, toppings will not stick well and may fall off during storage.
Notes
- Select firm fruit: Choosing crisp apples ensures each pop holds the stick and stays fresh longer, with a satisfying snap when bitten.
- Measure the oil: If using coconut oil, stick to the suggested amount to keep the chocolate glossy without thinning the coating too much.
- Temperature matters: Let melted chocolate cool slightly before dipping, as overly hot coating can slide off or cause toppings to sink.
- Quick topping trick: Have toppings ready in shallow bowls and press them gently onto the coating to help them stick before setting.
- Storage method: Store finished pops in a single layer in the fridge or freezer, separated by parchment, to maintain appearance and texture.