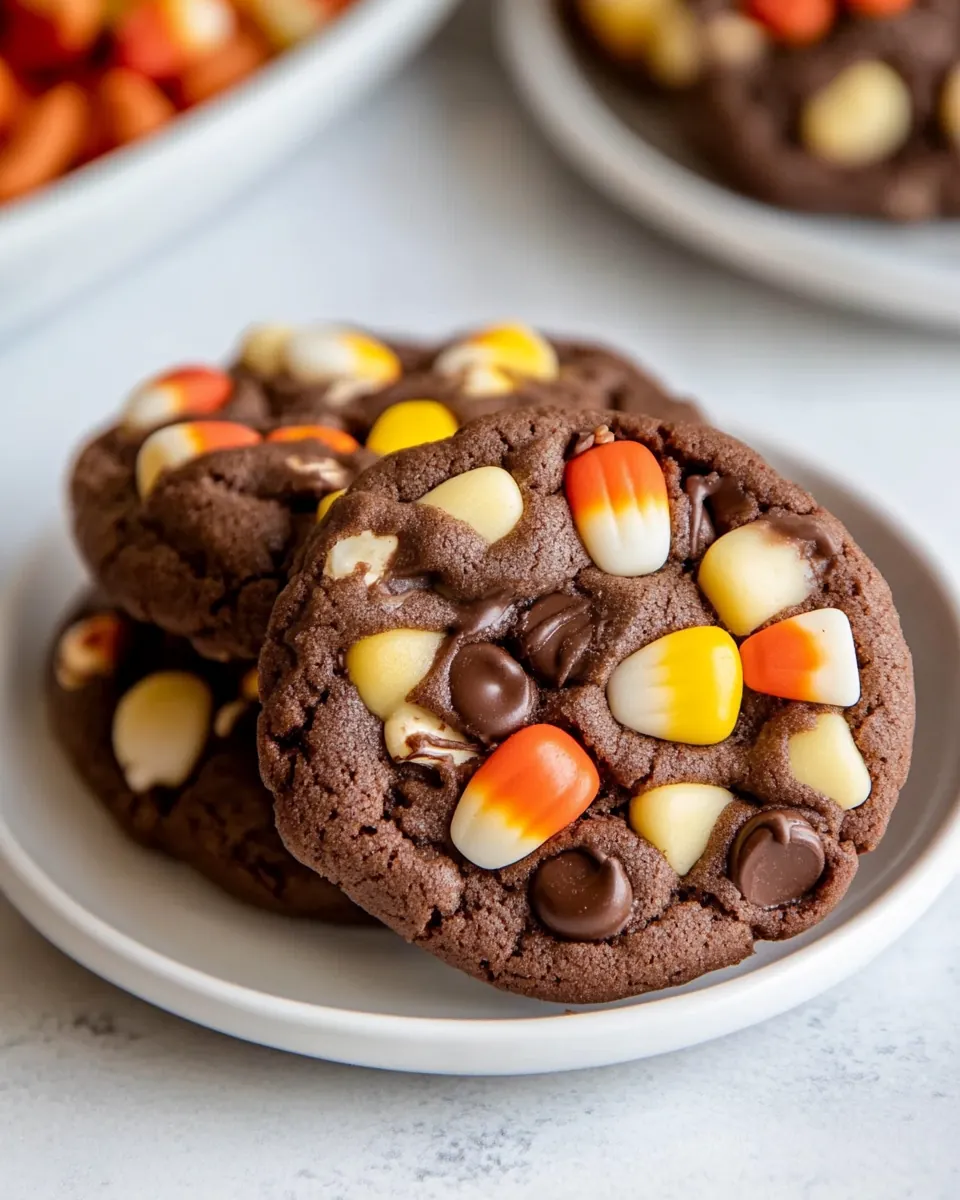
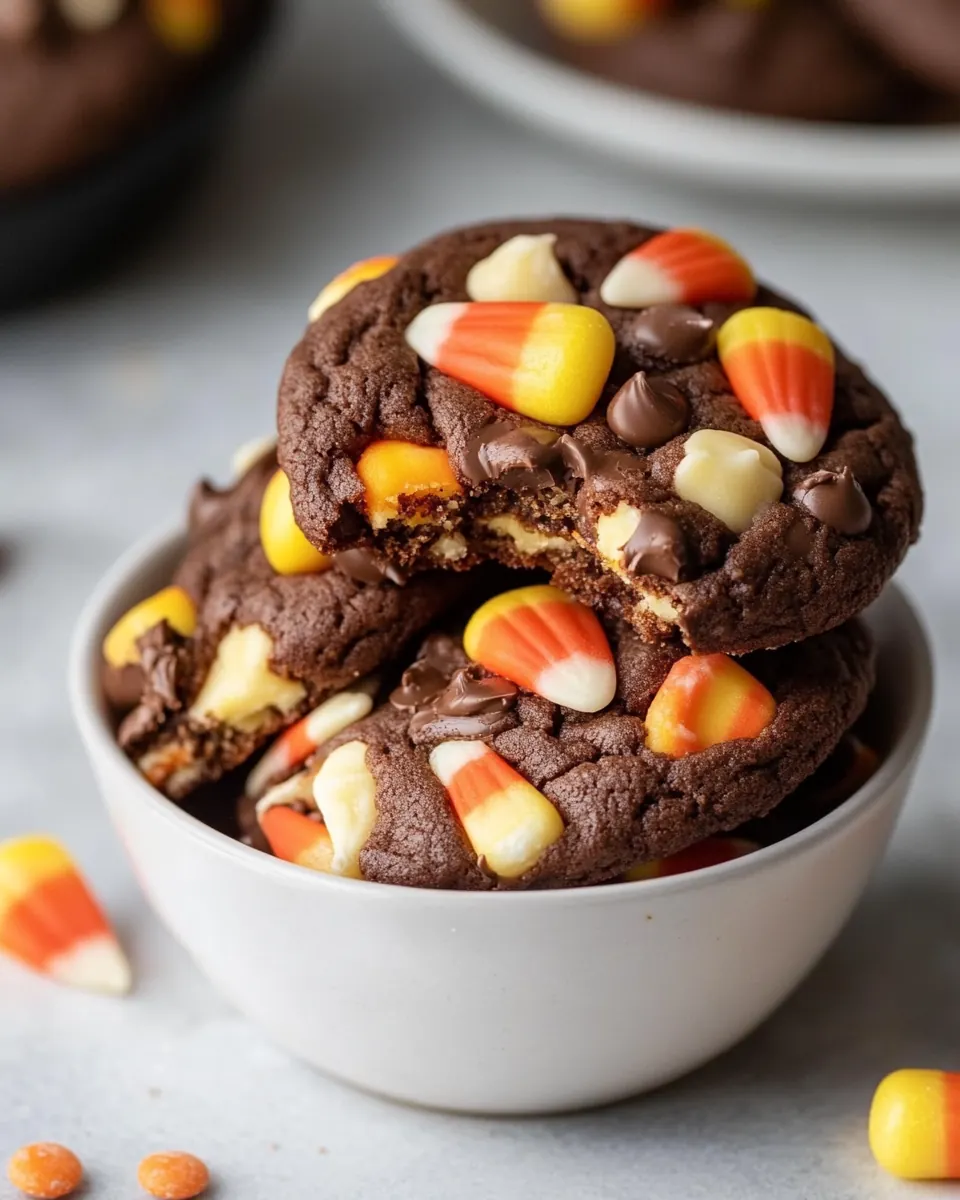
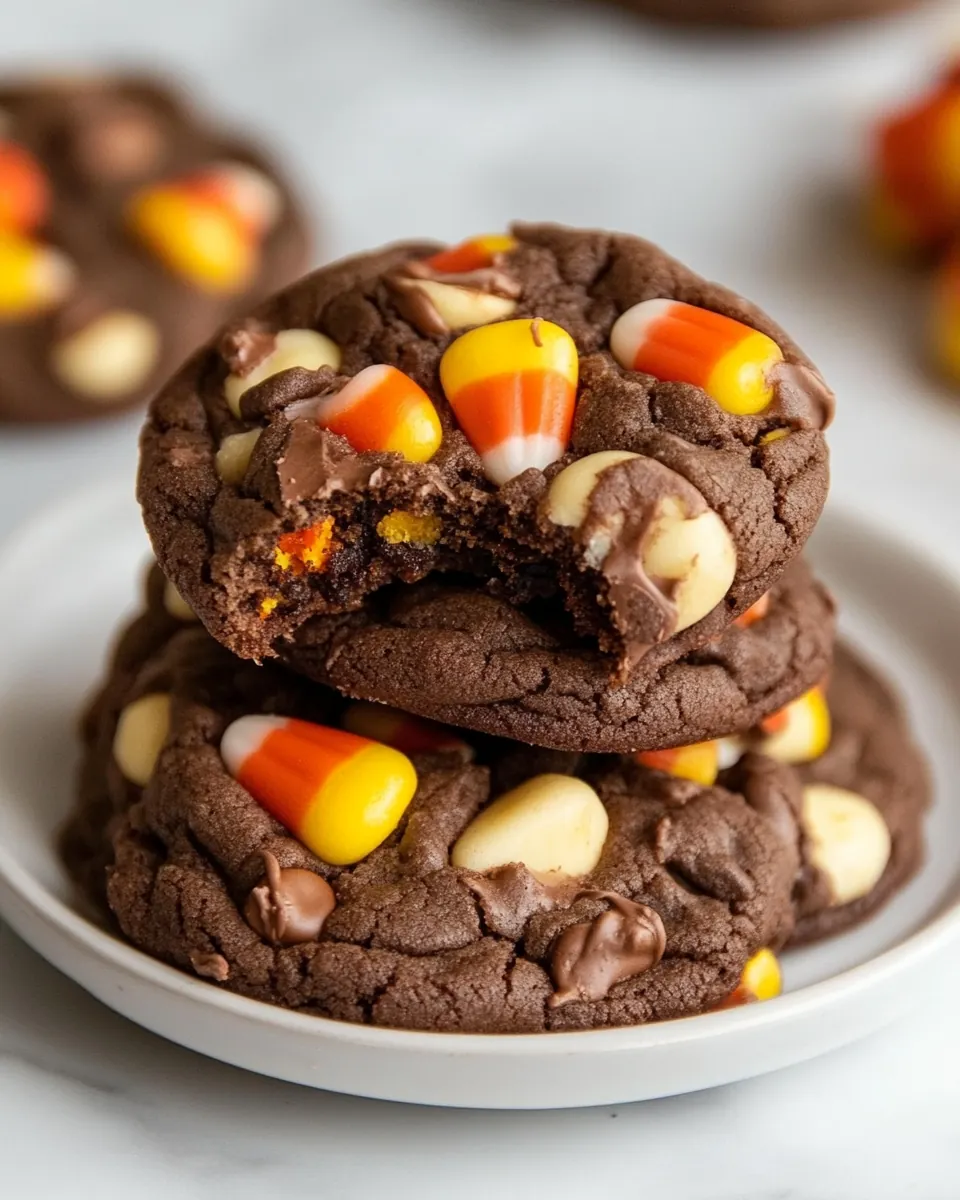
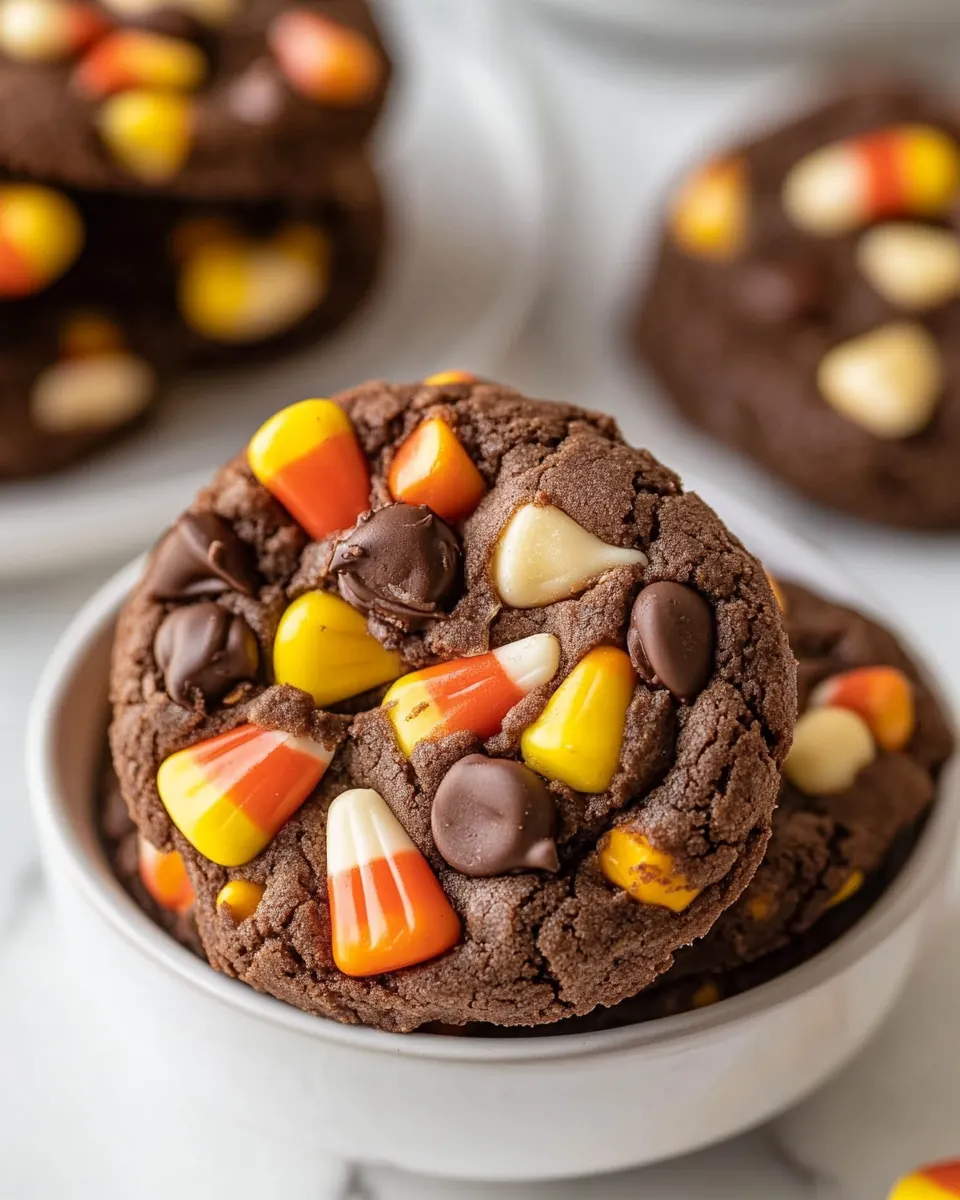
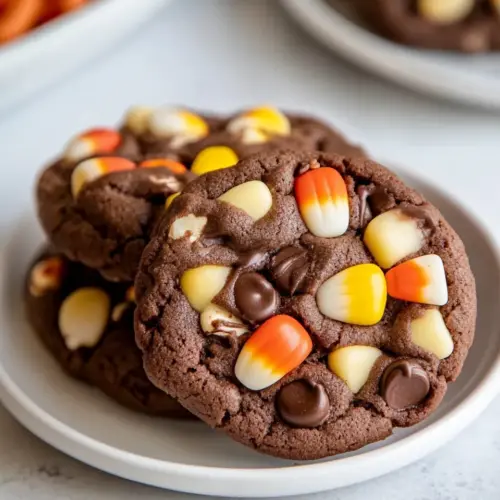
Chocolate Candy Corn Cookies
Chocolate Candy Corn Cookies are the sort of treat I make when I want to celebrate fall without fuss, and they always bring a smile to guests and kids alike.
I remember the first time I mixed unsweetened cocoa powder into a dough and then folded in a handful of candy corn, thinking it was a bit wild. The kitchen smelled like warm chocolate and sugar, and I could not help but sneak a piece of dough before it even reached the baking sheet. That playful contradiction of slightly salty, deeply chocolatey cookie dotted with chewy, sweet bursts of candy corn turned out to be an unexpected winner at a Halloween get together. Friends asked for the recipe, and I realized this oddball combo felt like a seasonal hug: nostalgic, colorful, and comforting.
Over the years I learned a few small tricks that keep these Chocolate Candy Corn Cookies from getting messy in the oven. Simple swaps like chopped peanuts for texture, careful placement of candy pieces, and resisting the urge to overbake make a huge difference. These cookies feel festive, but they also travel well, and I’ve often packed them for school parties, potlucks, and chilly afternoon walks with a thermos of tea. Each bite is soft and slightly fudgy, with candy pockets that punctuate the chocolate, and honestly, that contrast is why I keep coming back to this recipe.
Recipe Snapshot
25 mins
15 mins
10 mins
Easy
150 kcal
American
Gluten-Free, Low FODMAP
Desserts
Mixing bowls, Electric mixer with paddle attachment, Measuring cups and spoons, Parchment paper or silicone baking mats, Cookie scoop or tablespoon, Baking sheets
The Appeal of This Chocolate Candy Corn Cookies
Comfortingly Chocolatey
I love how Chocolate Candy Corn Cookies deliver rich cocoa flavor without being heavy. The unsweetened cocoa powder gives a deep, roasted backbone, while the sugars keep the texture tender. When I bite into one, I get that satisfying chocolate aroma and a soft, slightly chewy crumb, which is precisely what I aim for in a cookie.
Playful Holiday Spirit
These cookies are unabashedly seasonal, and I enjoy how the candy corn adds bright color and a whimsical touch. For Halloween gatherings, they stand out on the dessert table and start conversations. I find they create instant nostalgia, and people often remark on how fun and unexpected they are.
Textural Contrast
The combination of tender dough, melty chocolate chips, and crunchy peanuts gives a delightful mouthfeel. I always appreciate a cookie that is not one note. The little chewy pockets of candy corn punctuate each bite, and the chopped peanuts bring a pleasant contrast in crunch when included.
Beginner Friendly
Despite sounding fancy, this recipe is straightforward. The steps are classic: whisk dry ingredients, cream butter and sugars, combine, and scoop. I like recommending it to novice bakers because it teaches fundamental techniques like proper creaming and judging doneness by sheen rather than an exact minute count.
Adaptable and Portable
I often tweak the mix in playful ways, but the core idea remains the same. These cookies freeze well, which makes them perfect for prepping ahead of holiday parties. I love sending a tin along to friends, and they always appreciate a homemade seasonal treat that still tastes freshly baked.
Ingredient List for Chocolate Candy Corn Cookies
These components are intentionally simple, leaning on pantry staples that harmonize to create a soft, chocolate forward cookie with fun pops of seasonal candy. The key players are the unsweetened cocoa powder for depth, the combination of brown sugar and granulated sugar for chew and caramel notes, and the mix ins that add texture and personality.
- 1/3 cup (27 g) unsweetened cocoa powder (or Hershey's Special Dark Cocoa): Provide rich chocolate flavor and deep color while contributing dry structure; sift into the batter to prevent lumps and balance sweetness for a cocoa-forward cookie.
- 1/2 teaspoon baking soda: Leaven slightly and help the cookies spread properly by reacting with acidic components to create lift; measure precisely to avoid excessive rising or metallic taste.
- 1/4 teaspoon salt: Enhance overall flavor balance and strengthen gluten development slightly; dissolve evenly into the dough to accentuate sweetness and temper bitterness from cocoa.
- 1 1/4 cups (155 g) all-purpose flour: Form the primary structure and bulk of the cookie dough; whisk with the dry ingredients to ensure even hydration and consistent texture.
- 1/2 cup (113 g) unsalted butter, softened: Add tender richness, moisture, and flavor while aiding in spreading; soften to room temperature for proper creaming with sugars and incorporation into the batter.
- 2/3 cup (134 g) packed brown sugar: Contribute deep, molasses-like sweetness and moisture for a chewy crumb; cream thoroughly with butter to incorporate air and create a light texture.
- 1/4 cup (50 g) granulated sugar: Provide crisp sweetness and help with creaming to create aeration; dissolve into butter for proper texture and to control overall sweetness.
- 1 teaspoon vanilla: Impart aromatic sweetness and enhance other flavors; mix in with wet ingredients to distribute vanilla flavor evenly throughout the dough.
- 1 large egg: Bind ingredients together, contribute moisture and richness, and enable structure through protein coagulation; beat in until just incorporated to avoid overworking the dough.
- 3/4 cup (128 g) chocolate chips: Deliver pockets of melted chocolate for intense chocolate bites and textural contrast; fold in near the end of mixing to prevent excess melting while baking.
- 3/4 cup coarsely chopped peanuts (; add more chocolate chips if not using) (optional): Add crunchy, nutty flavor and textural contrast while providing savory balance to sweetness; toast lightly if desired and fold in gently to preserve chunkiness.
- 3/4 cup candy corn: Provide bursts of sweet, seasonal candy flavor and bright color while adding chew and visual appeal; press into dough before baking to keep pieces intact.
Directions for Chocolate Candy Corn Cookies
These directions walk you through a classic cookie workflow, from preparing the oven to storing leftovers. Read each step slowly, and trust sensory cues like sheen and aroma to know when to stop baking.
- Preheat oven to 350°F. Line cookie sheets with parchment paper or silicone baking mats.: As the oven warms, you should notice a faint, dry warmth spreading through the kitchen, which helps the cookies bake evenly. This step ensures immediate, even heat so cookies set properly and do not spread too thin. Using parchment or silicone prevents melted candy corn from sticking to pans, which can be messy. A common mistake is not letting the oven fully reach temperature, which can cause uneven baking and poor texture.
- In a medium bowl, whisk together cocoa powder, baking soda, salt, and flour. Set aside.: When you whisk these dry elements, you break up clumps and evenly distribute the rising agent, which promotes uniform rise and texture. The aroma will be distinctively chocolatey and slightly earthy from the unsweetened cocoa powder . If cocoa is clumpy, sift it first to avoid dense pockets in the dough. Overmixing after adding wet ingredients can create a tougher cookie, so keep the dry mixing gentle.
- In the bowl of an electric mixer fitted with the paddle attachment, cream butter and both sugars. Mix in egg and vanilla and mix until smooth. Add dry ingredients and mix until combined. Mix in chocolate chips, nuts, and candy corn.: Creaming till light and slightly fluffy incorporates air so the cookies are tender yet structurally sound. The sugars will feel grainy at first and then dissolve into the butter as it becomes pale. After adding the large egg and vanilla , the batter will look glossy. When you fold in the dry mix, stop as soon as no streaks remain to avoid gluten development. The final stage packing in chocolate chips , peanuts , and candy corn is tactile and satisfying, and you should see the mix ins distributed but not crushed. Avoid overworking or using a high speed when adding mix ins, as they can break up or melt prematurely.
- Scoop 2 tablespoon sized balls of dough onto the cookie sheets, 3 inches apart. NOTE: your candy corn MUST be enclosed in the cookies and not peeking out on the bottoms. If candy corn is showing where they hit the cookie sheet they’ll melt out. Just manipulate each dough ball so that none are showing. If the dough is too wet to do this immediately, you can chill it for 30 minutes (or just get your hands dirty!). If you want to top the cookies with more candy corn to show what’s inside, do this before baking.: You'll feel the dough's texture as you portion it; it should be pliable, slightly sticky, and hold its shape. Spacing ensures that the cookies have room to expand into soft, round disks. At this point, manipulate each ball so no candy corn pieces are exposed on the bottom, because exposed pieces can melt and stick to the sheet. If the dough is too wet to shape, chilling for 30 minutes firms it up and makes scooping neater. A frequent misstep is crowding the sheet which leads to merged cookies and uneven baking.
- Bake for 9-12 minutes until they just lose their glossy sheen. Err on the side of underdone for these cookies; they taste better that way. Cool at least 5 minutes on cookie sheets before removing.: Watch the edges carefully, and smell for a warm, baked chocolate scent that signals near doneness. The centers will look soft and may still jiggle a bit, and that is perfect because the cookies continue to set as they cool. Err on the side of underbaking for a tender chew. Overbaking causes dryness and a crumbly texture, so pull them when the gloss dulls.
- Store in an airtight container for up to 3 days or freeze for up to one month.: As the cookies rest on the warm sheet, they firm up and reach ideal texture. You should feel the base release from the parchment or mat with gentle nudging. This brief cooling prevents breakage when transferring to a rack. A mistake here is removing them too soon, which can cause cookies to fall apart, especially with melted candy corn pockets.
- Store in an airtight container for up to 3 days or freeze for up to one month.: Proper storage preserves chew and freshness. In an airtight container at room temperature, cookies keep their texture; freezing helps you batch bake ahead. If freezing, separate layers with parchment to avoid sticking. Leaving them exposed to air will dry them, so airtight storage is essential.
Tips for Success
These tips reflect small changes that make a big difference for texture, appearance, and ease. Read through and pick a few that suit your kitchen rhythm and available tools.
- Measure ingredients accurately. Use a kitchen scale for the flour and cocoa if you can, because small differences in these dry ingredients change the dough hydration and final texture.
- Keep butter at the right temperature. Softened but not greasy butter creams better with sugars, producing the ideal tender structure. If it becomes oily, chill briefly and then continue.
- Tuck candy corn inside. Ensure no pieces touch the baking surface to prevent melting out and sticking. If you want visible candy on top, press a couple pieces gently on top right before baking.
- Do not overmix after adding flour. Mix until blended to avoid developing gluten, which makes cookies tough rather than tender.
- Use parchment or silicone liners. They protect the pan and make cleanup easier if any candy corn melts, preventing caramelized residue.
- Store properly. Keep cookies in an airtight container at room temperature for up to three days, or freeze layers separated by parchment for up to one month.
What to Pair With Chocolate Candy Corn Cookies
These cookies pair well with both warm and cold beverages, and they work across casual gatherings and festive moments. Think simple accompaniments that echo the cookie’s playful sweetness without competing with it.
- Hot beverages. Pair with a cup of black coffee or hot chocolate for a rich companion, especially on a chilly afternoon.
- Cold drinks. A glass of cold milk balances the sugar and brings out the chocolate tones, which is ideal for kids and grown ups alike.
- Party platters. Arrange these cookies alongside plain sugar cookies and spiced shortbread for a festive dessert spread at Halloween parties.
- Storage tips. Keep in an airtight container for up to three days, or freeze for up to one month. Thaw at room temperature before serving to restore texture.
- Seasonal serving styles. Serve in a rustic tin or on parchment lined platters with a few extra candy corn scattered for visual flair at fall gatherings.
FAQ
Conclusion
What makes these Chocolate Candy Corn Cookies special is the playful combination of deep chocolate and seasonal candy, offering both nostalgia and satisfying texture. I encourage you to give them a try this fall, tuck the candy pieces inside the dough, and watch them become a conversation starter at your next get together. They are easy to make, forgiving to bake, and perfect for sharing with friends or packing for parties. Enjoy the cozy flavors and the smiles they bring.
Chocolate Candy Corn Cookies
Equipment
- Mixing Bowls
- Electric mixer with paddle attachment
- Measuring Cups and Spoons
- Parchment paper or silicone baking mats
- Cookie scoop or tablespoon
- Baking Sheets
Ingredients
- 1/3 cup (27 g) unsweetened cocoa powder (or Hershey's Special Dark Cocoa) Provide rich chocolate flavor and deep color while contributing dry structure; sift into the batter to prevent lumps and balance sweetness for a cocoa-forward cookie.
- 1/2 teaspoon baking soda Leaven slightly and help the cookies spread properly by reacting with acidic components to create lift; measure precisely to avoid excessive rising or metallic taste.
- 1/4 teaspoon salt Enhance overall flavor balance and strengthen gluten development slightly; dissolve evenly into the dough to accentuate sweetness and temper bitterness from cocoa.
- 1 1/4 cups (155 g) all-purpose flour Form the primary structure and bulk of the cookie dough; whisk with the dry ingredients to ensure even hydration and consistent texture.
- 1/2 cup (113 g) unsalted butter, softened Add tender richness, moisture, and flavor while aiding in spreading; soften to room temperature for proper creaming with sugars and incorporation into the batter.
- 2/3 cup (134 g) packed brown sugar Contribute deep, molasses-like sweetness and moisture for a chewy crumb; cream thoroughly with butter to incorporate air and create a light texture.
- 1/4 cup (50 g) granulated sugar Provide crisp sweetness and help with creaming to create aeration; dissolve into butter for proper texture and to control overall sweetness.
- 1 teaspoon vanilla Impart aromatic sweetness and enhance other flavors; mix in with wet ingredients to distribute vanilla flavor evenly throughout the dough.
- 1 large egg Bind ingredients together, contribute moisture and richness, and enable structure through protein coagulation; beat in until just incorporated to avoid overworking the dough.
- 3/4 cup (128 g) chocolate chips Deliver pockets of melted chocolate for intense chocolate bites and textural contrast; fold in near the end of mixing to prevent excess melting while baking.
- 3/4 cup coarsely chopped peanuts (optional; add more chocolate chips if not using) Add crunchy, nutty flavor and textural contrast while providing savory balance to sweetness; toast lightly if desired and fold in gently to preserve chunkiness.
- 3/4 cup candy corn Provide bursts of sweet, seasonal candy flavor and bright color while adding chew and visual appeal; press into dough before baking to keep pieces intact.
Instructions
- Preheat oven to 350°F. Line cookie sheets with parchment paper or silicone baking mats.: As the oven warms, you should notice a faint, dry warmth spreading through the kitchen, which helps the cookies bake evenly. This step ensures immediate, even heat so cookies set properly and do not spread too thin. Using parchment or silicone prevents melted candy corn from sticking to pans, which can be messy. A common mistake is not letting the oven fully reach temperature, which can cause uneven baking and poor texture.
- In a medium bowl, whisk together cocoa powder, baking soda, salt, and flour. Set aside.: When you whisk these dry elements, you break up clumps and evenly distribute the rising agent, which promotes uniform rise and texture. The aroma will be distinctively chocolatey and slightly earthy from the unsweetened cocoa powder . If cocoa is clumpy, sift it first to avoid dense pockets in the dough. Overmixing after adding wet ingredients can create a tougher cookie, so keep the dry mixing gentle.
- In the bowl of an electric mixer fitted with the paddle attachment, cream butter and both sugars. Mix in egg and vanilla and mix until smooth. Add dry ingredients and mix until combined. Mix in chocolate chips, nuts, and candy corn.: Creaming till light and slightly fluffy incorporates air so the cookies are tender yet structurally sound. The sugars will feel grainy at first and then dissolve into the butter as it becomes pale. After adding the large egg and vanilla , the batter will look glossy. When you fold in the dry mix, stop as soon as no streaks remain to avoid gluten development. The final stage packing in chocolate chips , peanuts , and candy corn is tactile and satisfying, and you should see the mix ins distributed but not crushed. Avoid overworking or using a high speed when adding mix ins, as they can break up or melt prematurely.
- Scoop 2 tablespoon sized balls of dough onto the cookie sheets, 3 inches apart. NOTE: your candy corn MUST be enclosed in the cookies and not peeking out on the bottoms. If candy corn is showing where they hit the cookie sheet they’ll melt out. Just manipulate each dough ball so that none are showing. If the dough is too wet to do this immediately, you can chill it for 30 minutes (or just get your hands dirty!). If you want to top the cookies with more candy corn to show what’s inside, do this before baking.: You'll feel the dough's texture as you portion it; it should be pliable, slightly sticky, and hold its shape. Spacing ensures that the cookies have room to expand into soft, round disks. At this point, manipulate each ball so no candy corn pieces are exposed on the bottom, because exposed pieces can melt and stick to the sheet. If the dough is too wet to shape, chilling for 30 minutes firms it up and makes scooping neater. A frequent misstep is crowding the sheet which leads to merged cookies and uneven baking.
- Bake for 9-12 minutes until they just lose their glossy sheen. Err on the side of underdone for these cookies; they taste better that way. Cool at least 5 minutes on cookie sheets before removing.: Watch the edges carefully, and smell for a warm, baked chocolate scent that signals near doneness. The centers will look soft and may still jiggle a bit, and that is perfect because the cookies continue to set as they cool. Err on the side of underbaking for a tender chew. Overbaking causes dryness and a crumbly texture, so pull them when the gloss dulls.
- Store in an airtight container for up to 3 days or freeze for up to one month.: As the cookies rest on the warm sheet, they firm up and reach ideal texture. You should feel the base release from the parchment or mat with gentle nudging. This brief cooling prevents breakage when transferring to a rack. A mistake here is removing them too soon, which can cause cookies to fall apart, especially with melted candy corn pockets.
- Store in an airtight container for up to 3 days or freeze for up to one month.: Proper storage preserves chew and freshness. In an airtight container at room temperature, cookies keep their texture; freezing helps you batch bake ahead. If freezing, separate layers with parchment to avoid sticking. Leaving them exposed to air will dry them, so airtight storage is essential.
Notes
- Measure ingredients accurately. Use a kitchen scale for the flour and cocoa if you can, because small differences in these dry ingredients change the dough hydration and final texture.
- Keep butter at the right temperature. Softened but not greasy butter creams better with sugars, producing the ideal tender structure. If it becomes oily, chill briefly and then continue.
- Tuck candy corn inside. Ensure no pieces touch the baking surface to prevent melting out and sticking. If you want visible candy on top, press a couple pieces gently on top right before baking.
- Do not overmix after adding flour. Mix until blended to avoid developing gluten, which makes cookies tough rather than tender.
- Use parchment or silicone liners. They protect the pan and make cleanup easier if any candy corn melts, preventing caramelized residue.
- Store properly. Keep cookies in an airtight container at room temperature for up to three days, or freeze layers separated by parchment for up to one month.