Candy Corn Magic Bars
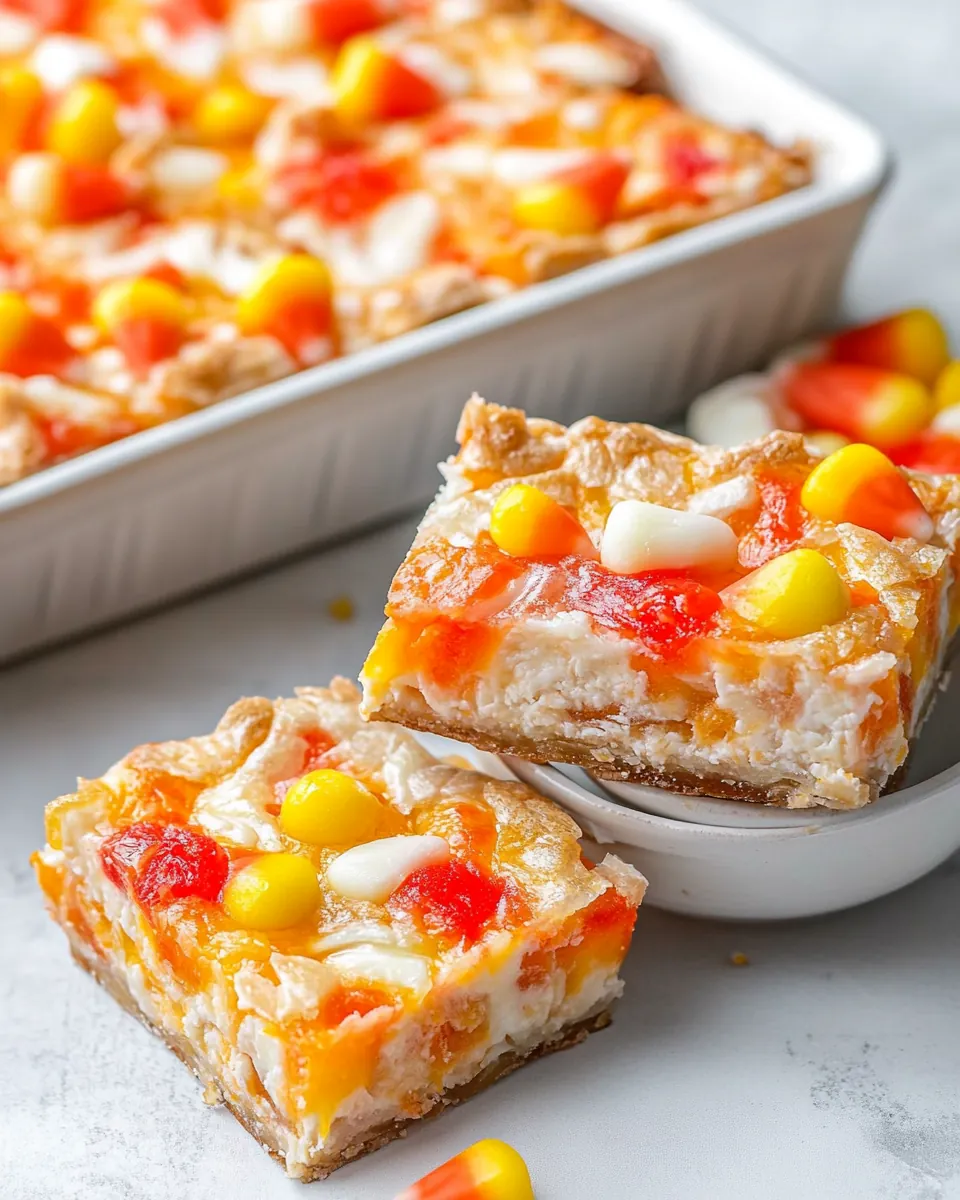
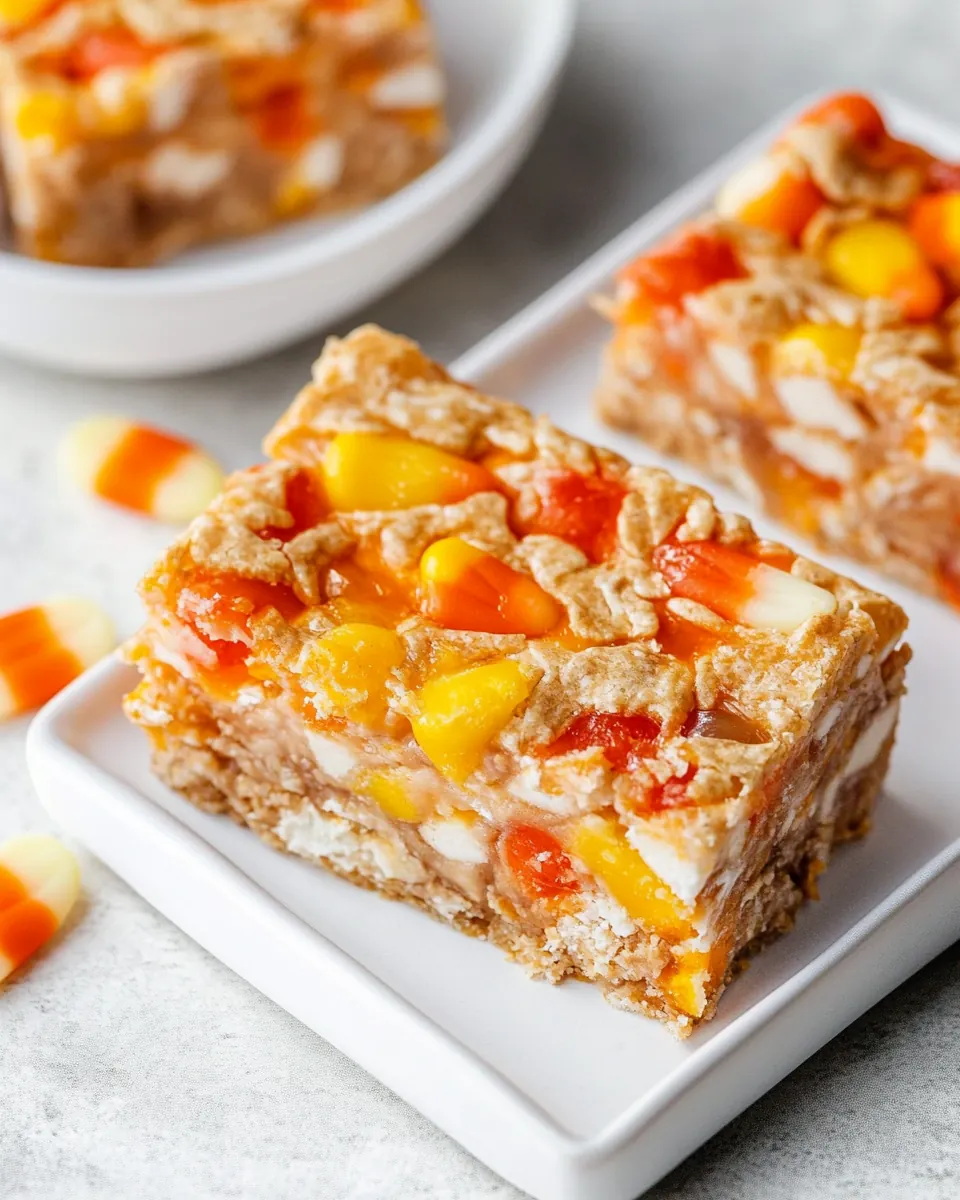
Candy Corn Magic Bars began as a Halloween house party experiment that turned into a baking tradition in my kitchen. The first time I made them, the kitchen filled with the warm scent of melted butter and sweet coconut, while the bright candy corn looked like tiny edible confetti scattered across the surface. I remember thinking these bars were playful and nostalgic, the sort of treat that makes guests smile before they even take a bite.
I can still see the foil lined pan on the counter, the sound of graham cracker crumbs being pressed into a solid base, and the satisfying pour of sweetened condensed milk that glazes everything into a shiny, sticky promise of gooey goodness. Each time I bake Candy Corn Magic Bars I tweak small details, and those tiny adjustments add up to reliably excellent results. Friends often ask for the recipe because it’s simple to pull together yet impressive on a dessert table.
What I love most is how adaptable the recipe feels, even though it centers on a handful of bold players like white chocolate chips and peanut butter chips. The combination of crunchy crumb base, chewy coconut, and pockets of melted chocolate creates a texture contrast I find irresistible. If you want something festive for a party or a creative treat for kids, these bars check every box.
Recipe Snapshot
45 mins
20 mins
25 mins
Medium
200 kcal
American
Gluten-Free, Low FODMAP
Desserts
9×13 pan, Foil, Measuring cup, Food processor
The Magic of This Candy Corn Magic Bars
Bold seasonal appeal
I adore how Candy Corn Magic Bars lean into autumn colors and flavors without being fussy. The bright candy corn is an instant visual cue for fall festivities, and the warm, sweet notes from the sweetened condensed milk bring cozy comfort. I often bring a pan to Halloween gatherings because it feels thematic and fun.
Simple but impressive
These bars are deceptively easy to assemble, yet people assume they took hours to make. With a crumb base of graham cracker crumbs and a handful of mix ins like white chocolate chips and peanut butter chips, the results are rich and bakery worthy. I like recipes that give maximum impact with minimal fuss, and this one nails that balance.
Textural contrast that works
The interplay of crunchy base, chewy coconut, and melty chocolate creates a satisfying mouthfeel. When the top edges caramelize and turn golden, you get slightly crisp edges and a gooey center. That contrast is why I keep making them for crowds.
Customizable and crowd friendly
While the recipe is delightful as written, it tolerates small additions if you feel adventurous. I sometimes toss in chopped nuts, which adds a toasty crunch. Every time I change one element, the base technique holds, which is why I trust it for potlucks.
Memorable for kids and adults
There is a nostalgia factor here that resonates with both kids and grown ups. The candy gives a playful twist while the white chocolate chips and condensed milk keep things indulgent enough for adults. I love watching both age groups reach for a second piece.
Main Ingredients for Candy Corn Magic Bars
These ingredients form a simple, harmonious lineup that leans sweet and textural. The base is a buttery crust from graham cracker crumbs and unsalted butter, while the toppings layer in sweetness, nuttiness, and chew. The sweetened condensed milk is the glue that melds everything, producing that signature gooey, slightly caramel-like finish.
- 1 1/2 cups graham cracker crumbs: Crush into fine crumbs to form the base layer that binds when combined with melted butter; provides a crisp, slightly sweet foundation for the bars. Adds texture contrast to the chewy and gooey toppings and helps distribute flavors evenly across the pan.
- 1/2 cup unsalted butter, melted: Melt and pour to moisten graham cracker crumbs, creating a compact, sliceable crust; contributes a rich, buttery mouthfeel. Helps hold the bar layers together and enhances overall richness and flavor balance.
- 1 1/2 cups white chocolate chips: Melt gently to create a smooth, creamy layer that adds sweet, vanilla-rich flavor and silky texture; pairs well with the coconut and candy pieces. Can be used whole or slightly stirred to form pockets of white chocolate throughout the bars.
- 1 cup peanut butter chips: Scatter to introduce pockets of nutty, sweet peanut butter flavor and slightly firmer texture; adds contrast to the white chocolate and coconut. Melts partially during baking to create small, flavorful bites within the bars.
- 1 cup coconut: Sprinkle to contribute chewy, fibrous texture and a mild, tropical sweetness that offsets the other sugary components. Toasting lightly before assembly can deepen flavor and add a pleasant nutty note.
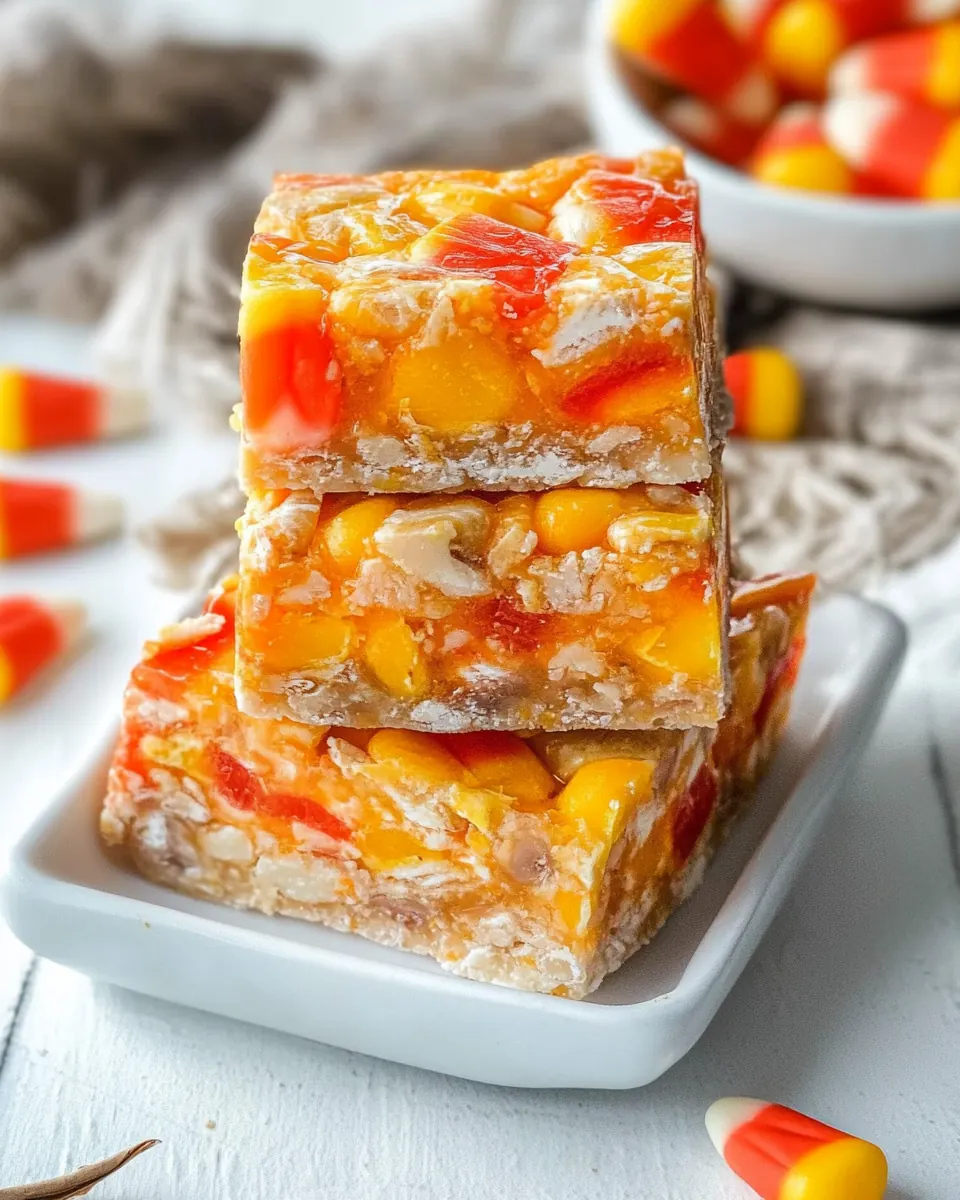
- 1 1/2 cups candy corn: Press in for bursts of chewy, candy-sweet bites and vibrant seasonal color; provides sugary pop and familiar candy corn flavor. Distributes candy texture throughout the bars while offering visual appeal and festive character.
- 1 (14 ounce) can sweetened condensed milk: Pour over assembled layers to act as a binding, sweet, creamy syrup that caramelizes slightly during baking; delivers intense sweetness and helps set the bars when cooled. Creates a glossy finish and melds the various components into cohesive, sliceable bars.
Making Candy Corn Magic Bars
These bars come together quickly, and the baking moment is where everything transforms. The method is straightforward, but paying attention to visual and olfactory cues makes a big difference. Below I expand the directions with sensory cues, the reasons behind each action, and common pitfalls to avoid.
- Preheat oven to 350 F. Line a 9×13” pan with foil and spray with cooking spray.: You will notice the kitchen warming as the oven comes up to temperature, and preheating ensures the baking environment is steady so edges set correctly. Using foil creates clean edges and makes it far easier to lift the entire slab from the pan when cool, while nonstick spray prevents sticking. A common mistake is underestimating how long an oven takes to reach temperature, which can lead to uneven baking, so give it the full preheat time.
- I used a box of graham cracker crumbs, but if you only have actual graham crackers, process them in a food processor until they are a fine crumb. Stir into butter. Press into the bottom of your prepared pan.: When you press the crumb and butter mixture into the pan you will feel the surface compact and the aroma of toasted crumbs and butter will be subtle and inviting. Firm, even pressure is key to prevent the base from crumbling after baking. I use the bottom of a measuring cup to pack the mixture, working from the center out to the edges. If you press too lightly the crust will fall apart, while pressing too hard can make it rock solid and leathery. Aim for firm, but not compacted to the point of being dense.
- Sprinkle white chocolate chips, peanut butter chips, coconut, and candy corn over the top. Pour sweetened condensed milk evenly over the top of the bars.: As you scatter the white chocolate chips , peanut butter chips , coconut , and candy corn , the pan will look festive and textured, a mosaic of color and shape. Pouring the sweetened condensed milk slowly helps coat the pieces and seep down into gaps, producing a glossy sheen. The sound here is mostly silent, but you'll notice the shine change as pockets of milk pool. A common error is pouring in one spot which can cause uneven binding, so move the can around to distribute it evenly.
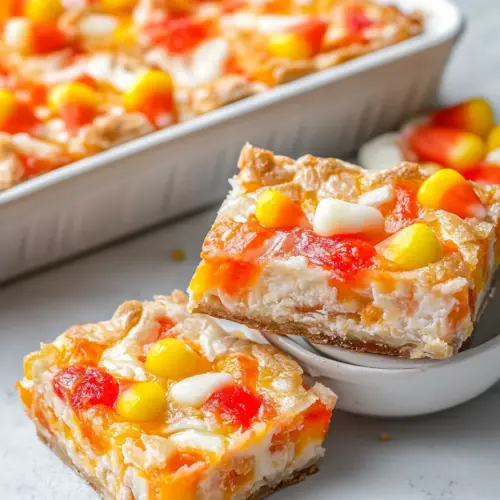
- Bake for about 25 minutes, until they get golden around the edges. Cool completely before slicing into bars.: During baking you should watch for the edges to turn golden and for the top to set with a faint bubbling at the edges where the sweetened condensed milk caramelizes. The aroma will be sweet and slightly toasted, with a hint of caramel from the milk and browned coconut. Cooling is crucial because the bars firm up as they drop to room temperature, making clean slices possible. Cutting while still warm is a frequent mistake that yields messy, gooey squares, so be patient and allow them to cool fully before slicing.
Helpful Notes about Candy Corn Magic Bars
These notes expand on little tricks I rely on to get consistent, delicious results. They focus on texture, timing, and presentation, so your pan looks and tastes its best for parties or simple weeknight treats.
- Pack the crust: Firmly press the graham cracker crumbs mixed with melted butter into the pan using the bottom of a measuring cup, which creates an even, compact base that holds when sliced.
- Even distribution: Scatter the white chocolate chips, peanut butter chips, coconut, and candy corn in separate passes across the pan so each area gets a representative mix of flavors.
- Slow pour: Pour the sweetened condensed milk in a slow, circular motion to allow it to settle into gaps rather than flooding one section, ensuring consistent binding across the bars.
- Watch for golden edges: Remove the pan when the edges turn golden and the center is set but still slightly soft, as carryover heat will finish the cooking while cooling.
- Cool fully: Allow the bars to cool to room temperature before lifting from the pan and slicing, which prevents a gooey mess and yields neat squares.
What Goes Well With This Candy Corn Magic Bars
These bars are a festive party dessert and pair well with simple beverages and seasonal presentations. They shine at Halloween parties and fall gatherings, and they store well for sharing across a few days. Serve them on a platter or cut into small squares for bite sized treats.
- Party platter presentation: Arrange squares on a large tray with parchment, spacing them slightly so guests can grab one easily during a Halloween spread.
- Kid friendly treats: Pack individual squares in cellophane for school parties or trick or treat handouts, they travel well and keep their shape once cooled.
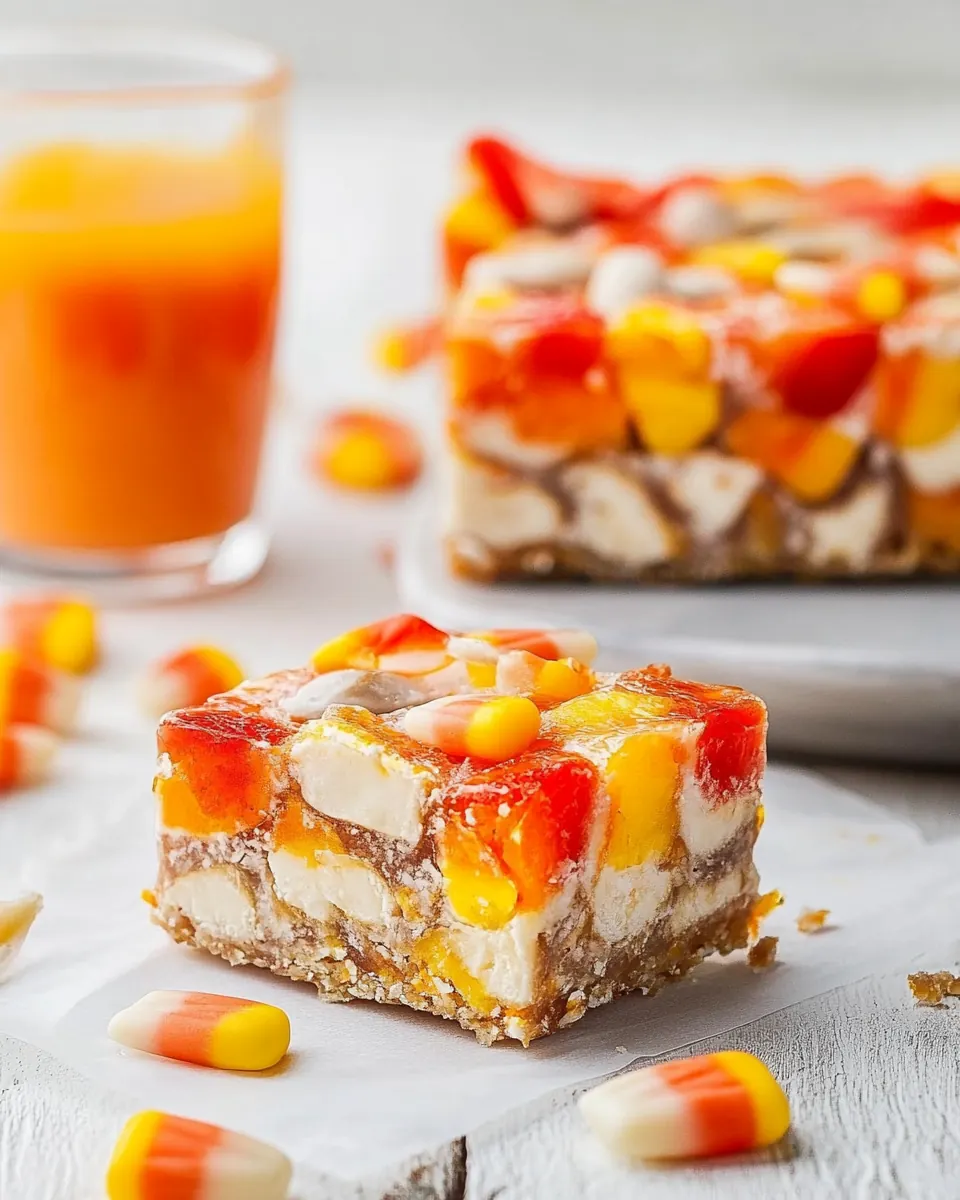
- Seasonal pairing: Serve alongside warm apple cider or a spiced non dairy latte for a fall themed dessert table that complements the sweet, buttery notes of the bars.
- Storage tips: Keep leftovers in an airtight container at room temperature for up to three days, or refrigerate for up to one week, which firms the bars for cleaner slices.
- Occasions: Ideal for Halloween gatherings, autumn potlucks, classroom parties, and bake sales where festive, colorful treats are appreciated.
- Serving sizes: Cut into 24 bars as written, or make smaller bite sized squares for sampling at parties to encourage guests to try a variety of desserts.
FAQ
Conclusion
These Candy Corn Magic Bars stand out because they combine a buttery graham cracker base with melty chips, chewy coconut, and bright candy corn for a festive, textural dessert. Give them a try at your next Halloween gathering or autumn potluck, and you will see how quickly they disappear from the platter. They are approachable to make, visually fun, and reliably crowd pleasing, which is why I return to this recipe every fall when I want a simple but showy sweet treat.
Candy Corn Magic Bars
Equipment
- 9x13 pan
- Foil
- Measuring Cup
- Food Processor
Ingredients
- 1 1/2 cups graham cracker crumbs Crush into fine crumbs to form the base layer that binds when combined with melted butter; provides a crisp, slightly sweet foundation for the bars. Adds texture contrast to the chewy and gooey toppings and helps distribute flavors evenly across the pan.
- 1/2 cup unsalted butter, melted Melt and pour to moisten graham cracker crumbs, creating a compact, sliceable crust; contributes a rich, buttery mouthfeel. Helps hold the bar layers together and enhances overall richness and flavor balance.
- 1 1/2 cups white chocolate chips Melt gently to create a smooth, creamy layer that adds sweet, vanilla-rich flavor and silky texture; pairs well with the coconut and candy pieces. Can be used whole or slightly stirred to form pockets of white chocolate throughout the bars.
- 1 cup peanut butter chips Scatter to introduce pockets of nutty, sweet peanut butter flavor and slightly firmer texture; adds contrast to the white chocolate and coconut. Melts partially during baking to create small, flavorful bites within the bars.
- 1 cup coconut Sprinkle to contribute chewy, fibrous texture and a mild, tropical sweetness that offsets the other sugary components. Toasting lightly before assembly can deepen flavor and add a pleasant nutty note.
- 1 1/2 cups candy corn Press in for bursts of chewy, candy-sweet bites and vibrant seasonal color; provides sugary pop and familiar candy corn flavor. Distributes candy texture throughout the bars while offering visual appeal and festive character.
- 1 (14 ounce) can sweetened condensed milk Pour over assembled layers to act as a binding, sweet, creamy syrup that caramelizes slightly during baking; delivers intense sweetness and helps set the bars when cooled. Creates a glossy finish and melds the various components into cohesive, sliceable bars.
Instructions
- Preheat oven to 350 F. Line a 9×13” pan with foil and spray with cooking spray.: You will notice the kitchen warming as the oven comes up to temperature, and preheating ensures the baking environment is steady so edges set correctly. Using foil creates clean edges and makes it far easier to lift the entire slab from the pan when cool, while nonstick spray prevents sticking. A common mistake is underestimating how long an oven takes to reach temperature, which can lead to uneven baking, so give it the full preheat time.
- I used a box of graham cracker crumbs, but if you only have actual graham crackers, process them in a food processor until they are a fine crumb. Stir into butter. Press into the bottom of your prepared pan.: When you press the crumb and butter mixture into the pan you will feel the surface compact and the aroma of toasted crumbs and butter will be subtle and inviting. Firm, even pressure is key to prevent the base from crumbling after baking. I use the bottom of a measuring cup to pack the mixture, working from the center out to the edges. If you press too lightly the crust will fall apart, while pressing too hard can make it rock solid and leathery. Aim for firm, but not compacted to the point of being dense.
- Sprinkle white chocolate chips, peanut butter chips, coconut, and candy corn over the top. Pour sweetened condensed milk evenly over the top of the bars.: As you scatter the white chocolate chips , peanut butter chips , coconut , and candy corn , the pan will look festive and textured, a mosaic of color and shape. Pouring the sweetened condensed milk slowly helps coat the pieces and seep down into gaps, producing a glossy sheen. The sound here is mostly silent, but you'll notice the shine change as pockets of milk pool. A common error is pouring in one spot which can cause uneven binding, so move the can around to distribute it evenly.
- Bake for about 25 minutes, until they get golden around the edges. Cool completely before slicing into bars.: During baking you should watch for the edges to turn golden and for the top to set with a faint bubbling at the edges where the sweetened condensed milk caramelizes. The aroma will be sweet and slightly toasted, with a hint of caramel from the milk and browned coconut. Cooling is crucial because the bars firm up as they drop to room temperature, making clean slices possible. Cutting while still warm is a frequent mistake that yields messy, gooey squares, so be patient and allow them to cool fully before slicing.
Notes
- Pack the crust: Firmly press the graham cracker crumbs mixed with melted butter into the pan using the bottom of a measuring cup, which creates an even, compact base that holds when sliced.
- Even distribution: Scatter the white chocolate chips, peanut butter chips, coconut, and candy corn in separate passes across the pan so each area gets a representative mix of flavors.
- Slow pour: Pour the sweetened condensed milk in a slow, circular motion to allow it to settle into gaps rather than flooding one section, ensuring consistent binding across the bars.
- Watch for golden edges: Remove the pan when the edges turn golden and the center is set but still slightly soft, as carryover heat will finish the cooking while cooling.
- Cool fully: Allow the bars to cool to room temperature before lifting from the pan and slicing, which prevents a gooey mess and yields neat squares.