Baked Chicken Katsu
Baked Chicken Katsu has been one of those recipes I keep coming back to whenever I want something crispy, comforting, and surprisingly simple to pull off on a weeknight. I first learned a version of this dish years ago when a friend handed me a container of leftover cutlets after a late rehearsal. The contrast between the crunchy exterior and the tender, juicy chicken inside stuck with me, and I kept tinkering until the method felt effortless and reliable.
I remember the first time I swapped the deep fry for the oven, because I wanted the same satisfying texture without the extra mess. The result was a golden, crunchy crust that still sang when you bit into it, and a sauce that brought a little heat and sweet balance. Over the years I refined the breadcrumb mix, the seasoning, and the sauce so each component supports the other. Serving it warmed up the room and made dinner feel special without a big production.
Recipe Snapshot
25 mins
10 mins
15 mins
Medium
350 kcal
American
Gluten-Free, Low FODMAP
Dinner
Oven, Baking dish, Shallow bowl, Large plate, Thermometer
Why You Need This Baked Chicken Katsu
Crunchy without the deep frying
I love that Baked Chicken Katsu gives you the crisp of traditional katsu while skipping the heavy oil. Baking concentrates the crunch on the exterior while keeping the chicken tender, so you get the best of both textures. I often tell friends this is the weekend trick that makes dinner feel like takeout, but healthier.
Fast and forgiving
This recipe is fast to prep and forgiving if your timing is a little off. The method tolerates small variations in oven temperature and thickness of the cutlets, which is why I recommend slicing the breasts into thinner filets to help even cooking. I’ve had guests arrive late and the katsu still came out great, which is why it’s a favorite for busy nights.
Customizable sauce that sings
The spicy honey sriracha mayo that accompanies the dish is a tiny assembly that transforms the meal. It introduces sweet, spicy, and umami notes that pair perfectly with the crumb coating. I mix mine to taste, and you can nudge the heat up or down depending on who you are feeding.
Gluten free friendly options
Because the recipe accepts gluten free flour and crumbs without losing texture, this is one of the go-to dishes when I cook for friends with dietary needs. The substitutions keep the crunch and the integrity of the dish, which is why I’ll often use corn flake crumbs or certified gluten free panko when needed.
Great for leftovers and meal prep
I like that the katsu holds up well refrigerated and reheats nicely in a hot oven, keeping a pleasant crisp. It’s handy to pack for lunches or to reheat for a quick dinner, and the sauce remains creamy and bright even after chilling. That reliability makes it a staple in my rotation.
Ingredients Overview for Baked Chicken Katsu
These ingredients are chosen to create a clear dialogue between crisp texture and balanced flavor. The key players are the chicken for tender substance, the dry trio of flour, breadcrumbs, and seasonings for structure and crunch, and the sauce components for contrast and brightness. Together they deliver a simple harmony where each element supports the rest without overwhelming it.
- 2 large chicken breasts cut into four filets: Pounded or sliced into four thin filets to ensure quick, even baking and tender results; provides the primary protein and substantial texture for the katsu.
- 1 large egg: Beaten and used as a wet binder to help the flour and panko adhere to the chicken; adds a touch of moisture and contributes to browning in the oven.
- 3 tbsp gluten-free all-purpose flour: Lightly dusted over the chicken before the egg to create a dry surface for better egg adhesion; helps form the initial coating and prevents sogginess.
- 1 cup gluten-free Panko or breadcrumbs: Crushed or used whole as the main crispy coating that replicates traditional katsu crunch; offers a textured exterior that becomes golden when baked.
- 1/2 tsp sea salt: Sprinkled into the breadcrumb mixture or on the meat for subtle seasoning; enhances overall flavor depth and balances the savory components.
- 1/4 tsp black pepper: Ground and added to the coating mix for a mild, warming bite; pairs with salt to season the chicken and highlight other flavors.
- 1/4 cup mayonnaise: Whisked into a quick dipping sauce or thinned as a glaze component to add richness and creaminess; contributes a tangy, fatty backbone to the sauce.
- 1 tbsp soy sauce or liquid aminos: Stirred into the sauce to contribute umami and saltiness; helps deepen the savory profile and balance sweeter elements in the dressing.
- 1 tbsp honey or pure maple syrup: Blended into the sauce to provide sweetness and a glossy finish; counters the heat and salt while adding a mellow caramel note.
- 1 tbsp sriracha or more to taste: Mixed into the dipping sauce for spicy heat and bright chili flavor; adjustable to taste and helps lift the overall sauce with a piquant kick.
Putting Together Baked Chicken Katsu
Bringing everything together is about rhythm and attention to detail. The steps are straightforward, but small sensory cues will tell you when you are nailing the texture and flavor. Move deliberately and keep an eye on browning so the crust becomes satisfyingly crisp without overcooking the chicken.
- Preheat the oven to 400 degrees F and lightly coat a large casserole dish or baking dish with cooking oil. As an alternative, you can line a baking sheet with parchment paper.: The air in the oven will feel warm and steady as it reaches 400 degrees F , a temperature that encourages rapid browning. You want a fully heated environment so the coating starts crisping immediately, creating a golden surface. One common mistake is placing the chicken into an oven that is still warming, which can lead to soggy crusts. If you notice any dampness on the crumbs, allow an extra minute of heat before inserting the dish so the exterior begins firming up right away.
- Slice the chicken breasts through the center to create four thinner cutlets from two boneless chicken breasts in order to get even thickness throughout the chicken filets. This is an important step, as it helps the chicken cook through evenly without becoming over-cooked and omits the need to tenderize the chicken with a meat tenderizer.: When you slice the chicken , you should feel a smooth, dense texture that flattens slightly under your knife. The visual cue is uniform thickness across each filet, which ensures even heat penetration so the center reaches proper doneness without drying. A frequent error is leaving one side thicker, causing uneven cooking. If your knife slips or the breast is uneven, gently press with your palm to even it before slicing again.
- Crack the egg into a shallow bowl and whisk it until it is well-beaten. Transfer the breadcrumbs, flour, salt and pepper to a large plate and stir it around with a fork until everything is well-combined.: The beaten egg should look glossy and slightly frothy, signaling air folded into the mixture so it adheres smoothly. The dry mixture should be evenly distributed, with flecks of sea salt and black pepper visible in the crumbs. This balance prevents pockets of unseasoned coating. A common slip is under-mixing the crumbs, which leaves uneven seasoning. If you see clumps of flour, fork them apart until the texture is uniform.
- Dredge a chicken cutlet in the beaten egg mixture, then coat it liberally in the breadcrumb mixture, making sure to get both sides. Repeat for the rest of the chicken.: As you dip, the egg should form a thin wet film that anchors the crumbs. Press the crumbs gently so they adhere, and lift the piece to let any excess fall away. You should hear a faint brush of crumbs landing, and the cutlet will feel slightly textured to the touch. A typical mistake is skimping on the egg which causes patchy breading. If the crumbs seem loose, press again and let the coated pieces rest briefly to set the bond.
- Transfer the breaded chicken cutlets to the prepared baking dish and bake for 12 to 15 minutes, or until the chicken reaches an internal temperature of 165 degrees F and the outside is nice and crispy.: During baking you will see the coating transition from pale to a warm golden brown and you may hear a faint crackle as moisture leaves the crust. The aroma becomes toasty and enticing. Use a thermometer to ensure the center hits 165 degrees F , which guarantees safety while preserving juiciness. Avoid opening the oven repeatedly, as temperature loss can slow browning. An overbaked cutlet will feel firm and dry when pressed, so err on the side of checking temperature early.
- While the chicken is baking, stir together the ingredients for the sauce in a small bowl until creamy and well-combined.: As you whisk the mayonnaise , soy sauce , honey , and sriracha , the mixture should emulsify into a glossy, smooth sauce that smells both sweet and spicy. Taste and adjust the heat or sweetness to balance the kick, and refrigerate briefly if you want the flavors to meld. A common misstep is adding too much hot sauce at once; add a little, taste, then add more so the balance stays intact.
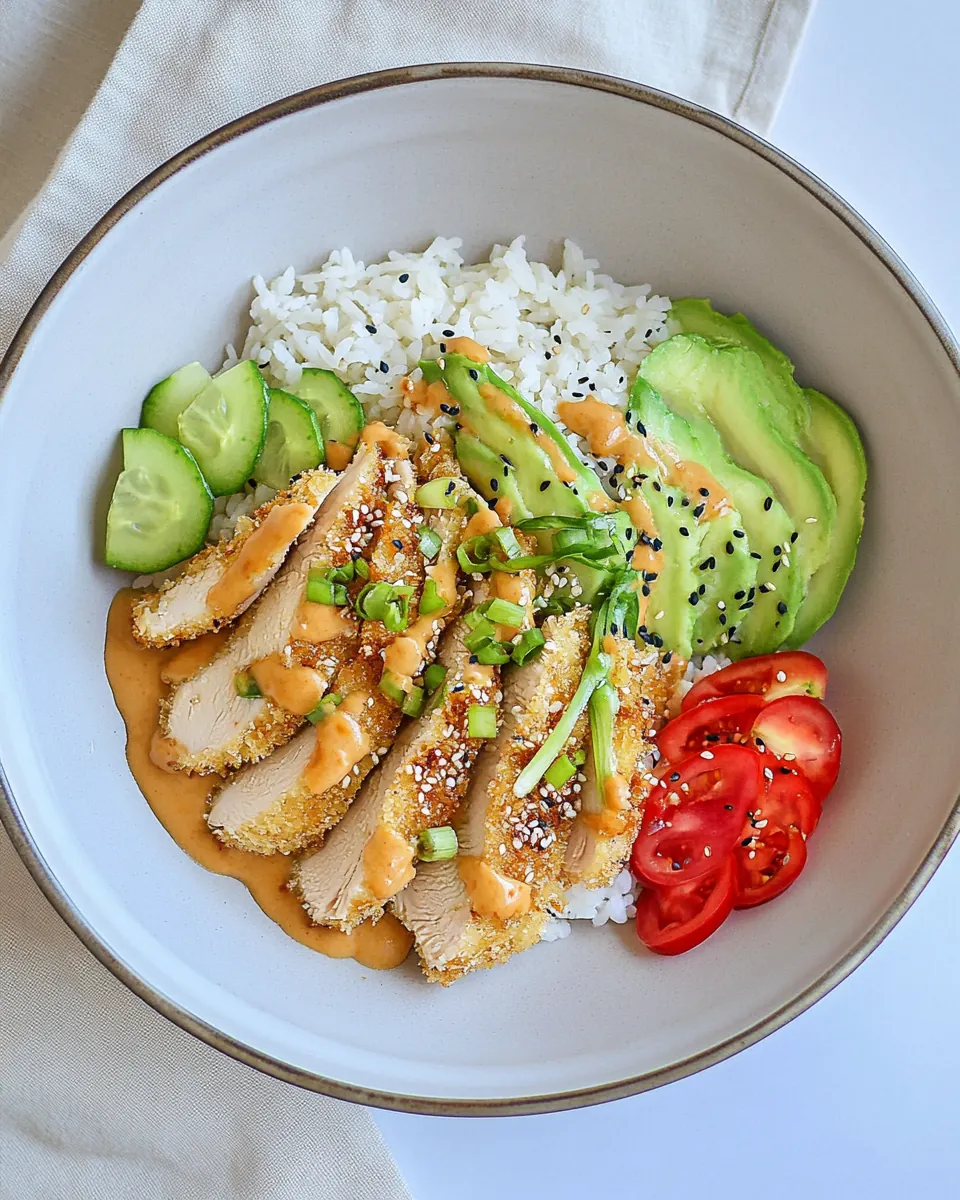
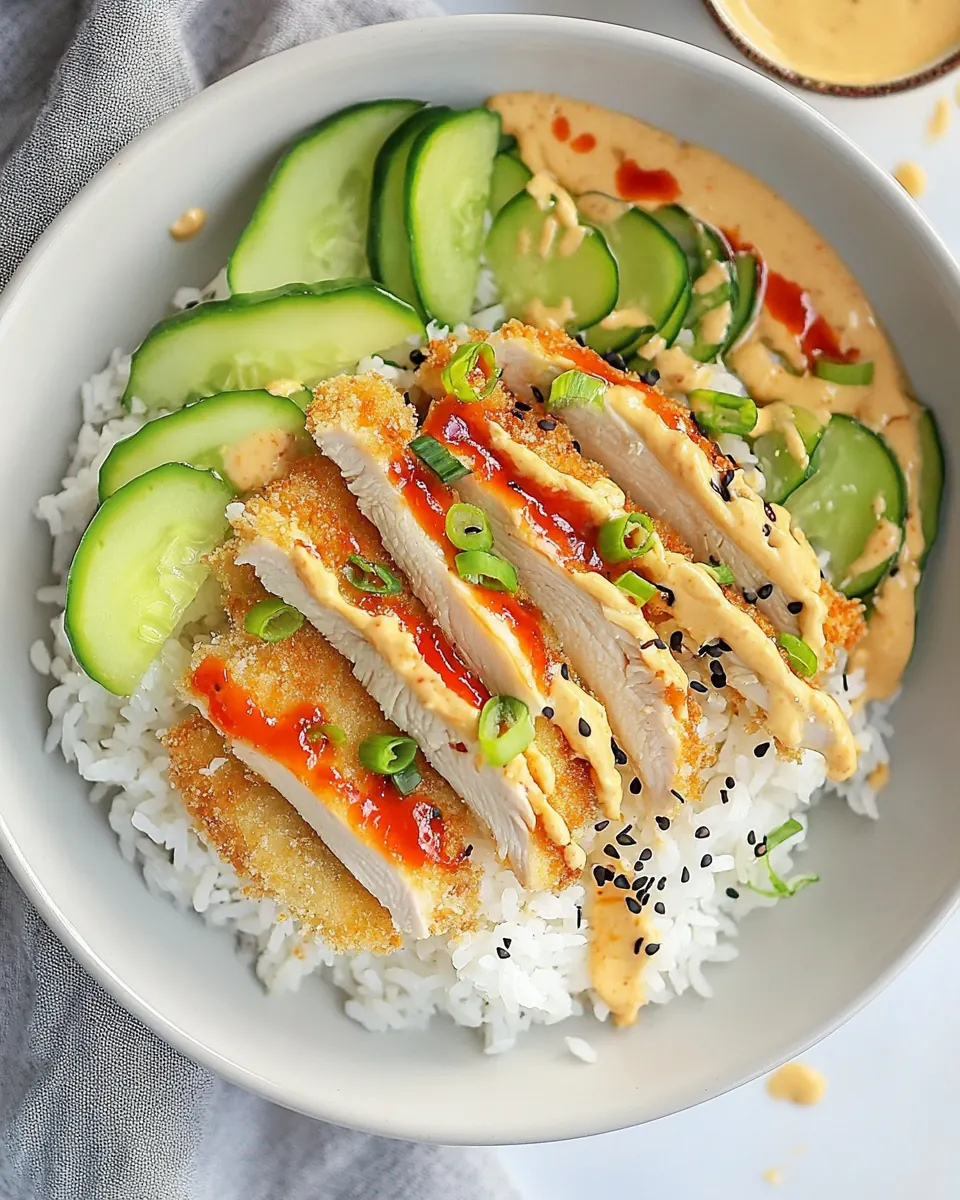
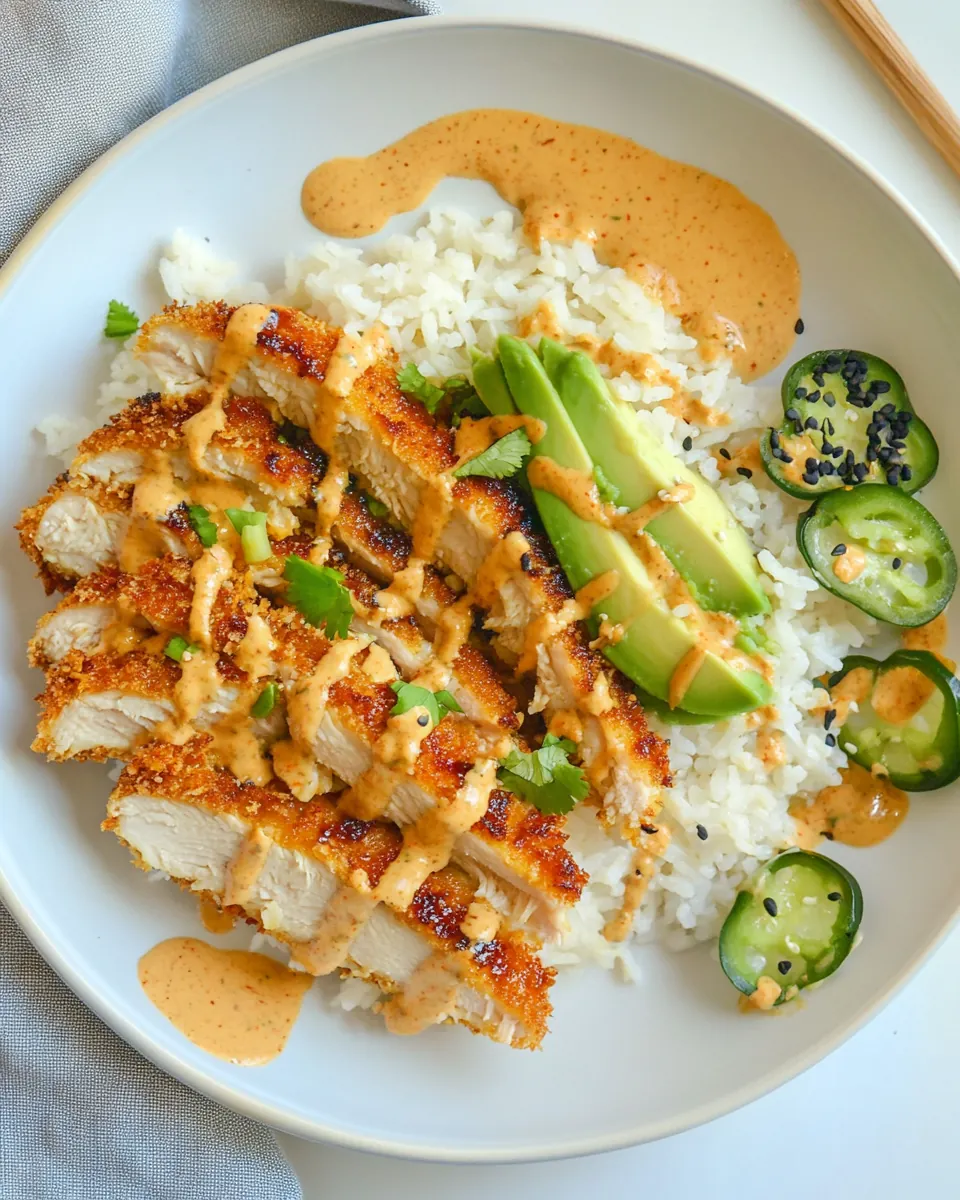
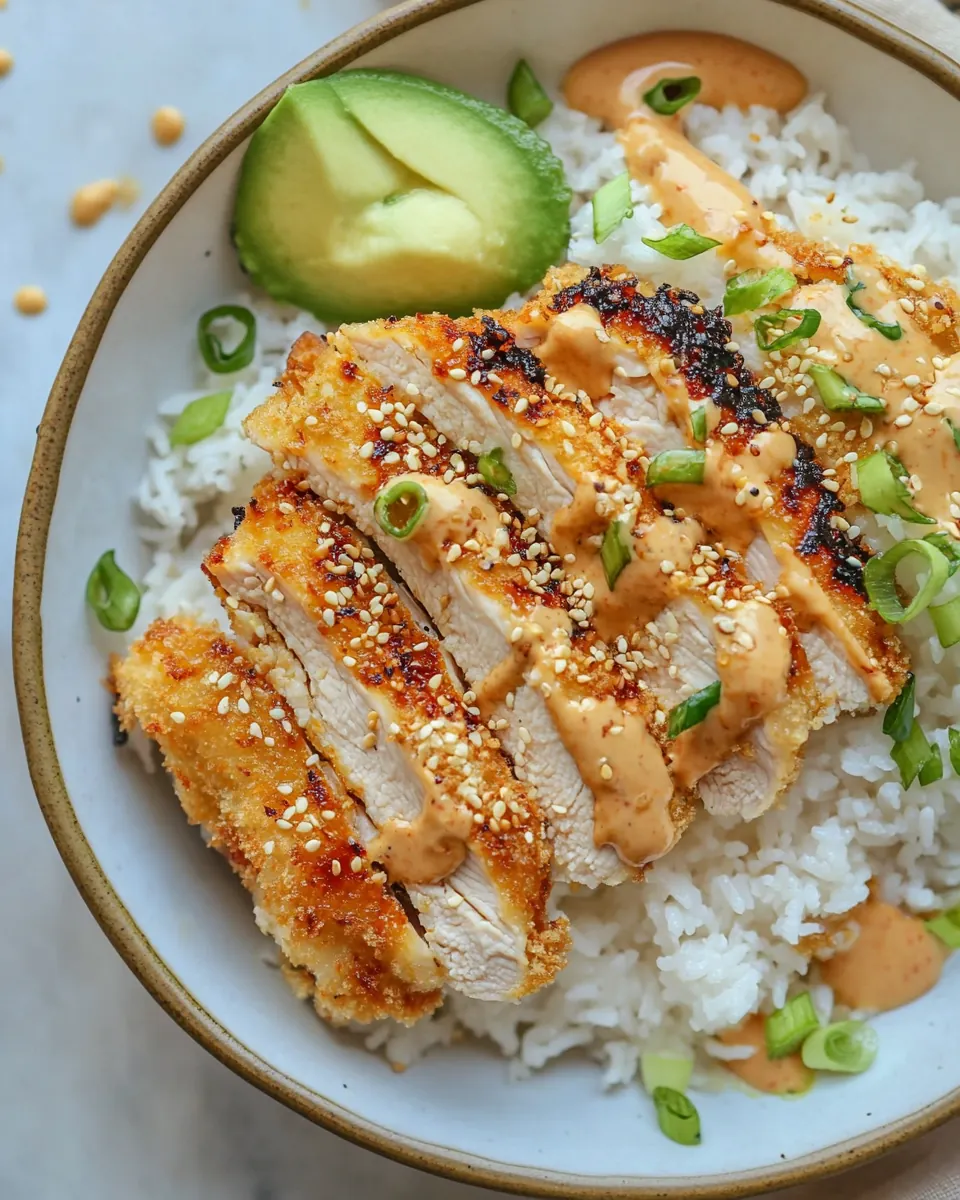
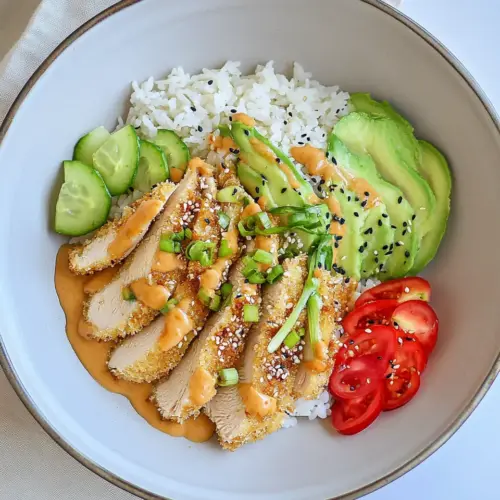
- Serve the baked chicken katsu with your choice of sides along with the spicy honey sriracha mayo.: The final plate should present chicken with a golden crust, the sauce spooned or drizzled to one side, and sides that complement without overwhelming. When you cut the cutlet, the inside will be moist and tender and the coating will still be crisp. Avoid letting the cutlets sit too long before serving, as steam can soften the crust. If reheating leftover pieces, use the oven to revive crispness rather than the microwave.
Make It Your Own
There are small choices that make Baked Chicken Katsu truly yours. A few tweaks to the coating, sauce, and serving style can shift the dish from weeknight staple to celebration-worthy plate. Below are tips to personalize without breaking the method.
- Use different crumbs Try corn flake crumbs for an extra crunchy texture that is gluten free friendly, they toast up and deliver a satisfyingly brittle crust.
- Adjust the heat Tweak the sriracha in the sauce to suit your guests, starting with less and adding more as needed so you maintain balance.
- Make ahead Bread the cutlets and store them in a single layer in the fridge for up to a day, then bake straight from chilled for faster service.
- Oil choice matters If you brush or spray oil before baking, use a neutral oil with a high smoke point to encourage even browning without imparting flavor.
- Serve family style Present the cutlets whole with the sauce on the side so people can slice to their preferred size and dip as they like.
What to Serve Alongside Baked Chicken Katsu
This dish pairs well with clean, simple sides that complement the crunchy texture and bold sauce. Think fresh or lightly dressed greens, steamed grains, or pickled vegetables to cut through richness. Below are serving ideas for different occasions and storage notes to keep things practical.
- Steamed rice A plain bowl of rice helps soak up sauce and balances the bold flavors, making it a classic companion for a satisfying meal.
- Shredded cabbage salad Crisp cabbage dressed lightly with rice vinegar adds a bright, crunchy contrast to the warm cutlets.
- Pickled vegetables Quick pickles or a simple cucumber salad introduce acidity, which refreshes the palate between bites.
- Family dinner Serve the cutlets whole for a casual family style meal so everyone can slice and assemble their own plates.
- Meal prep and storage Store leftover cutlets in an airtight container in the refrigerator for up to five days, and reheat in a hot oven to restore crispness.
- Occasions This works for weeknight dinners, casual gatherings, or a relaxed weekend lunch when you want comfort without fuss.
FAQ
Conclusion
Baked Chicken Katsu stands out because it delivers the crunchy, comforting texture of katsu with a simple oven method that saves time and mess. The interplay between the crisp coating and juicy chicken, paired with a spicy sweet sauce, makes each bite balanced and memorable. Give it a try on a busy weeknight or when you want a fuss free dish that still feels special, and don’t be surprised if it becomes one of your go to meals.
Baked Chicken Katsu
Equipment
- Oven
- Baking Dish
- Shallow Bowl
- Large plate
- Thermometer
Ingredients
- 2 large chicken breasts cut into four filets Pounded or sliced into four thin filets to ensure quick, even baking and tender results; provides the primary protein and substantial texture for the katsu.
- 1 large egg Beaten and used as a wet binder to help the flour and panko adhere to the chicken; adds a touch of moisture and contributes to browning in the oven.
- 3 tbsp gluten-free all-purpose flour Lightly dusted over the chicken before the egg to create a dry surface for better egg adhesion; helps form the initial coating and prevents sogginess.
- 1 cup gluten-free Panko or breadcrumbs Crushed or used whole as the main crispy coating that replicates traditional katsu crunch; offers a textured exterior that becomes golden when baked.
- 1/2 tsp sea salt Sprinkled into the breadcrumb mixture or on the meat for subtle seasoning; enhances overall flavor depth and balances the savory components.
- 1/4 tsp black pepper Ground and added to the coating mix for a mild, warming bite; pairs with salt to season the chicken and highlight other flavors.
- 1/4 cup mayonnaise Whisked into a quick dipping sauce or thinned as a glaze component to add richness and creaminess; contributes a tangy, fatty backbone to the sauce.
- 1 tbsp soy sauce or liquid aminos Stirred into the sauce to contribute umami and saltiness; helps deepen the savory profile and balance sweeter elements in the dressing.
- 1 tbsp honey or pure maple syrup Blended into the sauce to provide sweetness and a glossy finish; counters the heat and salt while adding a mellow caramel note.
- 1 tbsp sriracha or more to taste Mixed into the dipping sauce for spicy heat and bright chili flavor; adjustable to taste and helps lift the overall sauce with a piquant kick.
Instructions
- Preheat the oven to 400 degrees F and lightly coat a large casserole dish or baking dish with cooking oil. As an alternative, you can line a baking sheet with parchment paper.: The air in the oven will feel warm and steady as it reaches 400 degrees F , a temperature that encourages rapid browning. You want a fully heated environment so the coating starts crisping immediately, creating a golden surface. One common mistake is placing the chicken into an oven that is still warming, which can lead to soggy crusts. If you notice any dampness on the crumbs, allow an extra minute of heat before inserting the dish so the exterior begins firming up right away.
- Slice the chicken breasts through the center to create four thinner cutlets from two boneless chicken breasts in order to get even thickness throughout the chicken filets. This is an important step, as it helps the chicken cook through evenly without becoming over-cooked and omits the need to tenderize the chicken with a meat tenderizer.: When you slice the chicken , you should feel a smooth, dense texture that flattens slightly under your knife. The visual cue is uniform thickness across each filet, which ensures even heat penetration so the center reaches proper doneness without drying. A frequent error is leaving one side thicker, causing uneven cooking. If your knife slips or the breast is uneven, gently press with your palm to even it before slicing again.
- Crack the egg into a shallow bowl and whisk it until it is well-beaten. Transfer the breadcrumbs, flour, salt and pepper to a large plate and stir it around with a fork until everything is well-combined.: The beaten egg should look glossy and slightly frothy, signaling air folded into the mixture so it adheres smoothly. The dry mixture should be evenly distributed, with flecks of sea salt and black pepper visible in the crumbs. This balance prevents pockets of unseasoned coating. A common slip is under-mixing the crumbs, which leaves uneven seasoning. If you see clumps of flour, fork them apart until the texture is uniform.
- Dredge a chicken cutlet in the beaten egg mixture, then coat it liberally in the breadcrumb mixture, making sure to get both sides. Repeat for the rest of the chicken.: As you dip, the egg should form a thin wet film that anchors the crumbs. Press the crumbs gently so they adhere, and lift the piece to let any excess fall away. You should hear a faint brush of crumbs landing, and the cutlet will feel slightly textured to the touch. A typical mistake is skimping on the egg which causes patchy breading. If the crumbs seem loose, press again and let the coated pieces rest briefly to set the bond.
- Transfer the breaded chicken cutlets to the prepared baking dish and bake for 12 to 15 minutes, or until the chicken reaches an internal temperature of 165 degrees F and the outside is nice and crispy.: During baking you will see the coating transition from pale to a warm golden brown and you may hear a faint crackle as moisture leaves the crust. The aroma becomes toasty and enticing. Use a thermometer to ensure the center hits 165 degrees F , which guarantees safety while preserving juiciness. Avoid opening the oven repeatedly, as temperature loss can slow browning. An overbaked cutlet will feel firm and dry when pressed, so err on the side of checking temperature early.
- While the chicken is baking, stir together the ingredients for the sauce in a small bowl until creamy and well-combined.: As you whisk the mayonnaise , soy sauce , honey , and sriracha , the mixture should emulsify into a glossy, smooth sauce that smells both sweet and spicy. Taste and adjust the heat or sweetness to balance the kick, and refrigerate briefly if you want the flavors to meld. A common misstep is adding too much hot sauce at once; add a little, taste, then add more so the balance stays intact.
- Serve the baked chicken katsu with your choice of sides along with the spicy honey sriracha mayo.: The final plate should present chicken with a golden crust, the sauce spooned or drizzled to one side, and sides that complement without overwhelming. When you cut the cutlet, the inside will be moist and tender and the coating will still be crisp. Avoid letting the cutlets sit too long before serving, as steam can soften the crust. If reheating leftover pieces, use the oven to revive crispness rather than the microwave.
Notes
- Use different crumbs Try corn flake crumbs for an extra crunchy texture that is gluten free friendly, they toast up and deliver a satisfyingly brittle crust.
- Adjust the heat Tweak the sriracha in the sauce to suit your guests, starting with less and adding more as needed so you maintain balance.
- Make ahead Bread the cutlets and store them in a single layer in the fridge for up to a day, then bake straight from chilled for faster service.
- Oil choice matters If you brush or spray oil before baking, use a neutral oil with a high smoke point to encourage even browning without imparting flavor.
- Serve family style Present the cutlets whole with the sauce on the side so people can slice to their preferred size and dip as they like.