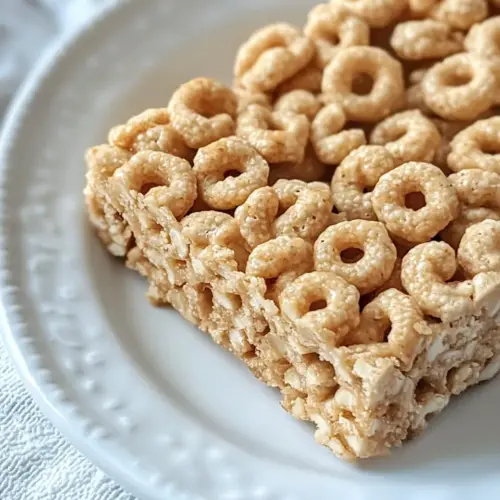
Peanut Butter Cheerio Bars
Peanut Butter Cheerio Bars are an easy, crispy and chewy no bake snack that blends creamy peanut flavor with sweet marshmallow and crunchy Cheerios. Perfect for quick gatherings, lunchboxes, or last minute treats, these bars offer nostalgic texture and simple prep. Make a tray in under thirty minutes for an irresistible, crowd pleasing sweet.
Equipment
- Microwave
- Medium Bowl
- Large Bowl
- 9 x 13 pan
- Spatula
- Sharp Knife
Ingredients
- 1 cup Peanut Butter Smooth Smoothly provides creaminess and helps bind the mixture together, contributing fat and rich nutty flavor that enhances the bars. Works with marshmallow cream to create a cohesive, spreadable matrix that holds the Cheerios in place while adding moisture.
- 6.5 oz Marshmallow Cream fluff Sweetly contributes a sticky, aerated texture that binds the dry cereal when melted and mixed; offers concentrated sweetness and a soft chew. Combines with butter and peanut butter to form the glossy, cohesive syrup that stabilizes the bars.
- 2 Tbs butter Softly adds richness and reduces stickiness, melting into the marshmallow cream to create a silky, spreadable binder. Balances sweetness and deepens flavor while improving the final texture and shelf stability of the bars.
- 5 cups Cheerios Any flavor except fruity flavors. Crisply supplies bulk, crunch, and structure while absorbing the sweet binder to form the bar matrix; flavor varies by choice but provides the primary cereal body. Offers lightness and familiar toasted grain notes that contrast the creamy, sticky components.
Instructions
- Add the peanut butter, marshmallow cream and butter together in a medium sized bowl. Microwave on high for 2 minutes until marshmallow cream is melted and everything is very warm.: The moment you combine Peanut Butter , marshmallow cream, and butter you will notice a dense, sticky texture that promises to coat the cereal. Smell the nutty aroma and watch the glossy marshmallow sitting against the butter. The purpose here is to bring all binders together so they melt uniformly, which prevents pockets of unmelted marshmallow later. A common mistake is using a bowl that is too small, which makes stirring difficult and messy, so choose a medium sized bowl. Also avoid adding cold butter directly from the fridge as it will not emulsify smoothly.
- While microwaving the other ingredients, pour 5 cups of cheerios into a large bowl and prepare a 9 x 13 dish with non stick spray.: As the mixture heats, you will hear a soft popping from the bowl and see the marshmallow soften into a glossy liquid. The temperature change is crucial because it transforms the marshmallow from a stiff paste into an adhesive binder. Stirring halfway through helps distribute heat, ensuring the Peanut Butter blends in. Overheating can make the mixture too stiff when cooled, while underheating leaves clumps, so aim for warmth and full melting. A frequent troubleshooting tip is to stop and stir at thirty second intervals to avoid hot spots that can burn the edges.
- When peanut butter mix is finished in the microwave, pour it over the cheerios and mix well with a large spoon or spatula. Spread the mix into the prepared 9 x 13 pan and pat it down. Set aside and allow to cool. When cooled, use a sharp knife to cut into squares.: The sound of the cereal filling the bowl is already inviting, and prepping the pan ensures a smooth assembly. Spraying the dish prevents sticking and helps you remove neat squares later. This step is about timing and readiness, so everything moves seamlessly once the binder is ready. A common misstep is skipping the pan preparation which leads to difficult removal and messy cutting, so always prepare the pan first.
- When peanut butter mix is finished in the microwave, pour it over the cheerios and mix well with a large spoon or spatula: As you pour, the warm mixture will hiss slightly on contact and begin to coat the Cheerios . The visual cue you want is each loop thoroughly glossed, with no dry clusters visible. Use a sturdy spatula and fold gently to preserve cereal integrity while ensuring full coverage. The why here is simple, uniform coating guarantees every bite sticks together. Avoid overmixing which crushes the cereal; if you hear too much clinking, slow down and fold carefully.
- Spread the mix into the prepared 9 x 13 pan and pat it down: Pressing the mixture into the pan compacts the texture and removes air pockets that cause crumbly bars. You should feel firm resistance as you pat, and the surface will look smooth and slightly shiny from the marshmallow. I like to press with a sheet of parchment or a clean spatula to get a uniform surface. Pressing too lightly produces loose bars, while pressing too hard can make them overly dense, so aim for even, firm pressure. If the mixture cools and stiffens while pressing, warm your spatula slightly to maintain a smooth finish.
- Set aside and allow to cool: Cooling is when the bars set from a sticky mass into cuttable squares. You will notice the surface lose some sheen and the texture become firmer to the touch. Let it rest at room temperature until it's holdable, typically longer in cooler kitchens. Rushing to cut while warm results in gooey, misshapen pieces, so patience is key. If you are short on time, chilling briefly in the refrigerator helps, but excessive chilling can make them hard instead of pleasantly chewy.
- When cooled, use a sharp knife to cut into squares: A sharp knife gives clean edges and neat portions. I warm the knife under hot water, wipe it dry, then slice to prevent sticking and tearing. The sound of the knife through the set bars is a satisfying soft glide rather than a drag. Cutting too early or with a dull blade will create ragged squares and cause extra crumbs, so take an extra moment to sharpen or heat the blade for best results.
Notes
- Warm the jar a bit to make scooping marshmallow cream easier, heat the jar for ten to twenty seconds to loosen it up for cleaner measuring.
- Use a wide bowl when mixing so you can fold the Cheerios without crushing them, this preserves the crunch and visual appeal.
- Line the pan with parchment for easiest removal, lift the whole slab out to slice on a cutting board for cleaner cuts.
- Adjust firmness by varying Peanut Butter to marshmallow ratio, add a bit more Peanut Butter for firmer bars, or slightly more marshmallow for chewier bars.
- Heat in short bursts and stir between intervals when microwaving to avoid burning or uneven melt spots.