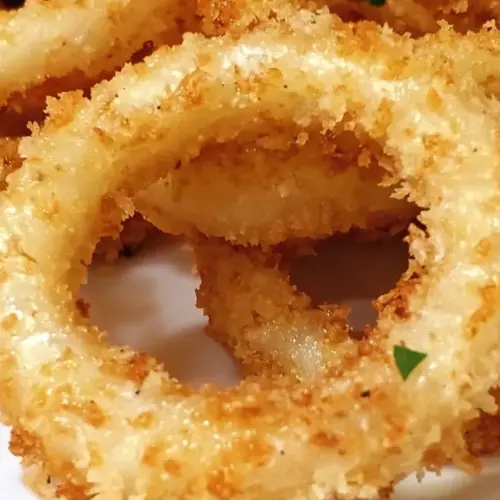
Panko Breaded Onion Rings
Craving something crispy and savory? Try these homemade Panko Breaded Onion Rings! With their light, crunchy coating and sweet onion flavor, they’re the perfect snack for any occasion. Enjoy them fresh, paired with your favorite sauces, and impress your friends and family tonight!
Equipment
- Frying Pan
- Skillet
- Chef's Knife
- Whisk
- Food Processor
Ingredients
- 2 large Vidalia onions (sliced into rings)
- 1 cup all-purpose flour (more if needed)
- 1 tsp salt
- 1/2 tsp ground black pepper
- 1/4 tsp ground red pepper
- 1 tsp garlic powder
- 1 tsp dried oregano
- 3 large eggs (beaten)
- 2 1/2 cups Panko style bread crumbs
- 2 cups canola oil
Instructions
- Slice the Vidalia onions to about 1/4 to ½ inch thickness. It’s important to make even slices so they cook uniformly. Once sliced, separate the rings and set them aside.
- Next, set up your breading station. Use three bowls: in the first bowl, combine the flour, salt, ground black pepper, ground red pepper, garlic powder, and dried oregano. Be sure to mix everything well so all the onion rings get an even coat of seasoning.
- In the second bowl, beat the eggs until smooth. This egg wash will help the breading stick to the onions.
- In the third bowl, place your Panko bread crumbs. Make sure they’re evenly spread, ready for the onion rings.
- Now, heat the canola oil in a frying pan over medium-low heat. You want the oil to be around 350 degrees F when tested with a meat thermometer. This ensures that the onion rings fry perfectly without absorbing too much oil.
- It’s time to dredge the onions. This is a double-dip process, so start by taking each onion ring and dipping it into the seasoned flour. Shake off any excess or clumps that may have formed before moving on to the next step.
- Next, dip the flour-coated onion ring into the egg wash, ensuring it’s fully coated.
- Then, return the onion ring to the flour mixture for a second coat. This extra layer helps create an even crunchier texture.
- After the second flour dip, put the onion rings back into the egg wash followed by the Panko bread crumbs. Press them gently into the crumbs to ensure they adhere well.
- Finally, place the breaded onion rings in the hot oil. Be careful not to overcrowd the pan, allowing each ring to fry evenly.
- Cook the onion rings until the Panko bread crumbs turn a nice light brown color, which should only take a few minutes on each side. Keep an eye on them as they can brown quickly!
- Once done, remove your crispy onion rings from the oil and place them on a plate covered with a napkin or paper towel to soak up any excess oil. Serve hot with your favorite dipping sauce!
Notes
- Tip 1: If you have leftovers, store them in an airtight container in the refrigerator for up to three days. However, for the best texture, it’s recommended to enjoy them fresh.
- Tip 2: You can freeze uncooked, breaded onion rings. Place them on a baking sheet until frozen, then transfer to a freezer bag. When ready to eat, fry them straight from the freezer.
- Tip 3: Consider serving these onion rings with a tangy dipping sauce, such as ranch or garlic aioli, for that extra zing!
- Tip 4: For a healthier option, try baking the onion rings in the oven instead of frying. Just spray them lightly with oil and bake until golden brown.
- Tip 5: Feel free to add different spices to the flour mixture, like paprika or cayenne pepper, to give your onion rings a kick.