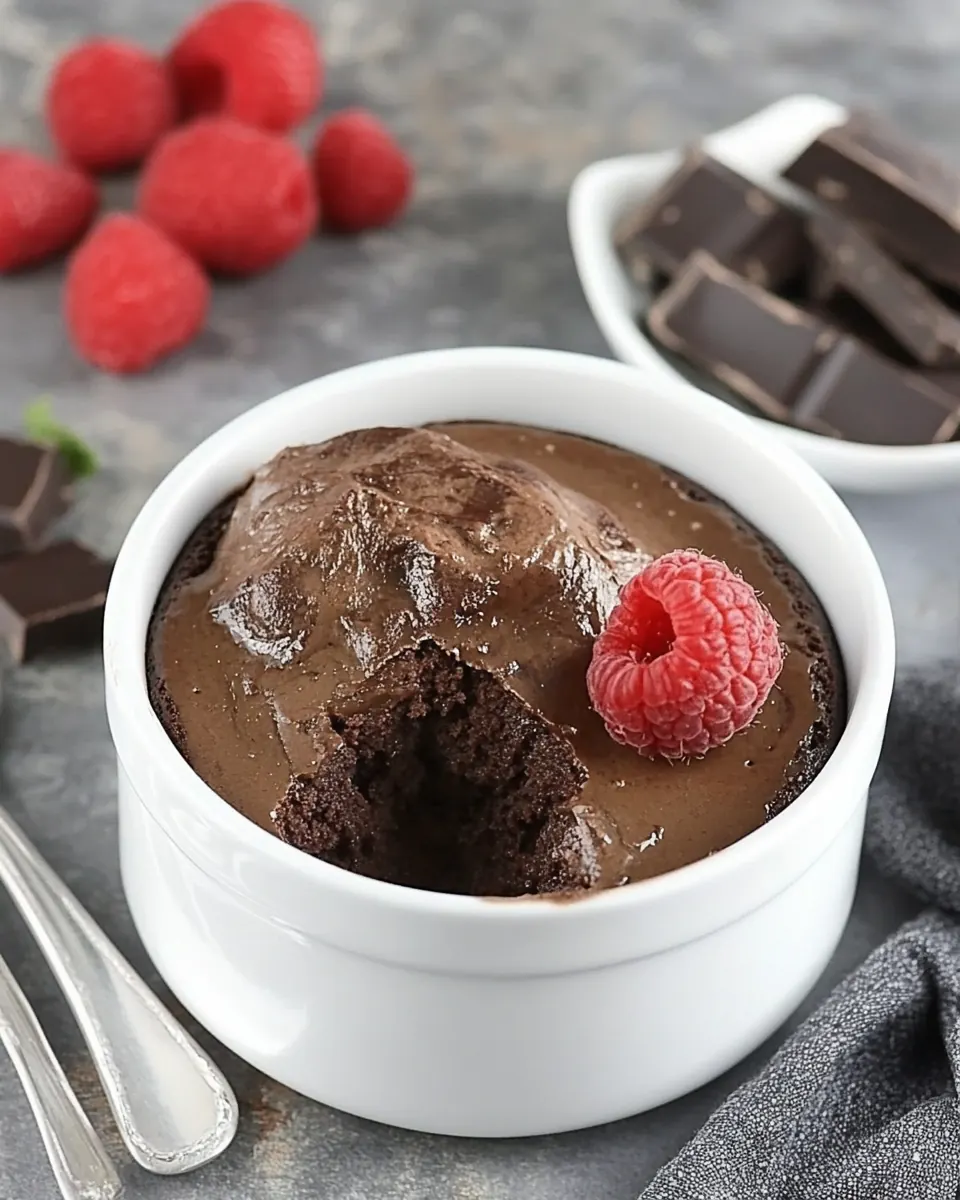
Warm Chocolate Cheesecakes
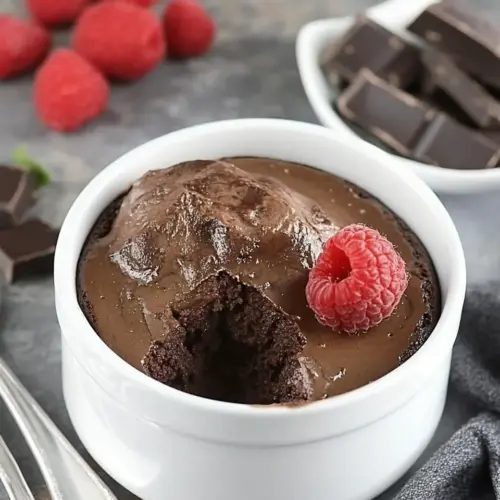
Warm Chocolate Cheesecakes became my go to when I wanted something indulgent yet modest enough for a weeknight treat. The first time I made them, I had leftover cream cheese and a bar of semi sweet chocolate in the pantry, and my curiosity won out. I pulled out four tiny ramekins, buttered them, and watched the chocolate melt into a glossy ribbon as the kitchen filled with that warm, toasted cocoa scent. That evening turned into an instant favorite with family chatter and casual spoons scrapping the sides.
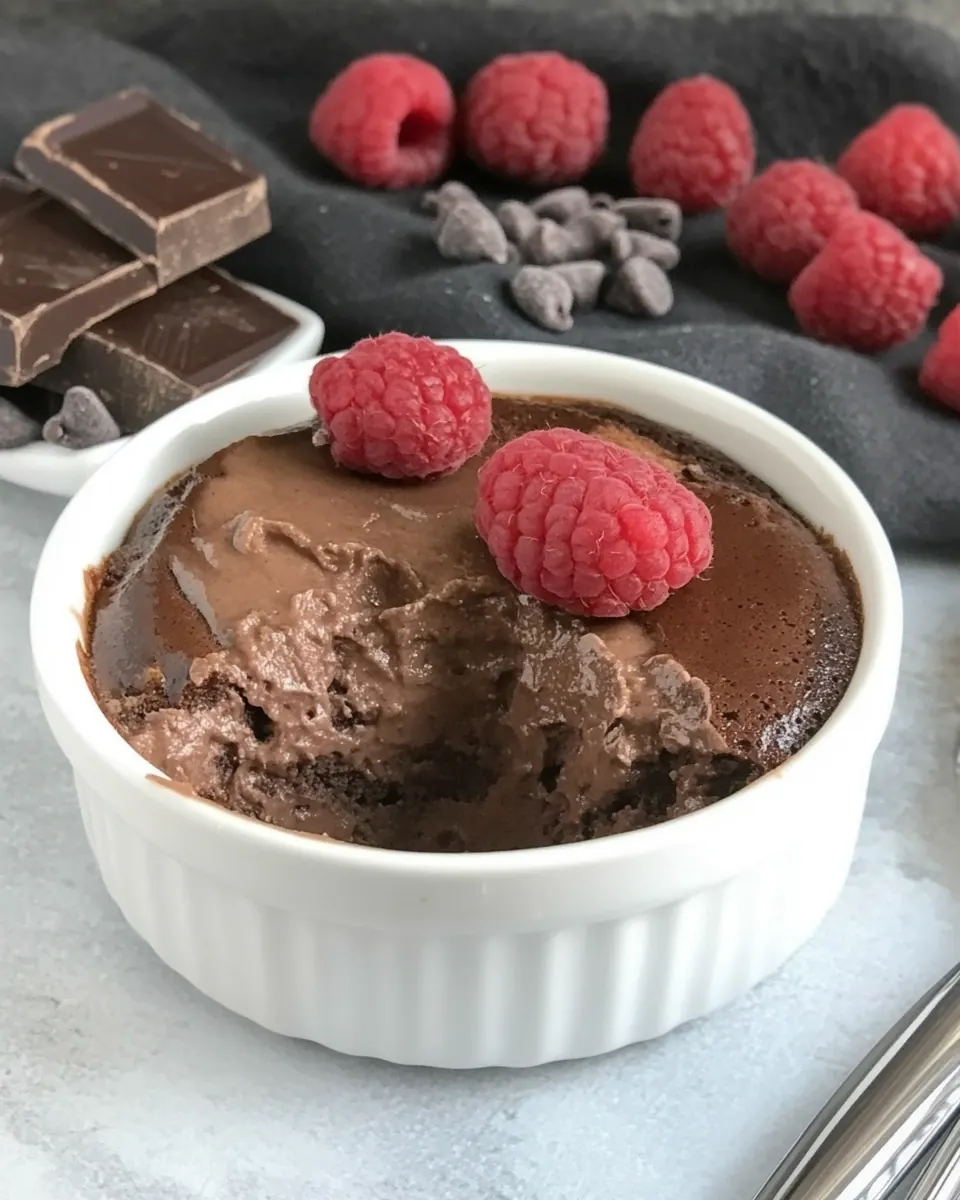
Over the years I’ve tweaked how I melt the semi sweet chocolate and how I temper the large egg with the batter, and little habits changed the texture in ways I love. Sometimes I serve these with chilled berries and a scoop of ice cream, other times I keep it simple and let the rich, tangy cream cheese center speak for itself. While they look elegant, they are forgiving, which is part of their charm and why I reach for this recipe when I want comfort and a touch of celebration without fuss.
Recipe Snapshot
40 mins
15 mins
25 mins
Medium
250 kcal
American
Gluten-Free, Low FODMAP
Desserts
Oven, Ramekins, Microwave safe bowl, Baking sheet, Rubber spatula
Why You Need This Warm Chocolate Cheesecakes
They are quick to pull together
I adore that Warm Chocolate Cheesecakes come together in under an hour. When time is tight, this recipe lets you create something that tastes like a special dessert with minimal hands on work, and that saves the evening.
Texture contrast is everything
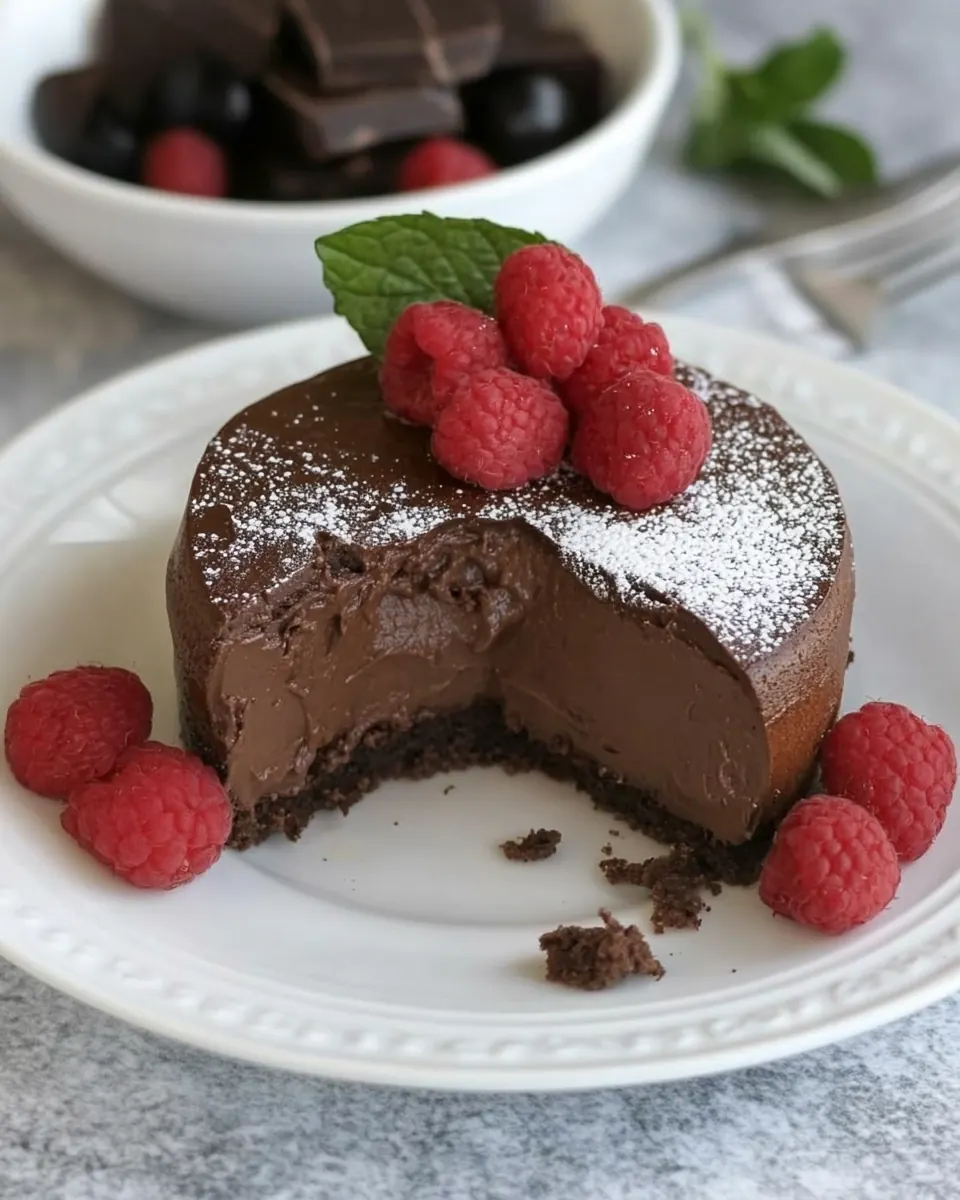
The combination of melted semi sweet chocolate and whipped, room temperature cream cheese gives a silky, custardy interior with a slight richness, while the edges set just enough to provide structure. I find that tiny changes in mixing alter the mouthfeel, so this recipe rewards careful attention without being fussy.
Serve it your way
You can dress each ramekin with fresh berries, a dollop of whipped cream, or a scoop of ice cream. I love the cold hot contrast when a warm cheesecake meets a cool topping, it heightens the flavor and texture dramatically.
Family friendly and crowd pleasing
These are great because most of the ingredients are pantry staples. I often make a double batch when guests arrive because they disappear fast, and they always feel like something special on the table.
Low fuss technique, high impact results
This dessert uses simple methods like melting and gentle mixing, which make it accessible. With a few sensible tips you get consistent results, and that reliability is why I keep this recipe in my repertoire.
Main Ingredients for Warm Chocolate Cheesecakes
These ingredients are straightforward but purposeful. The backbone is cream cheese for tang and silkiness, while semi sweet chocolate supplies cocoa depth. A little sugar balances bitterness, flour stabilizes the custard, a single large egg binds and gives lift, and optional berries or ice cream add temperature contrast. Together they create a dense yet tender mini cheesecake that melts on the tongue.
- 4 ounces semi-sweet chocolate, chopped: Melted and incorporated to provide rich chocolate flavor and a glossy, fudgy center; chopped semi–sweet chocolate should be gently melted and folded into the batter to create a deep cocoa profile without overwhelming sweetness. Use moderate heat or a double boiler to avoid scorching, and allow it to cool slightly before combining with the cream cheese to maintain a smooth texture.
- 8 ounces cream cheese, at room temperature: Softened and whipped to create a creamy, tangy base that balances the sweetness and stabilizes the cheesecake; room–temperature cream cheese blends more easily for a lump-free batter. Beat until smooth to incorporate air for a light texture, taking care not to overmix which can introduce excess air and cause cracking during baking.
- 1 teaspoon vanilla: Added to enhance and round out the dessert’s flavor with floral, sweet aromatic notes; vanilla brings warmth and complexity to the chocolate and cream cheese components. Use pure vanilla extract for best depth, and measure precisely to avoid overpowering the delicate balance of flavors.
- 1/4 cup plus 2 tablespoons sugar: Measured and dissolved to provide sweetness and tenderness while contributing slight structure and browning; the combined 1/4 cup plus 2 tablespoons sugar sweetens the batter without making it cloying. Ensure even distribution by mixing thoroughly so the sugar integrates with the cream cheese and chocolate for uniform sweetness.
- 2 teaspoons flour: Sprinkled in to strengthen the structure and absorb moisture, resulting in a slightly firmer, sliceable texture; two teaspoons of flour help the mini cheesecakes hold their shape. Sift or whisk with the dry ingredients to prevent lumps and distribute the flour evenly throughout the batter.
- 1 large egg, at room temperature: Whisked in as the primary binding and leavening-modulating element that enriches and sets the filling; one large room–temperature egg helps create a smooth, custard-like interior when gently mixed. Beat lightly to combine without adding excessive air, which can cause puffing and then sinking as the cheesecakes cool.
- Berries, whipped cream or ice cream, for serving (optional): Served as optional accompaniments to add freshness, creaminess, or contrast; berries provide bright acidity, whipped cream contributes lightness, and ice cream adds cold creaminess that complements the warm cheesecakes. Choose one or a combination to balance the richness and create a pleasing textural contrast.
Making This Warm Chocolate Cheesecakes
I walk into these steps like a conversation with the oven. Gentle attention at each stage gets you a tender center and a deeply flavored chocolate profile. Expect to notice aroma changes and subtle texture shifts as the batter transforms during baking.
- Preheat the oven to 350°. Butter four 1/2-cup ramekins and place them on a baking sheet.: The kitchen will warm and you will first smell a faint hint of residual cooking scents if any, but more importantly an accurate oven temperature is crucial because these small ramekins set quickly, and inconsistent heat leads to underdone centers or cracked tops. A common mistake is not letting the oven fully come to temperature, which causes uneven baking, so wait until the oven reads steady 350° on a reliable thermometer.
- Coarsely chop the chocolate and gently melt in a microwave-safe bowl, stopping and stirring at 30-second increments until smooth.: When you grease each ramekin the batter releases easily and the edges brown gently. You should feel the slickness of butter with your fingertip and see a thin sheen. Placing them on a baking sheet makes transferring to the oven secure and ensures even heat on the bottoms. Avoid skipping the baking sheet, because dropping or shifting ramekins directly on the rack increases the risk of tipping and spills.
- Combine the chocolate with the cream cheese and vanilla and mix with a rubber spatula till well combined.: As the chocolate melts you will see it go from matte chunks to glossy ribbons. Stop and stir at 30 second increments to distribute heat and prevent scorching. The aroma becomes deeper and cocoa forward as it smooths. One frequent error is overheating, which makes chocolate grainy, so take short intervals and stir until smooth.
- Stir together the sugar and flour, and mix into the chocolate mixture until well combined.: Right away you will notice the mixture becoming silkier and slightly lighter in color. The cream cheese brings a tang that cuts the chocolate richness. Use a rubber spatula to fold and press together, scraping the bowl sides, which keeps the batter smooth. Overworking with a mixer can incorporate too much air and change texture, so mix just until homogenous.
- Add the egg and mix until incorporated.: When you add the dry mix, you should hear a soft scrape as you fold it in and see the batter take on a slightly thicker sheen. The flour disperses tiny structure building blocks that help the centers set while the sugar dissolves into the matrix, sweetening while contributing to a tender crumb. A common misstep is not whisking the sugar and flour first, which can lead to clumps in the batter.
- Divide the batter evenly between the ramekins.: As the large egg blends into the batter, the consistency will thin a touch and look more uniform, glossier, and cohesive. The egg protein is essential for binding and creating that custard like texture upon baking. Incorporate gently until you no longer see streaks of white egg; overbeating will add air and can create small cracks when baked.
- Bake for 20 to 25 minutes, until the centers are set.: Spoon or pour batter so each ramekin receives an equal portion, and you will notice the batter level out to a glossy surface. Even distribution ensures consistent baking so one ramekin is not over or under done. A misstep is eyeballing portions; use a scale or measuring tool for uniformity.
- Cool slightly before serving.: During baking you will smell the chocolate intensify and see edges firm while centers remain slightly wobbly. The visual cue to look for is a set edge with a gentle jiggle in the middle, not liquid. Pulling them too early results in runny centers, while overbaking gives a drier texture, so aim for that tender wobble at 20 minutes and check frequently to hit the sweet spot.
- May top with a dollop of whipped cream or vanilla ice cream and berries if desired.: As the ramekins cool you will notice steam ease away and the surface settle into a silky matte finish. Cooling lets the structure firm just enough for easier serving and improves flavor meld. Serving piping hot can make the texture loose and messy, so allow a short rest to let everything harmonize.
- May top with a dollop of whipped cream or vanilla ice cream and berries if desired: The contrast between warm custard and cold toppings creates a delightful sensory interplay, where the berries add acid and the ice cream or whipped cream adds cool creaminess. A common oversight is adding toppings too early, which melts them away and loses textural contrast, so add just before serving.
Helpful Notes about Warm Chocolate Cheesecakes
These notes collect small habits and reminders that improve consistency and flavor. I share what I learned the hard way, so you can skip trial and error and get reliably delicious results.
- Bring dairy to room temperature, especially the cream cheese and large egg, so they incorporate smoothly without lumps and you get a silkier batter.
- Short microwave intervals make melting the semi sweet chocolate foolproof. Stir at every 30 second pause to avoid burning and to achieve a glossy texture.
- Even portions matter, weigh or measure the batter for each ramekin to ensure uniform bake times and consistent centers across all servings.
- Mind the bake time, pull the ramekins when edges are set and centers still wobble slightly to achieve a creamy interior rather than a dry one.
- Serve with temperature contrast such as chilled berries or ice cream to enhance both flavor and mouthfeel.
Serving This Warm Chocolate Cheesecakes
These mini cheesecakes are versatile and fit many occasions, whether a cozy dessert after a family meal or a sweet finish for a small dinner party. Below I outline serving ideas, pairings, and storage tips so you can present them confidently.
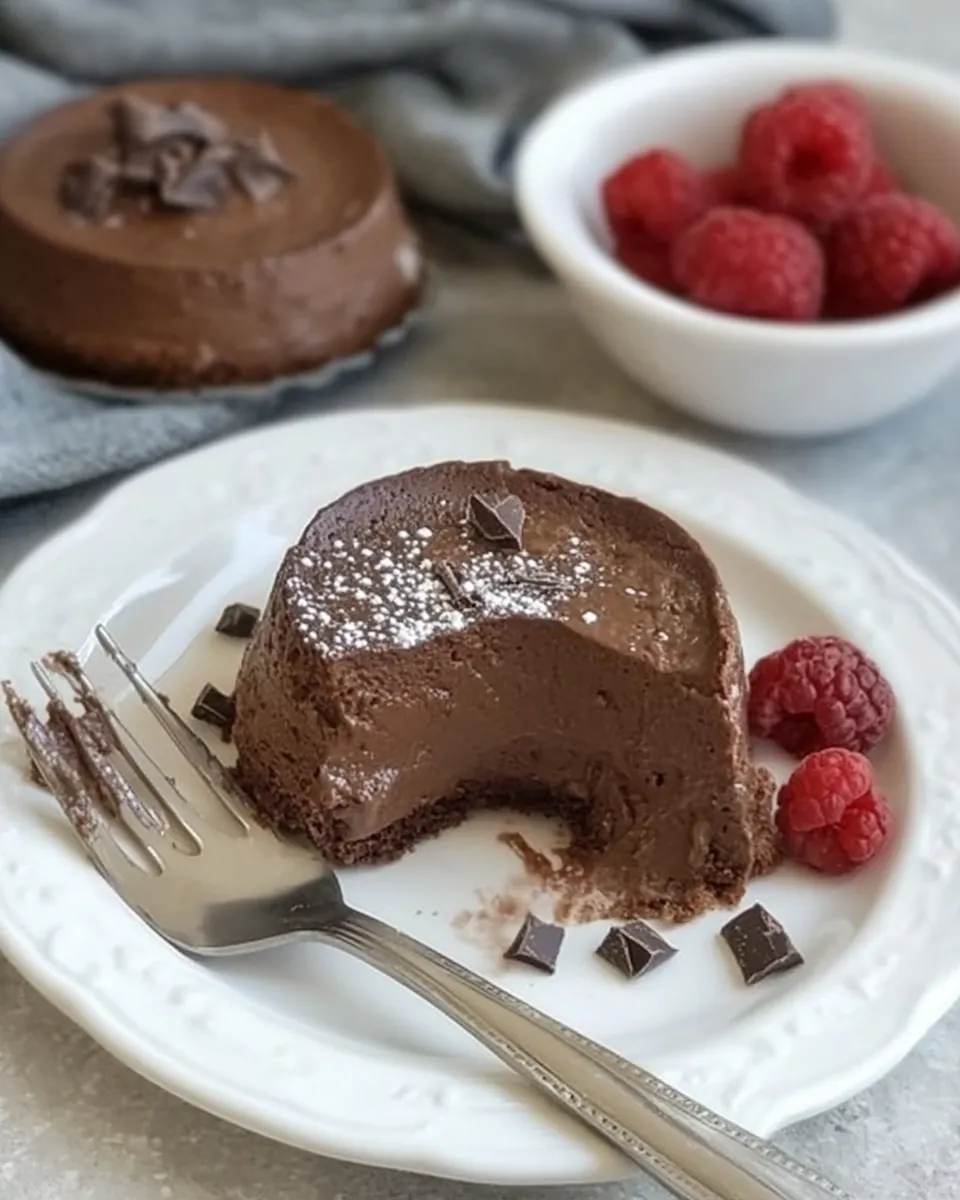
- Individual plating, serve each ramekin on a small dessert plate with a spoon, add a few fresh berries and a small scoop of ice cream beside it to create a composed look.
- Casual family style, place all ramekins on a tray so guests can pick one, add dollops of whipped cream as desired, perfect for gatherings where people help themselves.
- Seasonal pairing, in cooler months like winter, offer warm Warm Chocolate Cheesecakes with tart berries to balance richness and bring brightness to the palate.
- Occasion suitability, they work well for intimate dinners, holiday evenings, or any time you want a dessert that feels special without long effort.
- Storage tips, refrigerate leftovers covered for up to three days. For reheating, warm gently in a 300° oven for a few minutes to revive that just baked warmth without melting any topping.
- Make ahead, assemble batter and fill ramekins, cover and refrigerate for a few hours before baking; this can streamline hosting while preserving texture.
FAQ
Conclusion
What makes this recipe special is its combination of rich chocolate and tangy cream cheese in a compact, elegant form that feels luxurious yet is refreshingly simple to make. I encourage you to try these Warm Chocolate Cheesecakes because they deliver maximum flavor with minimal fuss, and the contrast of warm custard and cool toppings is always a crowd pleaser. Give them a go at your next small gathering or when you want a quick, comforting dessert that still looks and tastes like a treat.
Warm Chocolate Cheesecakes
Equipment
- Oven
- Ramekins
- Microwave-safe Bowl
- Baking Sheet
- Rubber spatula
Ingredients
- 4 ounces semi-sweet chocolate, chopped Melted and incorporated to provide rich chocolate flavor and a glossy, fudgy center; chopped semi-sweet chocolate should be gently melted and folded into the batter to create a deep cocoa profile without overwhelming sweetness. Use moderate heat or a double boiler to avoid scorching, and allow it to cool slightly before combining with the cream cheese to maintain a smooth texture.
- 8 ounces cream cheese, at room temperature Softened and whipped to create a creamy, tangy base that balances the sweetness and stabilizes the cheesecake; room-temperature cream cheese blends more easily for a lump-free batter. Beat until smooth to incorporate air for a light texture, taking care not to overmix which can introduce excess air and cause cracking during baking.
- 1 teaspoon vanilla Added to enhance and round out the dessert’s flavor with floral, sweet aromatic notes; vanilla brings warmth and complexity to the chocolate and cream cheese components. Use pure vanilla extract for best depth, and measure precisely to avoid overpowering the delicate balance of flavors.
- 1/4 cup plus 2 tablespoons sugar Measured and dissolved to provide sweetness and tenderness while contributing slight structure and browning; the combined 1/4 cup plus 2 tablespoons sugar sweetens the batter without making it cloying. Ensure even distribution by mixing thoroughly so the sugar integrates with the cream cheese and chocolate for uniform sweetness.
- 2 teaspoons flour Sprinkled in to strengthen the structure and absorb moisture, resulting in a slightly firmer, sliceable texture; two teaspoons of flour help the mini cheesecakes hold their shape. Sift or whisk with the dry ingredients to prevent lumps and distribute the flour evenly throughout the batter.
- 1 large egg, at room temperature Whisked in as the primary binding and leavening-modulating element that enriches and sets the filling; one large room-temperature egg helps create a smooth, custard-like interior when gently mixed. Beat lightly to combine without adding excessive air, which can cause puffing and then sinking as the cheesecakes cool.
- Berries, whipped cream or ice cream, optional for serving Served as optional accompaniments to add freshness, creaminess, or contrast; berries provide bright acidity, whipped cream contributes lightness, and ice cream adds cold creaminess that complements the warm cheesecakes. Choose one or a combination to balance the richness and create a pleasing textural contrast.
Instructions
- Preheat the oven to 350°. Butter four 1/2-cup ramekins and place them on a baking sheet.: The kitchen will warm and you will first smell a faint hint of residual cooking scents if any, but more importantly an accurate oven temperature is crucial because these small ramekins set quickly, and inconsistent heat leads to underdone centers or cracked tops. A common mistake is not letting the oven fully come to temperature, which causes uneven baking, so wait until the oven reads steady 350° on a reliable thermometer.
- Coarsely chop the chocolate and gently melt in a microwave-safe bowl, stopping and stirring at 30-second increments until smooth.: When you grease each ramekin the batter releases easily and the edges brown gently. You should feel the slickness of butter with your fingertip and see a thin sheen. Placing them on a baking sheet makes transferring to the oven secure and ensures even heat on the bottoms. Avoid skipping the baking sheet, because dropping or shifting ramekins directly on the rack increases the risk of tipping and spills.
- Combine the chocolate with the cream cheese and vanilla and mix with a rubber spatula till well combined.: As the chocolate melts you will see it go from matte chunks to glossy ribbons. Stop and stir at 30 second increments to distribute heat and prevent scorching. The aroma becomes deeper and cocoa forward as it smooths. One frequent error is overheating, which makes chocolate grainy, so take short intervals and stir until smooth.
- Stir together the sugar and flour, and mix into the chocolate mixture until well combined.: Right away you will notice the mixture becoming silkier and slightly lighter in color. The cream cheese brings a tang that cuts the chocolate richness. Use a rubber spatula to fold and press together, scraping the bowl sides, which keeps the batter smooth. Overworking with a mixer can incorporate too much air and change texture, so mix just until homogenous.
- Add the egg and mix until incorporated.: When you add the dry mix, you should hear a soft scrape as you fold it in and see the batter take on a slightly thicker sheen. The flour disperses tiny structure building blocks that help the centers set while the sugar dissolves into the matrix, sweetening while contributing to a tender crumb. A common misstep is not whisking the sugar and flour first, which can lead to clumps in the batter.
- Divide the batter evenly between the ramekins.: As the large egg blends into the batter, the consistency will thin a touch and look more uniform, glossier, and cohesive. The egg protein is essential for binding and creating that custard like texture upon baking. Incorporate gently until you no longer see streaks of white egg; overbeating will add air and can create small cracks when baked.
- Bake for 20 to 25 minutes, until the centers are set.: Spoon or pour batter so each ramekin receives an equal portion, and you will notice the batter level out to a glossy surface. Even distribution ensures consistent baking so one ramekin is not over or under done. A misstep is eyeballing portions; use a scale or measuring tool for uniformity.
- Cool slightly before serving.: During baking you will smell the chocolate intensify and see edges firm while centers remain slightly wobbly. The visual cue to look for is a set edge with a gentle jiggle in the middle, not liquid. Pulling them too early results in runny centers, while overbaking gives a drier texture, so aim for that tender wobble at 20 minutes and check frequently to hit the sweet spot.
- May top with a dollop of whipped cream or vanilla ice cream and berries if desired.: As the ramekins cool you will notice steam ease away and the surface settle into a silky matte finish. Cooling lets the structure firm just enough for easier serving and improves flavor meld. Serving piping hot can make the texture loose and messy, so allow a short rest to let everything harmonize.
- May top with a dollop of whipped cream or vanilla ice cream and berries if desired: The contrast between warm custard and cold toppings creates a delightful sensory interplay, where the berries add acid and the ice cream or whipped cream adds cool creaminess. A common oversight is adding toppings too early, which melts them away and loses textural contrast, so add just before serving.
Notes
- Bring dairy to room temperature, especially the cream cheese and large egg, so they incorporate smoothly without lumps and you get a silkier batter.
- Short microwave intervals make melting the semi sweet chocolate foolproof. Stir at every 30 second pause to avoid burning and to achieve a glossy texture.
- Even portions matter, weigh or measure the batter for each ramekin to ensure uniform bake times and consistent centers across all servings.
- Mind the bake time, pull the ramekins when edges are set and centers still wobble slightly to achieve a creamy interior rather than a dry one.
- Serve with temperature contrast such as chilled berries or ice cream to enhance both flavor and mouthfeel.