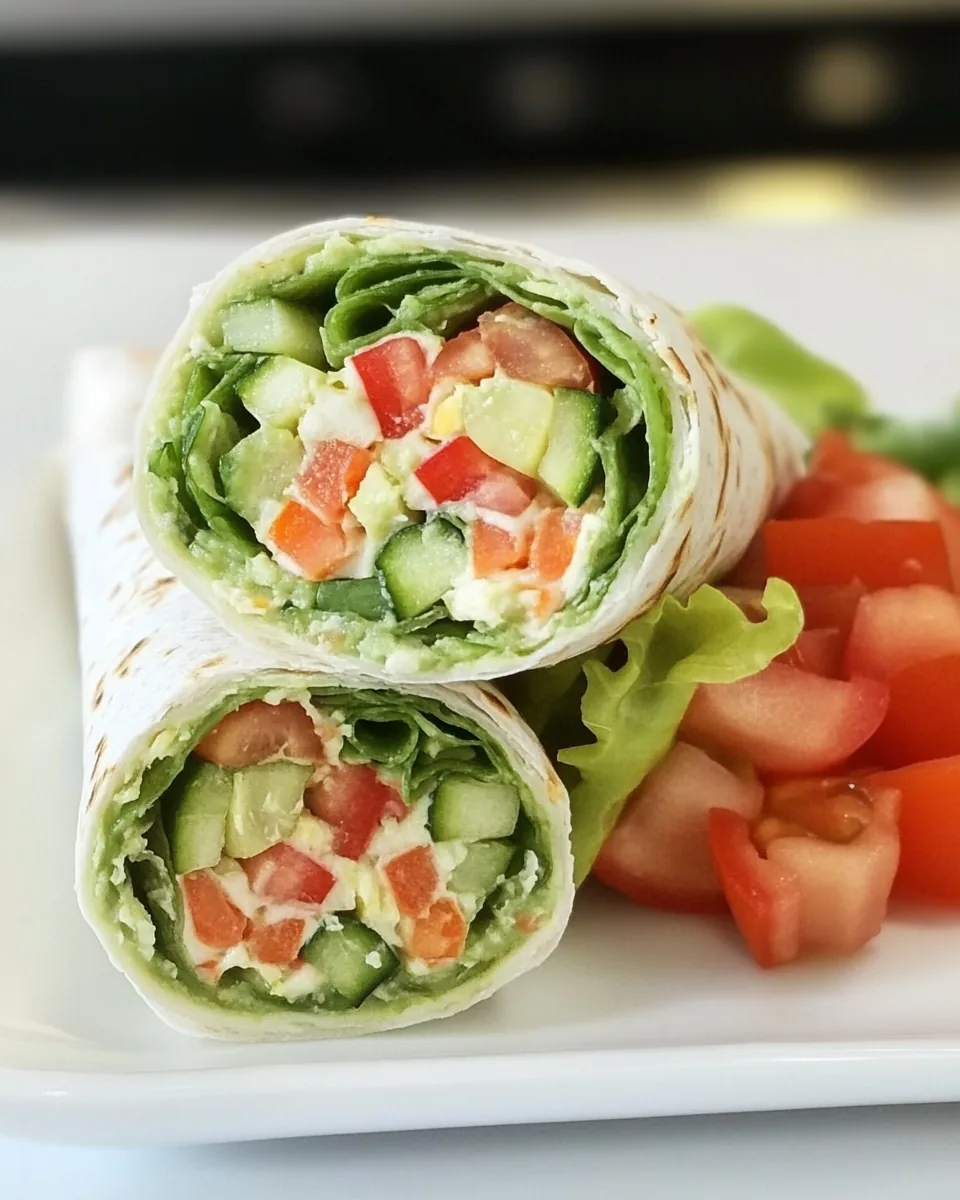
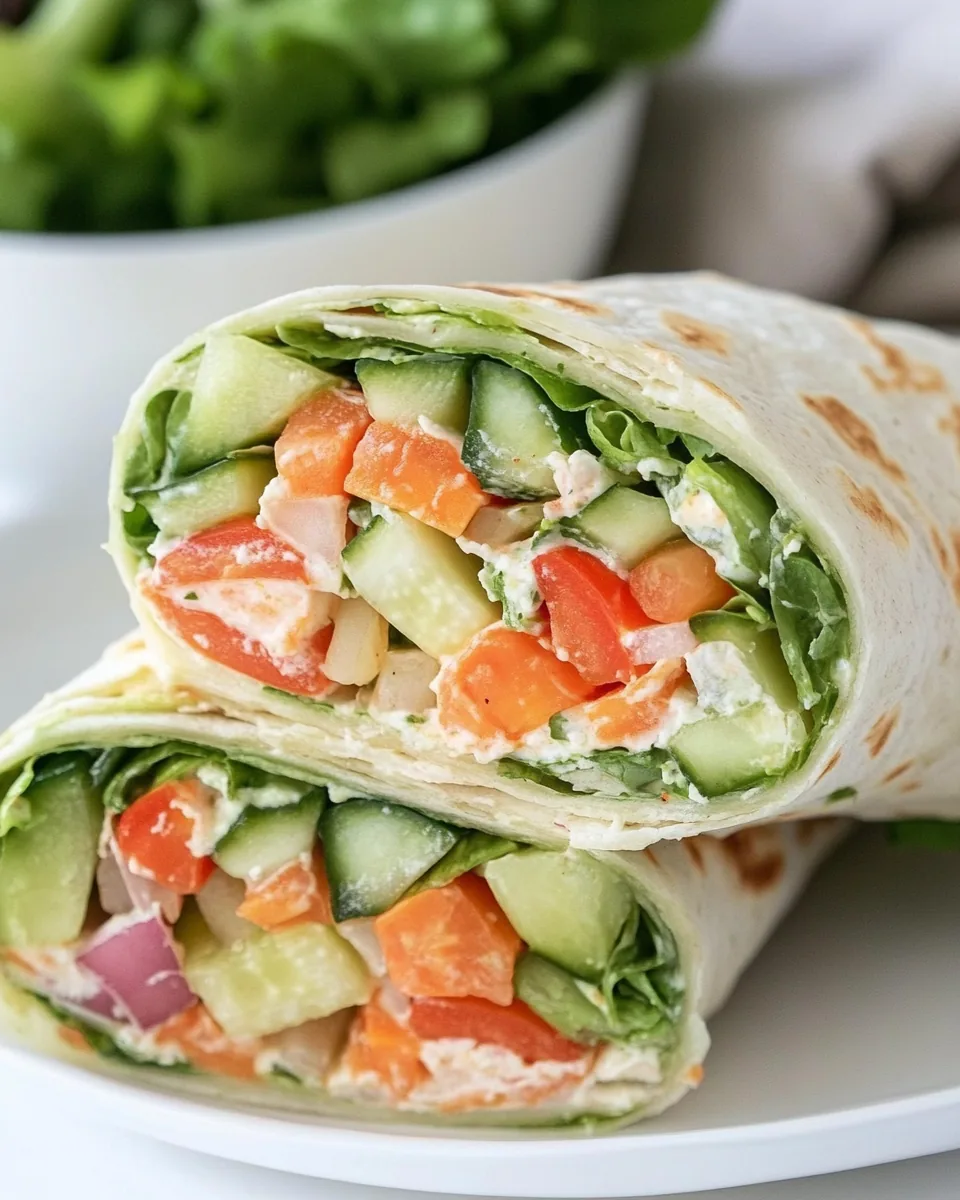
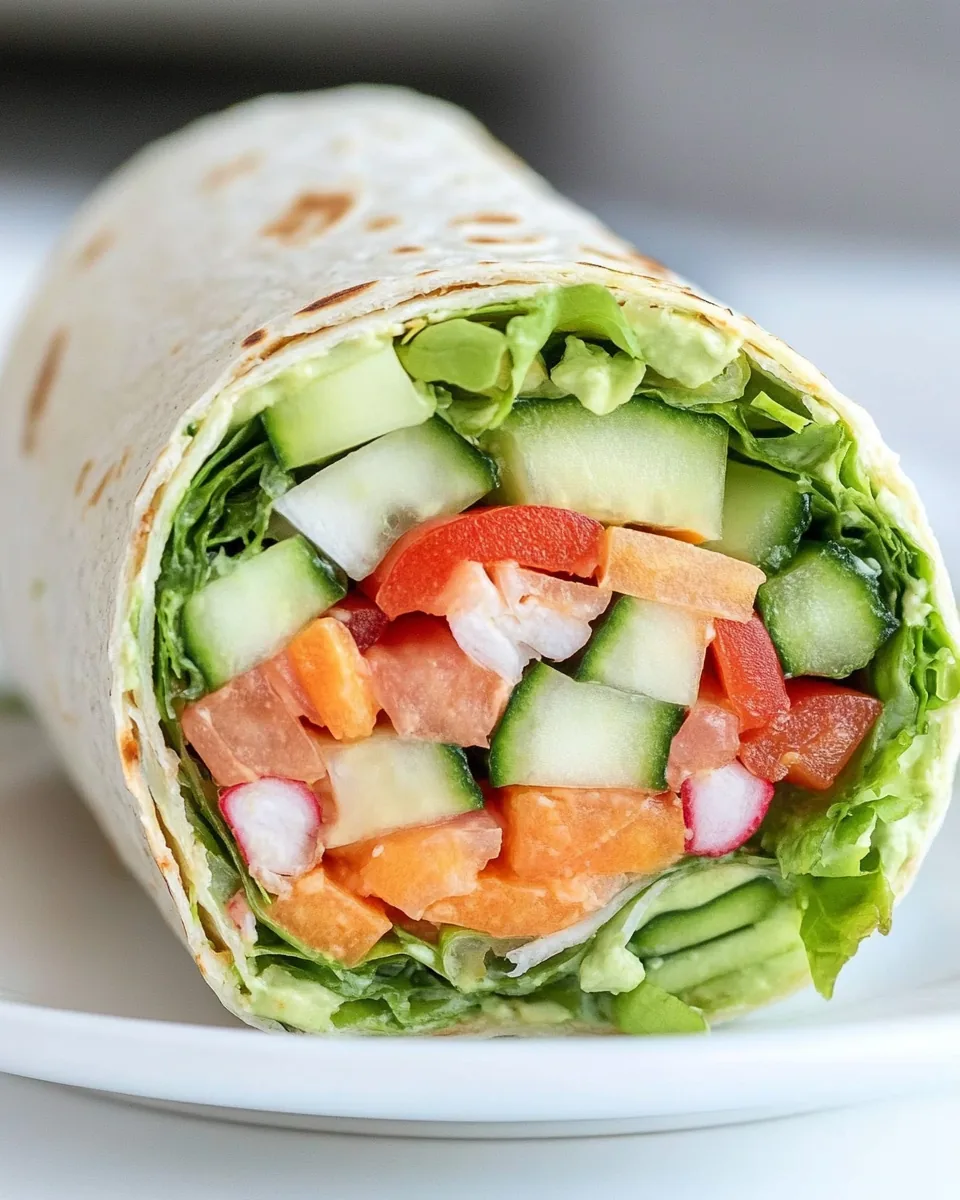
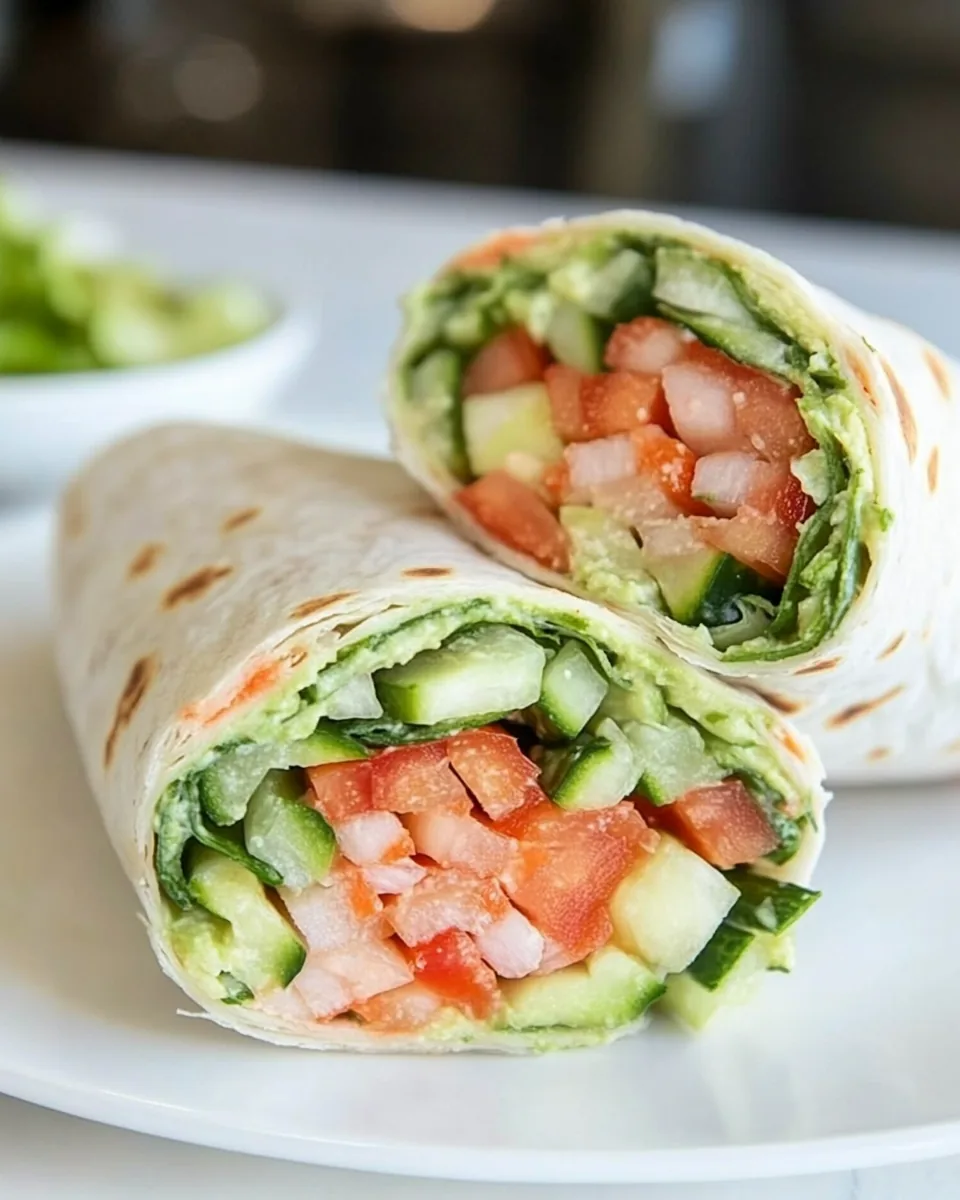
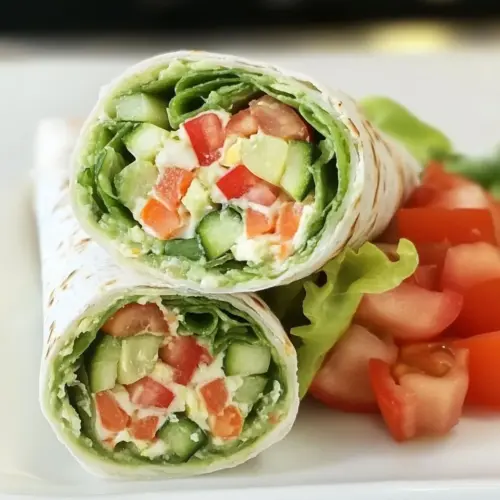
Veggie Wrap
There’s nothing quite like a vibrant Veggie Wrap to brighten up your lunch or dinner. I remember the first time I made these wraps for a picnic with friends. The sun was shining, and the laughter was contagious. As I rolled those tortillas, layering them with fresh veggies and cheese, I could hardly wait to share my creation. Each bite was a burst of flavor, showcasing the freshness of the ingredients. It’s amazing how something so simple can bring people together, making every meal feel special.
Recipe Snapshot
10 mins
10 mins
0 mins
Medium
300 kcal
10 g
Keto, Gluten-Free, Low FODMAP
12 g
Grater, Peeler, Chef’s Knife, Mixing Bowl
Why You’ll Love This Veggie Wrap
1. Freshness at Its Best
When it comes to food, nothing beats the taste of fresh ingredients. The combination of crunchy carrots, crisp cucumbers, and creamy avocado in this Veggie Wrap is not just delicious; it’s a feast for the eyes as well. The vibrant colors make it hard to resist!
2. Easy to Customize
This recipe is fantastic because it allows for endless variations. If you love a particular vegetable, throw it in! Whether it’s adding some bell peppers or using different types of cheese, you can create a wrap that suits your taste perfectly.
3. Perfect for Meal Prep
The Veggie Wrap is an ideal option for meal prep. You can make a batch ahead of time and store them in the fridge for a quick grab-and-go lunch. It keeps well, and the flavors even meld together beautifully after some time.
4. Healthy and Guilt-Free
We often worry about our dietary choices, but with this Veggie Wrap, you can indulge without guilt. Packed with nutrients from fresh vegetables and creamy cheeses, it’s wholesome and satisfying.
5. Great for All Ages
This recipe appeals to everyone, from toddlers to grandparents. Kids love the fun of rolling their own wraps, and adults appreciate the healthy ingredients. It’s a meal that brings families together, encouraging everyone to create their own culinary masterpiece!
What to Gather for Veggie Wrap
Gathering your ingredients is a crucial step in making a delightful Veggie Wrap. Each element plays a unique role, combining to create a satisfying and flavorful meal. The mix of fresh vegetables and creamy cheeses not only tastes amazing but also offers a variety of textures that make every bite enjoyable.
- 4 medium flour tortillas: These soft wraps serve as the perfect foundation, holding all the delicious fillings together.
- 2 medium carrots, peeled and julienned: Crunchy and sweet, they add a great texture and vibrant color.
- 1 medium cucumber, thinly sliced: Refreshing and crisp, it complements the other ingredients beautifully.
- 2 medium tomatoes, sliced: Juicy and flavorful, they bring a burst of freshness to each bite.
- 4 leaves lettuce, romaine or green leaf: Providing a crisp layer, the lettuce adds a satisfying crunch.
- 1 medium avocado: Creamy and rich, it elevates the wrap with its delicious texture.
- 4 slices Havarti cheese: Melty and mild, this cheese adds a delightful creaminess.
- 1/3 cup cream cheese, softened: This serves as a perfect spread, giving the wraps a luscious texture.
- 1 tablespoon Parmesan cheese, grated: A sprinkle of this cheese adds a sharp flavor that enhances the overall taste.
- 1 stalk green onion, sliced: Adds a subtle onion flavor and crunch.
- 1/4 teaspoon garlic powder: Infuses a hint of garlicky goodness.
- 1/8 teaspoon cracked black pepper: Provides a touch of warmth and spice.
Cooking Instructions for Veggie Wrap
Making your own Veggie Wrap is an enjoyable process that brings all the fresh ingredients together. Each step is simple, and soon you’ll be enjoying your delicious creation.
- Start by laying the flour tortillas on a clean flat surface. This will be your canvas for the wrap. Make sure they are fresh for the best results.
- Next, spread the cream cheese mixture evenly on each tortilla. Be generous here; the creaminess will help bind everything together.
- Now, take your carrots and either grate them or use a julienne slicer for thin strips. This adds a delightful crunch and sweetness.
- Take the cucumber and slice it super thin. You can use a veggie peeler or mandolin for this step. The thinner the slices, the better they’ll integrate into the wrap.
- Slice the tomatoes and avocado next. Layer them beautifully on top of the cream cheese, ensuring that every bite has a bit of everything.
- Now, layer the lettuce leaves, followed by the Havarti cheese slices and the tomato slices. The layering is crucial as it keeps the moisture from the tomatoes at bay.
- Add the shredded carrots and thin cucumber slices on top. You want to build a nice tower of flavor here!
- Once your ingredients are stacked nicely, it’s time to roll. Start from one end and roll tightly like a burrito. Make sure to tuck in the sides as you go to keep everything contained.
- After rolling, cut each wrap in half to create two manageable pieces. You can serve them immediately or wrap each in plastic wrap to keep them fresh for later.
- Enjoy your Veggie Wrap as a light lunch or snack, or pack them for a picnic. They’re sure to be a hit!
Things Worth Knowing
- Ingredient Freshness: Always opt for the freshest ingredients possible to enhance flavor.
- Serving Temperature: These wraps are best served cold, so chill them in the fridge after preparing.
- Assembly Technique: Make sure to layer your ingredients evenly to avoid overwhelming any single flavor.
- Wrap Storage: If preparing ahead, wrap them tightly to preserve freshness.
Tips for Success
Mastering the Veggie Wrap can turn you into a wrap-making pro! Here are some tips to ensure your success.
- Storage: Make sure to store leftovers in an airtight container in the fridge to maintain freshness.
- Freezing: While it’s not recommended to freeze this wrap, you can prepare the fillings ahead and freeze them separately.
- Pairing: Serve with a light salad or a refreshing drink to complement the meal.
- Variations: Don’t hesitate to mix and match your favorite vegetables and cheeses to create your perfect wrap!
- Presentation: Cut the wraps in diagonal halves and arrange them on a platter for a picnic or gathering. It makes them more inviting!
Best Served With
When it comes to serving your Veggie Wrap, the options are endless! Here are some suggestions:
- Side Salads: Pair your wraps with a light green salad for a refreshing contrast.
- Dipping Sauces: Offer a side of hummus or yogurt dip to add more flavor.
- Occasions: Perfect for picnics, quick lunches, or even a healthy dinner option.
- Seasonal Pairings: Include seasonal fruits like strawberries or blueberries for a sweet side.
- Storage Tips: If not eaten right away, wrap them tightly to avoid drying out.
FAQ
Conclusion
The Veggie Wrap is not just a meal; it’s a flavorful journey that brings together fresh ingredients in a delightful way. I encourage you to try making it yourself and discover how easy and satisfying it can be. You’ll love crafting your own wraps and sharing them with friends and family; it’s a great way to enjoy healthy eating without sacrificing taste.
Veggie Wrap
Equipment
- Grater
- Peeler
- Chef's Knife
- Mixing Bowl
Ingredients
- 4 medium flour tortillas
- 2 medium carrots peeled and julienned
- 1 medium cucumber thinly sliced
- 2 medium tomatoes sliced
- 4 leaves lettuce romaine or green leaf
- 1 medium avocado
- 4 slices Havarti cheese
- 1/3 cup cream cheese softened
- 1 tablespoon Parmesan cheese grated
- 1 stalk green onion sliced
- 1/4 teaspoon garlic powder
- 1/8 teaspoon cracked black pepper
Instructions
- Lay tortillas on a clean flat surface.
- Spread the cream cheese mixture evenly on the tortillas.
- Grate carrots or use a julienne slicer.
- Slice cucumber super thin, using a veggie peeler or mandolin.
- Slice tomatoes and avocado.
- Layer lettuce leaves, sliced cheese, tomato slices, avocado, carrot shreds, and cucumber.
- Roll each wrap tightly like a burrito.
- Cut in half and serve immediately, or wrap each wrap with plastic wrap and keep in the fridge or lunchbox to chill and hold its shape.
- Enjoy!
Notes
- Storage: Make sure to store leftovers in an airtight container in the fridge to maintain freshness.
- Freezing: While it’s not recommended to freeze this wrap, you can prepare the fillings ahead and freeze them separately.
- Pairing: Serve with a light salad or a refreshing drink to complement the meal.
- Variations: Don’t hesitate to mix and match your favorite vegetables and cheeses to create your perfect wrap!
- Presentation: Cut the wraps in diagonal halves and arrange them on a platter for a picnic or gathering. It makes them more inviting!