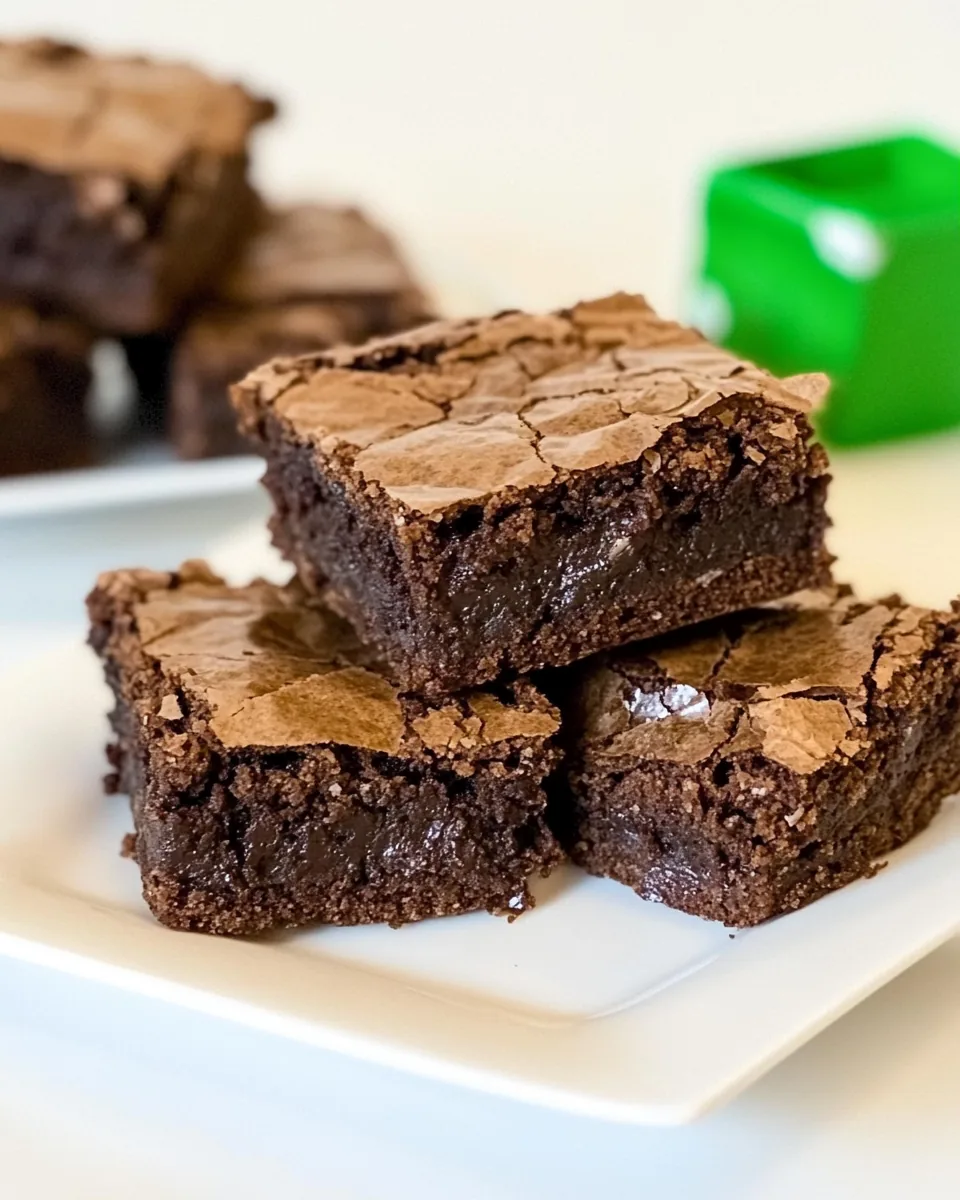
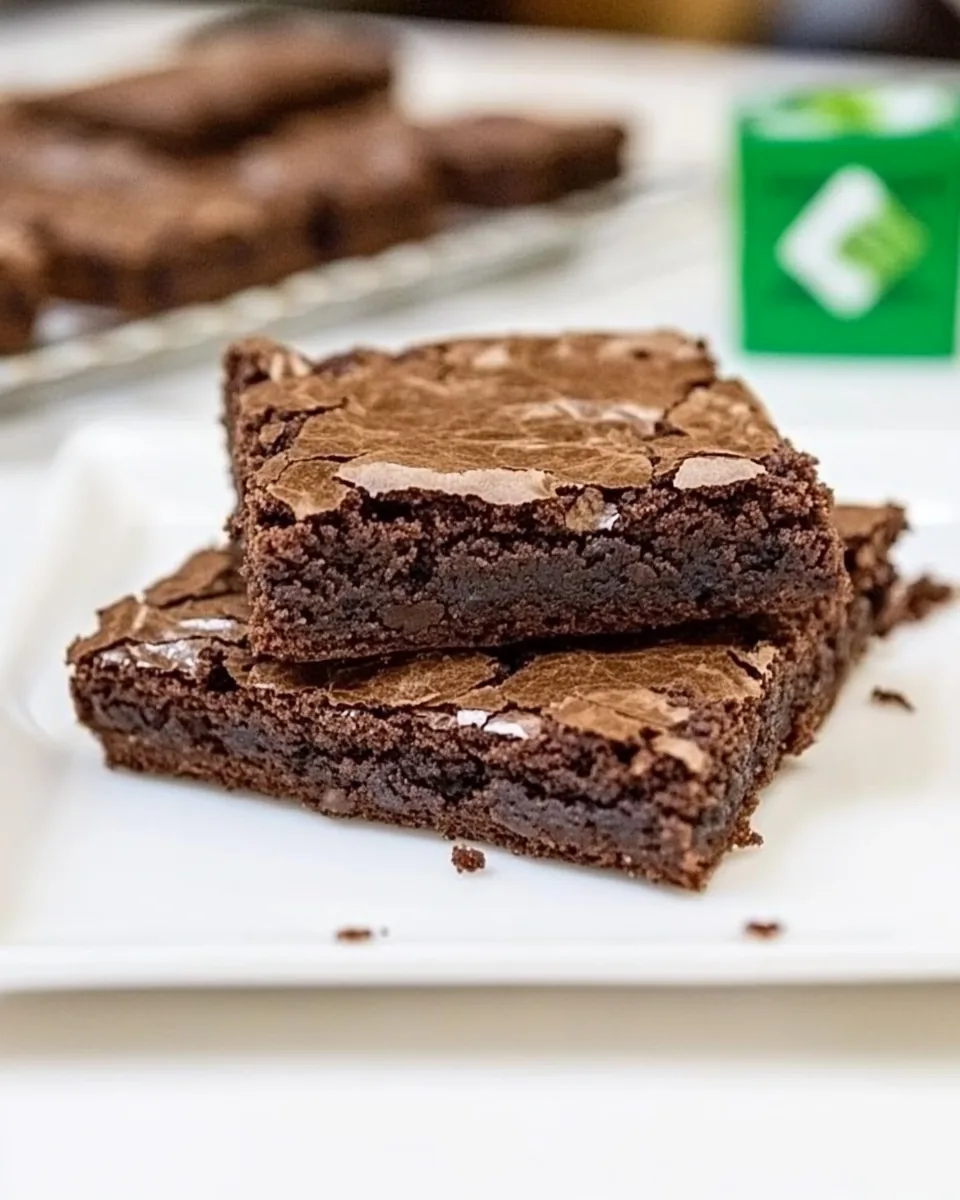
Thin Mints Brownies
There’s something undeniably special about the combination of chocolate and mint, and that’s why I absolutely love making Thin Mints Brownies. Imagine a cozy afternoon spent with friends, the scent of warm, gooey brownies wafting through the air, evoking memories of those delightful Girl Scout cookies we all know and adore. The moment you cut into these brownies and take a bite, you’re greeted with rich chocolate flavor, complemented by that signature minty freshness. It’s like a nostalgic stroll down memory lane, making every bite feel like a treasured moment. I often find myself baking these brownies for gatherings or simply to satisfy a sweet tooth. They are perfect for sharing, but I won’t judge if you want to keep them all to yourself!
Recipe Snapshot
35 mins
5 mins
30 mins
Medium
180 kcal
2 g
Keto, Paleo, Vegan
9 g
Wooden Spoon, Mixing Bowl, Frying Pan, Blender, Baking Sheet, Oven
When it comes to desserts, Thin Mints Brownies are a total crowd-pleaser, and there are several reasons why I think you’ll fall in love with them too.
The Beauty of This Thin Mints Brownies
Classic Flavor Combination
The combination of chocolate and mint is timeless. Each bite of Thin Mints Brownies delivers a perfect balance of these flavors, making them a favorite among both kids and adults. The rich, fudgy texture pairs beautifully with the refreshing mint, creating a dessert that’s truly irresistible.
Simple to Make
One of the best things about this recipe is how easy it is. With just a few ingredients, you can whip up a batch of these brownies in no time. It’s a great recipe for beginners or those who want something quick and satisfying. Plus, there’s something wonderful about making a dessert that requires minimal effort but yields fantastic results.
Perfect for Any Occasion
Whether it’s a birthday party, a family gathering, or just a quiet evening at home, Thin Mints Brownies are appropriate for any occasion. They’re delightful served warm with a scoop of ice cream or enjoyed with a cup of coffee. You can also dress them up with some whipped cream and a sprig of mint for a more elegant presentation.
Endless Customization
While the original recipe is fantastic on its own, there’s plenty of room for creativity. You can mix in chocolate chips, add crushed Thin Mints on top, or even drizzle some melted chocolate for an extra touch. Each variation brings out different aspects of the flavors and textures, making it a versatile choice for your dessert repertoire.
Kids Love Them
If you have children, they will absolutely adore Thin Mints Brownies. Not only will they enjoy eating them, but they can also help with the preparation. It’s a fun way to get them involved in the kitchen and make lasting memories while baking together.
Ingredients for Thin Mints Brownies
The ingredients for Thin Mints Brownies are a crucial element that brings this treat to life. Each component plays a role in creating the delectable taste and texture that makes these brownies so special. From the rich brownie mix to the subtle hint of mint, every ingredient complements the others to form a deliciously cohesive dessert.
- 1 (14.1-oz) box Pillsbury™ Thin Mints® Brownie Mix: This brownie mix serves as the foundation of the recipe, providing a rich chocolate flavor and fudgy texture.
- 3 tablespoons water: A simple yet essential ingredient that helps to activate the brownie mix and achieve the right consistency.
- 1/3 cup oil: Adding moisture and richness, the oil ensures the brownies stay soft and chewy.
- 1 egg: The egg binds all the ingredients together, contributing to the structure and making the brownies tender.
How to Assemble Thin Mints Brownies
Making Thin Mints Brownies is a straightforward process that anyone can master. I love how quickly you can go from gathering ingredients to enjoying a warm brownie. Here’s how to bring these delightful treats to life!
- Preheat your oven to 350 degrees Fahrenheit if you’re using a metal or glass pan. For a dark-coated pan, reduce the temperature to 325 degrees. This step is crucial because it ensures that your brownies bake evenly.
- Prepare your baking pan by coating the bottom with no-stick cooking spray. This will prevent the brownies from sticking and make it easier to cut them into perfect squares later on.
- In a large mixing bowl, combine the brownie mix, water, oil, and egg. Stir the mixture until it’s well blended—aim for about 50 strokes. This is where the magic begins; the aromas of the chocolate and mint will start to fill your kitchen.
- Spread the brownie batter evenly into the prepared pan. Use a spatula to ensure it’s nicely smoothed out, reaching the corners and edges for an even bake.
- Pop the pan into the preheated oven. For an 8×8-inch pan, bake for 29 to 32 minutes; if you’re using a 9×9-inch pan, aim for 26 to 29 minutes. Keep an eye on them—the smell alone can be tempting!
- Once baked, you’ll want to let the brownies cool completely in the pan before cutting them. This cooling time allows them to firm up, making them easier to cut into squares. It’s worth the wait!
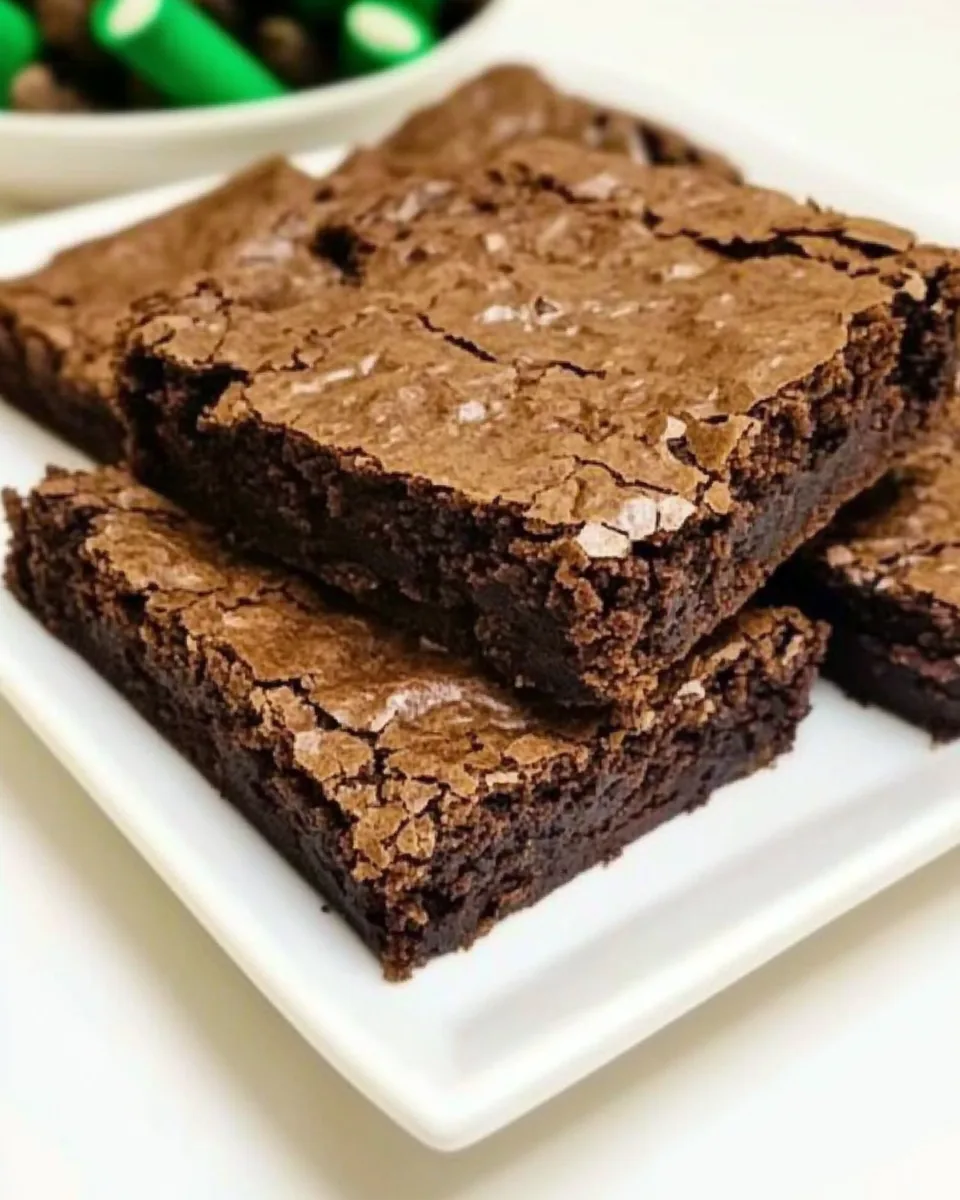
- After they’ve cooled, cut them into squares and serve. You can dust them with powdered sugar for a touch of elegance or simply enjoy them as they are. Either way, you’re in for a treat!
- Store any leftovers loosely covered at room temperature. Although I doubt there will be many leftovers!
Things Worth Knowing
- Use a toothpick: Check for doneness by inserting a toothpick in the center of the brownies. If it comes out with a few moist crumbs, they are perfect!
- Cool completely: Allow brownies to cool completely in the pan to achieve the best texture for cutting and serving.
- Adjust baking time: Remember that different pans can affect baking time, so keep an eye on your brownies as they bake.
- Don’t overmix: When stirring the ingredients together, avoid overmixing. This will keep your brownies soft and fudgy.
Customization Ideas
If you’re looking to add a personal touch to your Thin Mints Brownies, there are plenty of ways to customize this delightful treat. Each option opens up a new flavor experience, allowing you to create something uniquely yours. Here are some ideas to get you started:
- Add chocolate chips: Mix in some semi-sweet or dark chocolate chips for an extra chocolatey goodness that complements the mint flavor.
- Mint frosting: Top your brownies with a layer of mint frosting for an additional layer of flavor and sweetness.
- Crushed Thin Mints: Sprinkle crushed Thin Mints on top before baking for added texture and a stronger mint flavor.
- Swirl in peanut butter: For a unique twist, swirl in some peanut butter into the brownie batter before baking.
- Serve with ice cream: Pair warm brownies with a scoop of vanilla or mint ice cream for a delightful dessert experience.
- Decorate with whipped cream: Add a dollop of whipped cream on top for a light and airy finish.
What to Serve Alongside Thin Mints Brownies
When it comes to serving Thin Mints Brownies, the options are endless. Here are some great ideas to complement these delicious treats:
- Vanilla ice cream: The classic pairing with brownies, a scoop of vanilla ice cream provides a creamy contrast to the rich chocolate.
- Fresh fruit: Serve with fresh strawberries or raspberries for a pop of color and a refreshing flavor that balances the sweetness.
- Coffee: A warm cup of coffee or espresso adds a delightful depth to the sweetness of the brownies, making it a perfect afternoon treat.
- Milk: A glass of cold milk is a timeless accompaniment that enhances the chocolate flavor.
- Mint tea: For a refreshing twist, serve with a cup of mint tea, enhancing the minty notes of the brownies.
- Chocolate sauce: Drizzling warm chocolate sauce over the brownies adds extra indulgence and flavor.
FAQ
Conclusion
In summary, Thin Mints Brownies are a delightful treat that perfectly combines the nostalgic flavor of mint with rich, fudgy brownies. They’re simple to make, customizable, and perfect for any occasion. I encourage you to try this recipe, and I’m sure it will quickly become a favorite in your household. Happy baking!
Thin Mints Brownies
Equipment
- Wooden Spoon
- Mixing Bowl
- Frying Pan
- Blender
- Baking Sheet
- Oven
Ingredients
- 1 box 1 (14.1-oz) box Pillsbury™ Thin Mints® Brownie Mix
- 3 tablespoons water
- 1/3 cup oil
- 1 egg egg
Instructions
- Preheat your oven to 350 degrees Fahrenheit if you're using a metal or glass pan. For a dark-coated pan, reduce the temperature to 325 degrees.
- Prepare your baking pan by coating the bottom with no-stick cooking spray.
- In a large mixing bowl, combine the brownie mix, water, oil, and egg. Stir until well blended.
- Spread the brownie batter evenly into the prepared pan.
- Pop the pan into the preheated oven. For an 8x8-inch pan, bake for 29 to 32 minutes; for a 9x9-inch pan, aim for 26 to 29 minutes.
- Once baked, let the brownies cool completely in the pan before cutting them.
- After they’ve cooled, cut them into squares and serve.
- Store any leftovers loosely covered at room temperature.
Notes
- Storage: Store leftovers in an airtight container at room temperature for up to three days.
- Freezing: You can freeze brownies for up to three months; just make sure they are well-wrapped.
- Pairing: Serve with ice cream or fresh fruit for a delicious addition.
- Variations: Experiment with different add-ins like nuts or chocolate chips.