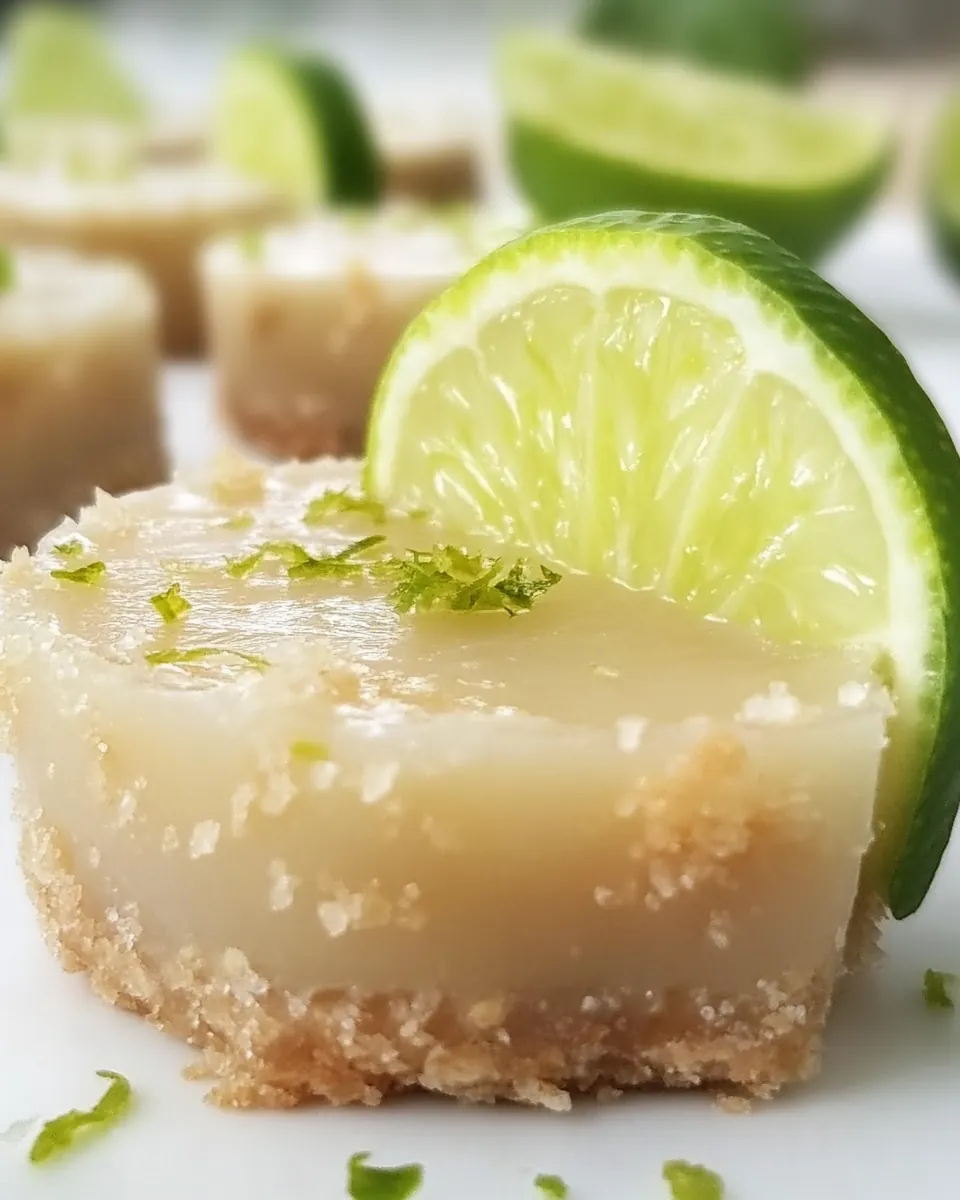
Raw Key Lime Tartlets
Raw Key Lime Tartlets have been a personal favorite of mine ever since I stumbled upon a tattered recipe card in a friend s kitchen drawer during a summer barbecue.
I remember lifting a tiny tartlet to my lips, the moment the bright, tangy lime juice met the chilled, creamy filling and a subtle nuttiness from the crust, I knew I had to recreate that balance at home. Over time I experimented with nuts, natural sweeteners, and freezing times until I found a version that felt vibrant yet soothing on the palate. That version is what I now call my go to for hot evenings when you want something sweet but not heavy.
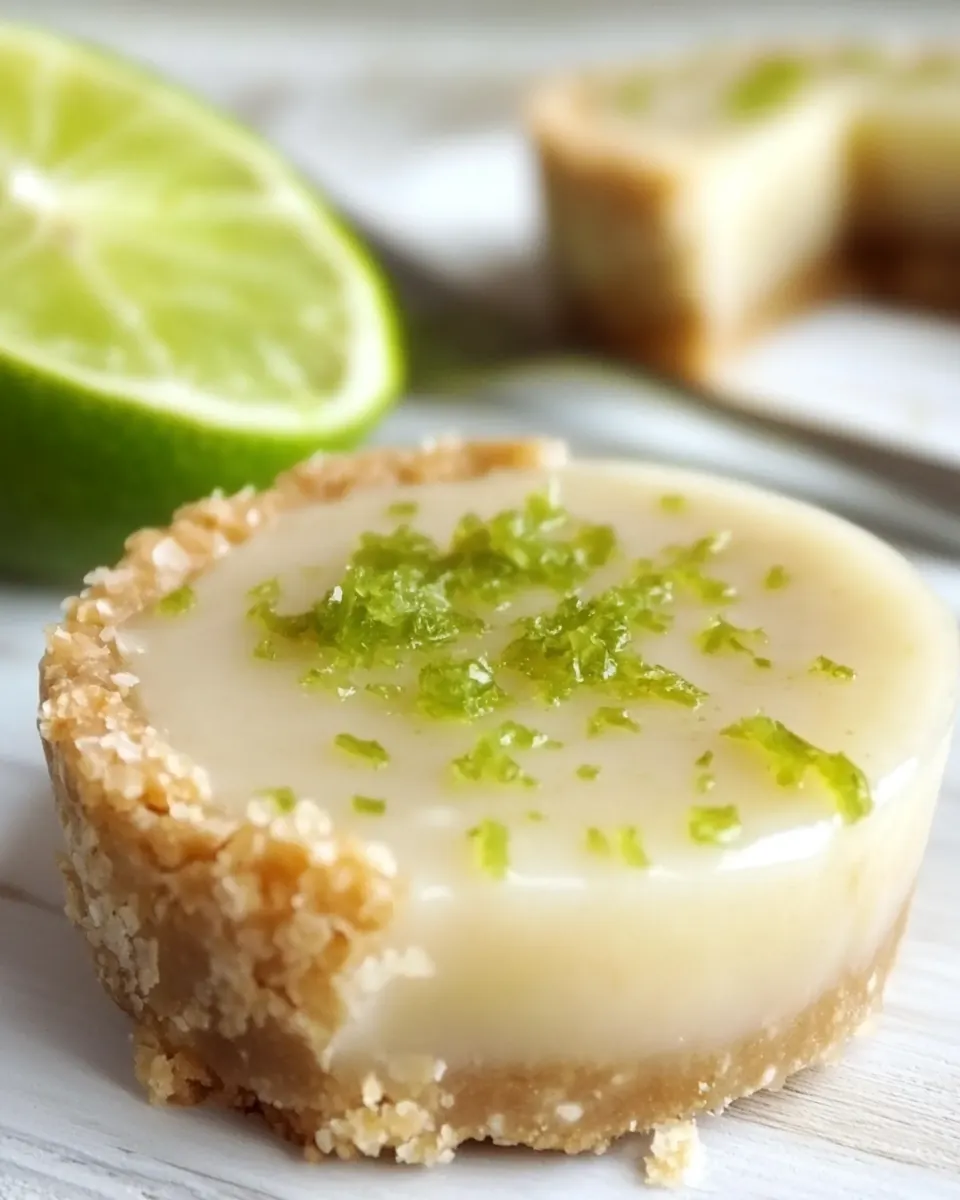
What I love about Raw Key Lime Tartlets is that they are approachable, no oven required, and they let the ingredients shine. Each bite has a contrast between the slightly crisp nut crust and the lush, citrus filling, and I always get compliments when I bring them to potlucks. I like to prepare the crust first while listening to music, then blend the filling while I clean up, so the whole process feels calm rather than frantic. These little tarts are also forgiving, so if you are new to raw desserts you can still get great results.
Recipe Snapshot
20 mins
20 mins
Medium
200 kcal
American
Gluten-Free, Vegan
Desserts
Muffin tin, Parchment baking cups, Mini food processor or blender, Blender
Why This Raw Key Lime Tartlets Stands Out
They are refreshingly light yet satisfyingly creamy
I find that Raw Key Lime Tartlets strike a rare balance between lightness and richness. The filling, made from blended cashews and coconut oil, becomes silky and luxurious without feeling heavy on the stomach. That texture makes them perfect for warm weather, and I often choose them when I want a dessert that will leave guests happy but not weighed down.
Simple ingredient integrity
I adore how straightforward the ingredient list is. Whole nuts, pure maple syrup, a splash of lime juice, and a pinch of sea salt come together without the need for processed shortcuts. This clarity means each component contributes a clear note, so you taste the citrus brightness, the nutty roast, and the hint of floral sweetness from the honey.
Fast assembly and set it and forget it chilling
One reason I reach for these tarts frequently is the pace. The active work is compact, and then the freezer does the rest. I can have the bases in the freezer while I blend the filling, and return them to set. That downtime is great for prepping other elements or getting dinner on the table.
Versatile and crowd pleasing
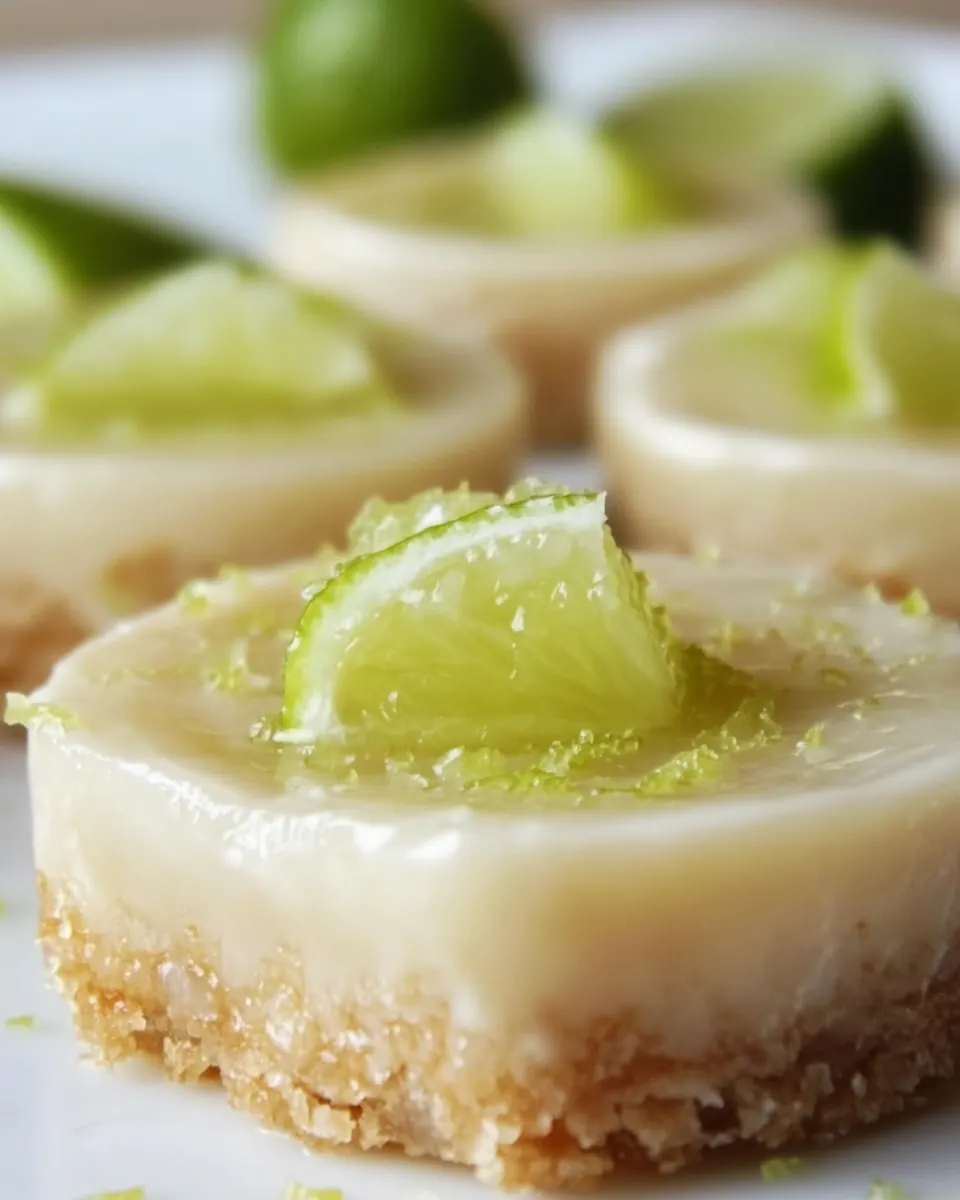
People often assume raw desserts are niche, but these travel well to picnics and gatherings. The tartlets are portion controlled, which makes them ideal for entertaining, and the flavor profile appeals to a wide range of tastes. I like to bring them to summer brunches because they feel festive without being fussy.
Forgiving technique, reliable results
Finally, the technique is surprisingly forgiving. Slight variations in nut grind or sweetener level still produce an excellent texture and flavor. I usually tweak the sweetness to my taste because chilled desserts taste less sweet, but otherwise I stick to the method and it reliably comes out beautifully.
Ingredients Overview for Raw Key Lime Tartlets
These ingredients are chosen to create a vivid contrast between a crunchy, nutty crust and a silky, citrus forward filling. The key players are the nuts which provide structure and toasted flavor, the natural sweeteners which balance acidity, and the lime juice which gives the tartlets their defining bright tang.
- 1 cup walnuts or pecans: Provide a crunchy, nutty base texture when processed finely; contributes healthy fats and a toasty flavor that supports the tartlet crust. Combine with melted coconut oil and sweetener to bind and hold shape when pressed into molds. Helps create a satisfying mouthfeel that contrasts the creamy filling.
- 1 tablespoon coconut oil, melted: Add a subtle tropical fat that melts to bind the crust components together and enhance richness. Melted coconut oil aids in setting the crust when chilled, giving structure without baking. Imparts a mild coconut aroma that complements the nuts and lime.
- 1 tablespoon pure maple syrup: Sweeten and help bind the crust while adding a caramel-like depth; pure maple syrup dissolves easily into the nut mixture. Balances tartness of the filling and improves texture by adding pliability to the pressed crust. Offers natural sweetness and complexity compared with refined sugars.
- 1/2 teaspoon vanilla extract: Impart a warm, rounded background flavor that elevates overall taste without dominating; vanilla enhances perceived sweetness. Small amount rounds out nut and citrus notes in the crust mixture. Works synergistically with maple syrup to create a fuller flavor profile.
- pinch of sea salt: Balance flavors by enhancing sweetness and reducing bitterness with a tiny saline contrast; pinch of sea salt intensifies other ingredients. Also highlights nutty and coconut notes in the crust. Use sparingly to avoid overpowering the delicate lime filling.
- 1 cup raw cashews, or 1/2 cup raw cashew butter: Provide a creamy, rich base for the filling with a neutral, slightly sweet flavor when processed or used as butter. When soaked and blended, raw cashews create a silky texture that sets into a smooth, custard-like filling. Offers healthy fats and a mild backdrop that allows lime to shine.
- 3 tablespoons coconut oil, melted: Contribute fat to emulsify and loosen the filling while adding richness and a slight coconut note when melted. Helps the blended cashew filling set firmer when chilled and improves mouthfeel. Works with honey to create a glossy, smooth texture.
- 3 tablespoons raw honey: Sweeten, thicken, and add a floral, complex sweetness that balances lime acidity; raw honey blends smoothly with cashews and oil. Acts as both flavoring and binder, aiding the filling in achieving a custardy consistency. Can also contribute slight viscosity for easier pouring into crusts.
- 1/4 cup fresh lime juice (key limes or regular): Deliver bright acidity and authentic key lime flavor that defines tartlet character; fresh juice provides vibrant citrus aroma and tartness. Acid helps the filling firm slightly and balance the richness of cashews and oils. Use fresh for best flavor and aromatic oils.
- 1/2 teaspoon vanilla extract: Enhance and round out the filling's flavor with a hint of warmth from vanilla; small amount increases perceived sweetness. Vanilla extract deepens flavor complexity without adding additional sweetness. Works subtly with lime to create a more balanced, dessert-like profile.
- pinch of sea salt: Elevate the balance between sweet and tart by enhancing flavors and reducing flatness; a pinch of sea salt intensifies the overall profile. Salt helps highlight the lime and honey while ensuring the filling does not taste overly sweet. Use minimally to preserve brightness.
Cooking Method for Raw Key Lime Tartlets
These tartlets are assembled in a few focused steps and then set in the freezer. The technique involves creating a pressable nut crust, blending a silky filling, and chilling until firm, and I like to keep my workspace tidy as I move between the processor and blender.
- Line a standard muffin tin with 6 parchment baking cups, and set aside.: When you place parchment baking cups into a muffin tin , you create individual molds that help the tartlets release cleanly, and the paper also provides a neat presentation. Expect a faint papery rustle as you press them into the cups, and ensure each liner sits flat so the crust forms evenly. A common slip is not pressing liners fully into the tin, which can cause uneven crust thickness. If liners are loose, the crust may slump when you press in the dough, so press them into shape before adding the mixture.
- Pulse the walnuts or pecans in a mini food processor or blender, until a fine powder is formed. (Be careful not to over-process, as you don't want it to become a nut butter.) Add in the melted coconut oil, maple syrup, vanilla extract and salt, and pulse again until a uniform dough is created.: As you pulse walnuts or pecans , listen for the change from big crunchy clacks to a consistent sand like texture, a cue that the crumbs are ready. The added coconut oil and maple syrup then bind these crumbs into a dough like mass that presses well. If you over process, you may release too much oil and create a butter like paste, which will result in a greasy crust that will not press firmly. To avoid this, pulse in short bursts and scrape the bowl occasionally to check texture.
- Scoop the dough by a heaping tablespoon, and drop it into the bottom of each of the 6 baking cup liners. Use your fingers to press the crusts down firmly, and place the pan in the freezer to set.: After you add the melted coconut oil , maple syrup , vanilla extract , and sea salt , pulsing brings everything together into a cohesive mixture. You will notice the crumbs darken slightly and stick together when pinched between fingers, that s the signal you have a proper crust dough. A frequent error is adding too much oil, which will make the mixture cling rather than compress. If that happens, add a touch more finely processed nuts to balance the moisture.
- Place the dry cashews in a blender and blend until a it's nearly the texture of a creamy cashew butter. Add in the rest of the filling ingredients, and blend until a silky smooth batter is formed. Adjust flavors to taste, keeping in mind that the final chilled desserts will taste slightly less-sweet than the room-temperature batter.: Dropping a heaping amount into each cup ensures a sturdy base, and as you press the dough down with your fingers you will feel it compact and take shape. The crust should be firm to the touch and slightly glossy from the melted coconut oil . If you press too lightly, the crust may crumble when cut, so press with steady even pressure. One mistake is over packing, which prevents the crust from having any airiness; aim for a compact yet slightly springy base.
- Note: If you're using prepared cashew butter instead of the whole cashews, you can skip the blender altogether and mix all of the filling ingredients well in a medium bowl.: Pressing with your fingertips creates a uniform thickness and helps the crust stick together, and the quick chill in the freezer hardens the coconut oil so the crust keeps its shape. You will hear a soft thump as each base hits the metal pan. Avoid skipping the freeze step, because without it the crust will crumble when you try to fill the cups. If you notice the crust warming up while handling, return the pan to the freezer for a few extra minutes before filling.
- Remove the pan of crusts from the freezer, and divide the filling batter evenly among the six cups. Return to the freezer to set for at least 3 hours before serving, or until they are completely firm.: As you blend raw cashews , they transition from grainy to smooth, and the sound changes from intermittent crunches to a steady hum as oils release. Achieving a nearly cashew butter consistency is key for a velvety filling, and it helps the mixture emulsify with coconut oil and honey . Over blending can warm the nuts and make the mixture too fluid, so pulse and pause to check texture, allowing the blender jar to cool between long cycles if necessary.
- Serve directly from the fridge or freezer for best texture, and keep any leftovers well chilled.: Incorporating coconut oil , raw honey , lime juice , vanilla extract , and a pinch of sea salt transforms the nut paste into a luminous batter. You should see a silky, slightly glossy texture and be able to lift a spoonful that ribbons slowly. This smoothness translates to a creamy mouthfeel once chilled. If the batter seems grainy, blend a little longer or scrape down the sides to ensure even processing. A common oversight is not tasting at this stage; the chilled result tastes less sweet, so adjust the sweetness slightly higher than you would eat warm.
- Adjust flavors to taste keeping in mind that the final chilled desserts will taste slightly less sweet than the room temperature batter: Tasting the batter gives you a chance to balance the lime juice acidity and the raw honey sweetness. Because cold mutes sweetness, I usually add a touch more honey than expected, but be careful not to over sweeten. If the lime is too assertive, a touch more coconut oil or cashew can soften it. A mistake here is over correcting with too much sweetener instead of balancing with more cashew base or a hint more salt.
- Note If you re using prepared cashew butter instead of the whole cashews you can skip the blender altogether and mix all of the filling ingredients well in a medium bowl: Choosing pre made cashew butter speeds the process and reduces cleanup, and you will still end up with a creamy filling when mixed thoroughly. Stir by hand until the mixture is homogeneous and smooth, noticing the shine from the coconut oil . The pitfall is uneven mixing which can leave pockets of thicker butter, so scrape the bowl and whisk until consistent.
- Remove the pan of crusts from the freezer and divide the filling batter evenly among the six cups: Spoon the batter into each chilled crust, letting gravity and a gentle spread create a neat dome that will flatten slightly as it sets. You want equal portions to ensure uniform set time and serving size. If you overfill, the centers may protrude and not set as cleanly, so use a scoop for consistent amounts. A common misstep is filling warm crusts, which can cause slumping; ensure crusts are well chilled before filling.
- Return to the freezer to set for at least 3 hours before serving or until they are completely firm: The freezing time solidifies the coconut oil and firms the cashew filling so the tartlets hold their shape. You will notice the surface becoming opaque and resilient to gentle pressure when fully set. Rushing this step results in a soft center that won t slice cleanly. If you re impatient, chilling overnight is safe and often yields the best texture.
- Serve directly from the fridge or freezer for best texture and keep any leftovers well chilled: Serving chilled preserves the contrast between the crisp crust and the silky filling, and these tartlets maintain their texture longer when kept cold. If stored at room temperature they will soften, and prolonged warmth can lead to separation of oils. A frequent mistake is leaving them at room temperature too long; place leftovers in an airtight container and refrigerate or return to the freezer for longer storage.
Recipe Variations about Raw Key Lime Tartlets

These variations let you adapt the tartlets to different tastes or time constraints while keeping the core character intact. Below are ideas that I ve used and refined over many batches.
- Use cashew butter for speed If you re short on time substitute the 1 cup raw cashews with 1/2 cup prepared cashew butter and simply stir the filling ingredients together for a quicker route.
- Swap nuts for different notes Try pecans for a sweeter nuttiness or walnuts for a deeper, slightly bitter edge in the crust to change the aromatic profile.
- Boost citrus intensity For a brighter zing add an extra teaspoon of fresh lime juice to the filling, but balance with a touch more raw honey so the set texture remains pleasant.
- Make them smaller or larger Adjust the portion by using a mini muffin tin for bite sized treats or a silicone mold for larger single serve tarts, but remember to scale the filling amounts evenly.
- Texture adjustment If you prefer a firmer filling increase the coconut oil by a teaspoon, or reduce it slightly for a creamier softer mouthfeel.
Serve This Raw Key Lime Tartlets With
These tartlets shine as a light finish to summer meals or as a refreshing snack during warm days. They are delightful plated for a brunch spread or tucked into a picnic basket, and they pair well with simple beverages and seasonal fruit. Below I outline serving ideas and storage suggestions to make the most of them.
- As a dessert for summer gatherings Present the tartlets chilled on a platter alongside fresh fruit for a cooling finish after grilled mains.
- For brunch Serve with small bowls of berries and mint sprigs so guests can customize each tartlet with fresh toppings.
- Picnic friendly Keep tartlets in a cooler to preserve texture while outdoors, and invite guests to enjoy them powered by chilled lemonades or herbal iced teas.
- Special occasions These work well for intimate celebrations where a light yet elegant dessert is desired, and their individual portions make serving effortless.
- Storage tips Store in an airtight container in the fridge for up to three days, or freeze for up to one month and thaw briefly in the fridge before serving to retain the ideal texture.
FAQ
Conclusion
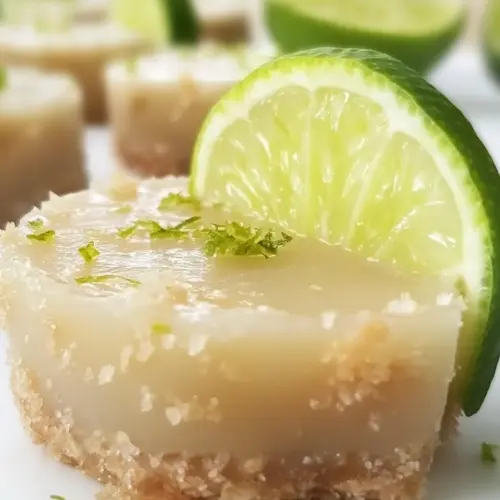
What makes these Raw Key Lime Tartlets special is the bright citrus filling balanced by a nutty crumb that comes together without an oven. They are easy to assemble, visually appealing, and forgiving in technique, which makes them perfect for both casual get togethers and small celebrations. I encourage you to try them this week, they travel well and are simple to prepare ahead of time. Enjoy the process and the refreshing payoff when you serve a chilled tartlet to friends or family.
Raw Key Lime Tartlets
Equipment
- Muffin Tin
- Parchment baking cups
- Mini food processor or blender
- Blender
Ingredients
- 1 cup walnuts or pecans Provide a crunchy, nutty base texture when processed finely; contributes healthy fats and a toasty flavor that supports the tartlet crust. Combine with melted coconut oil and sweetener to bind and hold shape when pressed into molds. Helps create a satisfying mouthfeel that contrasts the creamy filling.
- 1 tablespoon coconut oil, melted Add a subtle tropical fat that melts to bind the crust components together and enhance richness. Melted coconut oil aids in setting the crust when chilled, giving structure without baking. Imparts a mild coconut aroma that complements the nuts and lime.
- 1 tablespoon pure maple syrup Sweeten and help bind the crust while adding a caramel-like depth; pure maple syrup dissolves easily into the nut mixture. Balances tartness of the filling and improves texture by adding pliability to the pressed crust. Offers natural sweetness and complexity compared with refined sugars.
- 1/2 teaspoon vanilla extract Impart a warm, rounded background flavor that elevates overall taste without dominating; vanilla enhances perceived sweetness. Small amount rounds out nut and citrus notes in the crust mixture. Works synergistically with maple syrup to create a fuller flavor profile.
- pinch of sea salt Balance flavors by enhancing sweetness and reducing bitterness with a tiny saline contrast; pinch of sea salt intensifies other ingredients. Also highlights nutty and coconut notes in the crust. Use sparingly to avoid overpowering the delicate lime filling.
- 1 cup raw cashews, or 1/2 cup raw cashew butter Provide a creamy, rich base for the filling with a neutral, slightly sweet flavor when processed or used as butter. When soaked and blended, raw cashews create a silky texture that sets into a smooth, custard-like filling. Offers healthy fats and a mild backdrop that allows lime to shine.
- 3 tablespoons coconut oil, melted Contribute fat to emulsify and loosen the filling while adding richness and a slight coconut note when melted. Helps the blended cashew filling set firmer when chilled and improves mouthfeel. Works with honey to create a glossy, smooth texture.
- 3 tablespoons raw honey Sweeten, thicken, and add a floral, complex sweetness that balances lime acidity; raw honey blends smoothly with cashews and oil. Acts as both flavoring and binder, aiding the filling in achieving a custardy consistency. Can also contribute slight viscosity for easier pouring into crusts.
- 1/4 cup fresh lime juice (key limes or regular) Deliver bright acidity and authentic key lime flavor that defines tartlet character; fresh juice provides vibrant citrus aroma and tartness. Acid helps the filling firm slightly and balance the richness of cashews and oils. Use fresh for best flavor and aromatic oils.
- 1/2 teaspoon vanilla extract Enhance and round out the filling's flavor with a hint of warmth from vanilla; small amount increases perceived sweetness. Vanilla extract deepens flavor complexity without adding additional sweetness. Works subtly with lime to create a more balanced, dessert-like profile.
- pinch of sea salt Elevate the balance between sweet and tart by enhancing flavors and reducing flatness; a pinch of sea salt intensifies the overall profile. Salt helps highlight the lime and honey while ensuring the filling does not taste overly sweet. Use minimally to preserve brightness.
Instructions
- Line a standard muffin tin with 6 parchment baking cups, and set aside.: When you place parchment baking cups into a muffin tin , you create individual molds that help the tartlets release cleanly, and the paper also provides a neat presentation. Expect a faint papery rustle as you press them into the cups, and ensure each liner sits flat so the crust forms evenly. A common slip is not pressing liners fully into the tin, which can cause uneven crust thickness. If liners are loose, the crust may slump when you press in the dough, so press them into shape before adding the mixture.
- Pulse the walnuts or pecans in a mini food processor or blender, until a fine powder is formed. (Be careful not to over-process, as you don't want it to become a nut butter.) Add in the melted coconut oil, maple syrup, vanilla extract and salt, and pulse again until a uniform dough is created.: As you pulse walnuts or pecans , listen for the change from big crunchy clacks to a consistent sand like texture, a cue that the crumbs are ready. The added coconut oil and maple syrup then bind these crumbs into a dough like mass that presses well. If you over process, you may release too much oil and create a butter like paste, which will result in a greasy crust that will not press firmly. To avoid this, pulse in short bursts and scrape the bowl occasionally to check texture.
- Scoop the dough by a heaping tablespoon, and drop it into the bottom of each of the 6 baking cup liners. Use your fingers to press the crusts down firmly, and place the pan in the freezer to set.: After you add the melted coconut oil , maple syrup , vanilla extract , and sea salt , pulsing brings everything together into a cohesive mixture. You will notice the crumbs darken slightly and stick together when pinched between fingers, that s the signal you have a proper crust dough. A frequent error is adding too much oil, which will make the mixture cling rather than compress. If that happens, add a touch more finely processed nuts to balance the moisture.
- Place the dry cashews in a blender and blend until a it's nearly the texture of a creamy cashew butter. Add in the rest of the filling ingredients, and blend until a silky smooth batter is formed. Adjust flavors to taste, keeping in mind that the final chilled desserts will taste slightly less-sweet than the room-temperature batter.: Dropping a heaping amount into each cup ensures a sturdy base, and as you press the dough down with your fingers you will feel it compact and take shape. The crust should be firm to the touch and slightly glossy from the melted coconut oil . If you press too lightly, the crust may crumble when cut, so press with steady even pressure. One mistake is over packing, which prevents the crust from having any airiness; aim for a compact yet slightly springy base.
- Note: If you're using prepared cashew butter instead of the whole cashews, you can skip the blender altogether and mix all of the filling ingredients well in a medium bowl.: Pressing with your fingertips creates a uniform thickness and helps the crust stick together, and the quick chill in the freezer hardens the coconut oil so the crust keeps its shape. You will hear a soft thump as each base hits the metal pan. Avoid skipping the freeze step, because without it the crust will crumble when you try to fill the cups. If you notice the crust warming up while handling, return the pan to the freezer for a few extra minutes before filling.
- Remove the pan of crusts from the freezer, and divide the filling batter evenly among the six cups. Return to the freezer to set for at least 3 hours before serving, or until they are completely firm.: As you blend raw cashews , they transition from grainy to smooth, and the sound changes from intermittent crunches to a steady hum as oils release. Achieving a nearly cashew butter consistency is key for a velvety filling, and it helps the mixture emulsify with coconut oil and honey . Over blending can warm the nuts and make the mixture too fluid, so pulse and pause to check texture, allowing the blender jar to cool between long cycles if necessary.
- Serve directly from the fridge or freezer for best texture, and keep any leftovers well chilled.: Incorporating coconut oil , raw honey , lime juice , vanilla extract , and a pinch of sea salt transforms the nut paste into a luminous batter. You should see a silky, slightly glossy texture and be able to lift a spoonful that ribbons slowly. This smoothness translates to a creamy mouthfeel once chilled. If the batter seems grainy, blend a little longer or scrape down the sides to ensure even processing. A common oversight is not tasting at this stage; the chilled result tastes less sweet, so adjust the sweetness slightly higher than you would eat warm.
- Adjust flavors to taste keeping in mind that the final chilled desserts will taste slightly less sweet than the room temperature batter: Tasting the batter gives you a chance to balance the lime juice acidity and the raw honey sweetness. Because cold mutes sweetness, I usually add a touch more honey than expected, but be careful not to over sweeten. If the lime is too assertive, a touch more coconut oil or cashew can soften it. A mistake here is over correcting with too much sweetener instead of balancing with more cashew base or a hint more salt.
- Note If you re using prepared cashew butter instead of the whole cashews you can skip the blender altogether and mix all of the filling ingredients well in a medium bowl: Choosing pre made cashew butter speeds the process and reduces cleanup, and you will still end up with a creamy filling when mixed thoroughly. Stir by hand until the mixture is homogeneous and smooth, noticing the shine from the coconut oil . The pitfall is uneven mixing which can leave pockets of thicker butter, so scrape the bowl and whisk until consistent.
- Remove the pan of crusts from the freezer and divide the filling batter evenly among the six cups: Spoon the batter into each chilled crust, letting gravity and a gentle spread create a neat dome that will flatten slightly as it sets. You want equal portions to ensure uniform set time and serving size. If you overfill, the centers may protrude and not set as cleanly, so use a scoop for consistent amounts. A common misstep is filling warm crusts, which can cause slumping; ensure crusts are well chilled before filling.
- Return to the freezer to set for at least 3 hours before serving or until they are completely firm: The freezing time solidifies the coconut oil and firms the cashew filling so the tartlets hold their shape. You will notice the surface becoming opaque and resilient to gentle pressure when fully set. Rushing this step results in a soft center that won t slice cleanly. If you re impatient, chilling overnight is safe and often yields the best texture.
- Serve directly from the fridge or freezer for best texture and keep any leftovers well chilled: Serving chilled preserves the contrast between the crisp crust and the silky filling, and these tartlets maintain their texture longer when kept cold. If stored at room temperature they will soften, and prolonged warmth can lead to separation of oils. A frequent mistake is leaving them at room temperature too long; place leftovers in an airtight container and refrigerate or return to the freezer for longer storage.
Notes
- Use cashew butter for speed If you re short on time substitute the 1 cup raw cashews with 1/2 cup prepared cashew butter and simply stir the filling ingredients together for a quicker route.
- Swap nuts for different notes Try pecans for a sweeter nuttiness or walnuts for a deeper, slightly bitter edge in the crust to change the aromatic profile.
- Boost citrus intensity For a brighter zing add an extra teaspoon of fresh lime juice to the filling, but balance with a touch more raw honey so the set texture remains pleasant.
- Make them smaller or larger Adjust the portion by using a mini muffin tin for bite sized treats or a silicone mold for larger single serve tarts, but remember to scale the filling amounts evenly.
- Texture adjustment If you prefer a firmer filling increase the coconut oil by a teaspoon, or reduce it slightly for a creamier softer mouthfeel.