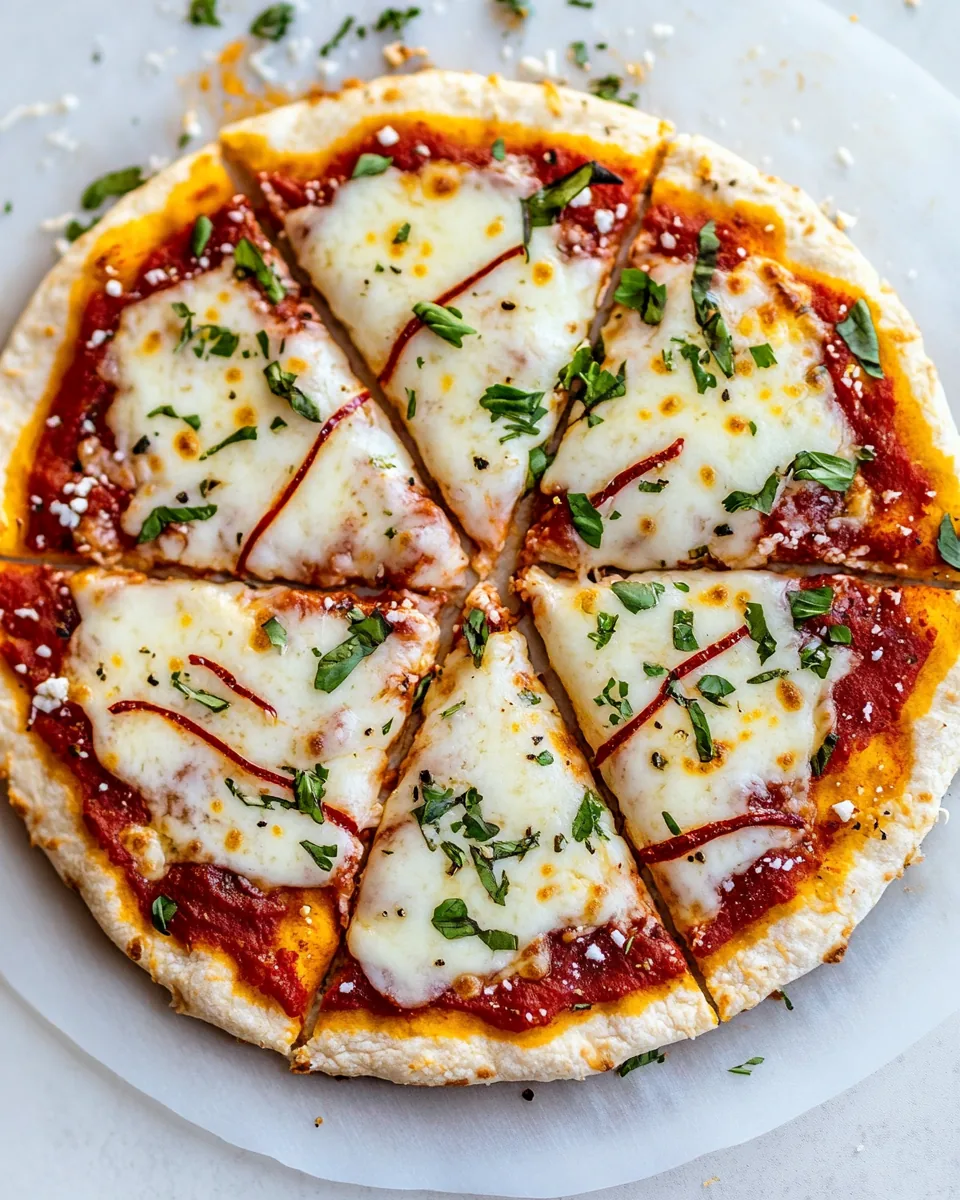
Pita Pizza
I can’t help but smile when I think about making Pita Pizza. It’s not just a meal; it’s a canvas for creativity that the whole family can enjoy. Picture this: a busy weeknight, and I’m juggling work calls and homework while my kids are bouncing off the walls, eager for dinner. That’s when I whip out the pita bread and transform it into a fun, personal pizza for each of us. Everyone picks their favorite toppings, and within minutes, the oven is working its magic. The aroma fills the kitchen, and the kids’ excitement is contagious. It’s a simple dish that delivers so much joy, and honestly, who doesn’t love pizza?
Recipe Snapshot
10 mins
5 mins
5 mins
Medium
350 kcal
18 g
Gluten-Free, Low FODMAP
20 g
Frying Pan, Skillet, Chef’s Knife, Air Fryer, Baking Sheet
Why You Need This Pita Pizza
It’s Quick and Easy
One of the best parts about Pita Pizza is its speed. In just a few minutes, you can have a delicious meal on the table, making it perfect for those hectic weeknights when time is not on your side. There’s no long prep work here—just layer and bake!
Customizable for Everyone
Whether you’re vegan, gluten-free, or just picky about toppings, Pita Pizza has you covered. Each person can create their own masterpiece, mixing and matching whatever ingredients they prefer. Want double cheese? Go for it! Prefer a veggie medley? You can do that too!
Kids Love It
Kids are naturally drawn to anything interactive, and making their own Pita Pizza is no exception. Watching them sprinkle on the cheese and arrange their toppings is not only entertaining but also a great way to get them involved in the kitchen.
Perfect for Any Occasion
This dish works for any occasion—from casual family dinners to game night with friends. It fits right in whether you’re serving lunch, dinner, or a fun snack. Think of it as a blank slate, ready for any culinary whim.
Ideal for Leftovers
If you have leftover pita bread, it’s a fantastic way to use it up. Just add toppings and pop it in the oven. It’s also a great way to use up odds and ends from the fridge!
Minimal Cleanup
Let’s be honest: one of the best parts of making Pita Pizza is the minimal cleanup. With no pots or pans to scrub, dinner becomes a breeze, allowing for more family time and less fuss.
What’s In This Pita Pizza
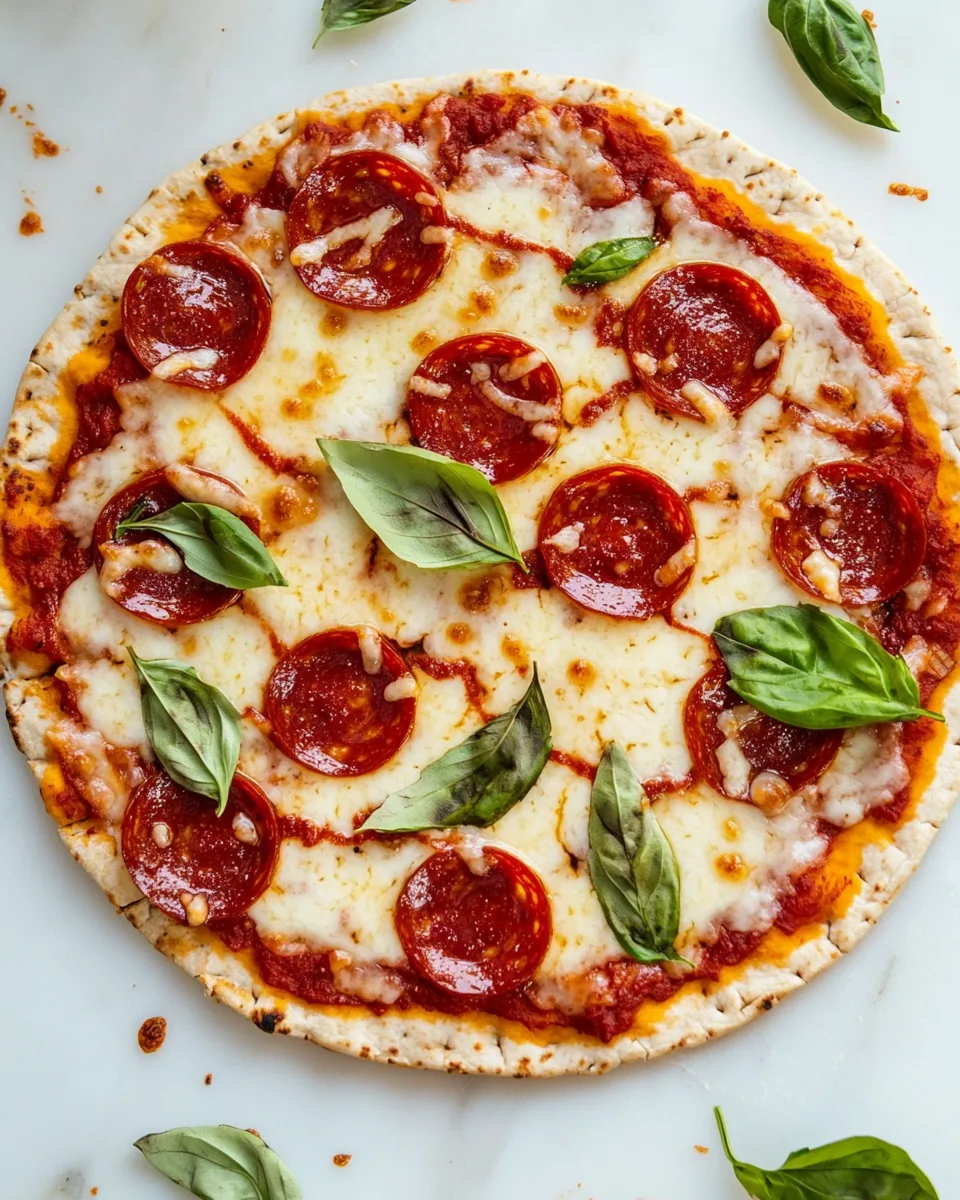
The ingredients for Pita Pizza are simple yet delightful. They blend harmoniously to create a crispy base topped with your favorite flavors. Each ingredient plays a role in delivering taste and texture, making this pizza an easy win for any meal.
- 2 store-bought pita bread: The foundation of your pizza, providing a quick and easy crust.
- ¼ cup marinara sauce: Adds a rich, tangy flavor that complements the cheese perfectly.
- ½ cup mozzarella cheese: Melts beautifully and gives that classic pizza taste.
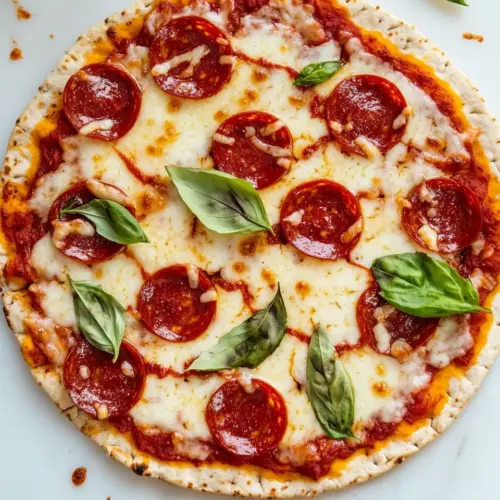
- Pepperoni slices: A favorite topping for those who love a little spice.
- Basil and red pepper flakes: For garnishing and adding a finish touch of freshness and heat.
Directions for Pita Pizza
Making Pita Pizza is as straightforward as it gets. You’ll love how each step brings you closer to a delicious pizza in no time. Let’s get started!
- Start by taking your pita bread and laying it out flat on a clean surface. Spread about 2 tablespoons of the marinara sauce on top of one of the pita breads, making sure to cover it evenly.
- Next, sprinkle on the mozzarella cheese. Use half of the total amount for this layer, ensuring a rich cheesy base that will melt beautifully.
- Now it’s time for the toppings! Arrange the pepperoni slices on top of the cheese. You can add as many as you like—go crazy with it!
- If you’re feeling adventurous, this is also the time to add any additional toppings you might enjoy, like fresh veggies or herbs.
- Once your pizza is assembled, carefully place it in the air fryer basket. Set the temperature to 375 degrees Fahrenheit and cook for about 5 to 6 minutes. Keep an eye on it to ensure it gets that lovely golden color.
- If you’re using an oven, place the pizza on a baking sheet pan. Bake at 400 degrees Fahrenheit for about 5 to 7 minutes, or until the cheese is melted and bubbly.
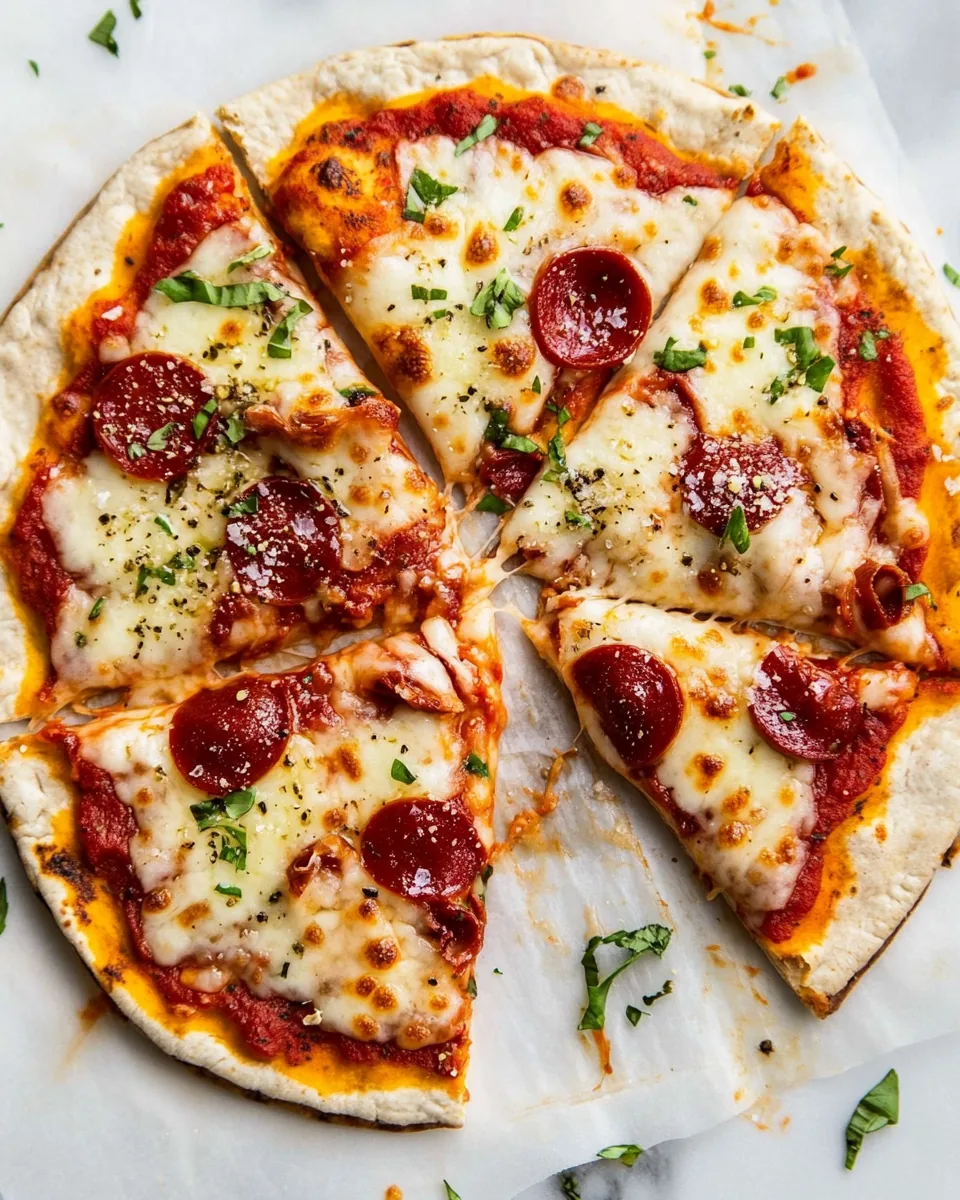
- Once cooked, take your Pita Pizza out and let it cool for a minute. This is the perfect time to sprinkle some fresh basil and red pepper flakes on top for that extra kick.
- Now, take a pizza cutter and slice your masterpiece. You’ll want to serve it immediately while it’s still warm and cheesy.
- Enjoy your Pita Pizza with family or friends and watch it disappear!
Things Worth Knowing
- Watch the cheese: Keep an eye on the cheese while baking. You want it melted and bubbly but not overly browned.
- Experiment: Feel free to experiment with different toppings based on what you have available. The sky’s the limit!
- Store properly: If you have leftovers, store them in an airtight container in the fridge for up to three days.
- Reheat: The best way to reheat Pita Pizza is in the oven or air fryer to retain crispiness.
Change It Up
There are endless possibilities when it comes to Pita Pizza. Whether you want to switch up ingredients or offer variations, it’s all about making it yours. Here are some tips:
- Try different sauces: Experiment with different sauces such as pesto or alfredo for a unique flavor.
- Vegan option: Use vegan cheese and skip the pepperoni for a delicious plant-based version.
- Whole wheat pita: Choose whole wheat pita bread for a healthier option.
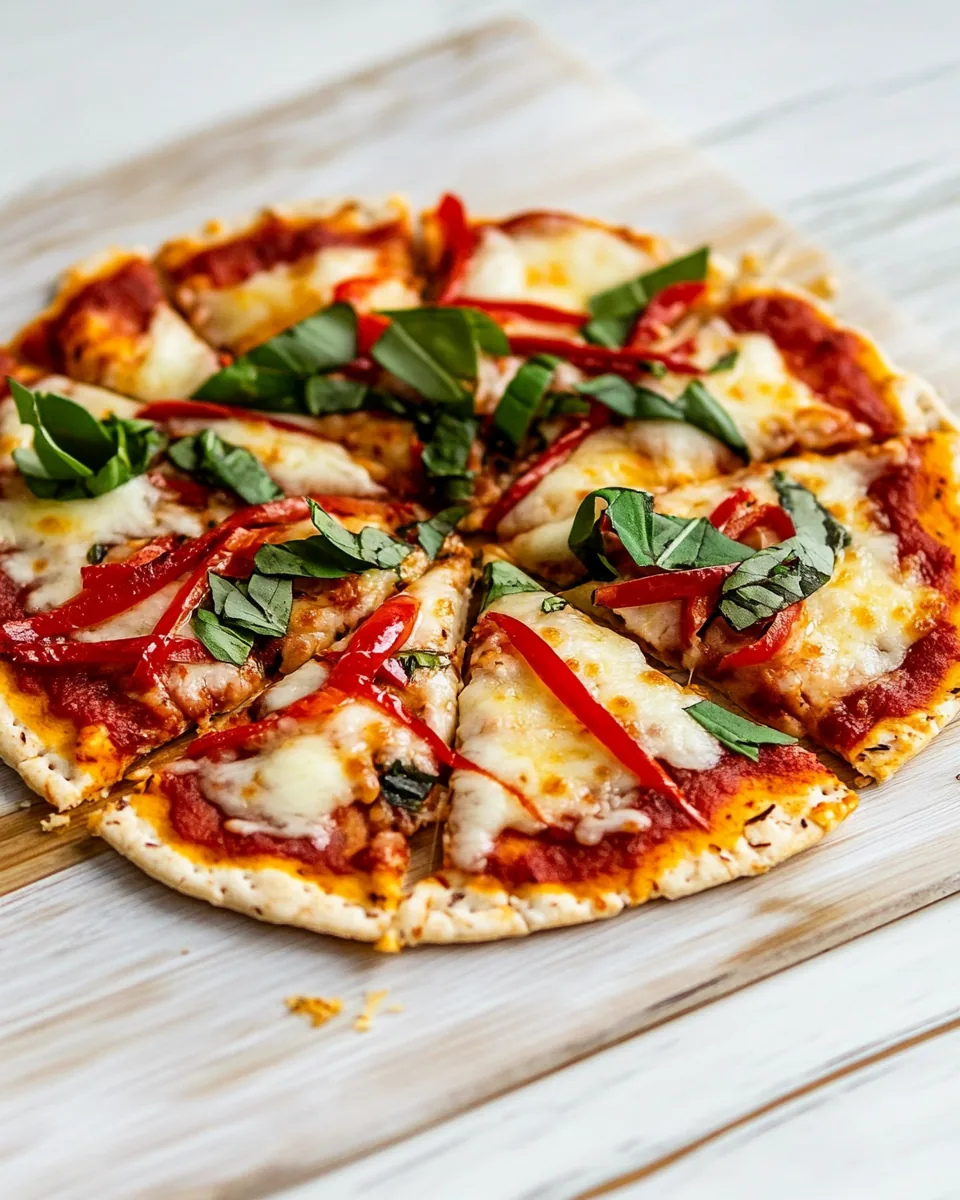
- Add fresh veggies: Top your pizza with fresh vegetables like bell peppers, onions, or arugula for added nutrition.
- Make mini pizzas: Use smaller pitas for individual-sized pizzas—great for parties!
- Leftover meats: Use any leftover cooked meat as a topping for extra flavor.
- Seasoned crust: Brush the pita with olive oil and sprinkle garlic powder before adding the sauce for a flavorful base.
Pairing Suggestions for Pita Pizza
Serving Pita Pizza can be as fun as making it. Consider these delicious pairing suggestions to enhance your meal experience:
- Salads: A fresh garden salad pairs beautifully with Pita Pizza, offering a healthy crunch.
- Drinks: Pair it with a refreshing lemonade or iced tea for a perfect summer vibe.
- Dip: Serve with a side of marinara or ranch dressing for dipping those crust edges.
- Occasions: This dish is perfect for casual family gatherings, game nights, or even a quick lunch.
- Storage tips: If you have leftovers, store them in an airtight container in the fridge. They will stay fresh for a few days.
- Seasonal pairings: In the summer, serve with fresh tomatoes and basil for a classic Italian touch.
FAQ
Conclusion
In conclusion, Pita Pizza is a delightful dish that combines convenience with the joy of customization. It’s the perfect meal to bring the family together, allowing everyone to express their tastes. I encourage you to give it a try for your next dinner. You might just find it becomes a favorite in your household!
Pita Pizza
Equipment
- Frying Pan
- Skillet
- Chef's Knife
- Air Fryer
- Baking Sheet
Ingredients
- 2 pita bread pita bread
- 0.25 cup marinara sauce
- 0.5 cup mozzarella cheese
- to taste pepperoni slices
- to taste basil
- to taste red pepper flakes
Instructions
- Start by taking your pita bread and laying it out flat on a clean surface. Spread about 2 tablespoons of the marinara sauce on top of one of the pita breads, making sure to cover it evenly.
- Next, sprinkle on the mozzarella cheese. Use half of the total amount for this layer, ensuring a rich cheesy base that will melt beautifully.
- Now it’s time for the toppings! Arrange the pepperoni slices on top of the cheese. You can add as many as you like—go crazy with it!
- If you’re feeling adventurous, this is also the time to add any additional toppings you might enjoy, like fresh veggies or herbs.
- Once your pizza is assembled, carefully place it in the air fryer basket. Set the temperature to 375 degrees Fahrenheit and cook for about 5 to 6 minutes. Keep an eye on it to ensure it gets that lovely golden color.
- If you’re using an oven, place the pizza on a baking sheet pan. Bake at 400 degrees Fahrenheit for about 5 to 7 minutes, or until the cheese is melted and bubbly.
- Once cooked, take your Pita Pizza out and let it cool for a minute. This is the perfect time to sprinkle some fresh basil and red pepper flakes on top for that extra kick.
- Now, take a pizza cutter and slice your masterpiece. You’ll want to serve it immediately while it’s still warm and cheesy.
- Enjoy your Pita Pizza with family or friends and watch it disappear!