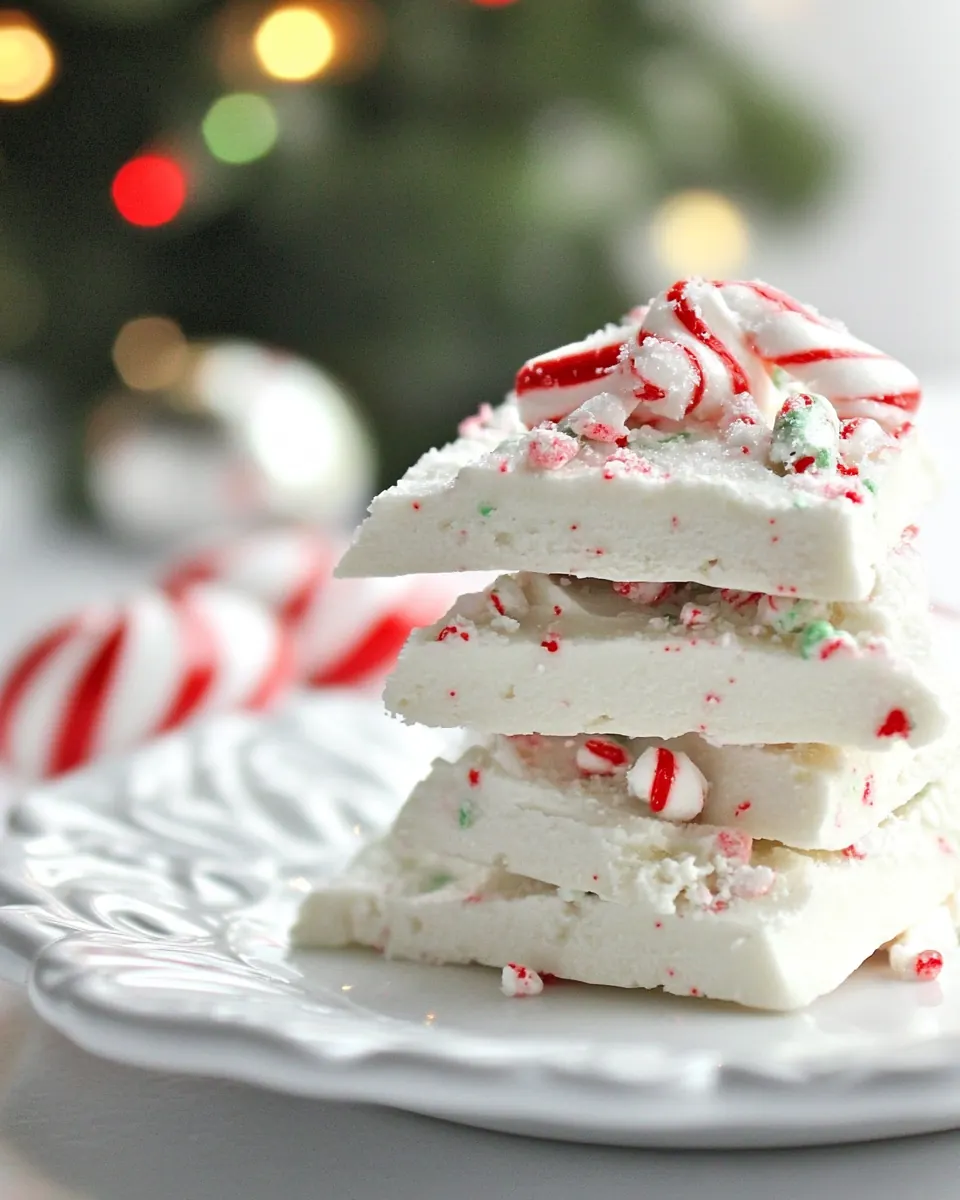
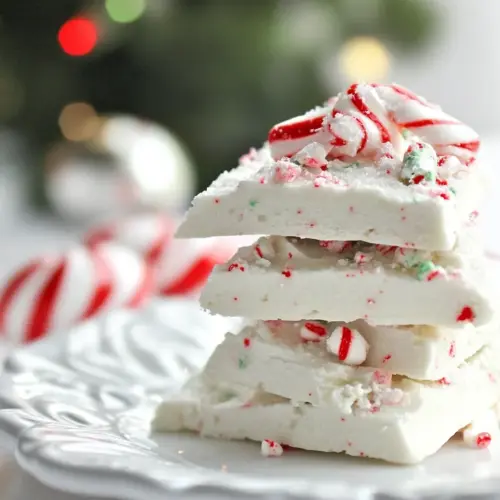
Peppermint Bark
Peppermint Bark has been my go to holiday treat ever since I nervously tried breaking my first piece as a teenager, all powdered sugar and sticky fingers. I still remember the snap and the cool peppermint scent that filled the kitchen, and how everyone gathered around the counter stealing tiny shards before I could arrange them on a platter. Over the years I learned little tricks that make the texture sing, and now I love handing out boxes of this simple treat to friends and neighbors.
When I make Peppermint Bark I like to slow the process down a bit, playing holiday music and sipping something warm while the chocolate sets. It gives me a chance to chat with whoever is nearby, and I always tell a short story about where the candy canes came from. The ritual of smashing the canes in a ziplock bag has become oddly satisfying, and that crunchy, peppermint burst is why this recipe returns to my table every winter.
Recipe Snapshot
11 mins
10 mins
1 mins
Easy
200 kcal
American
Vegan, Gluten-Free
Desserts
Ziplock bag, Rolling pin, Cookie sheet, Parchment paper, Microwave safe bowl, Offset spatula
Why Try This Peppermint Bark
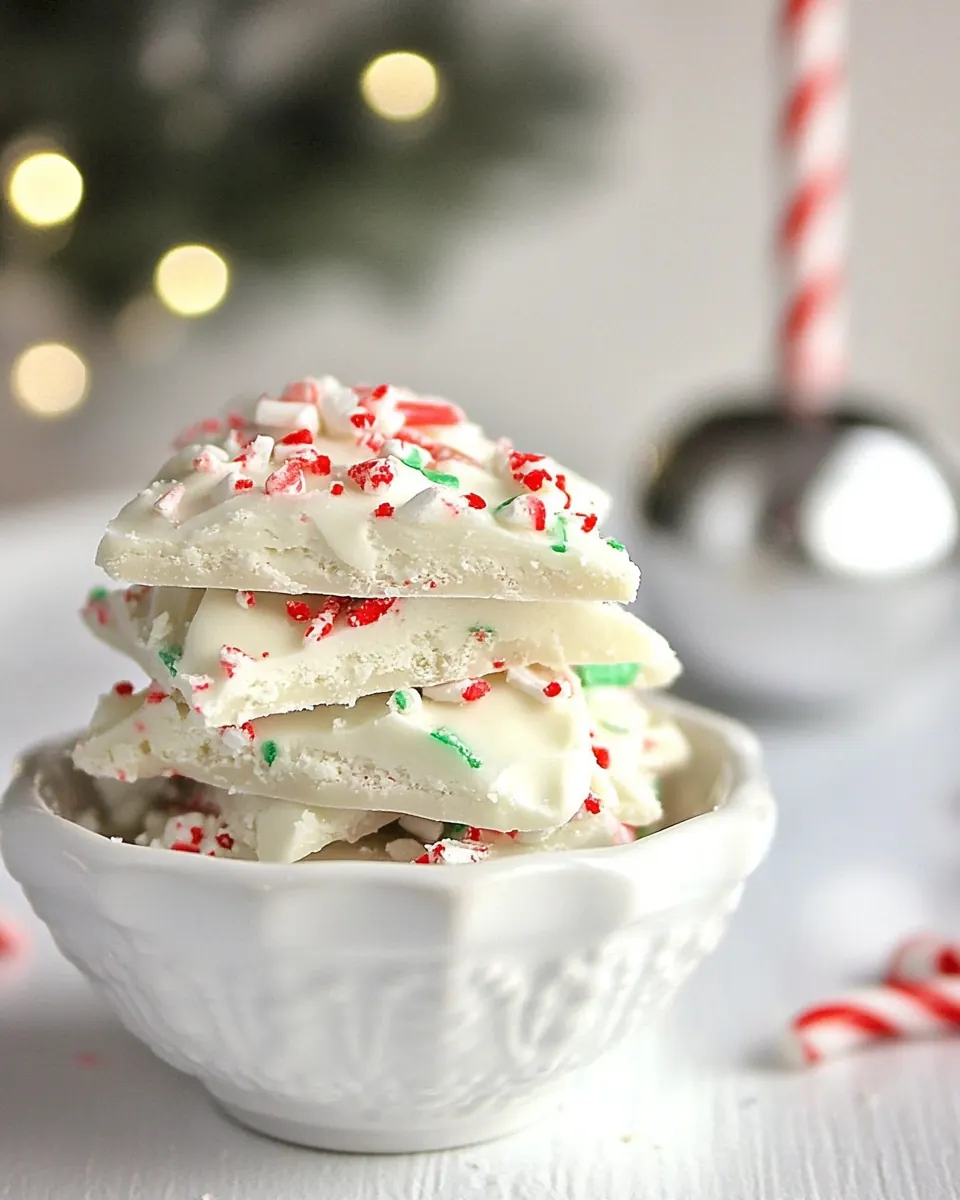
Crunch and contrast in every bite
I adore Peppermint Bark because it combines crisp, cool peppermint with smooth, sweet white chocolate. That contrast keeps the texture interesting, and I find myself reaching for just one more shard. When I serve it, guests often comment on the satisfying snap, and I promise you will too.
Ridiculously quick and forgiving
Make this when you want a no fuss finish to a baking day. The steps are straightforward, and the recipe forgives a wobble in temperature or a bit of over stirring. I like that it only needs a few minutes of active work, which makes it perfect for last minute gifts or an impromptu cookie swap.
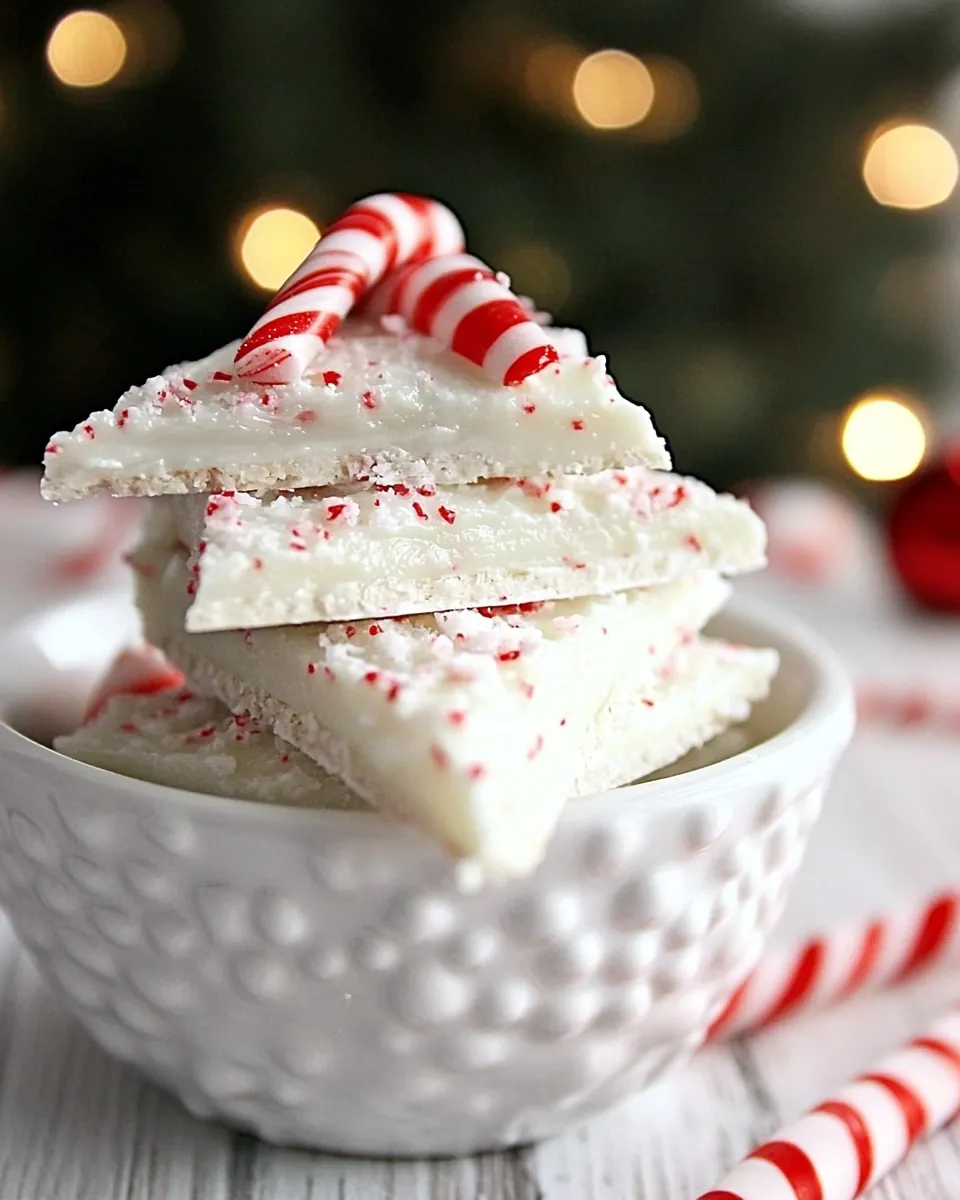
Customizable and shareable
Even though the ingredient list is short, I love how the bark adapts. You can crush the candy canes finer for a delicate speckled look, or leave larger pieces for dramatic bites. I often reserve a bit of the crushed cane to press on top for a festive finish that looks intentional and homemade.
A host pleaser that travels well
Because Peppermint Bark sets firm and stores easily, it is perfect for gifting. I pack pieces in small boxes or cellophane bags, and they survive car rides and brief temperature changes. It is one of those treats that looks fancy but is actually very achievable in a busy kitchen.
Seasonal joy without the fuss
Making this recipe puts me in a holiday mood without demanding a day in the kitchen. I can make a batch between errands, and the aroma of crushed candy canes folded into melted white chocolate always brightens my afternoon. It is simple, festive, and consistently well received.
Peppermint Bark Ingredients
The philosophy here is minimalism with maximum impact. A couple of reliable components come together to create texture, flavor, and visual charm. The key players are the sweet, creamy white chocolate which forms the base, and the bright, crunchy candy canes which cut through the sweetness and add the peppermint punch. Together they create a balance of smoothness and snap that defines this candy.
- 1 c white chocolate chunks or chips: Melting smooth provides the sweet, creamy base that binds the bark; use high-quality white chocolate chunks or chips for a glossy finish and easy melting. Temper gently over low heat or a double boiler to prevent scorching, then spread evenly for a stable layer that contrasts well with crushed candy canes. Adds rich vanilla-like flavor and a tender, melt-in-your-mouth texture that balances the peppermint crunch.
- 4 candy canes: Crushing crisp supplies bright peppermint flavor and crunchy texture when sprinkled over the melted white chocolate; crush candy canes finely for maximum coverage and visual appeal. Press pieces lightly into warm chocolate so they adhere as it cools, creating a distinctive striped appearance and refreshing bite. Provides festive color contrast and aromatic mint notes that cut through the sweetness.
Directions for Peppermint Bark
I like to approach these directions as a relaxed assembly process rather than formal cooking, which keeps the mood light. Gather your small set of tools, clear a space for cooling, and set aside a little patience for gentle melting. The steps are straightforward, but each one benefits from attention to texture and timing so the final bark looks and tastes like something you would gift with pride.
- Place candy canes in a ziplock bag and smash with a rolling pin until you are happy with the size of pieces. Reserve 1/4 cup. Set both aside.: The sound of the shards cracking is oddly satisfying, and the aroma of mint becomes noticeable as the pieces break, giving you a preview of the finished bark. I aim for a mixture of tiny dust and some larger flakes so there is texture in every bite. If you crush everything into dust the topping can become flat, so stop while some pieces remain chunky. A common slip is over smashing which reduces visual appeal and removes the big crunchy bites that make the bark fun to eat.
- Line a cookie sheet with parchment paper. Set aside.: When you set aside about a quarter cup of the crushed candy canes you are creating a decorative highlight for the finished surface. The reserved pieces give a bright contrast against the glossy white chocolate , so choose the more visually appealing shards to save for the top. Be careful not to reserve too little, as the top needs enough pieces to signal peppermint visually. A mistake people make is reserving nothing and then having an unremarkable top layer.
- Melt white chocolate in a microwave safe bowl. Stir until smooth. Add crushed candy canes and stir.: The texture of the parchment helps the bark release easily and keeps the underside smooth. I press the paper to the corners so the melted chocolate has a stable base to set on, which prevents ripples or torn edges when you lift it. If you skip parchment, the bark can stick and break unattractively. Ensure the sheet is on a flat surface to avoid sloping chocolate while it sets.
- Spread melted chocolate on prepared sheet. Sprinkle with reserved candy cane pieces.: You will notice the chocolate soften quickly and develop a glossy sheen as it melts, and stirring frequently helps distribute the heat so it does not seize. Use short bursts of heat and stir between intervals until the mixture is velvety smooth. The sensory cue to watch for is a uniform shine with no grainy bits. Overheating is the main pitfall here, it can make the chocolate thick and gritty, so remove it from the microwave slightly before it looks fully melted and finish stirring to smooth.
- Let sit until the chocolate is set. Peel off the parchment paper and break the bark into desired pieces.: As you stir the warm white chocolate , the motion will create a glossy pool that reflects light, indicating proper temper in casual home terms. Smoothness matters for the final mouthfeel, because any clumps will create uneven pockets in the bark. If you see small lumps, a gentle warm water bath under the bowl with steady stirring helps them dissolve without overheating. Avoid vigorous stirring that can introduce air bubbles, which create little craters in the set bark.
- To use in a mold: simply fill the mold cavities with about a teaspoon of melted chocolate. Let set.: Once the white chocolate is silky, folding in most of the crushed candy canes distributes peppermint flavor throughout. You will feel the texture change as tiny crunches mix into the chocolate, and the mixture takes on a speckled look. This step flavors the entire bark, not just the surface, so adjust the amount to your taste. A common issue is adding the candy canes too early while the chocolate is excessively hot, which can melt the peppermint and dull the crunchy texture.
- Spread melted chocolate on prepared sheet: Use an offset spatula or the back of a spoon to create an even layer, watching for a smooth top and clean edges. The visual cue is a uniformly thick sheet that will set evenly; thin edges will crisp faster and break differently when you snap the bark. Work quickly so the chocolate does not start to firm before you finish smoothing. If you wait too long, the surface can become tacky and resist a glossy finish.
- Sprinkle with reserved candy cane pieces: Press the reserved shards gently into the surface so they adhere and create a festive mosaic. The contrast of larger shards against the smooth white chocolate makes the bark look handcrafted. Pressing too hard can cause the pieces to sink partially, while not pressing enough can let them fall off later. Aim for gentle placement and a pleasing distribution across the surface.
- Let sit until the chocolate is set: As the bark cools the aroma will fade slightly and the surface will firm to a glossy, firm finish. Letting it set undisturbed ensures clean snap lines and prevents fingerprints. I usually allow it to set at room temperature if my kitchen is cool, or pop it in the refrigerator briefly in a warm room. Beware of condensation if you chill it too quickly, which can create a dull, sticky surface instead of a shiny finish.
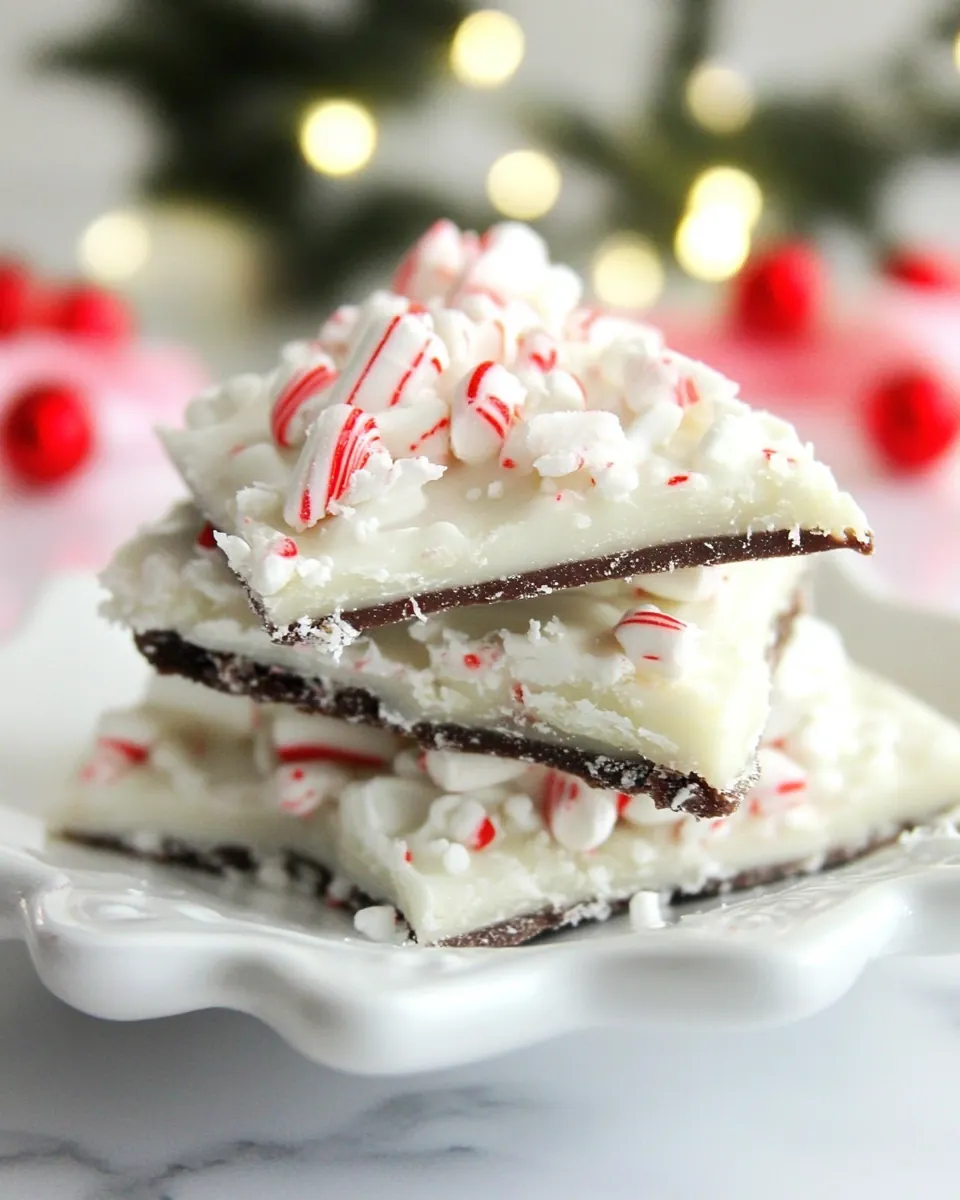
- Peel off the parchment paper and break the bark into desired pieces: The sound of breaking the set sheet is part of the fun, and uneven shard shapes are charming and rustic. Use your hands to snap it into various sizes, keeping a mix of dainty and generous pieces for sharing. If you need uniform shapes, score the surface lightly before it sets. A common misstep is trying to cut it with a knife which can shatter the pieces rather than break them cleanly.
- To use in a mold: simply fill the mold cavities with about a teaspoon of melted chocolate : When making small molded candies the texture becomes more delicate, and the peppermint pieces add a pretty top that peeks through the edges. Filling molds lets you create uniform, gift ready shapes; tap the mold gently to remove air pockets and press a few reserved shards on top before setting. Avoid overfilling, which makes removal messy and can break the finished shapes when you unmold them.
Pro Tips and Tweaks
I like to think of these tips as ways to make the process smoother and the finished bark more beautiful. Below are practical adjustments that have helped my batches look polished and taste balanced. Follow a few and you will feel more confident gifting or plating the bark.
- Choose good white chocolate — Quality matters for mouthfeel and shine. Use chips or chunks labeled as chocolate rather than coatings for a creamier result.
- Control melting temperature — Microwave in short bursts and stir between intervals to prevent seizing. Patience yields a glossy finish.
- Vary candy cane texture — Mix fine dust with larger shards so each bite alternates between melt and crunch.
- Use parchment for easy release — It keeps the underside smooth and protects the baking sheet from sticky bits.
- Press toppings gently — A light press secures the shards without embedding them too deeply, preserving the visual contrast.
Serving Suggestions
This treat is wonderfully adaptable, and I often plan serving around gifting and casual snacking. Below are ideas on presentation, pairing, and storage so your batch can shine at gatherings or as a thoughtful homemade gift.
- Gift boxes — Layer pieces in small boxes with tissue for a charming homemade present that travels well.
- Cookie platters — Arrange varied sizes on a platter for a holiday dessert table; the shards contrast nicely with cookies and other sweets.
- Hot cocoa topper — Crumble a few pieces over warm drinks as a minty finishing touch that melts slightly and adds texture.
- Party favors — Bag small portions in clear cellophane tied with ribbon for guests to take home.
- Storage tips — Keep in an airtight container at cool room temperature or briefly refrigerate in warm climates, layering parchment between pieces to prevent sticking.
- Seasonal pairings — Serve alongside spiced treats during winter gatherings to balance sweetness with warmth in the menu.
FAQ
Conclusion
This version of Peppermint Bark shines because it combines effortless assembly with a striking minty crunch and creamy white chocolate. It is one of those recipes that looks elegant yet requires minimal time, which is why I return to it every winter. Give it a try for holiday gifts or to add a homemade touch to your dessert table, you will find it both satisfying to make and to share. The process is forgiving, the results are beautiful, and the aroma alone makes it worth the few minutes of work.
Peppermint Bark
Equipment
- Ziplock bag
- Rolling Pin
- Cookie Sheet
- Parchment Paper
- Microwave-safe Bowl
- Offset Spatula
Ingredients
- 1 c white chocolate chunks or chips Melting smooth provides the sweet, creamy base that binds the bark; use high-quality white chocolate chunks or chips for a glossy finish and easy melting. Temper gently over low heat or a double boiler to prevent scorching, then spread evenly for a stable layer that contrasts well with crushed candy canes. Adds rich vanilla-like flavor and a tender, melt-in-your-mouth texture that balances the peppermint crunch.
- 4 candy canes Crushing crisp supplies bright peppermint flavor and crunchy texture when sprinkled over the melted white chocolate; crush candy canes finely for maximum coverage and visual appeal. Press pieces lightly into warm chocolate so they adhere as it cools, creating a distinctive striped appearance and refreshing bite. Provides festive color contrast and aromatic mint notes that cut through the sweetness.
Instructions
- Place candy canes in a ziplock bag and smash with a rolling pin until you are happy with the size of pieces. Reserve 1/4 cup. Set both aside.: The sound of the shards cracking is oddly satisfying, and the aroma of mint becomes noticeable as the pieces break, giving you a preview of the finished bark. I aim for a mixture of tiny dust and some larger flakes so there is texture in every bite. If you crush everything into dust the topping can become flat, so stop while some pieces remain chunky. A common slip is over smashing which reduces visual appeal and removes the big crunchy bites that make the bark fun to eat.
- Line a cookie sheet with parchment paper. Set aside.: When you set aside about a quarter cup of the crushed candy canes you are creating a decorative highlight for the finished surface. The reserved pieces give a bright contrast against the glossy white chocolate , so choose the more visually appealing shards to save for the top. Be careful not to reserve too little, as the top needs enough pieces to signal peppermint visually. A mistake people make is reserving nothing and then having an unremarkable top layer.
- Melt white chocolate in a microwave safe bowl. Stir until smooth. Add crushed candy canes and stir.: The texture of the parchment helps the bark release easily and keeps the underside smooth. I press the paper to the corners so the melted chocolate has a stable base to set on, which prevents ripples or torn edges when you lift it. If you skip parchment, the bark can stick and break unattractively. Ensure the sheet is on a flat surface to avoid sloping chocolate while it sets.
- Spread melted chocolate on prepared sheet. Sprinkle with reserved candy cane pieces.: You will notice the chocolate soften quickly and develop a glossy sheen as it melts, and stirring frequently helps distribute the heat so it does not seize. Use short bursts of heat and stir between intervals until the mixture is velvety smooth. The sensory cue to watch for is a uniform shine with no grainy bits. Overheating is the main pitfall here, it can make the chocolate thick and gritty, so remove it from the microwave slightly before it looks fully melted and finish stirring to smooth.
- Let sit until the chocolate is set. Peel off the parchment paper and break the bark into desired pieces.: As you stir the warm white chocolate , the motion will create a glossy pool that reflects light, indicating proper temper in casual home terms. Smoothness matters for the final mouthfeel, because any clumps will create uneven pockets in the bark. If you see small lumps, a gentle warm water bath under the bowl with steady stirring helps them dissolve without overheating. Avoid vigorous stirring that can introduce air bubbles, which create little craters in the set bark.
- To use in a mold: simply fill the mold cavities with about a teaspoon of melted chocolate. Let set.: Once the white chocolate is silky, folding in most of the crushed candy canes distributes peppermint flavor throughout. You will feel the texture change as tiny crunches mix into the chocolate, and the mixture takes on a speckled look. This step flavors the entire bark, not just the surface, so adjust the amount to your taste. A common issue is adding the candy canes too early while the chocolate is excessively hot, which can melt the peppermint and dull the crunchy texture.
- Spread melted chocolate on prepared sheet: Use an offset spatula or the back of a spoon to create an even layer, watching for a smooth top and clean edges. The visual cue is a uniformly thick sheet that will set evenly; thin edges will crisp faster and break differently when you snap the bark. Work quickly so the chocolate does not start to firm before you finish smoothing. If you wait too long, the surface can become tacky and resist a glossy finish.
- Sprinkle with reserved candy cane pieces: Press the reserved shards gently into the surface so they adhere and create a festive mosaic. The contrast of larger shards against the smooth white chocolate makes the bark look handcrafted. Pressing too hard can cause the pieces to sink partially, while not pressing enough can let them fall off later. Aim for gentle placement and a pleasing distribution across the surface.
- Let sit until the chocolate is set: As the bark cools the aroma will fade slightly and the surface will firm to a glossy, firm finish. Letting it set undisturbed ensures clean snap lines and prevents fingerprints. I usually allow it to set at room temperature if my kitchen is cool, or pop it in the refrigerator briefly in a warm room. Beware of condensation if you chill it too quickly, which can create a dull, sticky surface instead of a shiny finish.
- Peel off the parchment paper and break the bark into desired pieces: The sound of breaking the set sheet is part of the fun, and uneven shard shapes are charming and rustic. Use your hands to snap it into various sizes, keeping a mix of dainty and generous pieces for sharing. If you need uniform shapes, score the surface lightly before it sets. A common misstep is trying to cut it with a knife which can shatter the pieces rather than break them cleanly.
- To use in a mold: simply fill the mold cavities with about a teaspoon of melted chocolate : When making small molded candies the texture becomes more delicate, and the peppermint pieces add a pretty top that peeks through the edges. Filling molds lets you create uniform, gift ready shapes; tap the mold gently to remove air pockets and press a few reserved shards on top before setting. Avoid overfilling, which makes removal messy and can break the finished shapes when you unmold them.
Notes
- Choose good white chocolate — Quality matters for mouthfeel and shine. Use chips or chunks labeled as chocolate rather than coatings for a creamier result.
- Control melting temperature — Microwave in short bursts and stir between intervals to prevent seizing. Patience yields a glossy finish.
- Vary candy cane texture — Mix fine dust with larger shards so each bite alternates between melt and crunch.
- Use parchment for easy release — It keeps the underside smooth and protects the baking sheet from sticky bits.
- Press toppings gently — A light press secures the shards without embedding them too deeply, preserving the visual contrast.