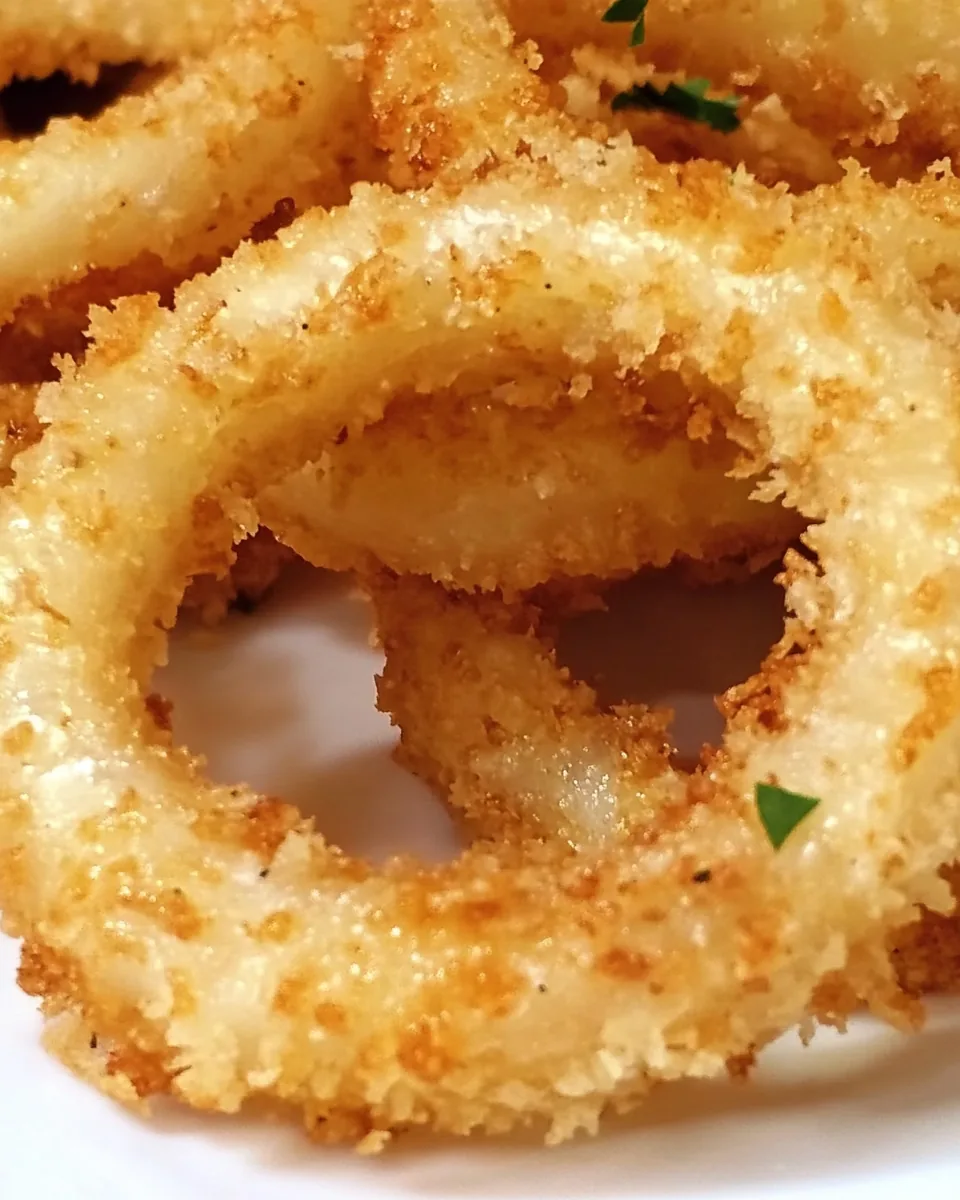
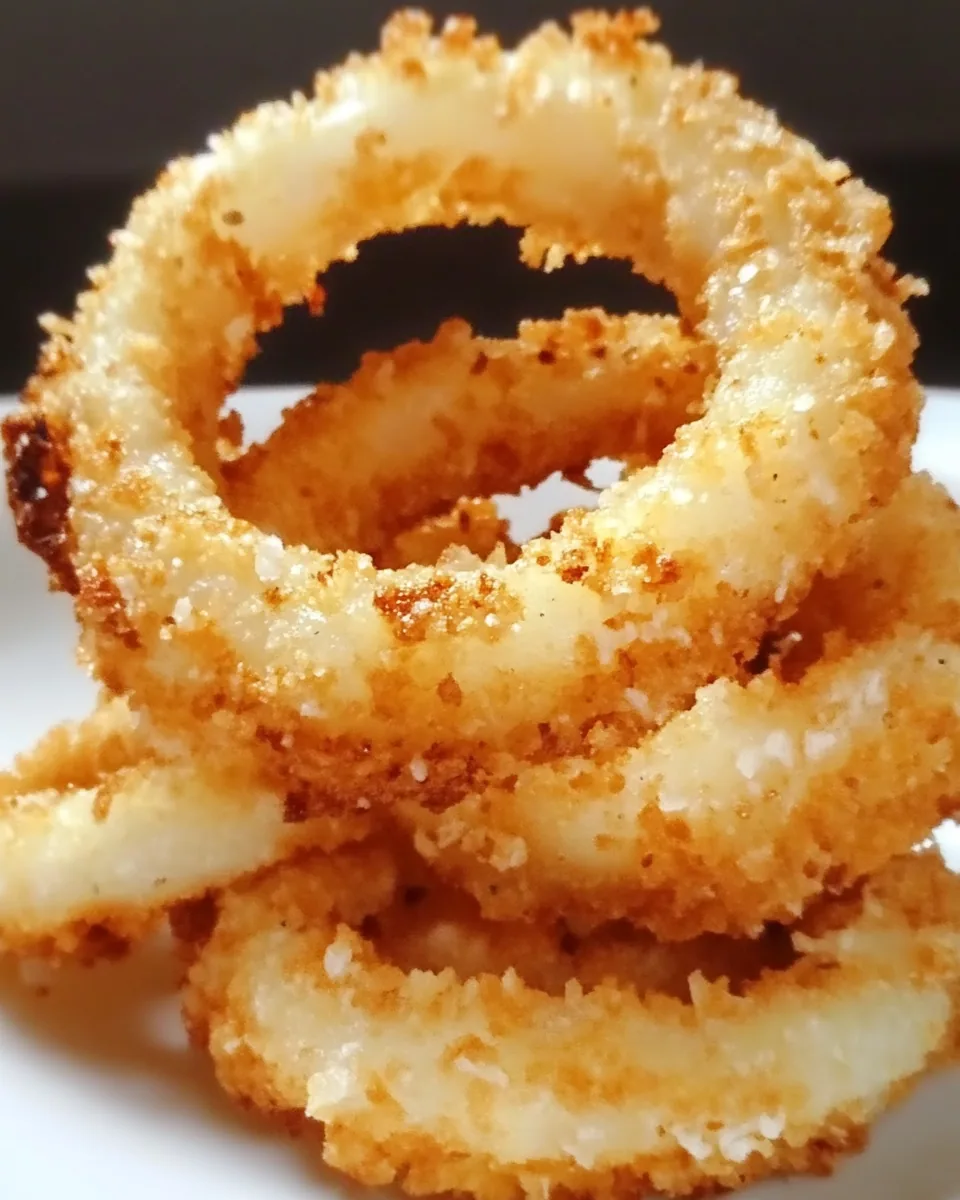
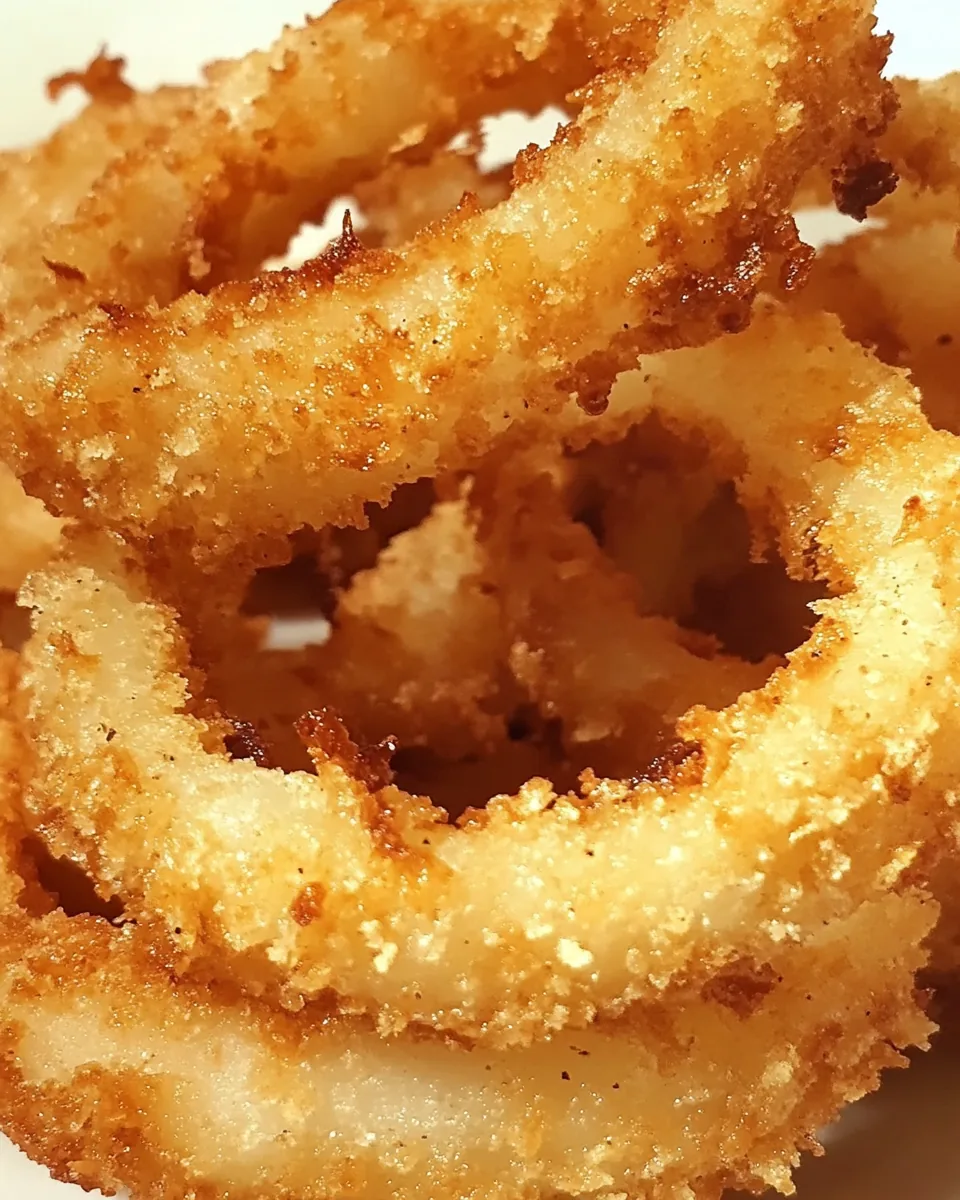
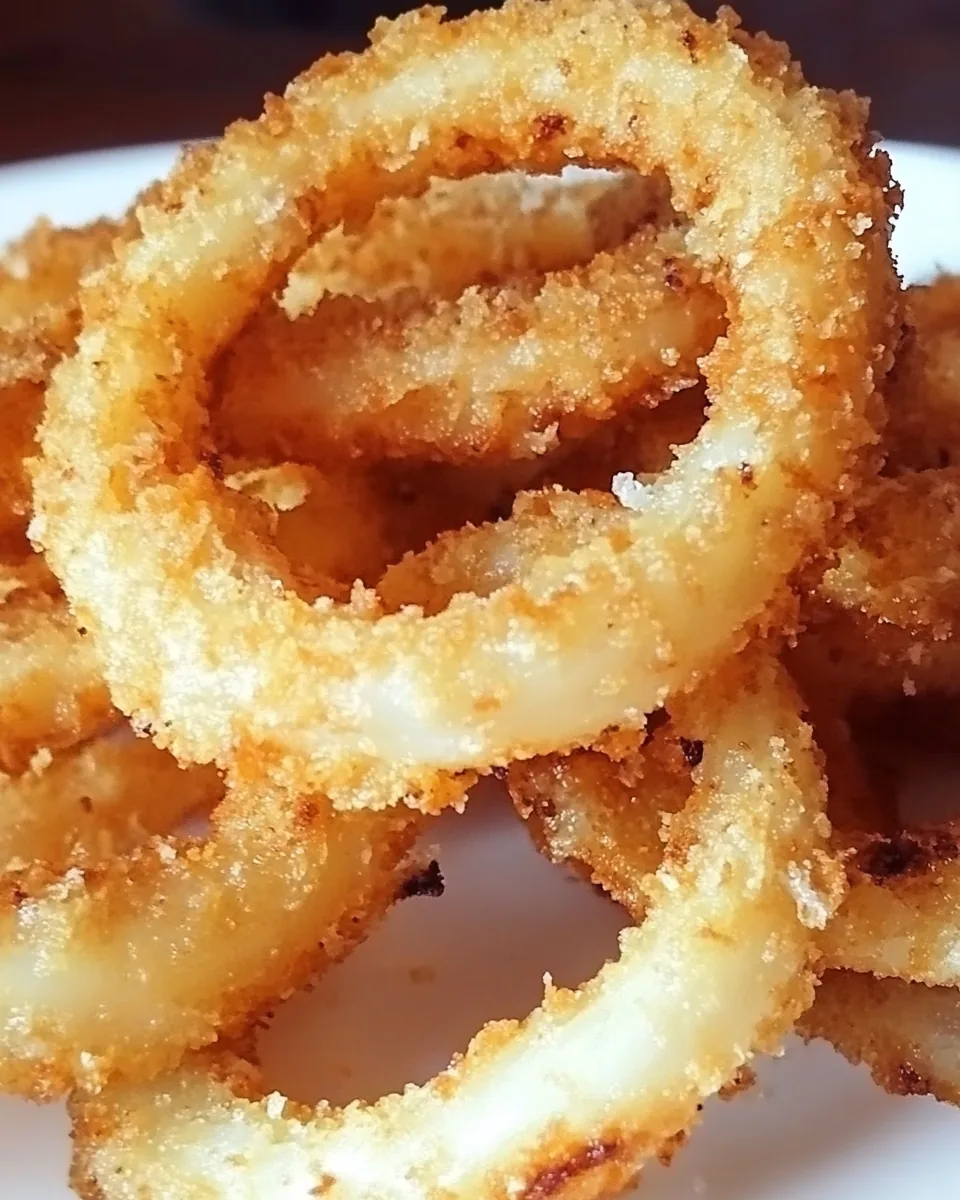
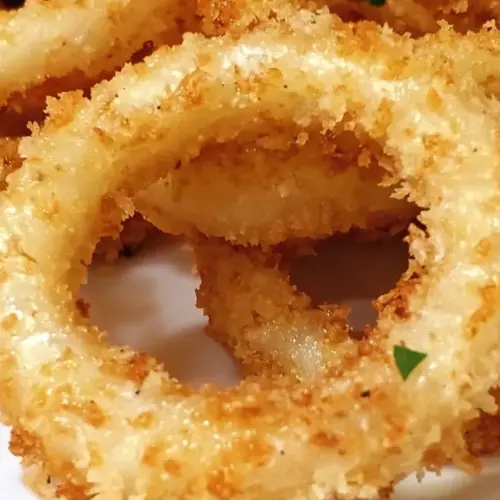
Panko Breaded Onion Rings
There’s something incredibly satisfying about biting into a crispy, golden Panko Breaded Onion Rings after a long day. I remember making these delicious treats during a weekend gathering with friends. We all gathered around the kitchen, excited to taste something crispy and savory. As the aroma of frying onions filled the air, I saw smiles around the room; everyone was eagerly waiting to try them. Each ring turned into a delightful crunch that paired perfectly with our favorite dipping sauces. I quickly learned that homemade onion rings not only bring nostalgia but also the joy of cooking together.
Recipe Snapshot
20 mins
10 mins
10 mins
Medium
250 kcal
5 g
Paleo, Vegan, Gluten-Free
12 g
Frying Pan, Skillet, Chef’s Knife, Whisk, Food Processor
The Beauty of This Panko Breaded Onion Rings
Perfectly Crispy Texture
The first reason I absolutely love making Panko Breaded Onion Rings is their unbeatable crunch. The secret lies in the use of Panko bread crumbs. Unlike regular bread crumbs, Panko is coarser and airier, which means it creates a light, crispy coating that adds texture to each bite. You can’t help but smile when you hear that satisfying crunch!
Customization at Its Best
Making these onion rings offers endless possibilities for customization. You can adjust the spices and use different types of onions based on your preference. Sweet Vidalia onions add a nice flavor, but feel free to experiment with red onions or sweet onions, allowing you to create a batch tailored to your taste!
Great for Social Gatherings
These Panko Breaded Onion Rings are perfect for parties. They’re a fantastic appetizer that can be made in large batches, making them a crowd-pleaser. I love serving them at game nights or family gatherings—everyone can’t resist grabbing a handful and dipping them into flavorful sauces.
Easy to Make
One of the best parts about this recipe is just how simple it is. Even if you’re not an experienced cook, you can whip up a batch with minimal fuss. The straightforward steps make it accessible, allowing anyone to impress their friends or family with homemade onion rings.
Healthy Indulgence
Using fresh ingredients like onions and controlling the frying oil means you can enjoy these crispy treats while making a healthier choice compared to store-bought options. You can even bake them for a lighter version that still satisfies that crunch!
Family Fun Activity
Cooking Panko Breaded Onion Rings becomes a fun family activity. Kids love to help out with the breading process—who doesn’t enjoy getting their hands a little messy? It’s a great way to bond while teaching them essential cooking skills.
Panko Breaded Onion Rings Ingredients
When it comes to making the best Panko Breaded Onion Rings, the quality of the ingredients matters. Each one plays a crucial role in building flavor and ensuring that perfect crunch. With a combination of fresh onions, spices, and Panko, you’re well on your way to creating a delicious snack that everyone will love.
- 2 large Vidalia onions (sliced into rings): These sweet onions are perfect for frying and bring a delightful flavor to your rings.
- 1 cup all-purpose flour (more if needed): This is the first layer of your breading process, which helps the egg wash stick to the onions.
- 1 tsp salt: A must-have for seasoning and enhancing the overall flavor of the onion rings.
- 1/2 tsp ground black pepper: This adds a subtle kick to the batter.
- 1/4 tsp ground red pepper: For those who enjoy a hint of spice, this ingredient elevates the flavor profile.
- 1 tsp garlic powder: An essential seasoning that adds depth to the taste of the rings.
- 1 tsp dried oregano: This herb brings a touch of earthiness to the dish.
- 3 large eggs (beaten): The egg wash helps the Panko adhere perfectly to the onions.
- 2 1/2 cups Panko style bread crumbs: The star of the dish, providing that crunchy coating everyone loves.
- 2 cups canola oil: Used for frying, this oil has a high smoke point, making it ideal for achieving that golden brown finish.
Preparation Steps for Panko Breaded Onion Rings
Now that you have all your ingredients ready, let’s dive into making these mouthwatering Panko Breaded Onion Rings. The process is straightforward and great for cooking alongside family or friends. You’ll be enjoying these crispy treats in no time!
- Start by slicing the Vidalia onions to about 1/4 to ½ inch thickness. It’s important to make even slices so they cook uniformly. Once sliced, separate the rings and set them aside.
- Next, set up your breading station. Use three bowls: in the first bowl, combine the flour, salt, ground black pepper, ground red pepper, garlic powder, and dried oregano. Be sure to mix everything well so all the onion rings get an even coat of seasoning.
- In the second bowl, beat the eggs until smooth. This egg wash will help the breading stick to the onions.
- In the third bowl, place your Panko bread crumbs. Make sure they’re evenly spread, ready for the onion rings.
- Now, heat the canola oil in a frying pan over medium-low heat. You want the oil to be around 350 degrees F when tested with a meat thermometer. This ensures that the onion rings fry perfectly without absorbing too much oil.
- It’s time to dredge the onions. This is a double-dip process, so start by taking each onion ring and dipping it into the seasoned flour. Shake off any excess or clumps that may have formed before moving on to the next step.
- Next, dip the flour-coated onion ring into the egg wash, ensuring it’s fully coated.
- Then, return the onion ring to the flour mixture for a second coat. This extra layer helps create an even crunchier texture.
- After the second flour dip, put the onion rings back into the egg wash followed by the Panko bread crumbs. Press them gently into the crumbs to ensure they adhere well.
- Finally, place the breaded onion rings in the hot oil. Be careful not to overcrowd the pan, allowing each ring to fry evenly.
- Cook the onion rings until the Panko bread crumbs turn a nice light brown color, which should only take a few minutes on each side. Keep an eye on them as they can brown quickly!
- Once done, remove your crispy onion rings from the oil and place them on a plate covered with a napkin or paper towel to soak up any excess oil. Serve hot with your favorite dipping sauce!
Things Worth Knowing
- Use Fresh Ingredients: Fresh onions provide a better taste and texture compared to older ones.
- Adjust Thickness: Slicing the onions to your preferred thickness can change the resulting texture of the rings.
- Don’t Rush the Coating: Ensure each ring is thoroughly coated at each step for the best crunch.
- Test the Oil Temperature: Using a thermometer helps prevent burning and ensures even cooking.
Making Adjustments
As you make these Panko Breaded Onion Rings, there are a few adjustments and tips you can consider to personalize your dish. Here’s a list of helpful pointers to enhance your cooking experience:
- Storage: If you have leftovers, store them in an airtight container in the refrigerator for up to three days. However, for the best texture, it’s recommended to enjoy them fresh.
- Freezing: You can freeze uncooked, breaded onion rings. Place them on a baking sheet until frozen, then transfer to a freezer bag. When ready to eat, fry them straight from the freezer.
- Pairing: Consider serving these onion rings with a tangy dipping sauce, such as ranch or garlic aioli, for that extra zing!
- Cooking Method: For a healthier option, try baking the onion rings in the oven instead of frying. Just spray them lightly with oil and bake until golden brown.
- Spice It Up: Feel free to add different spices to the flour mixture, like paprika or cayenne pepper, to give your onion rings a kick.
Best Served With
When it comes to serving your delightful Panko Breaded Onion Rings, there are a variety of options to consider. These crispy treats are perfect for any occasion!
- Game Day Snacks: Perfect for enjoying while watching your favorite sports team; they make for great finger food.
- Picnic Treats: Pack them up for a picnic or outdoor gathering, and watch them disappear quickly.
- Casual Dinner: Serve them alongside burgers or grilled chicken for a delightful meal.
- Festive Appetizers: Great for parties or family gatherings, pair them with a selection of dipping sauces for variety.
- Seasonal Pairings: Enjoy them during summer barbecues or cozy winter nights, as they’re a hit all year round.
FAQ
Conclusion
The Panko Breaded Onion Rings you just prepared are more than just a snack; they embody the joy of cooking and sharing delicious food. With their crispy exterior and tender interior, they’re bound to be a hit at any gathering or casual dinner. I encourage you to give this recipe a try and enjoy the delightful crunch with your loved ones!
Panko Breaded Onion Rings
Equipment
- Frying Pan
- Skillet
- Chef's Knife
- Whisk
- Food Processor
Ingredients
- 2 large Vidalia onions (sliced into rings)
- 1 cup all-purpose flour (more if needed)
- 1 tsp salt
- 1/2 tsp ground black pepper
- 1/4 tsp ground red pepper
- 1 tsp garlic powder
- 1 tsp dried oregano
- 3 large eggs (beaten)
- 2 1/2 cups Panko style bread crumbs
- 2 cups canola oil
Instructions
- Slice the Vidalia onions to about 1/4 to ½ inch thickness. It’s important to make even slices so they cook uniformly. Once sliced, separate the rings and set them aside.
- Next, set up your breading station. Use three bowls: in the first bowl, combine the flour, salt, ground black pepper, ground red pepper, garlic powder, and dried oregano. Be sure to mix everything well so all the onion rings get an even coat of seasoning.
- In the second bowl, beat the eggs until smooth. This egg wash will help the breading stick to the onions.
- In the third bowl, place your Panko bread crumbs. Make sure they’re evenly spread, ready for the onion rings.
- Now, heat the canola oil in a frying pan over medium-low heat. You want the oil to be around 350 degrees F when tested with a meat thermometer. This ensures that the onion rings fry perfectly without absorbing too much oil.
- It’s time to dredge the onions. This is a double-dip process, so start by taking each onion ring and dipping it into the seasoned flour. Shake off any excess or clumps that may have formed before moving on to the next step.
- Next, dip the flour-coated onion ring into the egg wash, ensuring it’s fully coated.
- Then, return the onion ring to the flour mixture for a second coat. This extra layer helps create an even crunchier texture.
- After the second flour dip, put the onion rings back into the egg wash followed by the Panko bread crumbs. Press them gently into the crumbs to ensure they adhere well.
- Finally, place the breaded onion rings in the hot oil. Be careful not to overcrowd the pan, allowing each ring to fry evenly.
- Cook the onion rings until the Panko bread crumbs turn a nice light brown color, which should only take a few minutes on each side. Keep an eye on them as they can brown quickly!
- Once done, remove your crispy onion rings from the oil and place them on a plate covered with a napkin or paper towel to soak up any excess oil. Serve hot with your favorite dipping sauce!
Notes
- Tip 1: If you have leftovers, store them in an airtight container in the refrigerator for up to three days. However, for the best texture, it’s recommended to enjoy them fresh.
- Tip 2: You can freeze uncooked, breaded onion rings. Place them on a baking sheet until frozen, then transfer to a freezer bag. When ready to eat, fry them straight from the freezer.
- Tip 3: Consider serving these onion rings with a tangy dipping sauce, such as ranch or garlic aioli, for that extra zing!
- Tip 4: For a healthier option, try baking the onion rings in the oven instead of frying. Just spray them lightly with oil and bake until golden brown.
- Tip 5: Feel free to add different spices to the flour mixture, like paprika or cayenne pepper, to give your onion rings a kick.