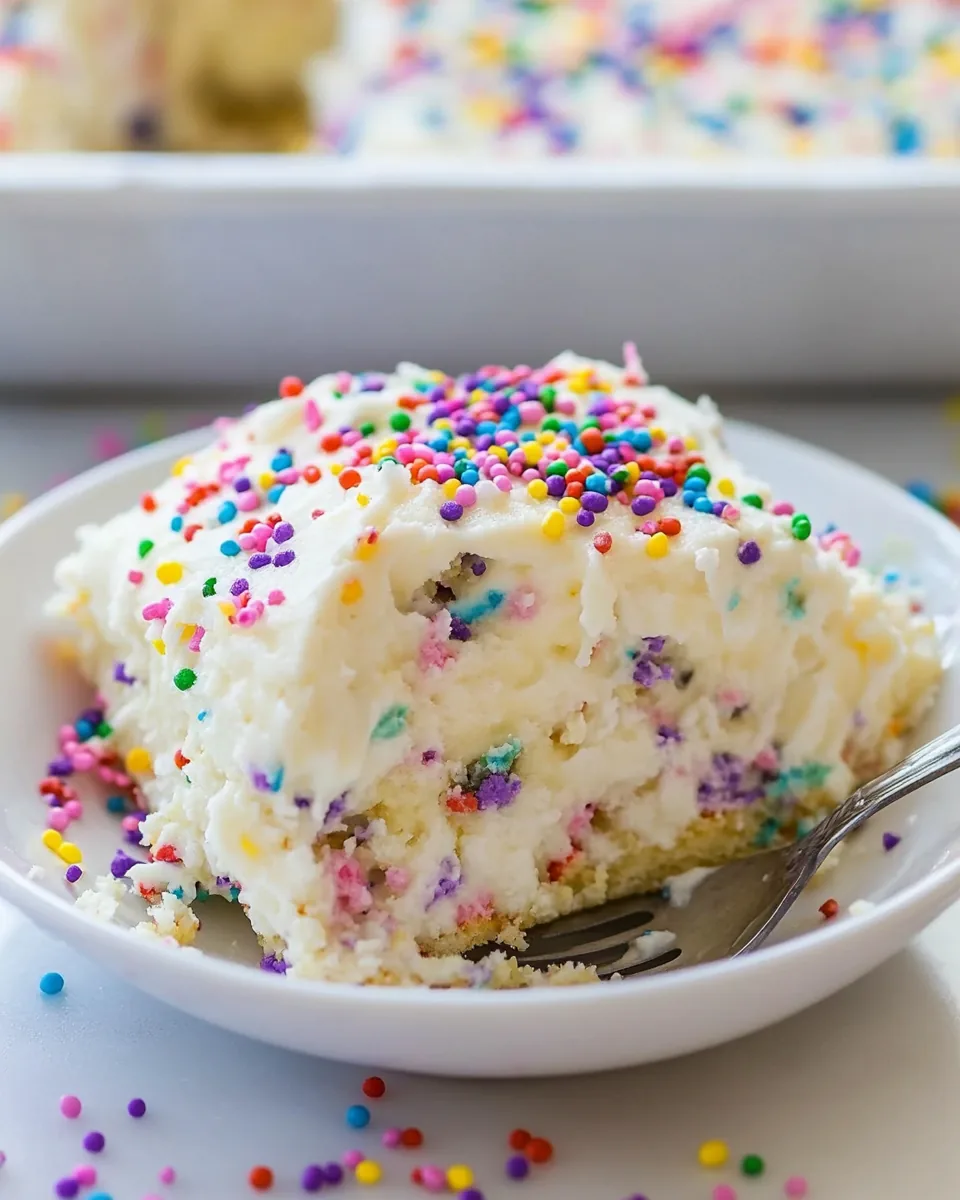
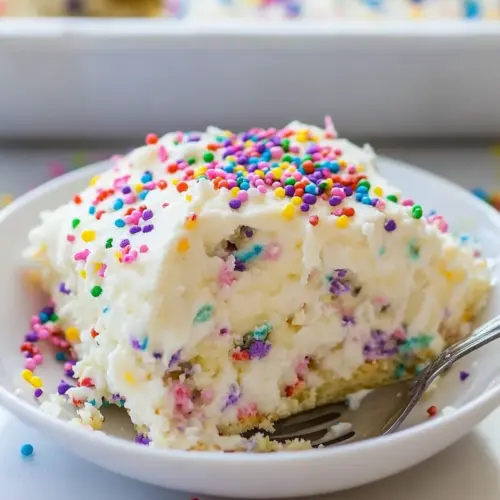
No Bake Funfetti Lush Dessert
There’s something truly magical about desserts that evoke childhood memories, and that’s exactly what No Bake Funfetti Lush Dessert does for me. This delightful dessert is not only a feast for the eyes with its colorful sprinkles, but it’s also incredibly easy to whip up, making it the perfect treat for any occasion. I remember the first time I made it for a family gathering; everyone was raving about how creamy and delicious it was. It felt like a party on a plate! The layers of crushed Oreo crust, creamy filling, and whipped topping create a texture that’s irresistibly smooth, and the rainbow sprinkles add a fun touch that instantly lifts the mood. Whether you’re celebrating a birthday, an anniversary, or just want to brighten up your weekday, this dessert is sure to bring smiles all around. The best part? You can prepare it ahead of time and let it chill in the fridge, freeing you up to enjoy the festivities. Trust me, once you try this No Bake Funfetti Lush Dessert, you’ll find yourself making it again and again!
Recipe Snapshot
4 hr 30 mins
30 mins
240 mins
Hard
320 kcal
4 g
Gluten-Free, Low FODMAP
19 g
Wooden Spoon, Mixing Bowl, Whisk, Frying Pan
In this recipe, every ingredient plays a pivotal role in creating that luscious, creamy experience. You’ll notice how the Birthday Cake Oreos not only provide the base but also infuse a sweet, nostalgic flavor throughout. Paired with the rich cream cheese and fluffy Cool Whip, it’s a combination that feels indulgent yet refreshing. You’ll love how simple it is to assemble; there’s no baking required, which means you can focus on the fun part—enjoying the dessert! So, grab your mixing bowls and let’s get started on this delightful journey of flavors!
Why This No Bake Funfetti Lush Dessert Stands Out
1. Easy Preparation
One of the standout features of No Bake Funfetti Lush Dessert is how effortlessly it comes together. No need to turn on the oven or fuss over complicated techniques; simply mix, layer, and chill. This makes it a fantastic option for beginners or anyone looking to save time in the kitchen.
2. Crowd-Pleaser
This dessert is an absolute hit at gatherings! The vibrant colors and fun sprinkles grab attention, and the creamy texture leaves everyone coming back for more. It’s the kind of dessert that sparks joy and brings people together.
3. Versatility
You can easily customize No Bake Funfetti Lush Dessert to fit your tastes or the occasion. Swap out the sprinkles for seasonal themes or add layers of your favorite fruits. The possibilities are endless, making it a versatile dessert for any time of year.
4. Make Ahead Convenience
This dessert is perfect for meal prep! Prepare it a day in advance and let it chill in the fridge. This not only enhances the flavors but also saves you time on the day of your event.
5. Comforting and Indulgent
There’s something about a creamy dessert that just feels comforting. The combination of cream cheese, Cool Whip, and Birthday Cake Oreos creates a rich indulgence that feels like a warm hug in dessert form.
What to Buy for No Bake Funfetti Lush Dessert
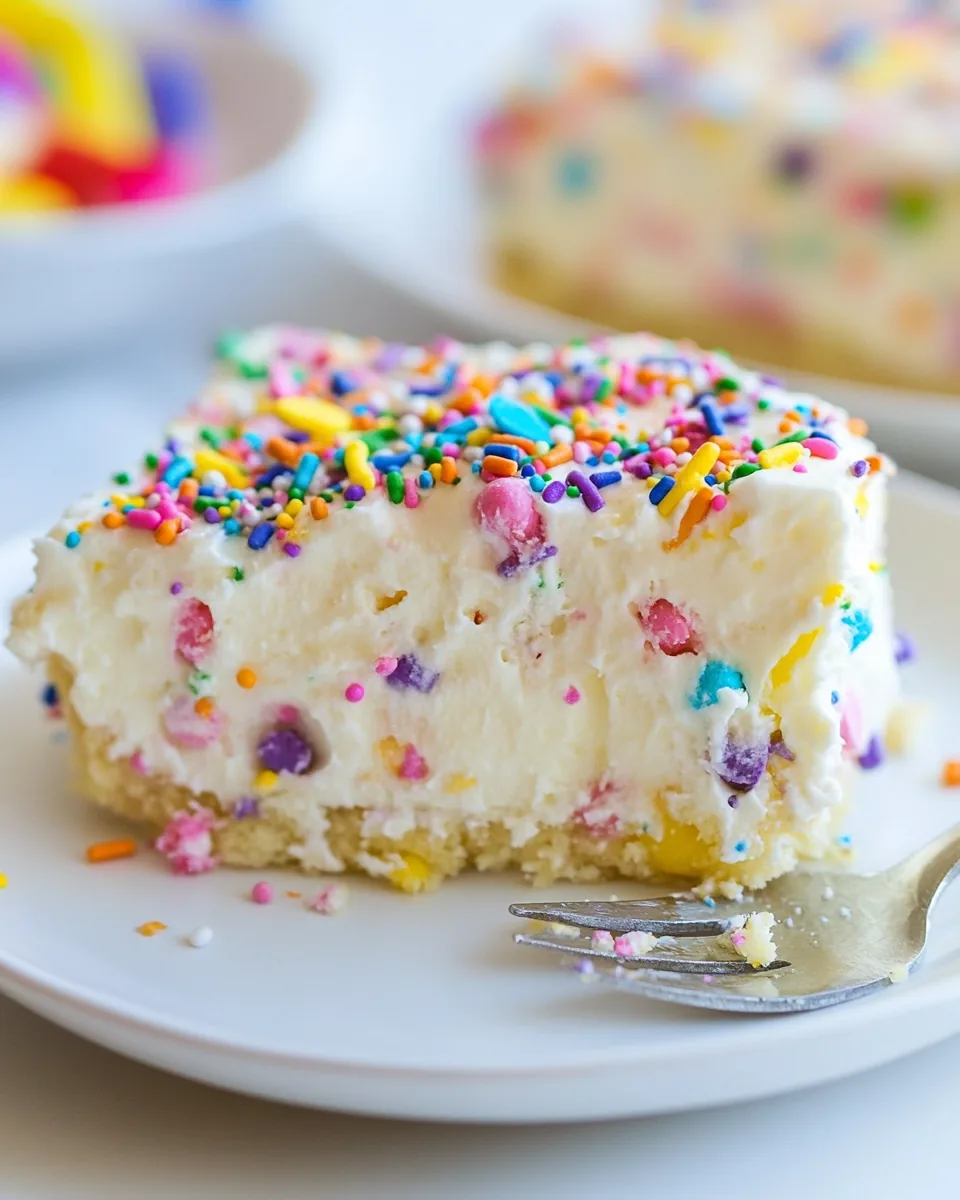
When it comes to the ingredients for No Bake Funfetti Lush Dessert, each one plays a significant role in building the layers of flavor and texture. From the sweet, crunchy base to the creamy middle and the fun toppings, these ingredients are designed to work in harmony, creating a dessert that is as pleasing to the palate as it is to the eyes.
- 15.25 ounce package Birthday Cake Oreos: These iconic cookies serve as the sweet base, crushed into crumbs to form a delicious crust that adds a delightful crunch.
- 4 tablespoons salted butter: Melted butter binds the Oreo crumbs together, enhancing the richness of the crust.
- 8 ounces cream cheese: At room temperature, this adds a creamy texture and tangy flavor that balances the sweetness of the dessert.
- 1 cup powdered sugar: This sweetener is essential for achieving the desired sweetness in the cream cheese layer.
- ½ teaspoon vanilla extract: A staple in many desserts, it enhances the overall flavor profile.
- ½ teaspoon butter extract: This adds a buttery flavor that complements the cream cheese beautifully.
- ¼ teaspoon almond extract: A little goes a long way in adding a warm, nutty aroma.
- 4 ounces Cool Whip: Folded into the cream cheese mixture, it lightens up the filling and gives it a fluffy texture.
- 2 tablespoons rainbow sprinkles: These are for both decoration and added fun, making the dessert visually appealing.
- 5.1 ounce box vanilla pudding: This mix is combined with milk to create a luscious pudding layer that adds a creamy richness.
- 2¼ cups milk: Needed to prepare the vanilla pudding, it creates a smooth consistency.
- 4 ounces Cool Whip: Another layer to top off the pudding for added creaminess.
- 8 ounce tub Cool Whip: For the final topping, making the dessert light and fluffy.
- 2 tablespoons rainbow sprinkles: Additional sprinkles for the top layer, adding to the visual allure.
The Process for Making No Bake Funfetti Lush Dessert
Making No Bake Funfetti Lush Dessert is a delightful experience that requires just a few simple steps. You’ll be layering flavors and textures in no time! Follow along with these detailed instructions to create your masterpiece.
Make the Crust: Start by lightly greasing a 9×13-inch pan. In a medium bowl, combine the Birthday Cake Oreo crumbs and the melted butter. Use a fork to mix until the crumbs are evenly moistened. When it looks like wet sand, press the mixture firmly into the bottom of the prepared pan in an even layer. This crust will hold the dessert together, so make sure it’s packed tightly. Refrigerate while you prepare the filling.
Make the Cream Cheese Layer: In a large mixing bowl, use an electric mixer to beat the cream cheese and powdered sugar on medium speed until completely smooth, which should take about 2 minutes. This step is crucial; a smooth mixture will keep your filling creamy. Next, add the butter extract, vanilla extract, and almond extract. Beat again until well combined. Now, take 4 ounces of Cool Whip (which is half of an 8-ounce tub) and gently fold it into the cream cheese mixture using a rubber spatula until fully incorporated. Finally, stir in the rainbow sprinkles. Spread this delicious mixture evenly over the crust and return the pan to the refrigerator.
-
Make the Pudding Layer: In a large bowl, whisk together the vanilla pudding mix and milk for about 2 minutes. Allow it to sit for 5 minutes to thicken slightly. After that, fold in the remaining 4 ounces of Cool Whip, ensuring it’s fully mixed and fluffy. This layer adds a wonderful creaminess to the dessert. Spread this pudding layer evenly on top of the cream cheese layer.
Finish with the Topping: Now it’s time to add the final touch! Spread the remaining Cool Whip evenly on top of the pudding layer, making sure to cover it all the way to the edges. This keeps the layers intact and adds a beautiful finish. Sprinkle the additional rainbow sprinkles on top for a festive look. Cover the pan and refrigerate for at least 4 hours, preferably overnight, to let all the flavors meld together. This chilling time is essential for the best texture. Just before serving, remember that leftovers can be stored in the refrigerator for up to 4 days!
Things Worth Knowing
- Chilling Time: It’s crucial to allow the dessert to chill properly. This not only helps set the layers but also enhances the flavors, making each bite even more delightful.
- Layering Technique: When adding each layer, make sure to spread it evenly. This ensures that every slice of the dessert has a balanced flavor and texture.
- Ingredient Temperature: Ensure your cream cheese is at room temperature before mixing. This will help achieve a smoother consistency in the cream cheese layer.
- Serving Suggestion: For added flair, consider serving each slice with a dollop of additional Cool Whip and a sprinkle of rainbow sprinkles on top.
Ways to Customize
When it comes to customizing No Bake Funfetti Lush Dessert, the options are as colorful as the sprinkles on top! Here are some tips to make this dessert uniquely yours.
- Storage: To store leftovers, cover the dessert tightly with plastic wrap or in an airtight container. It keeps well in the refrigerator for up to 4 days.
- Freezing: While this dessert is best served fresh, you can freeze it! Just make sure to wrap it well to avoid freezer burn. Thaw in the fridge before serving.
- Variations: Experiment with different flavored Oreo cookies or pudding mixes to create your own unique flavor combinations.
- Seasonal Themes: Change up the sprinkles for different holidays—use red and green for Christmas or pastel colors for Easter!
- Fruit Add-Ins: Add layers of fresh fruit like strawberries or bananas for a refreshing twist and added texture.
Pairing Suggestions for No Bake Funfetti Lush Dessert
When it comes to serving No Bake Funfetti Lush Dessert, the possibilities are endless! Here are some delightful pairing suggestions to elevate your dessert experience:
- Celebration Cakes: Pair this dessert with a simple vanilla or chocolate cake for a layered dessert experience at birthdays or celebrations.
- Ice Cream: Serve alongside a scoop of vanilla or birthday cake ice cream to enhance the festive vibe.
- Fruit Salads: A refreshing fruit salad can balance the sweetness of the dessert, providing a light contrast.
- Seasonal Beverages: Consider offering refreshing drinks like lemonade or iced tea, perfect for summer gatherings.
- Picnics: This dessert is ideal for outdoor events. Pack it in a cooler alongside sandwiches and chips for a sweet finish.
- Special Occasions: Create a dessert table for holidays or family gatherings, featuring No Bake Funfetti Lush Dessert alongside other treats.
FAQ
Conclusion
The No Bake Funfetti Lush Dessert is a delightful blend of sweetness and nostalgia that brings joy to any table. With its easy preparation and vibrant presentation, it’s a dessert you’ll want to make time and time again. I encourage you to try it for your next celebration or simply to treat yourself. Embrace the fun and deliciousness it brings, and enjoy every bite!
No Bake Funfetti Lush Dessert
Equipment
- Wooden Spoon
- Mixing Bowl
- Whisk
- Frying Pan
Ingredients
- 15.25 ounce Birthday Cake Oreos crushed into crumbs
- 4 tablespoons salted butter melted
- 8 ounces cream cheese at room temperature
- 1 cup powdered sugar
- 0.5 teaspoon vanilla extract
- 0.5 teaspoon butter extract
- 0.25 teaspoon almond extract
- 4 ounces Cool Whip
- 2 tablespoons rainbow sprinkles
- 5.1 ounce vanilla pudding
- 2.25 cups milk
- 4 ounces Cool Whip
- 8 ounces Cool Whip
- 2 tablespoons rainbow sprinkles
Instructions
- Make the Crust: Lightly grease a 9x13-inch pan. In a medium bowl, combine the Birthday Cake Oreo crumbs and the melted butter. Use a fork to mix until the mixture is evenly moistened. Press into the bottom of the prepared pan in an even layer. Refrigerate while you prepare the filling.
- Make the Cream Cheese Layer: With an electric mixer, beat the cream cheese and powdered sugar on medium speed until completely smooth, about 2 minutes. Add the butter extract, vanilla extract, and almond extract. Beat to combine. Using a rubber spatula, fold in 4 ounces of Cool Whip until thoroughly combined, then stir in the rainbow sprinkles. Spread into an even layer on top of the crust and return to the refrigerator while you make the pudding layer.
- Make the Pudding Layer: In a large bowl, whisk together the vanilla pudding mix and milk for 2 minutes. Set aside for 5 minutes. After it has been sitting, fold in the remaining 4 ounces of Cool Whip. Spread in an even layer on top of the cream cheese layer.
- Finish with the Topping: Spread the remaining Cool Whip evenly on top of the pudding layer, making sure to spread it to the edges. Evenly distribute the rainbow sprinkles on top, then refrigerate for at least 4 hours, preferably overnight, before serving. Leftovers should be stored in the refrigerator for up to 4 days.
Notes
- Tip 1: Butter extract may be available at your grocery store, but if it's not, it can easily be purchased online.
- Tip 2: Always use room temperature cream cheese for a smoother mixture.
- Tip 3: Make sure to pack the Oreo crust tightly for a sturdy base.
- Tip 4: For a fun twist, try different flavors of pudding or Oreo cookies.
- Tip 5: Consider the dessert a day ahead to save time on busy days.