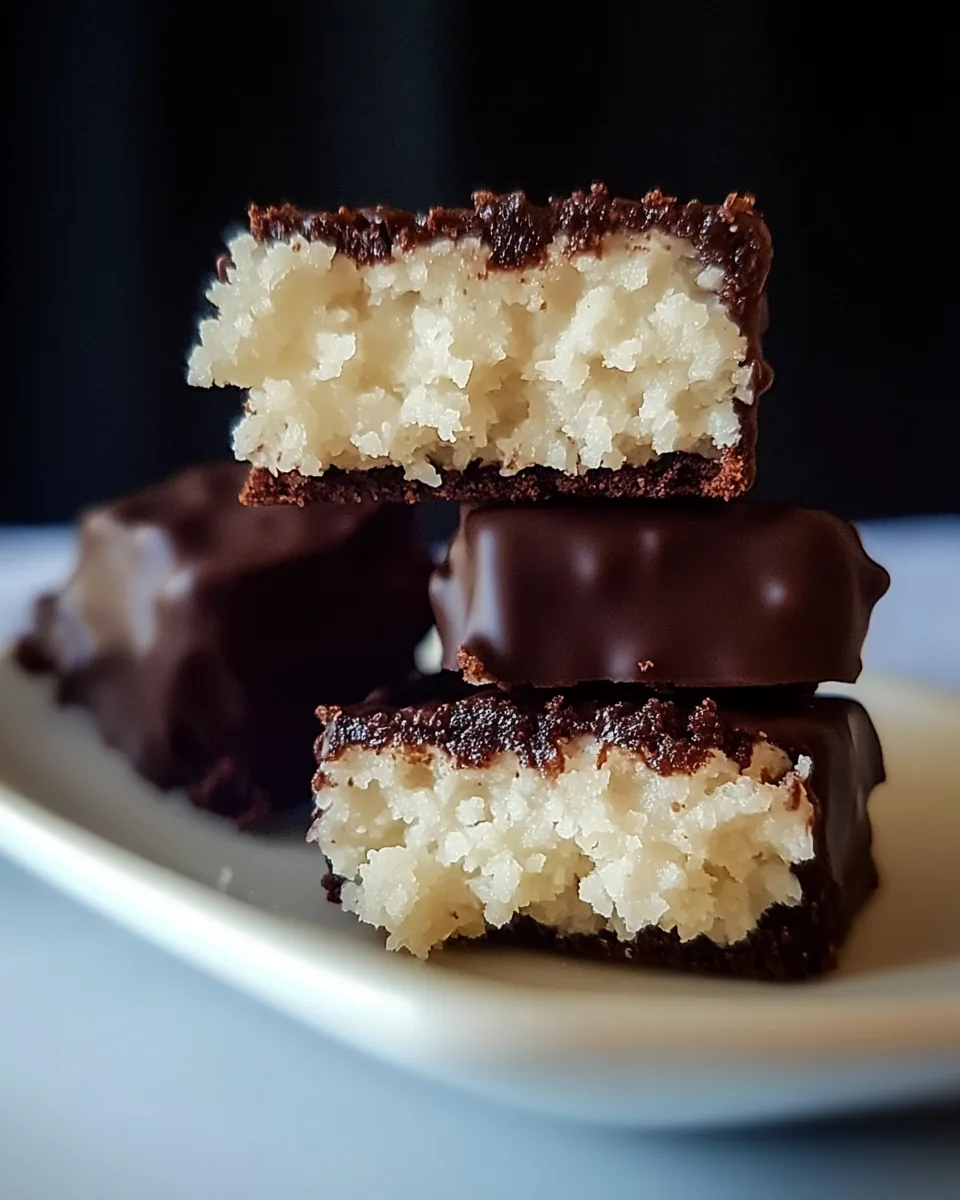
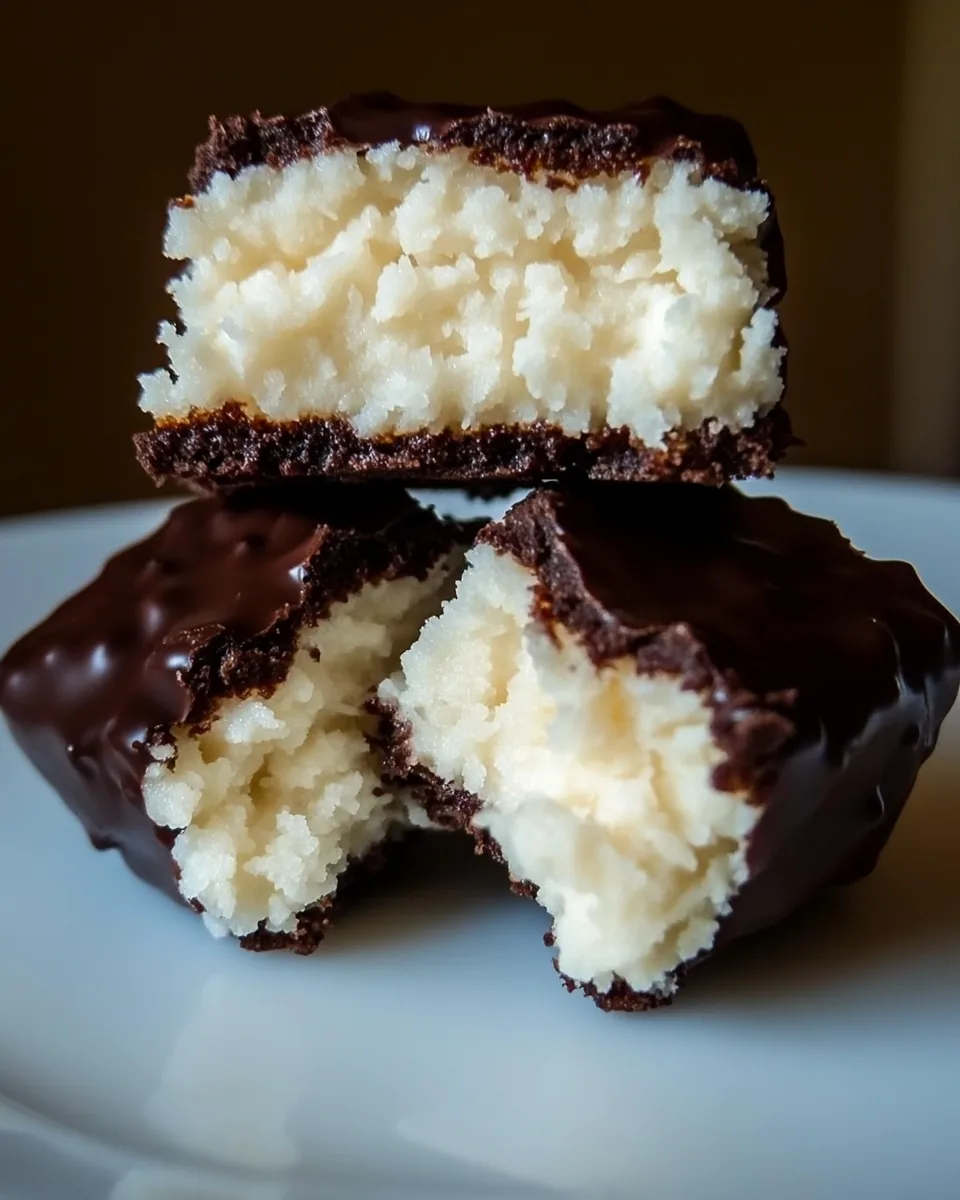
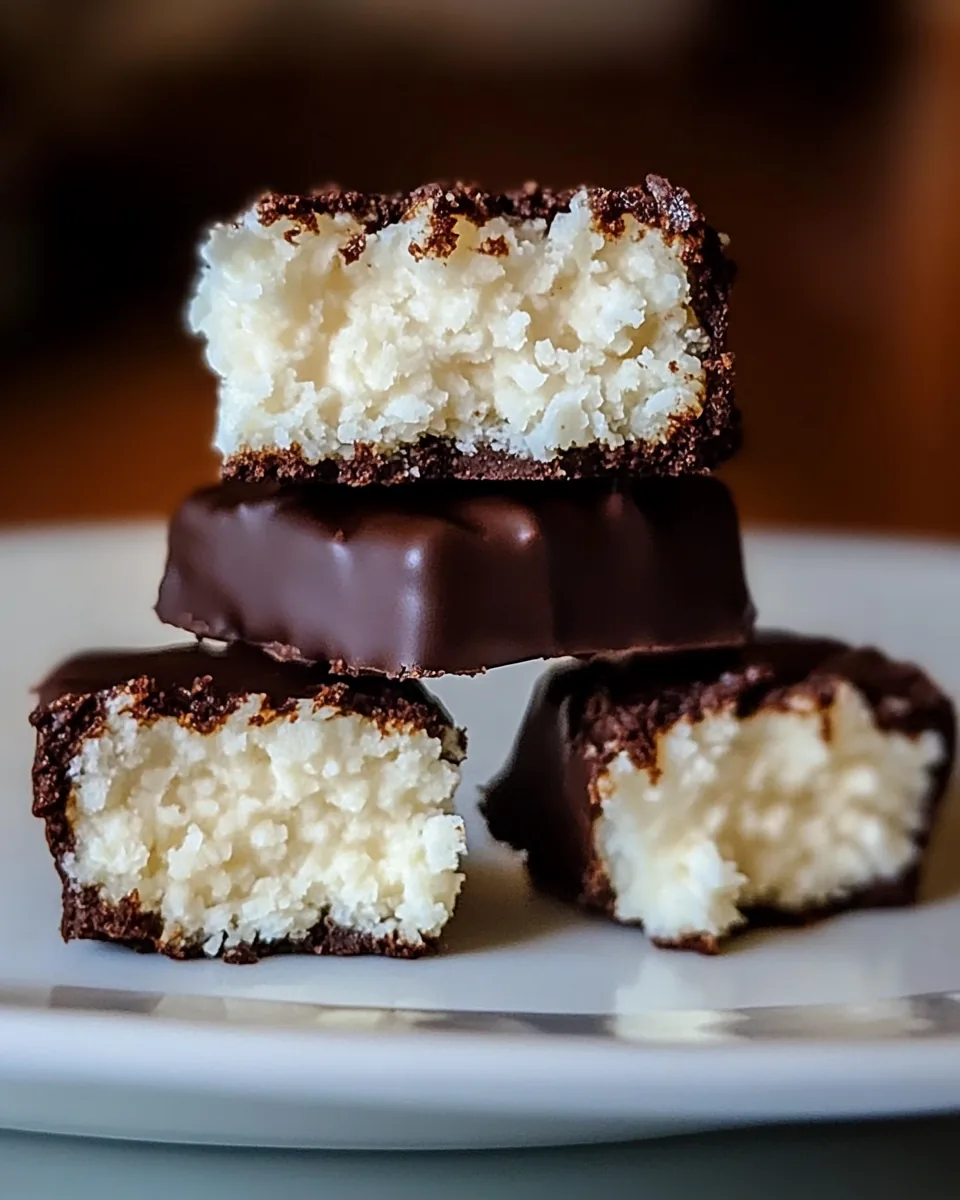
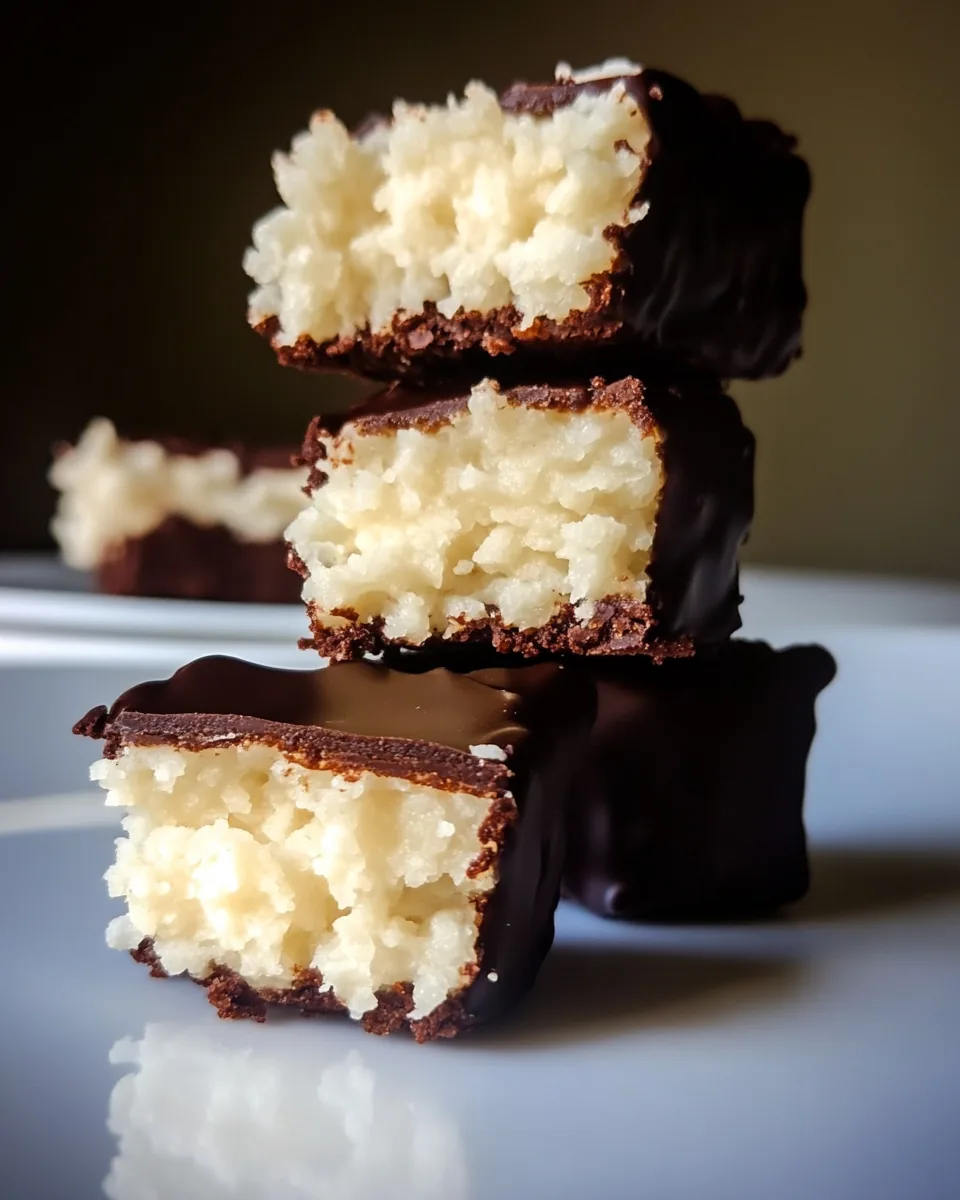
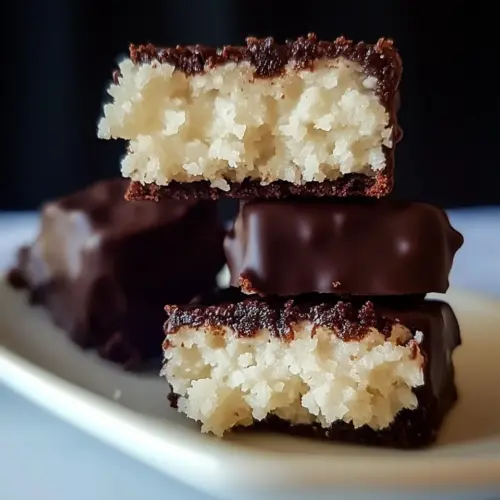
Mounds Bars
The first time I tasted Mounds Bars, it felt like a little piece of paradise. The combination of sweet, chewy coconut and rich chocolate was unlike anything I had ever experienced. I remember the moment vividly: a warm summer day, sitting outside, and treating myself to this delightful creation. Since then, making Mounds Bars has become a cherished tradition in my kitchen, perfect for satisfying cravings or sharing with friends and family. This recipe is more than just a dessert; it’s a simple way to bring a smile to the faces of those I love.
Recipe Snapshot
5 mins
5 mins
0 mins
Medium
180 kcal
2 g
Paleo, Gluten-Free, AIP
12 g
Wooden Spoon, Food Processor, Blender
What I adore about Mounds Bars is their versatility. Whether you’re in the mood for a snack, a sweet treat after dinner, or a delightful addition to a dessert platter, these bars fit the bill perfectly. They’re easy to make, requiring only a few key ingredients that come together harmoniously. Plus, they’re a no-bake treat, which means less time in the kitchen and more time enjoying life!
As the weather warms up, I find myself reaching for this recipe more often. The process of making Mounds Bars is straightforward and allows you to get creative. You can adjust the sweetness to your liking, use different types of chocolate for dipping, or even add a hint of your favorite flavorings. Each time, it feels special and unique, and I just love that personal touch.
Gathering the ingredients always feels like preparing for a fun adventure. The smell of the coconut combined with the melting chocolate is simply divine. I often find myself sneaking a bite of the coconut mixture before it even gets shaped into bars! The anticipation of that first bite, once they’re ready, is always worth the wait. So, if you’re looking for a treat that’s easy to whip up, packed with flavor, and sure to impress, you’ll want to try making Mounds Bars today.
Let’s dive into the reasons why this recipe is a must-try!
The Appeal of This Mounds Bars
Delicious Flavor Combination
One of the main reasons I love Mounds Bars is the incredible combination of flavors. The sweetness of the coconut perfectly balances the rich, silky chocolate coating. It’s a match made in dessert heaven!
Easy to Make
This recipe requires minimal ingredients and no complicated techniques. You don’t even need to bake! Just mix, shape, chill, and dip, making it accessible for novice cooks and seasoned bakers alike.
Customizable
Once you master the basic Mounds Bars recipe, the possibilities are endless. You can experiment with different sweeteners, add nuts or dried fruits, or even try pairing it with different types of chocolate. Each variation can bring a new twist to this classic treat.
Perfect for Any Occasion
Whether you’re celebrating a special occasion or just need a sweet treat for a movie night, Mounds Bars are always a hit. They can be enjoyed at parties, potlucks, or simply as an afternoon snack. They also make great gifts when packaged in a pretty box!
Healthier Indulgence
Using natural ingredients like unsweetened shredded coconut and pure maple syrup allows you to enjoy a satisfying dessert without all the processed sugars and additives found in many store-bought sweets. It feels good to indulge in something that’s both tasty and a bit healthier.
Kid-Friendly Fun
If you’re looking for a fun activity to do with the kids, making Mounds Bars is perfect! They can help mix the ingredients, shape the bars, and even decorate them with chocolate. It’s a great way to create lasting memories in the kitchen.
Mounds Bars Shopping List
When it comes to making Mounds Bars, the ingredients are simple yet effective. Each component plays a vital role in creating the delicious texture and flavor that we all adore. The star of the show is the unsweetened shredded coconut, which gives the bars their signature chewiness and tropical flair. Combined with coconut oil, it creates a rich, luscious base. Pure maple syrup adds just the right amount of sweetness, while chocolate chips deliver that delightful cocoa flavor. Let’s explore these ingredients in detail:
- 1 and 1/2 cups unsweetened shredded coconut: This is the primary ingredient that gives Mounds Bars their unique texture. It’s essential to use unsweetened coconut to maintain control over the sweetness of the bars.
- 3 tbsp pure maple syrup: This natural sweetener not only enhances flavor but also helps bind the coconut together. You can substitute it with honey or agave if needed.
- 3 tbsp coconut oil: This ingredient adds creaminess and helps keep the bars moist. It also aids in the melting process when you dip the bars in chocolate.
- 1/4 tsp pure vanilla extract: Though optional, this adds a lovely depth of flavor to the coconut mixture.
- 3 oz chocolate chips: The chocolate coating is what brings the Mounds Bars to life! Use your favorite type of chocolate for dipping.
- 1 tsp oil (optional): If you’re looking for a smoother chocolate coating, adding a bit of oil to the melted chocolate can help achieve that!
Recipe Directions for Mounds Bars
Making Mounds Bars is a delightful process that comes with great satisfaction. Follow these simple steps, and soon you will be enjoying your homemade treats!
- Start by adding the first three ingredients: unsweetened shredded coconut, pure maple syrup, and coconut oil to a blender or food processor. If you’re using it, add the pure vanilla extract as well. Blend until the mixture is sticky and holds together, ensuring not to over-blend, or the texture will change.
- Once blended, transfer the mixture to a clean surface or a bowl. Use your hands to smush and shape the mixture into the classic Mounds bar shape. I like to make mine about 1 inch thick, which provides the perfect bite!
- Place your shaped bars onto a parchment paper or wax-lined plate. This step is crucial, as it prevents sticking and makes for easier cleanup later on.
- Now, it’s time to chill! Pop the plate into the refrigerator or freezer for about 30 minutes. This will help them firm up, making them easier to dip in chocolate.
- While the bars are chilling, prepare to melt your chocolate. Place the chocolate chips in a microwave-safe bowl and heat in 30-second intervals, stirring in between, until fully melted and smooth. If you want a thinner consistency, stir in the optional oil to achieve a more luxurious coating.
- Once the chocolate is melted and your bars are firm, take the coconut mounds out of the fridge or freezer. Dip each one into the melted chocolate, ensuring they are fully coated. Use a fork to lift them out and allow the excess chocolate to drip off.
- After dipping, place the chocolate-covered bars back on the parchment paper. At this point, you can sprinkle them with a bit of coconut if you’d like to add a decorative touch.
- Return the coated bars to the refrigerator to set for about 15 to 20 minutes. This will help the chocolate harden and give you the perfect snap when you bite into them.
- Once set, your Mounds Bars are ready to enjoy! Store any leftovers in an airtight container in the fridge or freezer to maintain their shape. They are best when chilled!
Things Worth Knowing
- Texture Matters: When blending the coconut mixture, ensure it’s just sticky enough to hold together without becoming too mushy. You want that perfect chewy texture!
- Chilling Time: Don’t skimp on the chilling time. This step is crucial for the bars to maintain their form, and the rich chocolate coating will adhere better if they are firm.
- Chocolate Quality: Use high-quality chocolate chips for dipping. The better the chocolate, the more indulgent the treat will be!
- Experimentation: Feel free to experiment with different types of chocolate, such as dark, milk, or even white chocolate, to suit your taste preferences.
Making Adjustments
If you’re considering personalizing your Mounds Bars experience, here are some handy tips to make the recipe work for you!
- Storage: Store leftover Mounds Bars in an airtight container in the fridge to keep them fresh. For longer-lasting treats, they can also be stored in the freezer.
- Freezing: Yes, you can freeze these bars! Just ensure they’re well-wrapped or placed in a freezer-safe container to prevent freezer burn.
- Pairing: These Mounds Bars pair wonderfully with a hot cup of coffee or tea. They also make a delightful addition to your dessert table at gatherings.
- Texture Variations: If you prefer a crunchier texture, consider incorporating some chopped nuts into the coconut mixture.
- Flavor Variations: Experiment with adding a touch of almond extract or a hint of citrus zest for a unique twist!
Serving Suggestions
When it comes to enjoying your homemade Mounds Bars, the serving possibilities are as delightful as the bars themselves!
- Snack Time: Perfect for a quick snack any time of day. Keep some in your lunchbox for a sweet treat.
- Dessert Platter: These bars make a beautiful addition to any dessert platter. Serve alongside fresh fruit, cookies, or other baked goods for variety.
- Special Occasions: Whether it’s a birthday party, holiday gathering, or casual get-together, Mounds Bars will always be a hit. Their unique flavor and texture are bound to impress your guests.
- With Coffee: Enjoy these bars with a steaming cup of coffee or a refreshing glass of iced tea for a perfect afternoon treat.
- Seasonal Treat: While they are great any time of year, consider making Mounds Bars during summer gatherings for a refreshing, no-bake option that everyone can enjoy!
FAQ
Conclusion
These Mounds Bars are a delightful treat that combines the sweet, chewy texture of coconut with rich chocolate. Whether you’re making them for yourself or sharing with loved ones, they’re sure to bring joy to any occasion. I encourage you to give this recipe a try; it’s simple, satisfying, and oh-so-delicious. Your taste buds will thank you!
Mounds Bars
Equipment
- Wooden Spoon
- Food Processor
- Blender
Ingredients
- 1 and 1/2 cups unsweetened shredded coconut
- 3 tbsp pure maple syrup
- 3 tbsp coconut oil
- 1/4 tsp pure vanilla extract optional
- 3 oz chocolate chips
- 1 tsp oil optional
Instructions
- Start by adding the first three ingredients: unsweetened shredded coconut, pure maple syrup, and coconut oil to a blender or food processor. If you’re using it, add the pure vanilla extract as well. Blend until the mixture is sticky and holds together, ensuring not to over-blend, or the texture will change.
- Once blended, transfer the mixture to a clean surface or a bowl. Use your hands to smush and shape the mixture into the classic Mounds bar shape. I like to make mine about 1 inch thick, which provides the perfect bite!
- Place your shaped bars onto a parchment paper or wax-lined plate. This step is crucial, as it prevents sticking and makes for easier cleanup later on.
- Now, it’s time to chill! Pop the plate into the refrigerator or freezer for about 30 minutes. This will help them firm up, making them easier to dip in chocolate.
- While the bars are chilling, prepare to melt your chocolate. Place the chocolate chips in a microwave-safe bowl and heat in 30-second intervals, stirring in between, until fully melted and smooth. If you want a thinner consistency, stir in the optional oil to achieve a more luxurious coating.
- Once the chocolate is melted and your bars are firm, take the coconut mounds out of the fridge or freezer. Dip each one into the melted chocolate, ensuring they are fully coated. Use a fork to lift them out and allow the excess chocolate to drip off.
- After dipping, place the chocolate-covered bars back on the parchment paper. At this point, you can sprinkle them with a bit of coconut if you’d like to add a decorative touch.
- Return the coated bars to the refrigerator to set for about 15 to 20 minutes. This will help the chocolate harden and give you the perfect snap when you bite into them.
- Once set, your Mounds Bars are ready to enjoy! Store any leftovers in an airtight container in the fridge or freezer to maintain their shape. They are best when chilled!