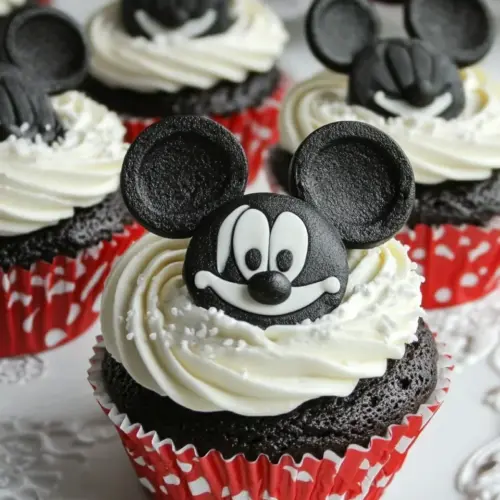
Mickey Mouse Cupcakes
One delightful afternoon, I found myself reminiscing about childhood parties filled with laughter and joy, especially the ones featuring Mickey Mouse Cupcakes. The idea of creating these whimsical treats instantly brought back memories of frosting-covered smiles and playful decorations. With their adorable designs, these cupcakes are sure to steal the show at any gathering, be it a birthday party or a casual get-together. They’re not just delicious; they bring a sense of nostalgia and cheer that warms the heart. So, let’s dive into the fun world of baking and crafting these delightful cupcakes!
Recipe Snapshot
28 mins
10 mins
18 mins
Medium
230 kcal
2 g
Keto, Paleo, Whole30
12 g
Baking Sheet, Mixing Bowl, Blender
Why This Mickey Mouse Cupcakes Shines
A Creative Treat for All Ages
There’s something incredibly special about Mickey Mouse Cupcakes. They’re not just a dessert; they’re a canvas for creativity. Whether you’re decorating them for a birthday party or simply indulging in a little baking therapy, these cupcakes can be as imaginative as you are. You can customize them with various toppings and colors to match any theme.
Perfect for Celebrations
Every celebration deserves a show-stopping dessert, and what better way to bring joy than with Mickey Mouse Cupcakes? They are perfect for kids and adults alike, sparking memories of Disney magic. Imagine the delight on your guests’ faces when they see these charming creations! They truly encapsulate the spirit of fun and festivity.
A Simple and Fun Recipe
The beauty of these cupcakes lies in their simplicity. With a few basic ingredients, you can create a delightful dessert that looks intricate but is surprisingly easy to make. The joy of baking together with loved ones while crafting these charming pastries adds a layer of happiness to any occasion.
Versatile and Adaptable
One of the standout features of Mickey Mouse Cupcakes is their versatility. You can switch up flavors or add special dietary options to cater to various preferences. From chocolate lovers to vanilla enthusiasts, there’s a cupcake for everyone. Plus, they’re fun to personalize with unique toppings!
Kid-Friendly Fun
Baking these cupcakes can be a fantastic bonding activity with kids. They can help with mixing, pouring, and decorating, making it a fun family project that creates lasting memories. Watching their eyes light up as they pipe frosting or add sprinkles is a joy that’s hard to match!
Essential Ingredients for Mickey Mouse Cupcakes
When it comes to baking Mickey Mouse Cupcakes, the ingredients you choose play a vital role in achieving the perfect flavor and texture. Each component works harmoniously to bring these delightful cupcakes to life, creating a blend of sweetness and fun. Here’s what you’ll need:
- 1 box Betty Crocker’s Black and White Cupcake mix: This is the foundation of our cupcakes, delivering a moist and rich flavor.
- 2 eggs: Essential for binding the ingredients together and adding moisture.
- 3/4 cup water: Helps in mixing the batter to the right consistency.
- 1/4 cup vegetable oil: Adds richness and keeps the cupcakes moist.
- Frosting pouch: The star of our decoration, providing a sweet and creamy topping.
- 2 tsp water: Used to adjust the frosting consistency for piping.
- 1/2 cup butter, softened: Enhances the flavor of the frosting, giving it a creamy texture.
- Sprinkles: Adds a fun and festive touch to the cupcakes.
- 24 Oreos: These will serve as the iconic ears for our cupcakes, making them truly special!
Instructions for Mickey Mouse Cupcakes
Creating Mickey Mouse Cupcakes is a rewarding experience that brings joy from start to finish. Follow these steps closely, and you’ll have a batch of adorable cupcakes to share. Let’s get started!
- Begin by preheating your oven to 350 degrees Fahrenheit. Preparing your oven ahead of time ensures even baking, which is crucial for achieving that perfect golden color.
- Next, take out a mixing bowl and add the cupcake mix, 2 eggs, 3/4 cup water, and 1/4 cup vegetable oil. Use a whisk to blend the ingredients until the batter is smooth and free of lumps. This takes about two to three minutes.
- Prepare your cupcake liners by placing them into a cupcake pan. Make sure to use a standard-sized cupcake tin for uniform baking.
- Pour the batter into the liners, filling each about two-thirds full. This prevents overflow while baking and ensures they have enough room to rise.
- Place the cupcake tray in the preheated oven and bake for 18 to 23 minutes. Keep an eye on them; they’re ready when a toothpick inserted into the center comes out clean.
- Once baked, remove the tray from the oven and let the cupcakes cool in the pan for about five minutes. Then transfer them to a cooling rack to cool completely. This step is essential for good frosting application.
- While waiting for the cupcakes to cool, it’s time to prepare the frosting. In a mixing bowl, combine the frosting pouch, 2 tsp water, and 1/2 cup softened butter. Mix until fluffy and well blended.
- When the cupcakes are completely cool, it’s time to frost them. Use a piping bag fitted with a 1M Wilton tip to apply the frosting in a swirling motion on top of each cupcake. This adds a delightful visual appeal.
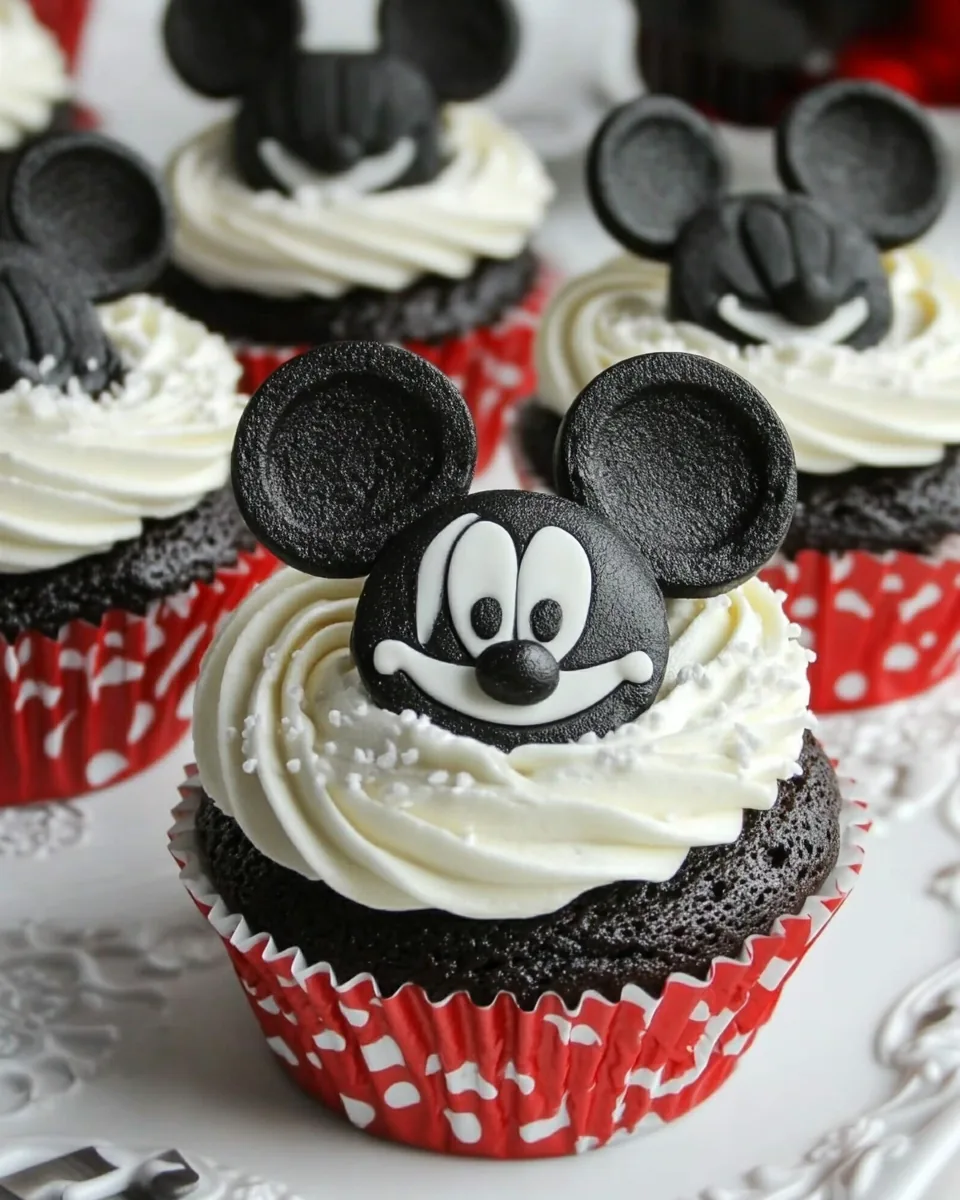
- Finally, to create the iconic Mickey ears, gently press an Oreo on each side of the frosted cupcake. Add some colorful sprinkles on top to finish off your Mickey Mouse Cupcakes with flair!
Things Worth Knowing
- Cooling is key: Ensure your cupcakes are completely cooled before frosting to prevent melting.
- Mix well: Thoroughly mix the batter to avoid lumps, ensuring a perfect texture.
- Frosting consistency: Adjust the frosting with water if it’s too thick to pipe smoothly.
- Decorative fun: Get creative with different toppings; the options are endless!
Make It Your Own
Personalizing your Mickey Mouse Cupcakes can be a blast! Here are some ideas to help you add your unique twist:
- Storage: Keep any leftover cupcakes in an airtight container at room temperature for up to three days.
- Freezing: Cupcakes can be frozen for up to a month. Just wrap them tightly in plastic before freezing.
- Variations: Try using different flavored cake mixes like red velvet or lemon for a fun twist.
- Decorate differently: Use colored frosting or themed sprinkles to fit different occasions.
- Try mini versions: Bake mini cupcakes for bite-sized treats perfect for parties.
- Serving tip: Pair with a scoop of ice cream for an indulgent dessert experience!
What Goes Well With This Mickey Mouse Cupcakes
- Ice Cream: Serve these cupcakes with a scoop of vanilla or chocolate ice cream for a delightful treat.
- Fruit Salad: A light fruit salad pairs perfectly, offering a fresh contrast to the sweetness of the cupcakes.
- Coffee: Enjoy these cupcakes with a hot cup of coffee or tea to balance the sweetness.
- Birthday Parties: These cupcakes are an excellent addition to birthday parties, bringing fun to the dessert table.
- Picnics: Pack them in a picnic basket for a sweet ending to a day outdoors.
- Seasonal Events: Perfect for any celebration, from summer BBQs to holiday gatherings!
FAQ
Conclusion
These Mickey Mouse Cupcakes are not just treats; they’re a celebration of creativity and joy. With their charming appearance and delightful taste, they’re bound to become a favorite at any gathering. Don’t hesitate to try making these whimsical cupcakes yourself; you’ll love how easy and fun they are. Gather your ingredients, unleash your imagination, and enjoy the baking adventure ahead!
Mickey Mouse Cupcakes
Equipment
- Baking Sheet
- Mixing Bowl
- Blender
Ingredients
- 1 box Betty Crocker’s Black and White Cupcake mix
- 2 Eggs
- 3/4 cup Water
- 1/4 cup Vegetable oil
- 1 Frosting pouch
- 2 tsp Water
- 1/2 cup Butter softened
- to taste Sprinkles
- 24 Oreos
Instructions
- Begin by preheating your oven to 350 degrees Fahrenheit. Preparing your oven ahead of time ensures even baking, which is crucial for achieving that perfect golden color.
- Next, take out a mixing bowl and add the cupcake mix, 2 eggs, 3/4 cup water, and 1/4 cup vegetable oil. Use a whisk to blend the ingredients until the batter is smooth and free of lumps. This takes about two to three minutes.
- Prepare your cupcake liners by placing them into a cupcake pan. Make sure to use a standard-sized cupcake tin for uniform baking.
- Pour the batter into the liners, filling each about two-thirds full. This prevents overflow while baking and ensures they have enough room to rise.
- Place the cupcake tray in the preheated oven and bake for 18 to 23 minutes. Keep an eye on them; they’re ready when a toothpick inserted into the center comes out clean.
- Once baked, remove the tray from the oven and let the cupcakes cool in the pan for about five minutes. Then transfer them to a cooling rack to cool completely. This step is essential for good frosting application.
- While waiting for the cupcakes to cool, it’s time to prepare the frosting. In a mixing bowl, combine the frosting pouch, 2 tsp water, and 1/2 cup softened butter. Mix until fluffy and well blended.
- When the cupcakes are completely cool, it’s time to frost them. Use a piping bag fitted with a 1M Wilton tip to apply the frosting in a swirling motion on top of each cupcake. This adds a delightful visual appeal.
- Finally, to create the iconic Mickey ears, gently press an Oreo on each side of the frosted cupcake. Add some colorful sprinkles on top to finish off your Mickey Mouse Cupcakes with flair!