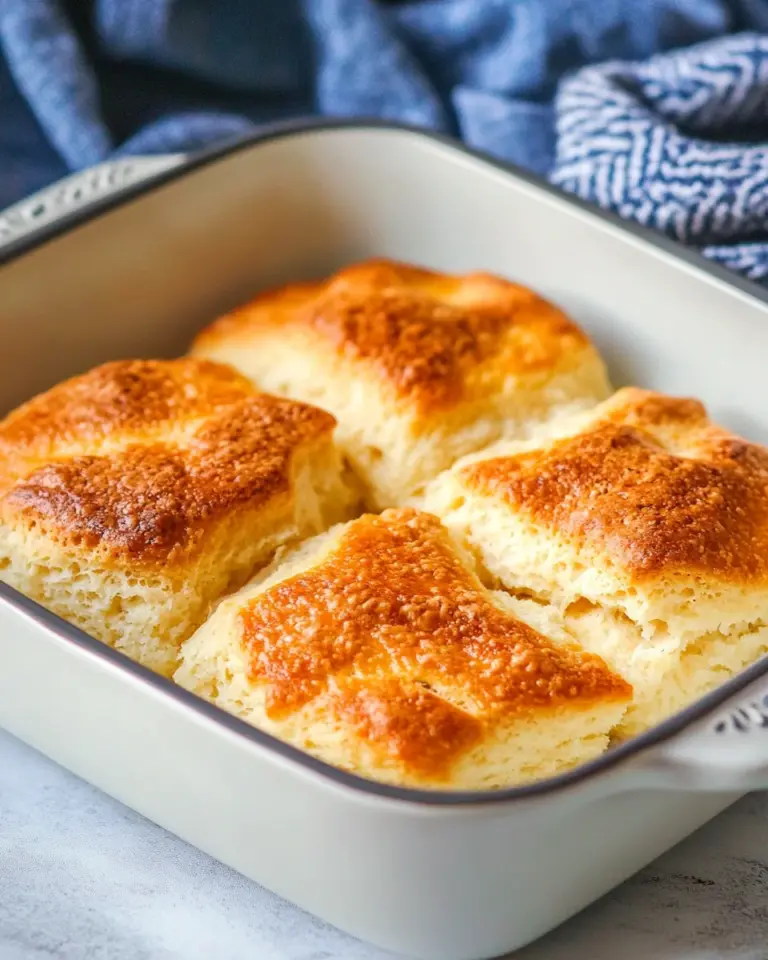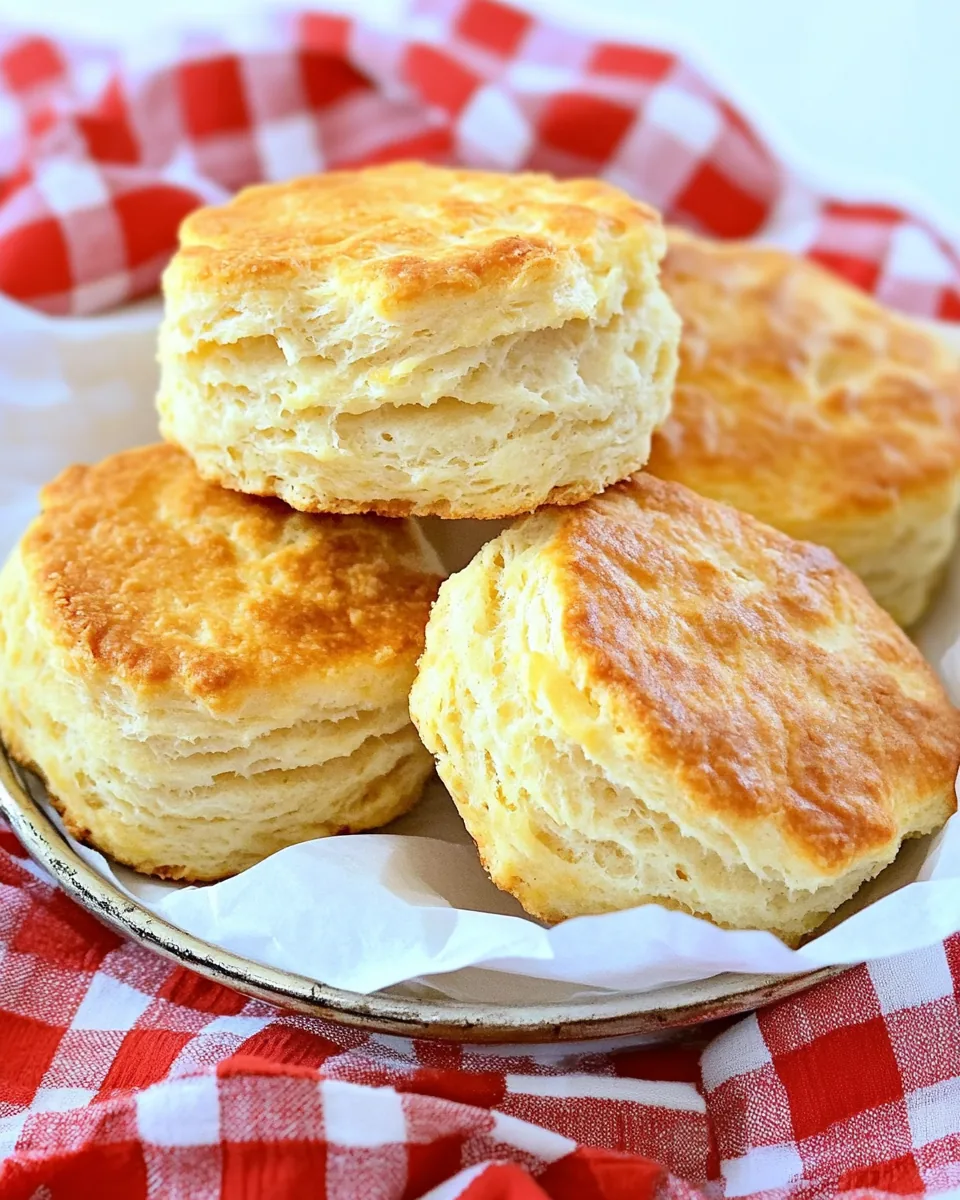
KFC Buttermilk Biscuits
Whenever I think of comfort food, KFC Buttermilk Biscuits instantly comes to mind. There’s something truly magical about these fluffy, golden-brown delights. I remember the first time I had them; it was at a family gathering, and they were the star of the meal. The aroma of baking biscuits wafted through the air, teasing our senses and making our mouths water in anticipation. As we gathered around the table, the biscuits were served warm, their flaky layers inviting us to indulge. Each bite was a perfect combination of buttery goodness and a soft, tender texture that just melted in my mouth. Over the years, I’ve perfected my own version of these biscuits, and they never fail to bring back those cherished memories. Whether it’s a Sunday brunch or a holiday feast, KFC Buttermilk Biscuits are always a delightful addition that everyone loves.
Recipe Snapshot
25 mins
10 mins
15 mins
Medium
150 kcal
2 g
Gluten-Free, Low FODMAP
7 g
Baking Sheet, Oven, Mixing Bowl
The Best Thing About This KFC Buttermilk Biscuits
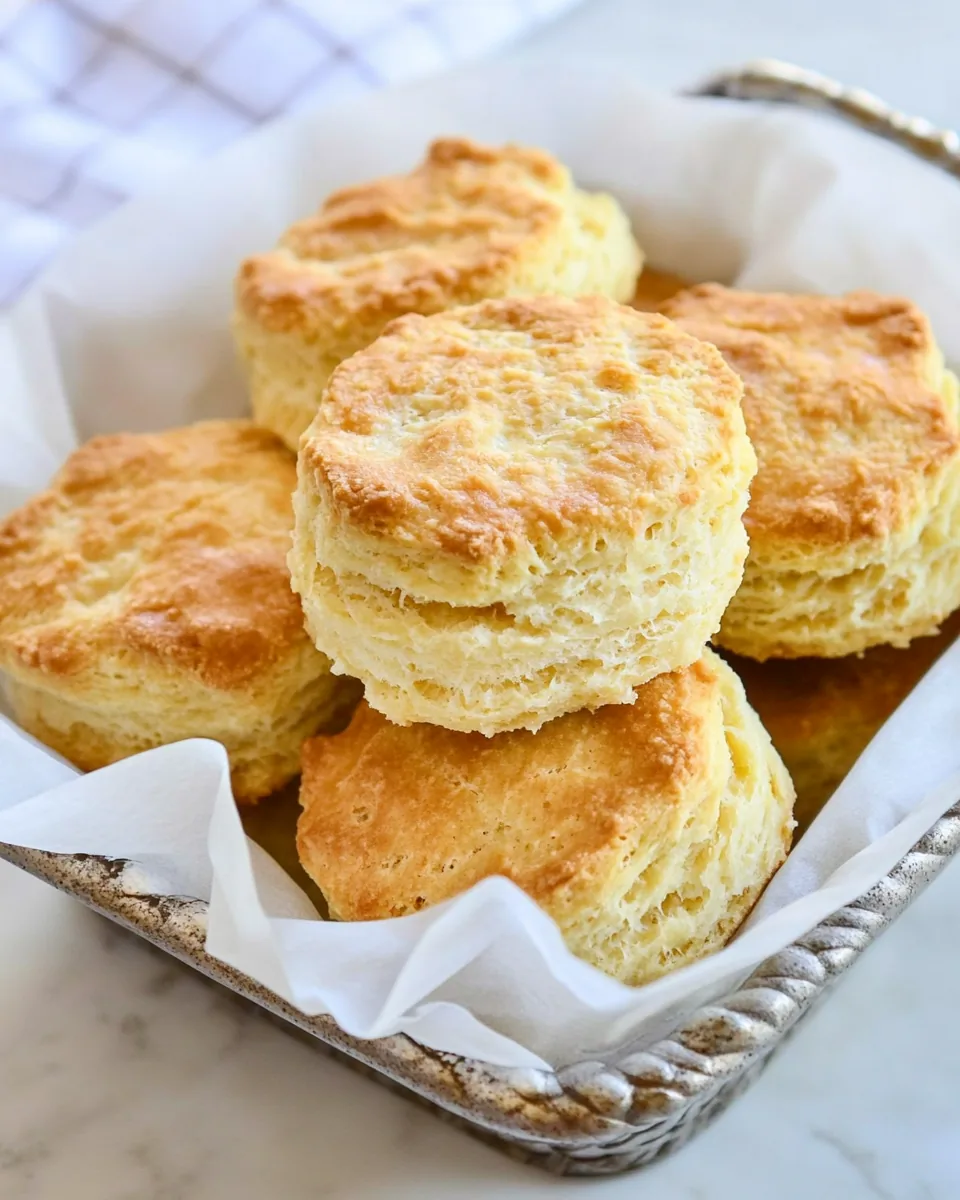
Unmatched Flakiness
One of the standout features of KFC Buttermilk Biscuits is their incredible flakiness. This is achieved by cutting in the butter or shortening into the flour, creating layers that puff up beautifully during baking. The result is a biscuit that’s crispy on the outside and soft on the inside, making it an irresistible treat.
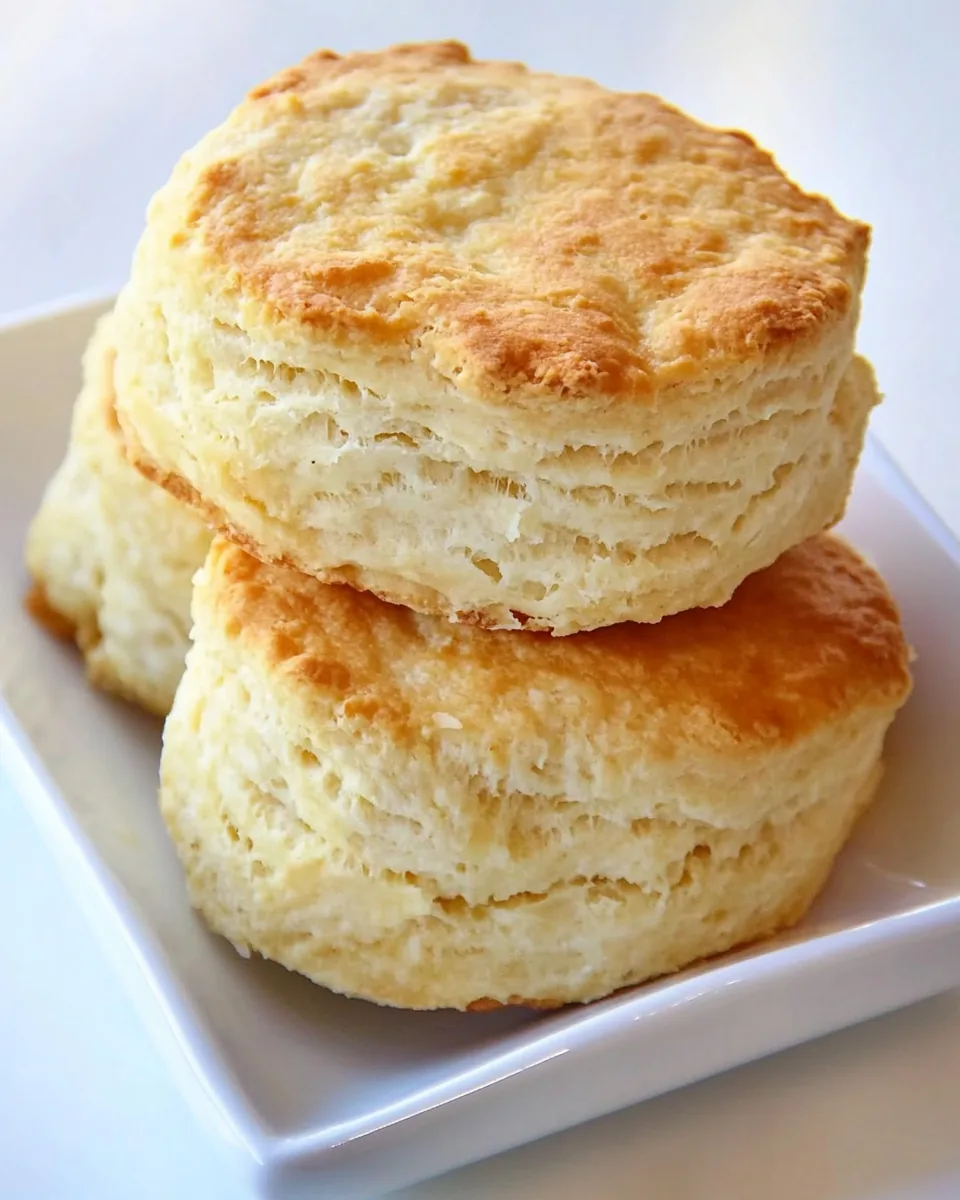
Comfort in Every Bite
There’s a reason why biscuits evoke such warmth and nostalgia. Each mouthful transports you to a cozy kitchen filled with laughter and love. The buttery flavor combined with the slight tang from the buttermilk creates a comforting sensation, reminding us of home-cooked meals shared with family.
Versatile for Any Meal
Another reason to adore KFC Buttermilk Biscuits is their versatility. They can be served for breakfast alongside eggs, used to soak up rich gravies during dinner, or even enjoyed as a snack with some jam. No matter the time of day, these biscuits fit right in.
Quick and Easy to Make
For those busy days when you want to whip up something delicious with minimal effort, these biscuits deliver. With just a few simple ingredients and quick prep, you can have fresh biscuits ready in no time, making them a perfect solution for busy families.
Perfect for Sharing
Finally, there’s something special about sharing KFC Buttermilk Biscuits with loved ones. They encourage gathering, conversation, and connection. Whether at a family gathering or a cozy dinner with friends, these biscuits are sure to spark joy and create lasting memories.
What You’ll Need for KFC Buttermilk Biscuits

When it comes to making the perfect KFC Buttermilk Biscuits, the quality and combination of ingredients are paramount. Each component plays a vital role in achieving that iconic texture and flavor. The star players here are the self-rising flour, which gives our biscuits their lift, and buttermilk, which adds a delightful tang. Together, they create the foundation for biscuits that are soft, flaky, and simply irresistible. Let’s take a look at what you’ll need to create this delicious treat.
- 1/2 cup butter (or shortening), chilled: This fat is essential for achieving the flaky texture. Chilling it ensures that it stays in solid form until it’s baked, which leads to those lovely layers.
- 2 1/2 cups self-rising flour: The key ingredient that provides the necessary leavening for the biscuits. It combines flour, baking powder, and salt, making it convenient for this recipe.
- 2 1/2 teaspoons sugar: A hint of sweetness balances the savory notes. It enhances the flavor without overpowering the dish.
- 1 teaspoon cream of tartar: This helps stabilize the dough and contributes to its rise, resulting in a lighter texture.
- 1 cup buttermilk: The tangy flavor of buttermilk adds depth and moisture, making the biscuits tender.
- 2 tablespoons melted butter: Brushing the tops before baking enhances the golden color and adds extra richness.
Directions for KFC Buttermilk Biscuits
Making KFC Buttermilk Biscuits is a straightforward process that yields delicious results. Follow these steps, and you’ll have perfectly baked biscuits in no time!
- Preheat your oven to 425°F (220°C). This high temperature is crucial for achieving that perfect rise.
- Cut the chilled butter or shortening into small cubes. By doing this, it will be easier to work into the flour. The goal is to incorporate it without fully melting it, which would defeat the purpose of creating those flaky layers.
- In a medium-sized bowl, combine the self-rising flour, sugar, and cream of tartar. Mixing these dry ingredients first ensures even distribution of the leavening agents.
- Add the cubed butter or shortening into the flour mixture. Use a pastry cutter or your fingers to work it into the flour until the mixture resembles coarse crumbs or large sand grains. This is where the magic happens; the little chunks of fat will create layers as they melt during baking.
- Slowly pour in the buttermilk, mixing gently until it forms a cohesive dough. Be careful not to overmix because it can lead to tough biscuits. You want just enough moisture to bring everything together.
- On a floured surface, turn out the dough and shape it into a round disc, about 3/4 inch thick. Working on a lightly floured surface prevents the dough from sticking and allows for easy handling.
- Using a rolling pin, gently roll the dough to about 3/4 inch thick, ensuring that you don’t press too hard. This gentle touch helps maintain the tenderness of the biscuits.
- With a biscuit cutter, cut out the biscuits and place them on an ungreased cookie sheet. Try to cut straight down without twisting; this helps them rise evenly.
- Brush the tops of the biscuits with the melted butter. This will not only add flavor but also promote a beautiful golden brown color.
- Bake in the preheated oven for 12 to 15 minutes or until the tops are lightly golden. Keep an eye on them as oven times may vary.
Things Worth Knowing
- Don’t Overwork the Dough: Overmixing can lead to tough biscuits. Gently combine the ingredients until just mixed.
- Chilling the Fat: Using chilled butter or shortening is key to achieving that flaky texture. It prevents the fat from melting too quickly before baking.
- Use a Sharp Cutter: A sharp biscuit cutter helps create clean edges, allowing the biscuits to rise better. Avoid twisting the cutter as you cut.
- Keep an Eye on Baking Time: Ovens can vary, so check the biscuits a few minutes before the end of the suggested baking time to prevent overbaking.
Tips and Variations
To ensure your KFC Buttermilk Biscuits turn out perfectly every time, consider these helpful tips and variations.
- Storage: Store leftovers in an airtight container at room temperature for up to two days. For longer storage, refrigerate them.
- Freezing: You can freeze unbaked biscuits. Just place them on a baking sheet to freeze individually, then store in a freezer bag. Bake directly from the freezer without thawing.
- Pairing: These biscuits are fantastic with gravy, soups, or even as a side for fried chicken.
- Add Herbs: For a twist, incorporate fresh herbs such as rosemary or thyme into the dough for additional flavor.
- Cheese Variation: Add shredded cheese like cheddar into the dough for a cheesy biscuit experience.
Perfect Pairings for KFC Buttermilk Biscuits
When serving KFC Buttermilk Biscuits, consider pairing them with a variety of dishes to create a well-rounded meal.
- Breakfast Brunch: Serve warm biscuits alongside scrambled eggs and crispy potatoes for a delightful breakfast spread.
- Southern Dinner: These biscuits can complement a hearty meal of fried chicken, collard greens, and gravy, making it a true Southern feast.
- Soup Side: They pair wonderfully with a bowl of creamy soup, perfect for dipping.
- Snack Time: Enjoy them fresh from the oven with a smear of butter or your favorite jam as a quick snack.
- Storage Tips: To keep biscuits fresh, store them in a bread box or wrapped in a cloth to maintain their softness.
FAQ
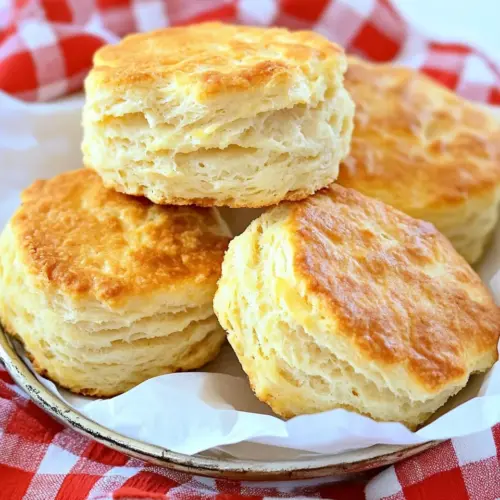
Conclusion
In conclusion, KFC Buttermilk Biscuits are more than just a side dish; they embody comfort and nostalgia with every bite. Whether enjoyed at breakfast, lunch, or dinner, their flaky, buttery texture makes them a favorite among many. I encourage you to try making these biscuits at home; you might just find them becoming a new family staple. With just a few simple ingredients and steps, you can create a batch that brings warmth and joy to your table.
KFC Buttermilk Biscuits
Equipment
- Baking Sheet
- Oven
- Mixing Bowl
Ingredients
- 1/2 cup butter or shortening, chilled
- 2 1/2 cups self-rising flour
- 2 1/2 teaspoons sugar
- 1 teaspoon cream of tartar
- 1 cup buttermilk
- 2 tablespoons melted butter
Instructions
- Preheat your oven to 425°F (220°C). This high temperature is crucial for achieving that perfect rise.
- Cut the chilled butter or shortening into small cubes. By doing this, it will be easier to work into the flour. The goal is to incorporate it without fully melting it, which would defeat the purpose of creating those flaky layers.
- In a medium-sized bowl, combine the self-rising flour, sugar, and cream of tartar. Mixing these dry ingredients first ensures even distribution of the leavening agents.
- Add the cubed butter or shortening into the flour mixture. Use a pastry cutter or your fingers to work it into the flour until the mixture resembles coarse crumbs or large sand grains. This is where the magic happens; the little chunks of fat will create layers as they melt during baking.
- Slowly pour in the buttermilk, mixing gently until it forms a cohesive dough. Be careful not to overmix because it can lead to tough biscuits. You want just enough moisture to bring everything together.
- On a floured surface, turn out the dough and shape it into a round disc, about 3/4 inch thick. Working on a lightly floured surface prevents the dough from sticking and allows for easy handling.
- Using a rolling pin, gently roll the dough to about 3/4 inch thick, ensuring that you don’t press too hard. This gentle touch helps maintain the tenderness of the biscuits.
- With a biscuit cutter, cut out the biscuits and place them on an ungreased cookie sheet. Try to cut straight down without twisting; this helps them rise evenly.
- Brush the tops of the biscuits with the melted butter. This will not only add flavor but also promote a beautiful golden brown color.
- Bake in the preheated oven for 12 to 15 minutes or until the tops are lightly golden. Keep an eye on them as oven times may vary.
Notes
- Tip 1: Store leftovers in an airtight container at room temperature for up to two days. For longer storage, refrigerate them.
- Tip 2: You can freeze unbaked biscuits. Just place them on a baking sheet to freeze individually, then store in a freezer bag. Bake directly from the freezer without thawing.
- Tip 3: These biscuits are fantastic with gravy, soups, or even as a side for fried chicken.
- Tip 4: For a twist, incorporate fresh herbs such as rosemary or thyme into the dough for additional flavor.
- Tip 5: Add shredded cheese like cheddar into the dough for a cheesy biscuit experience.