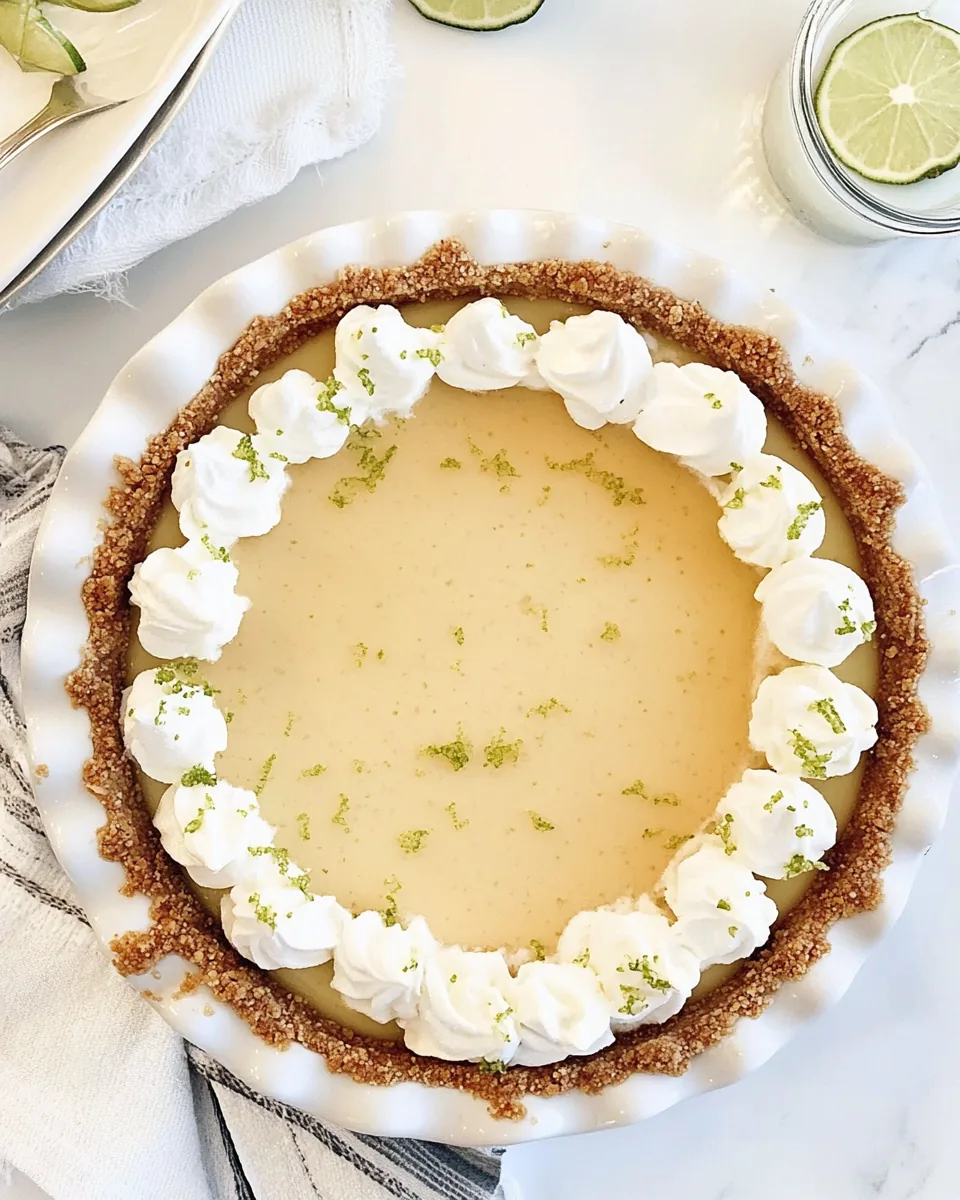
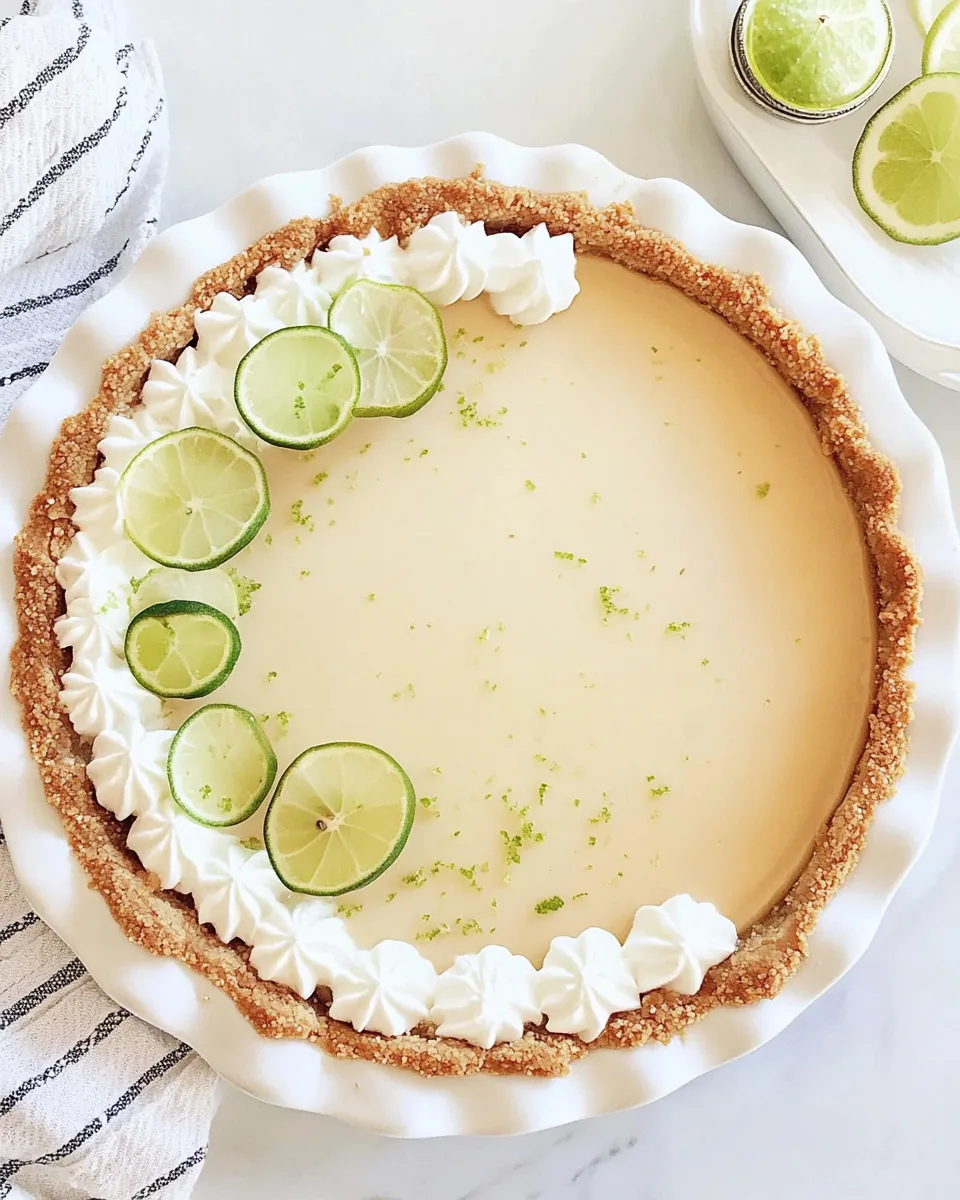
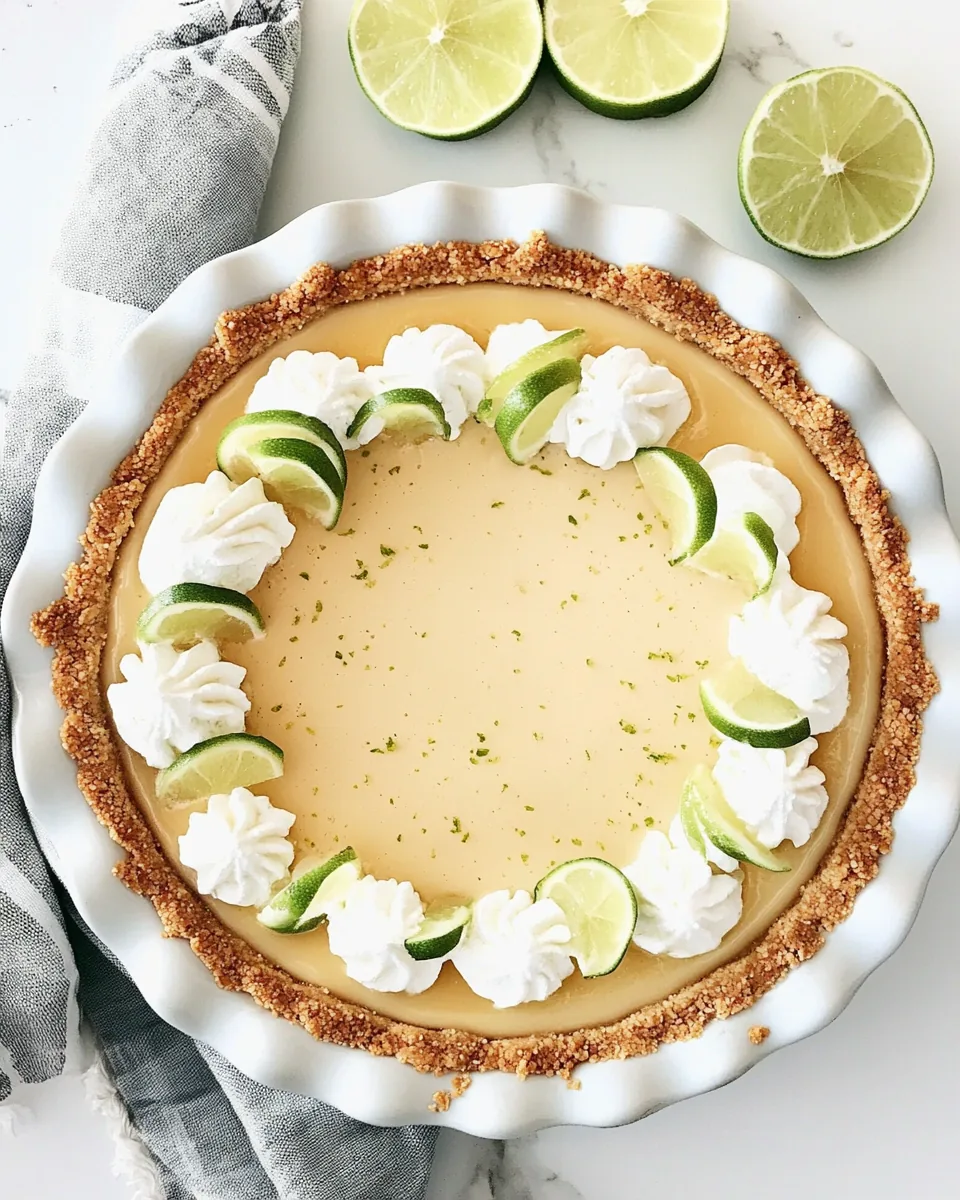
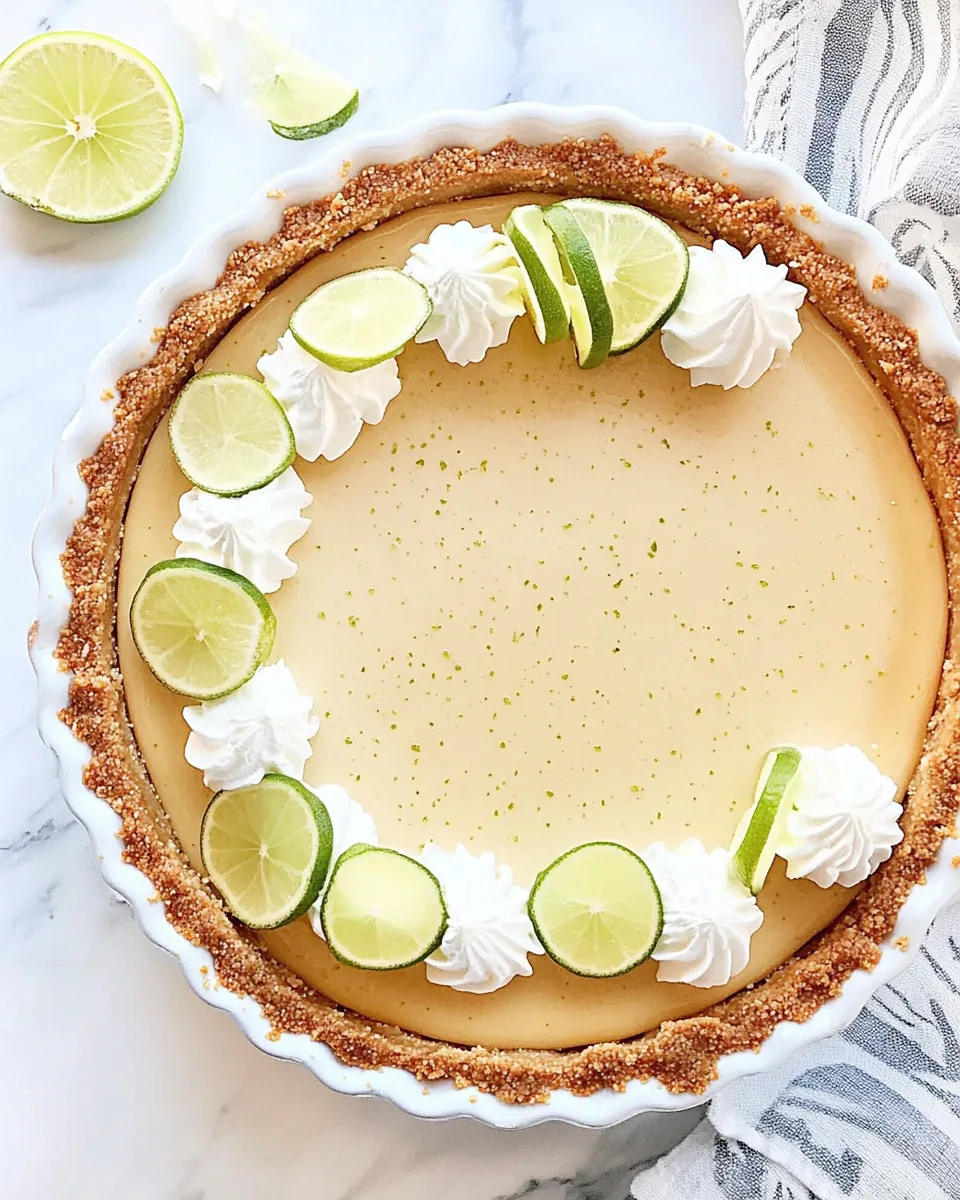
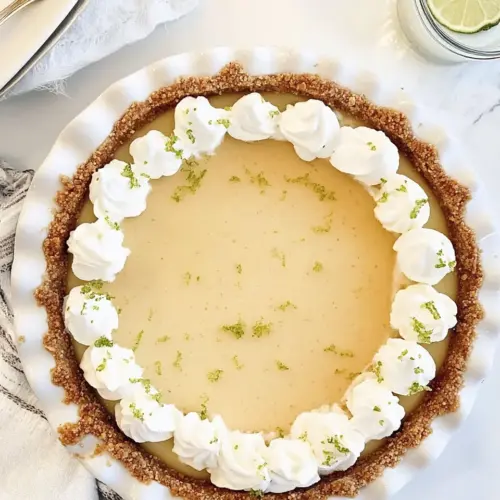
Key Lime Pie
There’s something magical about baking a Key Lime Pie. The bright, zesty flavor of the limes paired with a creamy filling and a buttery crust can transport you straight to a sunny beach. I remember the first time I tasted this classic dessert—it was during a summer getaway. My friends and I decided to whip one up in our beach house, and the kitchen filled with laughter and the tantalizing aroma of citrus. Each slice of that Key Lime Pie was a burst of summer, and since then, it has held a special place in my heart (and my recipe book!).
Recipe Snapshot
40 mins
20 mins
20 mins
Medium
320 kcal
5 g
Gluten-Free, Low FODMAP
15 g
Grater, Mixing Bowl, Chef’s Knife, Blender, Baking Sheet, Oven
What Makes This Key Lime Pie Special
Why do I love making Key Lime Pie? Here are a few reasons that make it a standout dessert:
1. Unforgettable Flavor
The tartness of key lime juice combined with the sweetness of sweetened condensed milk creates a perfect balance that’s hard to resist.
2. Simple Ingredients
With just a handful of ingredients, you can create a dessert that looks and tastes like it came from a high-end bakery.
3. Versatile Treat
It’s perfect for any occasion—be it a summer barbecue, a holiday gathering, or just a cozy night in. Everyone loves a slice!
4. A Family Tradition
Making Key Lime Pie can become a delightful family tradition. My kids love helping with the crust and beating the filling. It’s a fun way to spend time together.
5. No Special Equipment Required
You don’t need fancy tools or gadgets to make this pie. Just a mixing bowl, a whisk, and an oven will do the trick!
Ingredients You’ll Need for Key Lime Pie
When it comes to the ingredients for Key Lime Pie, simplicity is key. Each ingredient plays a vital role in achieving the pie’s distinctive flavor and texture. The buttery crust perfectly complements the tart filling, while the whipped cream adds a delightful finish. Here’s what you’ll need:
- 8 tablespoons salted butter, melted
- 2 1/4 cups graham cracker crumbs
- 4 large egg yolks
- 1 tablespoon finely grated key lime zest
- 1 cup key lime juice
- 2 (14-ounce) cans sweetened condensed milk
- Whipped cream and key lime slices for garnish
How to Prepare Key Lime Pie
Making a Key Lime Pie is as fun as it is rewarding. You’ll love how easy it is to whip up this classic dessert. Let’s get started with the steps:
- Preheat your oven to 350 degrees F. This ensures that your crust comes out perfectly baked.
- In a medium bowl, combine the melted butter and graham cracker crumbs. Mix it well until the crumbs are fully coated and crumbly.
- Press this mixture into the bottom and up the sides of a 9-inch pie plate. Don’t worry about it being perfect; rustic is charming!
- Bake the crust for 5 minutes, then remove it from the oven and let it cool while you prepare the filling.
- In another medium bowl, use an electric mixer to beat the egg yolks until they’re pale and fluffy. This adds lightness to the filling!
- Add the key lime zest, key lime juice, and sweetened condensed milk to the bowl. Blend well, scraping the sides and bottom to ensure everything is mixed smoothly.
- Now, pour this luscious mixture into your cooled crust, spreading it evenly.
- Bake the pie for about 15 minutes. You’re looking for a slight jiggle in the center; it will firm up as it cools.
- Once done, let it cool at room temperature, then refrigerate for several hours or overnight. The longer it chills, the thicker it becomes!
- When ready to serve, slice it up and garnish with whipped cream and key lime slices for that final touch.
Things Worth Knowing
- Key Limes vs. Regular Limes: Key limes are smaller and have a more intense flavor than regular limes, making them ideal for this pie.
- Adjusting Sweetness: If you prefer a less sweet pie, reduce the amount of sweetened condensed milk or add more key lime juice.
- Chilling Time Matters: For the best texture, allow the pie to chill for at least 4 hours before serving.
- Visual Cues: Look for a slightly set filling; it should still jiggle in the center when you take it out of the oven.
Make It Your Own
Let me share some fun tips to customize your Key Lime Pie experience! You can make this pie truly yours with a few tweaks:
- Storage: Store leftover pie in the refrigerator, covered with plastic wrap, for up to 3 days.
- Freezing: Yes, you can freeze Key Lime Pie! Wrap it well in plastic wrap and foil before freezing. Thaw in the fridge before serving.
- Variations: Experiment by adding a swirl of fruit puree on top, like raspberry or mango, for a fruity twist.
- Graham Cracker Alternatives: Try using cookie crumbs like Oreos or digestive biscuits for the crust.
- Adding Texture: Consider adding toasted coconut flakes on top for an extra crunch.
Side Dish Ideas for Key Lime Pie
When it comes to serving your Key Lime Pie, the options are endless! Here are some delightful ideas to complement this zesty dessert:
- Fresh Berries: Serve with a side of mixed berries—strawberries, blueberries, and raspberries add color and sweetness.
- Summer Salads: Pair with a light, refreshing salad filled with greens and citrus for a complete meal.
- Light Drinks: Offer refreshing beverages like iced tea or a mint lemonade to cleanse the palate.
- Picnic Treat: Perfect for outdoor gatherings or picnics; it brings a taste of summer any time of year!
- Special Occasions: This pie is great for birthdays, brunches, or holiday celebrations. It always gets rave reviews!
FAQ
Conclusion
In conclusion, Key Lime Pie is not just a dessert; it’s a delightful experience that captures the essence of summer in every bite. The combination of tart and sweet flavors makes it irresistible. I encourage you to try making this classic pie at home. You won’t regret it; it’s simple to prepare and will impress your family and friends. So roll up your sleeves and get ready to enjoy a slice (or two) of this refreshing treat!
Key Lime Pie
Equipment
- Grater
- Mixing Bowl
- Chef's Knife
- Blender
- Baking Sheet
- Oven
Ingredients
- 8 tablespoons salted butter
- 2 1/4 cups graham cracker crumbs
- 4 large egg yolks
- 1 tablespoon finely grated key lime zest
- 1 cup key lime juice
- 2 14-ounce cans sweetened condensed milk
- whipped cream and key lime slices for garnish
Instructions
- Preheat your oven to 350 degrees F. This ensures that your crust comes out perfectly baked.
- In a medium bowl, combine the melted butter and graham cracker crumbs. Mix it well until the crumbs are fully coated and crumbly.
- Press this mixture into the bottom and up the sides of a 9-inch pie plate. Don’t worry about it being perfect; rustic is charming!
- Bake the crust for 5 minutes, then remove it from the oven and let it cool while you prepare the filling.
- In another medium bowl, use an electric mixer to beat the egg yolks until they’re pale and fluffy. This adds lightness to the filling!
- Add the key lime zest, key lime juice, and sweetened condensed milk to the bowl. Blend well, scraping the sides and bottom to ensure everything is mixed smoothly.
- Now, pour this luscious mixture into your cooled crust, spreading it evenly.
- Bake the pie for about 15 minutes. You’re looking for a slight jiggle in the center; it will firm up as it cools.
- Once done, let it cool at room temperature, then refrigerate for several hours or overnight. The longer it chills, the thicker it becomes!
- When ready to serve, slice it up and garnish with whipped cream and key lime slices for that final touch.
Notes
- Storage: Store leftover pie in the refrigerator, covered with plastic wrap, for up to 3 days.
- Freezing: Yes, you can freeze Key Lime Pie! Wrap it well in plastic wrap and foil before freezing. Thaw in the fridge before serving.
- Variations: Experiment by adding a swirl of fruit puree on top, like raspberry or mango, for a fruity twist.
- Graham Cracker Alternatives: Try using cookie crumbs like Oreos or digestive biscuits for the crust.
- Adding Texture: Consider adding toasted coconut flakes on top for an extra crunch.