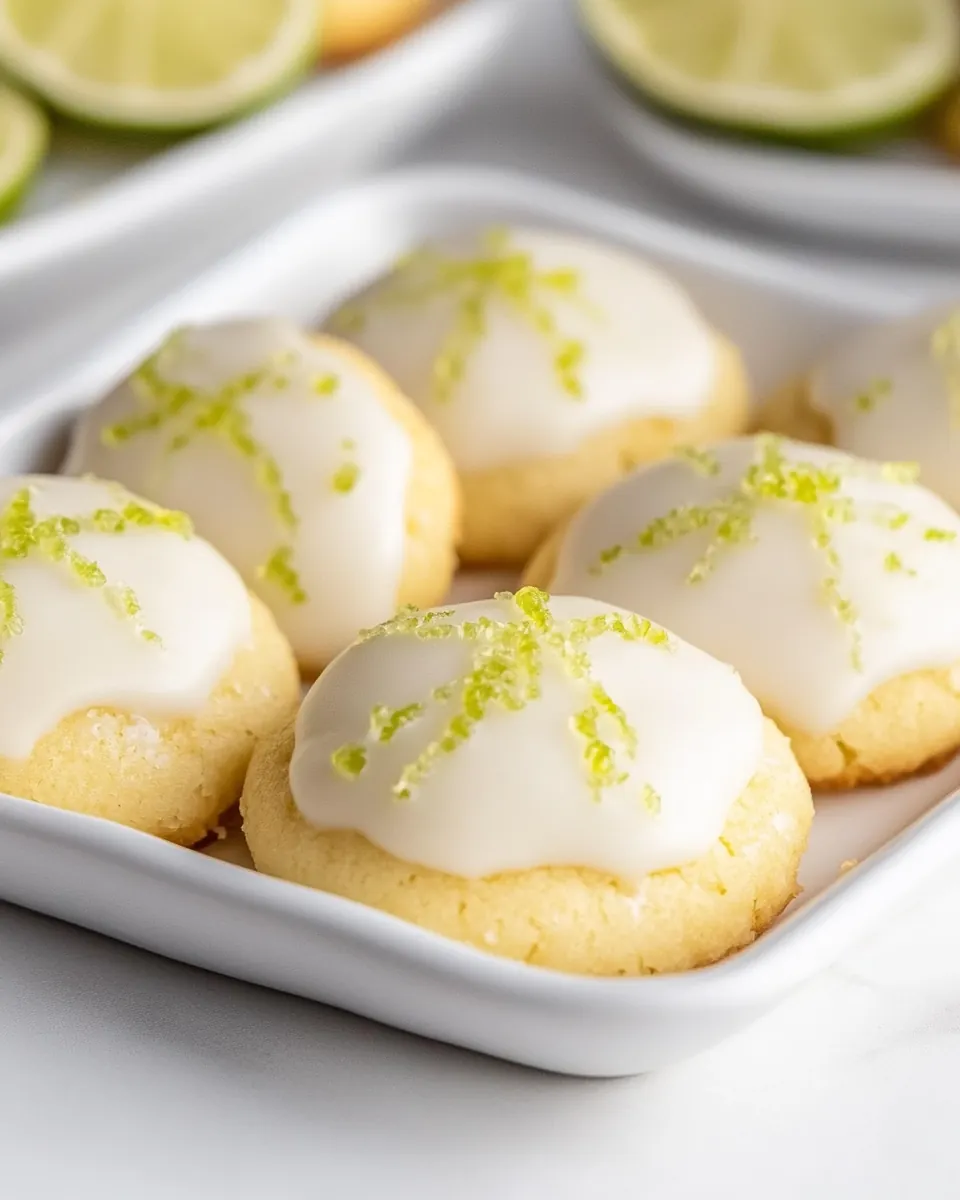
Key Lime Cookies
Key Lime Cookies became my go to when I wanted something bright, tender, and a little nostalgic, a treat I reach for when friends drop by unannounced. The first time I baked these I remember zesting those tiny limes at the kitchen sink while sunlight hit the counter, and the aroma of citrus made the whole afternoon feel lifted. I was surprised how a simple swap of lime for more common citrus transformed a plain cookie into something that tasted sunny and refined, yet completely homey.
Over the years I have adapted the recipe in small ways to suit different moods, but the heart of these cookies is always the same, a soft buttery base kissed with vivid key lime and finished with a glossy, tangy glaze. I love serving them with coffee for an unexpected dessert at brunch, or packing a few in a tin for neighbors. Every batch teaches me a little about balance, like how much zest to use so the lime sings without overpowering the delicate crumb. I hope these notes help you find your own perfect rhythm with this cookie.
Recipe Snapshot
30 mins
20 mins
10 mins
Easy
150 kcal
American
Gluten-Free, Low FODMAP
Desserts
Stand mixer, Cookie scoop, Baking sheets, Wire cooling rack
Why You Need This Key Lime Cookies
Bright citrus personality
I love how Key Lime Cookies capture that punchy, citrus brightness without feeling sharp. The zest adds volatile aroma molecules that hit your nose first, which makes each bite feel fresher than a typical sugar cookie. I often use slightly more zest than recipes call for, because aroma matters more than liquid juice when you want lift.
Buttery tender texture
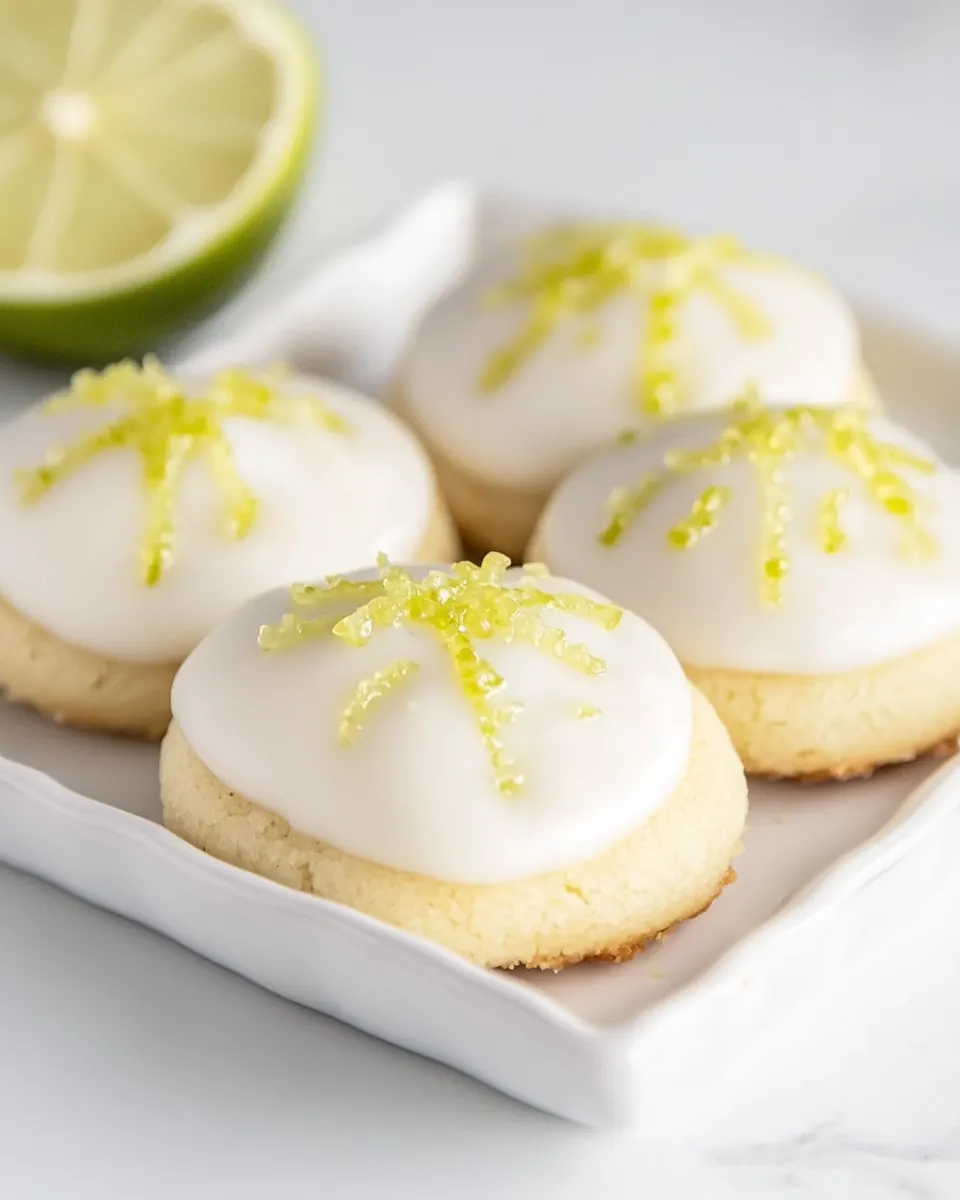
The base of these cookies is all about butter and gentle mixing, which gives a soft, almost shortbread like crumb. When I beat butter and granulated sugar until pale and airy, the cookies bake into domes that stay tender, not cakey. The technique is forgiving, and I appreciate that even if you overwork the dough a touch, the result is still comforting.
Simple glaze that elevates
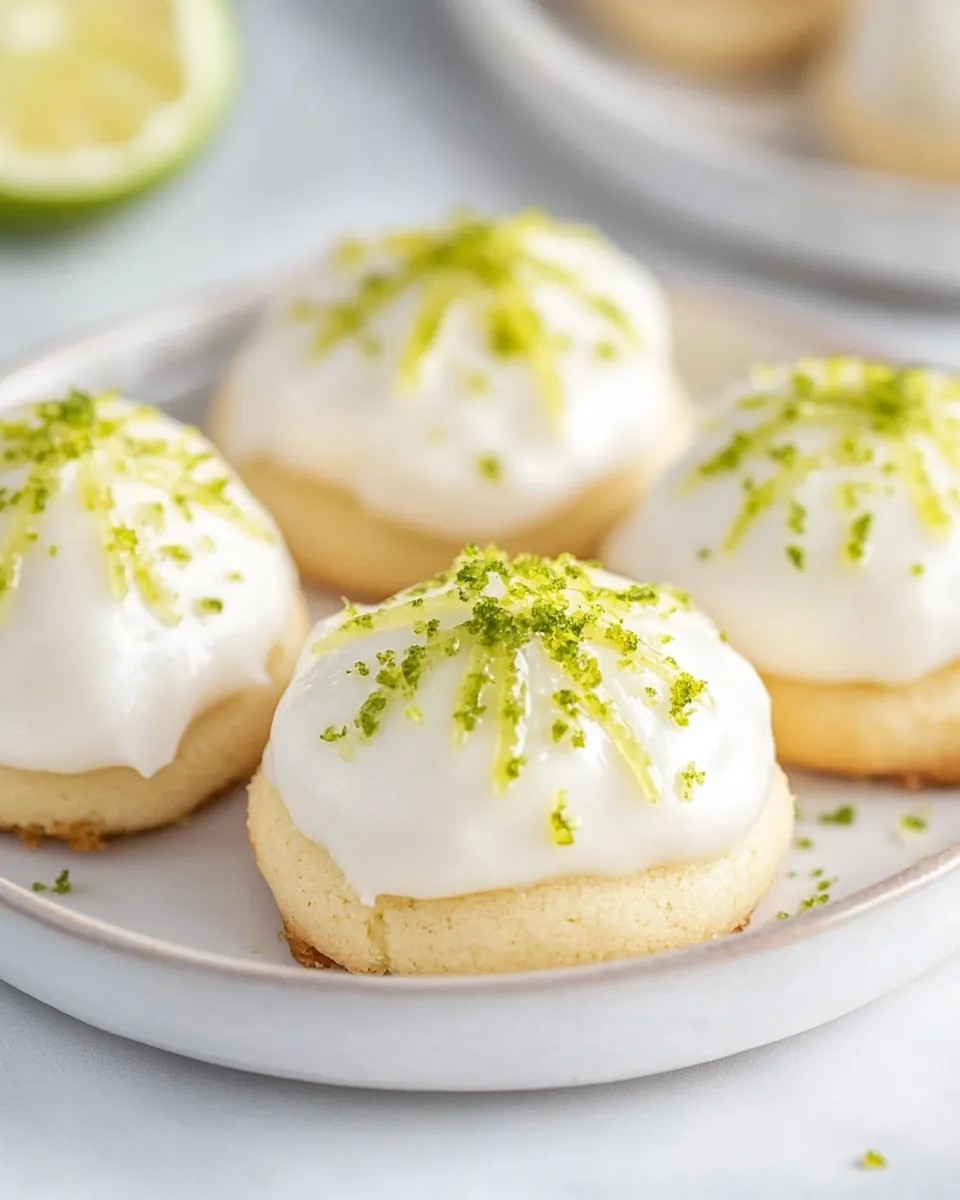
The glaze is deceptively simple, yet transformative. A quick whisk of powdered sugar, key lime juice, and heavy cream creates a glossy finish that sets with a soft sheen. I adore how the glaze traps the lime aroma and creates a contrast between the soft cookie and the slightly creamy topping.
Snackable size and shareability
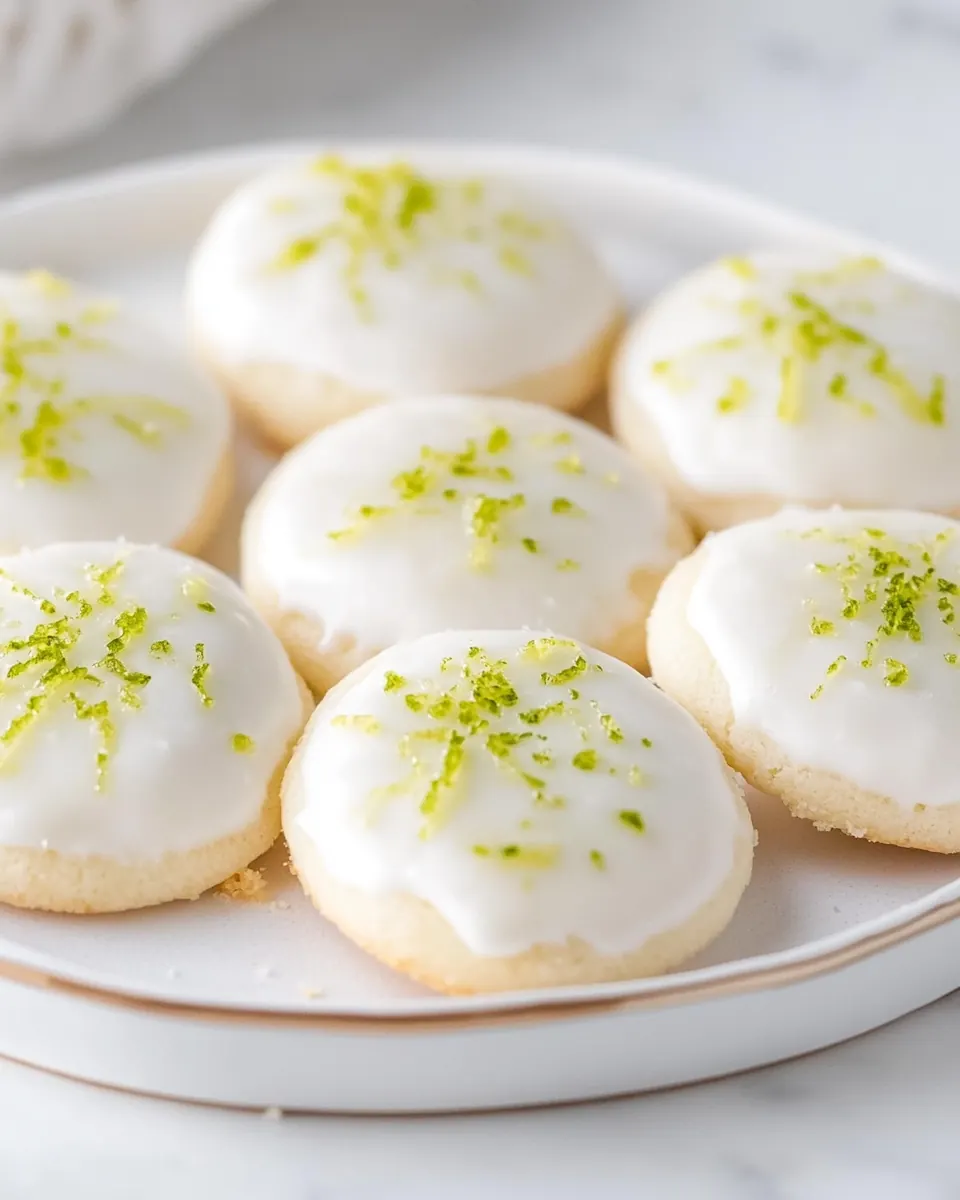
I appreciate that Key Lime Cookies are small and portable, which means they are perfect for parties, cookie swaps, or afternoon tea. The recipe yields a generous batch, so you can give some away and still have plenty to stash for yourself. That generosity makes them a reliable choice for gifting.
Flexible techniques for home bakers
This recipe uses basic tools and straightforward steps, which makes it accessible whether you bake once a week or only for holidays. I find the method easy to scale and forgiving when it comes to small timing differences between ovens, which is why I keep returning to it.
Ingredient List for Key Lime Cookies
These ingredients form a classic foundation, blending fat, sugar, and flour to create a tender cookie, while lime and vanilla add personality. The key players are the butter for richness, granulated sugar for structure and lift, and all purpose flour to hold it all together. The glaze ingredients finish the cookies with a bright, silky sheen that concentrates the lime flavor.
- 1 cup unsalted butter softened: Soften and cream to provide a rich, tender base and structure for the cookie dough; it contributes moisture, flavor, and helps create a tender crumb when beaten with sugar.
- 1 1/2 cups granulated sugar: Sweeten and aerate when creamed with butter to create lift and a light texture; it balances the tartness of lime and helps with browning during baking.
- 2 large eggs: Bind and enrich the dough while adding moisture and structure; beaten eggs help emulsify fats and liquids for a cohesive batter.
- 6 key limes zested and juiced: Zest and juice to supply bright citrus fragrance and tart acidity; the zest offers concentrated lime oils while the juice enhances tang and flavor complexity.
- 1 tablespoon baking powder: Leaven and provide lightness to the cookies by releasing gases during baking; its fine powder also aids in achieving a soft, slightly springy texture.
- 1 teaspoon vanilla extract: Flavor and round out the citrus notes by adding a warm, sweet aroma; vanilla helps enhance other flavors and brings balance to the overall profile.
- 1 teaspoon salt: Season and enhance overall flavor while balancing sweetness and acidity; salt strengthens gluten and rounds out the cookie’s taste.
- 3 cups all-purpose flour: Form the bulk and structure of the cookies by supplying starch and protein; flour determines texture and absorbency, affecting spread and chewiness.
- 2 cups powdered sugar: Dust and sweeten for the finishing glaze or coating, providing a smooth, melt-in-mouth sweetness that complements the lime tang.
- 2 3 tablespoons key lime juice: Add acidity and concentrated lime flavor to the glaze or dough, adjusting tartness and consistency; small amounts brighten the overall taste.
- 3 tablespoons heavy cream: Enrich and thin the glaze while adding silkiness and shine; heavy cream creates a smooth mouthfeel and helps dissolve the powdered sugar.
Step by Step Instructions for Key Lime Cookies
These instructions guide you through baking and glazing with sensory cues so you know exactly when each step is right. Follow the sequence and look for the visual and tactile signs I describe, and you will end up with a dependable batch of cookies every time.
- Preheat the oven to 350°F. Set out several baking sheets and line them with parchment paper.: The moment you turn the oven on you will notice the small hum as it begins to warm, and by the time the dough is mixed the heat should be steady. Preheating ensures consistent oven spring and even baking, giving the cookies a uniform dome. A common mistake is skipping preheat, which causes uneven spread and underbaked centers, so always wait until the oven reaches temperature before you bake.
- Set out an electric stand mixer. Combine the softened butter and sugar in the bowl. Beat the butter and sugar on high speed for 3 to 5 minutes, until light and fluffy. Scrape the bowl with a rubber spatula. Then add in the eggs, key lime zest, baking powder, vanilla extract, and salt. SAVE THE KEY LIME JUICE FOR THE GLAZE!: You will feel a change in texture as the butter and granulated sugar aerate; the bowl becomes lighter, and the mixture looks paler and somewhat mousse like. Proper creaming traps air which translates into a tender crumb, so be patient and scrape the sides to ensure even mixing. One pitfall is undercreaming, which yields denser cookies, so don't rush this stage.
- Scrape the bowl again, then turn the mixer on low and slowly add in the flour. Once the flour is just combined, turn off the mixer as to not overmix the dough.: When you add all purpose flour , the dough will shift from glossy to more matte and start to come together in soft ribbons. Mixing on low prevents overdeveloping gluten, which keeps the cookies tender. If you overmix, the dough becomes tough and the cookies can be dense, so stop as soon as streaks of flour disappear.
- Use a 1 1/2 teaspoon cookie scoop to portion out small balls of dough. Roll the balls in your hands and place them on the cookie sheets 2 inches apart. Bake the cookies for 10 minutes, until domed on top and barely golden around the edges.: As the cookies bake you will hear a very faint quieting as steam escapes; visually they will puff into domes and the edges will take on the slightest hint of gold. The centers should look set but not browned. A frequent error is leaving them too long; remove them when edges are just tinted to keep them soft inside.
- For the glaze, set out a medium mixing bowl. Combine the powdered sugar, key lime juice, and heavy cream. Whisk well until very smooth. When the cookies come out of the oven allow them to cool for five minutes. Then dip the top of each cookie in the glaze, and flip them over onto a wire cooling rack.: The glaze should be glossy and pourable, coating the back of a spoon before you dip each cookie. After five minutes the cookies are cool enough that the glaze will set without soaking in, yet warm enough to encourage a thin spread. If the glaze is too thin the coating will run off, so add more powdered sugar to thicken; a common mistake is adding too much juice at once, making the glaze runny.
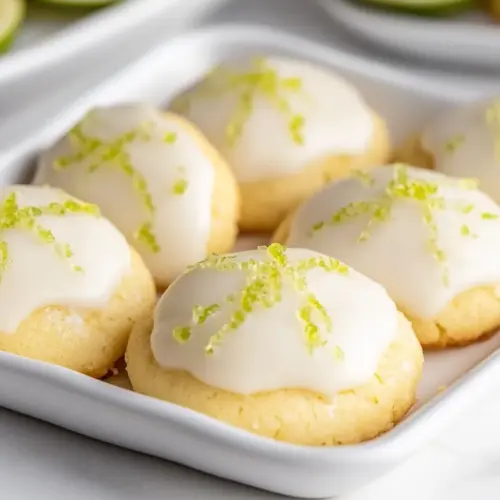
- Allow the glaze to spread over the entire dome of the cookie. If desired, you can use extra key limes to add fresh lime zest across the top of the cookies while the glaze is still wet. Once the cookie glaze has set, you can stack the cookies in an airtight container for storage.: The glaze will smooth into a shiny cap and give a faint crackle when fully set; adding fresh key lime zest while the glaze is wet creates bright flecks of aroma and an attractive finish. Wait until the glaze is fully set before stacking to avoid sticking, and avoid packing cookies into a warm container which can make the glaze sweat and soften.
Variations to Try
If you like experimenting, these variations let you tweak texture and intensity without changing the core technique. Each suggestion below keeps the structure of the cookie intact while offering a fresh twist on flavor or finish.
- More intense lime: Add extra key lime zest to the dough for a stronger citrus aroma without changing the dough hydration.
- Lighter glaze: Reduce the heavy cream and add a splash more key lime juice to make a tangier, thinner glaze that pools slightly on the cooling rack.
- Slightly chewier: Swap one quarter cup of all purpose flour for an equal amount of bread flour to encourage a chewier interior while preserving the cookie shape.
- Decorative finish: Sprinkle additional key lime zest over the wet glaze for color and aroma, or press a tiny lime twist into the center for a pretty accent.
- Make ahead dough: Chill the shaped dough balls for up to two days before baking to develop flavor and control spread.
Perfect Pairings for Key Lime Cookies
These cookies play well in casual gatherings and more formal settings, and they pair nicely with hot or cold beverages. Here are thoughtful serving ideas and storage guidance so you can plan the occasion around the cookie.
- Brunch companion: Serve with coffee or a citrus forward iced tea for a bright contrast that complements the cookie’s acidity.
- Afternoon snack: Pack a few with a thermos of tea for a mid day pick me up that feels indulgent yet light.
- Party platter: Arrange on a tray with simple garnishes like additional key lime zest for visual appeal when hosting friends.
- Gift box: Layer in a tin with parchment between layers for gifting, and include a note about keeping them at room temperature to preserve texture.
- Seasonal use: These work well year round, especially in spring and summer menus, because the citrus notes feel fresh and uplifting for warmer months.
- Storage tip: Keep cookies in an airtight container at room temperature for up to four days, or freeze for longer storage with parchment between layers to prevent sticking.
FAQ
Conclusion
These Key Lime Cookies stand out for their bright citrus character and tender, buttery texture that feels both festive and familiar. Give them a try when you want a small, shareable treat that punches above its weight in flavor. They are approachable to make, forgiving in technique, and perfect for gifting or enjoying with a hot cup of coffee.
Key Lime Cookies
Equipment
- Stand mixer
- Cookie Scoop
- Baking Sheets
- wire cooling rack
Ingredients
- 1 cup unsalted butter softened Soften and cream to provide a rich, tender base and structure for the cookie dough; it contributes moisture, flavor, and helps create a tender crumb when beaten with sugar.
- 1 1/2 cups granulated sugar Sweeten and aerate when creamed with butter to create lift and a light texture; it balances the tartness of lime and helps with browning during baking.
- 2 large eggs Bind and enrich the dough while adding moisture and structure; beaten eggs help emulsify fats and liquids for a cohesive batter.
- 6 key limes zested and juiced Zest and juice to supply bright citrus fragrance and tart acidity; the zest offers concentrated lime oils while the juice enhances tang and flavor complexity.
- 1 tablespoon baking powder Leaven and provide lightness to the cookies by releasing gases during baking; its fine powder also aids in achieving a soft, slightly springy texture.
- 1 teaspoon vanilla extract Flavor and round out the citrus notes by adding a warm, sweet aroma; vanilla helps enhance other flavors and brings balance to the overall profile.
- 1 teaspoon salt Season and enhance overall flavor while balancing sweetness and acidity; salt strengthens gluten and rounds out the cookie’s taste.
- 3 cups all-purpose flour Form the bulk and structure of the cookies by supplying starch and protein; flour determines texture and absorbency, affecting spread and chewiness.
- 2 cups powdered sugar Dust and sweeten for the finishing glaze or coating, providing a smooth, melt-in-mouth sweetness that complements the lime tang.
- 2 -3 tablespoons key lime juice Add acidity and concentrated lime flavor to the glaze or dough, adjusting tartness and consistency; small amounts brighten the overall taste.
- 3 tablespoons heavy cream Enrich and thin the glaze while adding silkiness and shine; heavy cream creates a smooth mouthfeel and helps dissolve the powdered sugar.
Instructions
- Preheat the oven to 350°F. Set out several baking sheets and line them with parchment paper.: The moment you turn the oven on you will notice the small hum as it begins to warm, and by the time the dough is mixed the heat should be steady. Preheating ensures consistent oven spring and even baking, giving the cookies a uniform dome. A common mistake is skipping preheat, which causes uneven spread and underbaked centers, so always wait until the oven reaches temperature before you bake.
- Set out an electric stand mixer. Combine the softened butter and sugar in the bowl. Beat the butter and sugar on high speed for 3 to 5 minutes, until light and fluffy. Scrape the bowl with a rubber spatula. Then add in the eggs, key lime zest, baking powder, vanilla extract, and salt. SAVE THE KEY LIME JUICE FOR THE GLAZE!: You will feel a change in texture as the butter and granulated sugar aerate; the bowl becomes lighter, and the mixture looks paler and somewhat mousse like. Proper creaming traps air which translates into a tender crumb, so be patient and scrape the sides to ensure even mixing. One pitfall is undercreaming, which yields denser cookies, so don't rush this stage.
- Scrape the bowl again, then turn the mixer on low and slowly add in the flour. Once the flour is just combined, turn off the mixer as to not overmix the dough.: When you add all purpose flour , the dough will shift from glossy to more matte and start to come together in soft ribbons. Mixing on low prevents overdeveloping gluten, which keeps the cookies tender. If you overmix, the dough becomes tough and the cookies can be dense, so stop as soon as streaks of flour disappear.
- Use a 1 1/2 teaspoon cookie scoop to portion out small balls of dough. Roll the balls in your hands and place them on the cookie sheets 2 inches apart. Bake the cookies for 10 minutes, until domed on top and barely golden around the edges.: As the cookies bake you will hear a very faint quieting as steam escapes; visually they will puff into domes and the edges will take on the slightest hint of gold. The centers should look set but not browned. A frequent error is leaving them too long; remove them when edges are just tinted to keep them soft inside.
- For the glaze, set out a medium mixing bowl. Combine the powdered sugar, key lime juice, and heavy cream. Whisk well until very smooth. When the cookies come out of the oven allow them to cool for five minutes. Then dip the top of each cookie in the glaze, and flip them over onto a wire cooling rack.: The glaze should be glossy and pourable, coating the back of a spoon before you dip each cookie. After five minutes the cookies are cool enough that the glaze will set without soaking in, yet warm enough to encourage a thin spread. If the glaze is too thin the coating will run off, so add more powdered sugar to thicken; a common mistake is adding too much juice at once, making the glaze runny.
- Allow the glaze to spread over the entire dome of the cookie. If desired, you can use extra key limes to add fresh lime zest across the top of the cookies while the glaze is still wet. Once the cookie glaze has set, you can stack the cookies in an airtight container for storage.: The glaze will smooth into a shiny cap and give a faint crackle when fully set; adding fresh key lime zest while the glaze is wet creates bright flecks of aroma and an attractive finish. Wait until the glaze is fully set before stacking to avoid sticking, and avoid packing cookies into a warm container which can make the glaze sweat and soften.
Notes
- More intense lime: Add extra key lime zest to the dough for a stronger citrus aroma without changing the dough hydration.
- Lighter glaze: Reduce the heavy cream and add a splash more key lime juice to make a tangier, thinner glaze that pools slightly on the cooling rack.
- Slightly chewier: Swap one quarter cup of all purpose flour for an equal amount of bread flour to encourage a chewier interior while preserving the cookie shape.
- Decorative finish: Sprinkle additional key lime zest over the wet glaze for color and aroma, or press a tiny lime twist into the center for a pretty accent.
- Make ahead dough: Chill the shaped dough balls for up to two days before baking to develop flavor and control spread.