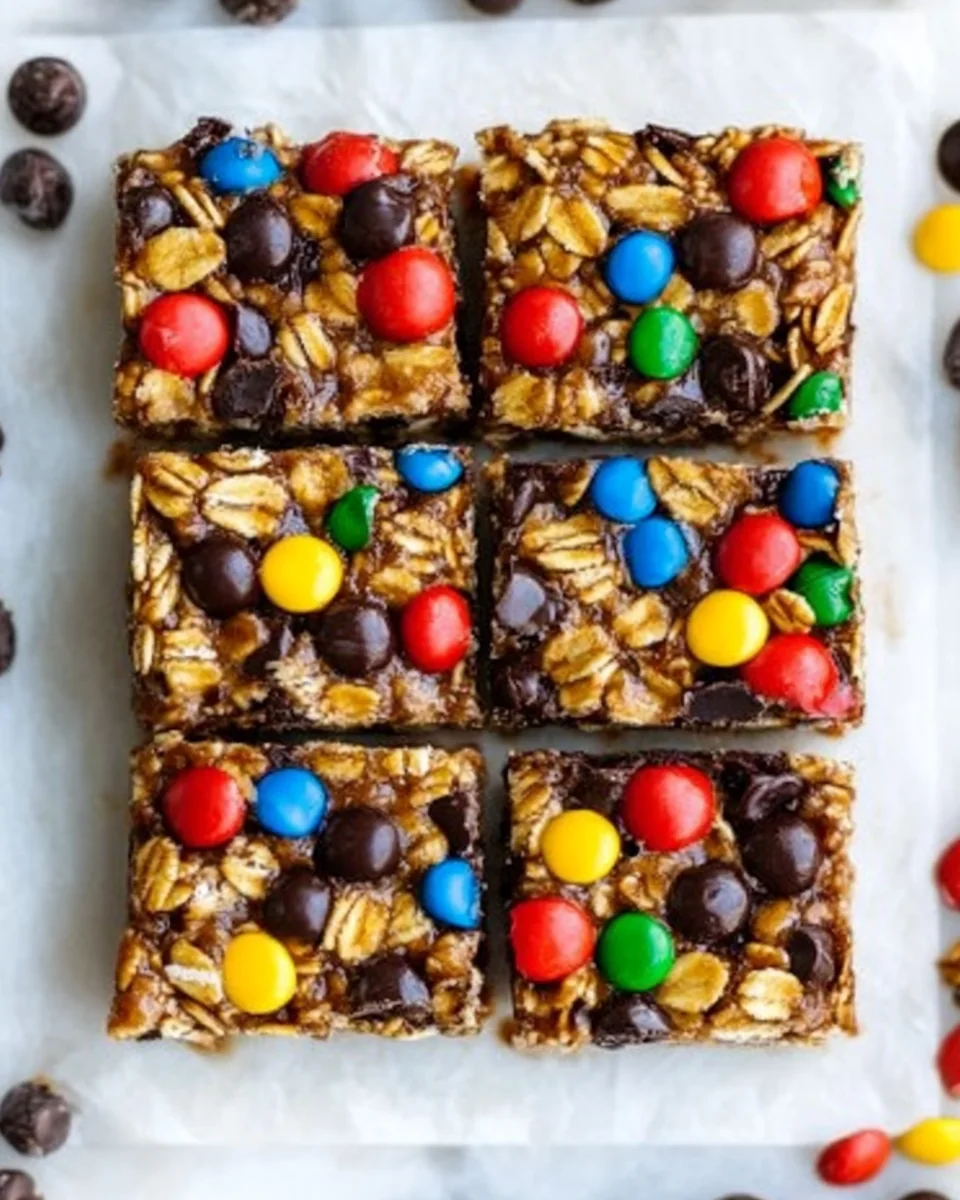
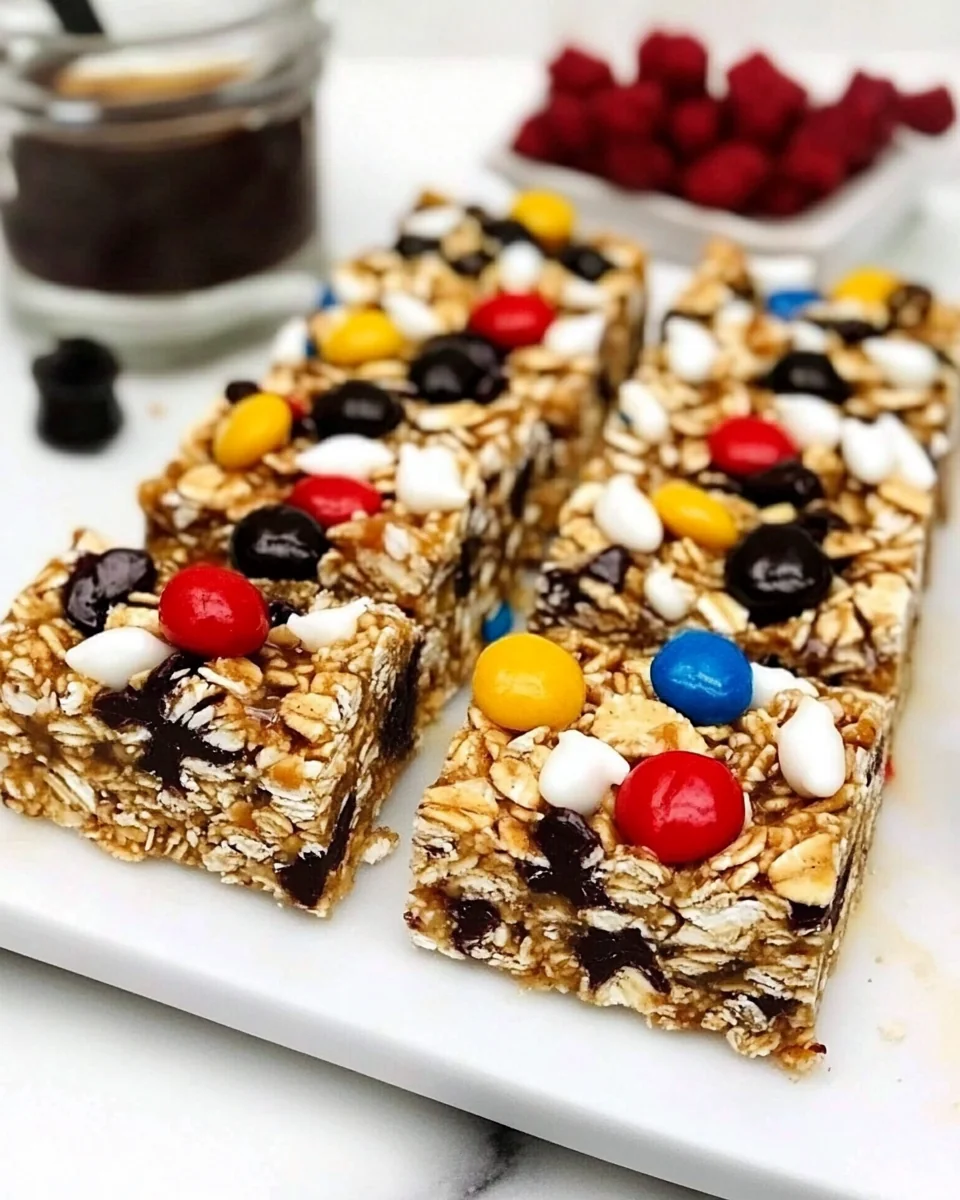
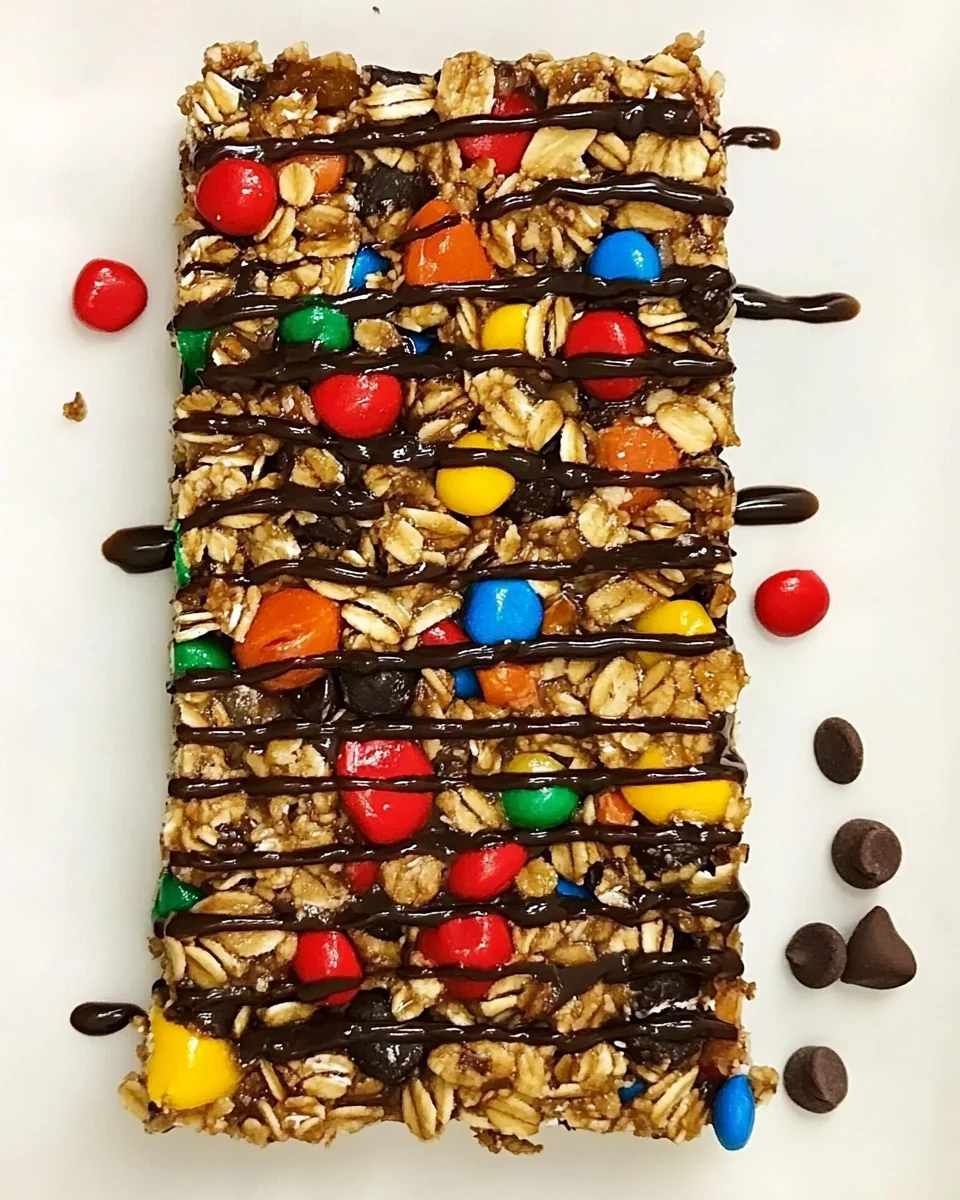
Homemade Chewy Granola Bars for a Healthy Snack
Homemade Chewy Granola Bars for a Healthy Snack are a perfect solution for those seeking a nutritious and satisfying treat. These bars are dense, chewy, and bursting with flavors that cater to both kids and adults alike. Ideal for busy mornings, packed lunches, or as an afternoon pick-me-up, they are versatile enough to suit any occasion. The blend of oats, nuts, and natural sweeteners creates a delightful flavor profile, making them a favorite among health-conscious individuals and families. Not only do they provide a quick energy boost, but they also keep you full longer thanks to their wholesome ingredients, making them an excellent choice for a healthy snack.
Why You’ll Love This Recipe?
One of the standout reasons you will adore these Homemade Chewy Granola Bars for a Healthy Snack is their incredible taste. Each bite is a harmonious blend of sweet and nutty flavors, with a pleasing chewiness that makes them enjoyable to eat. The balance of ingredients can easily be tailored to your preferences, ensuring no two batches need to taste the same. Another appealing aspect is the ease of preparation; with minimal effort, you can whip up a batch that lasts for weeks. The straightforward cooking method requires no special equipment, making it accessible for anyone, regardless of skill level. Furthermore, the texture of these bars is just right—not too crumbly, yet not overly sticky, which makes them perfect for on-the-go snacking. Finally, the versatility of this recipe is unmatched; you can customize the ingredients based on what’s in your pantry, allowing for endless variations that keep your snacks exciting.
Ingredients :
To create your own Homemade Chewy Granola Bars for a Healthy Snack, you will need the following ingredients:
- Rolled Oats: 2 cups of rolled oats serve as the foundation of your granola bars. They provide a hearty texture and are rich in dietary fiber, which helps to keep you feeling full. Rolled oats also absorb moisture well, ensuring that your bars hold together without becoming overly dry.
- Nut Butter: 1 cup of your choice of nut butter, such as almond or peanut butter, adds creaminess and healthy fats to the bars. Nut butter not only enhances the flavor but also acts as a binding agent, helping to hold the ingredients together. Feel free to choose unsweetened options for a healthier twist.
- Honey or Maple Syrup: 1/2 cup of honey or maple syrup provides natural sweetness and moisture. This sweetener not only enhances the flavor but also contributes to the chewy texture of the bars. Honey has additional health benefits, including antibacterial properties.
- Chopped Nuts: 1/2 cup of your favorite chopped nuts, like almonds or walnuts, add crunch and additional protein. Nuts are nutrient-dense and provide healthy fats that can help promote heart health while giving your granola bars a satisfying texture.
- Dried Fruits: 1/2 cup of dried fruits, such as cranberries or raisins, add natural sweetness and chewiness. They are packed with vitamins and minerals, making your snack not only delicious but also beneficial for your health.
- Chocolate Chips (Optional): 1/4 cup of dark chocolate chips can be mixed in for an indulgent twist. They add richness and a touch of sweetness without overwhelming the overall health profile of the bars, making them a delightful treat.
- Cinnamon: 1 teaspoon of ground cinnamon provides warmth and depth to the flavor profile. This spice is known for its anti-inflammatory properties and can help enhance the sweetness of the other ingredients without adding sugar.
- Salt: A pinch of salt balances the flavors and enhances the overall taste. It’s essential for bringing out the sweetness of the honey or maple syrup and the nuttiness of the nut butter.
How to Make Homemade Chewy Granola Bars for a Healthy Snack ?
To prepare your Homemade Chewy Granola Bars for a Healthy Snack, follow these detailed steps:
- Begin by preheating your oven to 350°F (175°C). This temperature will help toast the oats and nuts, enhancing their flavors and giving a nice crunch to the bars.
- Line an 8×8-inch baking pan with parchment paper, allowing some overhang on the sides. This will make it easier to remove the bars once they are set.
- In a large mixing bowl, combine 2 cups of rolled oats and 1/2 cup of chopped nuts. Stir them together to ensure they are evenly distributed.
- In a separate bowl, mix together 1 cup of nut butter and 1/2 cup of honey or maple syrup until they are well incorporated. This mixture should be smooth and creamy, making it easy to blend with the dry ingredients.
- Add 1 teaspoon of ground cinnamon and a pinch of salt to the nut butter mixture. Stir well to combine, enhancing the flavor profile of your bars.
- Pour the wet mixture over the dry ingredients. Using a spatula, fold the ingredients together until everything is well combined. Ensure that the oats and nuts are evenly coated with the nut butter and sweetener mixture.
- If you are using dried fruits or chocolate chips, fold them into the mixture at this stage. This adds extra flavor and texture to your bars.
- Transfer the mixture to the prepared baking pan. Using the back of a spatula or your hands, press the mixture firmly into the pan, creating an even layer. The firmer you press, the better your bars will hold together.
- Once your mixture is evenly pressed, place the pan in the preheated oven. Bake for 20-25 minutes, or until the edges are golden brown. This step is crucial as it helps develop flavor, texture, and ensures your bars are not overly soft.
- After baking, remove the pan from the oven and allow it to cool in the pan for about 10 minutes. This cooling period helps the bars to set.
- Once slightly cooled, use the parchment overhang to lift the bars out of the pan. Transfer them to a cutting board and let them cool completely before slicing.
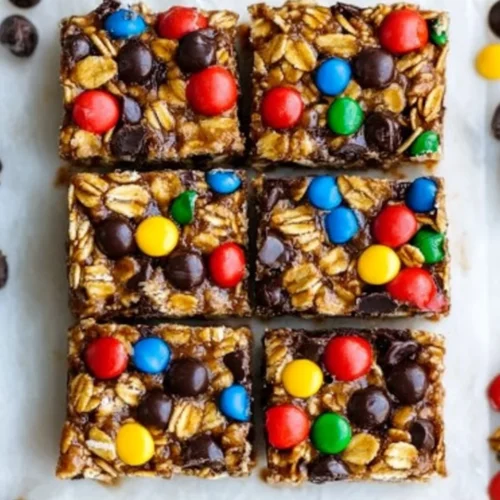
- Once the bars have cooled, use a sharp knife to cut them into squares or rectangles, depending on your preference.
- Store your Homemade Chewy Granola Bars for a Healthy Snack in an airtight container at room temperature for up to a week, or in the refrigerator for added freshness.
Tips for Variations:
To keep your snacking routine exciting, consider these creative variations for your Homemade Chewy Granola Bars for a Healthy Snack:
- For a tropical twist, add 1/2 cup of shredded coconut and use pineapple or mango as your dried fruit. This combination will transport your taste buds to a sunny paradise.
- Incorporate seeds like chia or flaxseeds for added nutritional benefits. These seeds are packed with omega-3 fatty acids and can enhance the texture of your bars.
- Try using different nut butters, such as cashew or sunflower seed butter, to create unique flavors and cater to any allergies. Each nut butter brings its own distinct taste and health benefits.
- Add spices like nutmeg or ginger for a warm, comforting flavor. These spices can elevate your bars, creating a delightful alternative for fall or winter snacking.
- Experiment with different types of chocolate, such as white chocolate or dark chocolate with sea salt, to add a gourmet touch to your snack. This can transform your granola bars into a decadent treat.
- For a crunchy texture, consider adding puffed rice or quinoa to the mix. These ingredients will add a delightful crunch and change the overall mouthfeel of the bars.
- Mix in protein powder for an extra boost, especially if you are using these bars as a post-workout snack. The added protein will help with muscle recovery and satiety.
- Use seasonal ingredients like pumpkin spice in the fall or fresh berries in the summer for a delightful seasonal flair. These ingredients not only enhance flavor but also add visual appeal.
Serving Suggestions:
When it comes to serving your Homemade Chewy Granola Bars for a Healthy Snack, the possibilities are endless:
- Pair them with yogurt and fresh fruit for a wholesome breakfast option. This combination adds protein and probiotics, making for a balanced meal.
- Serve them as an after-school snack for kids, alongside a glass of milk or a smoothie. They are not only nutritious but also enjoyable for little ones.
- Pack them in lunchboxes for work or school, as they are easy to grab and go. You can also wrap them individually for convenience.
- Consider serving them as part of a picnic spread, alongside fresh fruit and nuts. Their portability makes them perfect for outdoor dining.
- If you are hosting guests, cut them into smaller squares and serve on a platter as a healthy party snack. They are sure to impress with their homemade charm.
- These granola bars are an excellent choice for Ramadan iftar meals, providing energy and nourishment after a long day of fasting.
- Store leftovers in an airtight container in a cool, dry place. They can last for a week at room temperature or longer in the refrigerator, ensuring you always have a healthy option on hand.
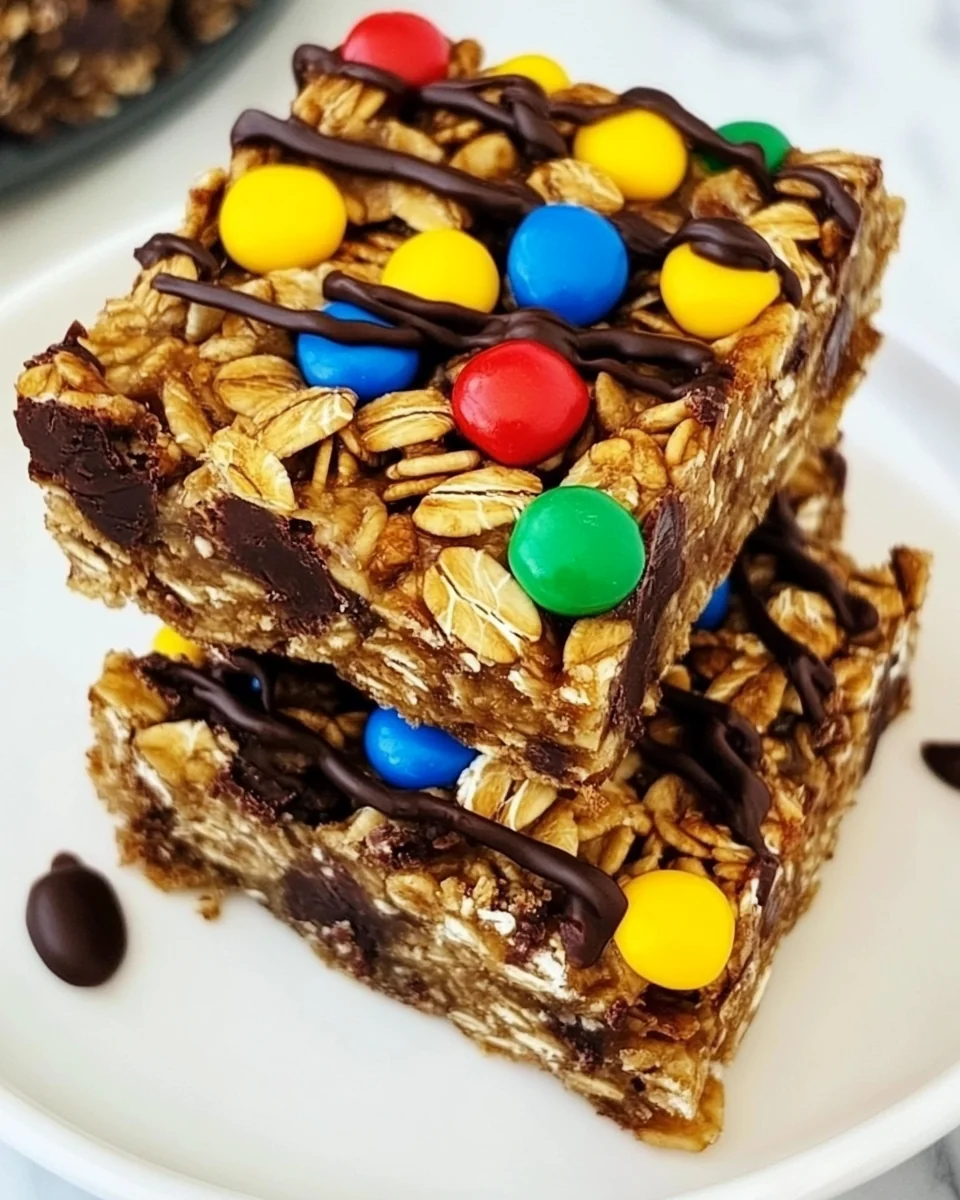
- Feel free to experiment with different presentation styles, such as stacking them or arranging them in jars for a lovely display.
FAQ:
How do I store leftovers?
To store leftovers of your Homemade Chewy Granola Bars for a Healthy Snack, place them in an airtight container at room temperature for up to a week. For extended freshness, keep them in the refrigerator, where they can last for two weeks.
Can I freeze this recipe?
Yes, you can freeze your Homemade Chewy Granola Bars for a Healthy Snack. Wrap the bars individually in plastic wrap and place them in a freezer-safe bag or container. They can be frozen for up to three months, making them a convenient option for busy days.
Can I make these bars gluten-free?
Absolutely! To make your Homemade Chewy Granola Bars for a Healthy Snack gluten-free, simply use certified gluten-free rolled oats. This way, you can enjoy the same deliciousness without gluten.
How can I enhance the nutritional value of these bars?
You can enhance the nutritional value of your Homemade Chewy Granola Bars for a Healthy Snack by adding seeds like chia or flaxseeds, using whole nuts instead of nut flour, or incorporating protein powder into the mixture for an extra boost.
What is the best way to cut these bars?
To get clean cuts when slicing your Homemade Chewy Granola Bars for a Healthy Snack, ensure they are completely cooled before cutting. Use a sharp knife and run it under hot water before slicing for smoother cuts.
Homemade Chewy Granola Bars for a Healthy Snack
Equipment
- Mixing Bowl
- Baking Pan
- Parchment Paper
Ingredients
Granola Bar Ingredients
- 2 cups Rolled Oats Provides a hearty texture and is rich in dietary fiber.
- 1 cup Nut Butter Almond or peanut butter adds creaminess and healthy fats.
- 1/2 cup Honey or Maple Syrup Provides natural sweetness and moisture.
- 1/2 cup Chopped Nuts Adds crunch and additional protein.
- 1/2 cup Dried Fruits Such as cranberries or raisins for natural sweetness.
- 1/4 cup Chocolate Chips (Optional) Adds richness and a touch of sweetness.
- 1 teaspoon Ground Cinnamon Provides warmth and depth to the flavor profile.
- 1 pinch Salt Balances flavors and enhances overall taste.
Instructions
- Preheat your oven to 350°F (175°C).
- Line an 8x8-inch baking pan with parchment paper.
- In a large mixing bowl, combine rolled oats and chopped nuts.
- In a separate bowl, mix together nut butter and honey or maple syrup until smooth.
- Add ground cinnamon and a pinch of salt to the nut butter mixture and stir well.
- Pour the wet mixture over the dry ingredients and fold until well combined.
- If using, fold in dried fruits or chocolate chips.
- Transfer the mixture to the prepared baking pan and press firmly into an even layer.
- Bake for 20-25 minutes or until edges are golden brown.
- Allow to cool in the pan for about 10 minutes before lifting out using parchment paper.
- Let cool completely before slicing into squares or rectangles.
- Store in an airtight container at room temperature for up to a week.