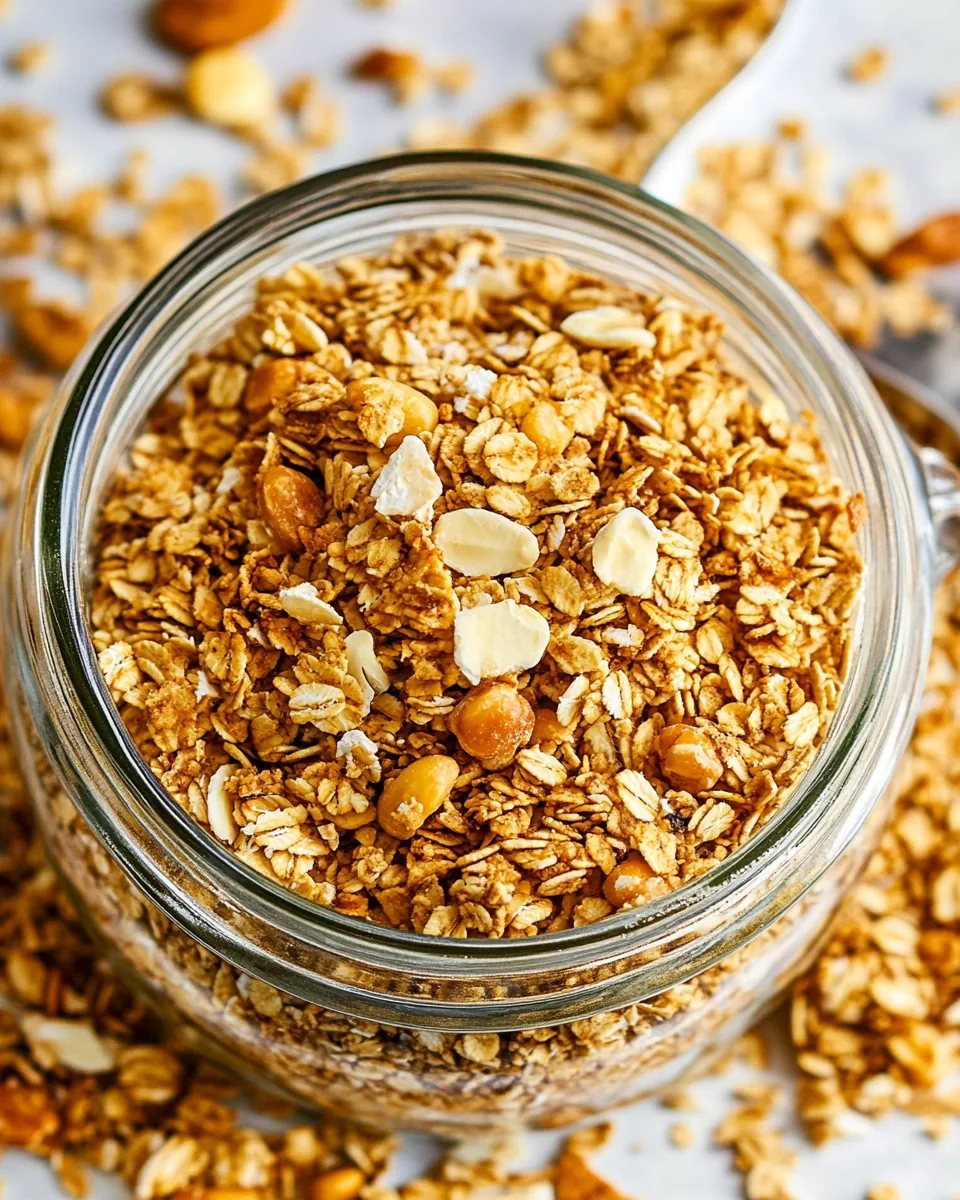
Granola
There’s something truly comforting about homemade Granola. Picture a cozy morning, the sun gently streaming through the kitchen window, and the smell of toasted oats and nuts filling the air. I remember the first time I made my own Granola; I was inspired by a friend who swore by her recipe. As I combined the ingredients, I felt a sense of anticipation. Would it turn out as good as hers? The answer was a resounding yes, and since then, I’ve been hooked! Homemade Granola is not just about the taste; it’s about creating something nourishing with your own hands. You can customize it to suit your tastes, whether you prefer it sweet, crunchy, or loaded with your favorite nuts and seeds.
Recipe Snapshot
55 mins
10 mins
45 mins
Medium
200 kcal
4 g
Paleo, Vegan, Gluten-Free
8 g
Glass Mixing Bowl Set (3 piece), Large Baking Sheet, Keep Calm And Bake On Spatula
Why This Granola Stands Out
It’s Healthier Than Store-Bought
One of the main reasons I love making my own Granola is the control I have over the ingredients. Many store-bought versions are loaded with sugar and preservatives. When I make it at home, I can choose natural sweeteners like maple syrup or honey and ensure I’m using wholesome ingredients. It makes me feel good knowing what I’m putting into my body.
Perfect for Meal Prep
Another reason I adore this Granola is its versatility and convenience. I can whip up a big batch and store it for the week. It’s perfect for busy mornings when I need something quick to grab. Just a handful of homemade Granola paired with yogurt or milk makes for a satisfying breakfast or snack.
Customizable to Your Taste
Every batch can be unique! I love experimenting with different nuts, seeds, and even spices. Sometimes I’ll throw in some cinnamon or nutmeg for warmth, or add dried fruits like raisins or cranberries for sweetness. The possibilities are endless, making it so much fun to create!
Great for Gifting
If you’re looking for a thoughtful gift, homemade Granola is perfect. I’ve packaged it in mason jars and tied a pretty ribbon around them for friends and family. It’s a personal touch that shows you care, and everyone loves a delicious, healthy snack!
Budget-Friendly
Making your own Granola is a smart way to save money. Buying ingredients in bulk can significantly reduce the cost compared to store-bought versions. Plus, knowing that I’m making a healthy choice for my family without breaking the bank makes it all the more rewarding.
Ingredients You’ll Need for Granola
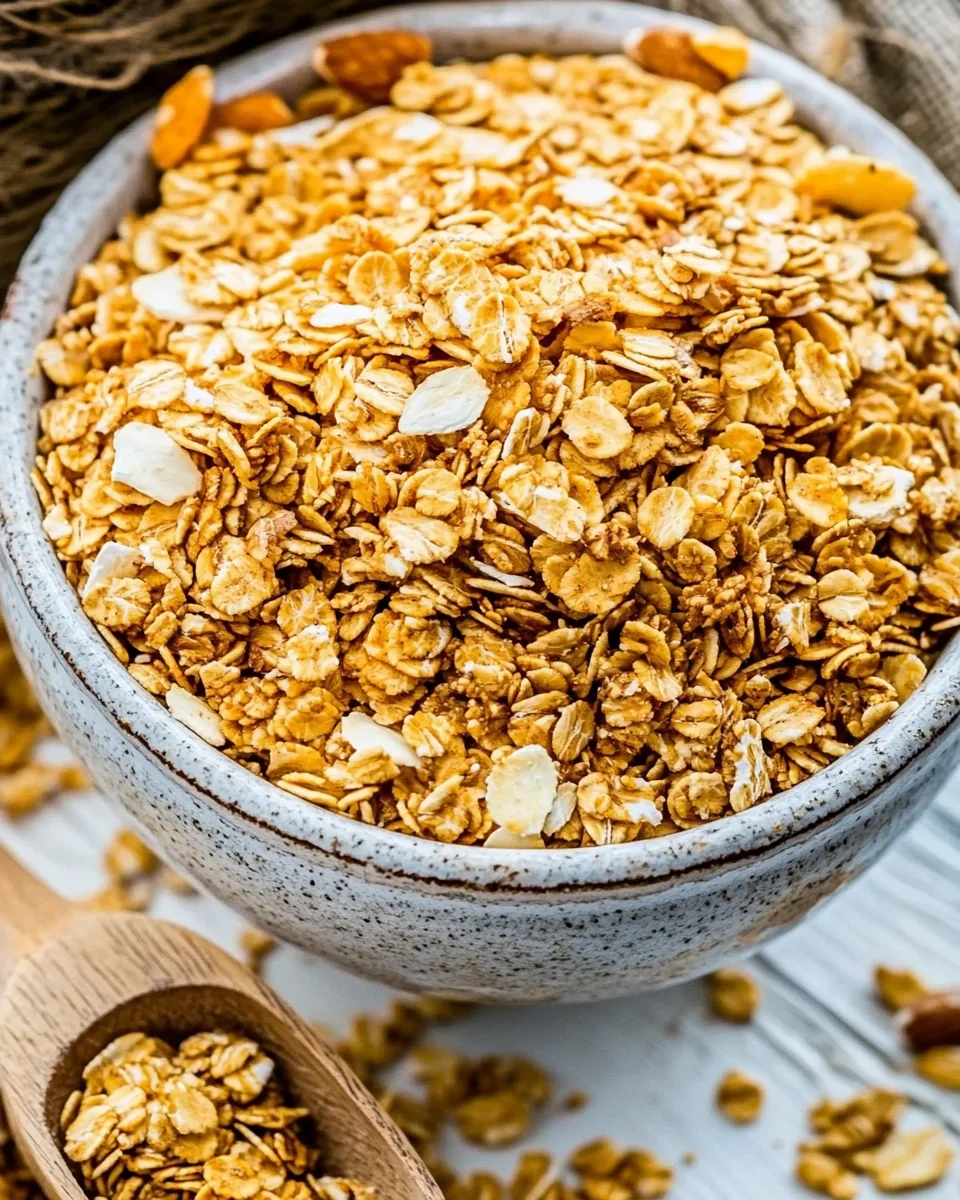
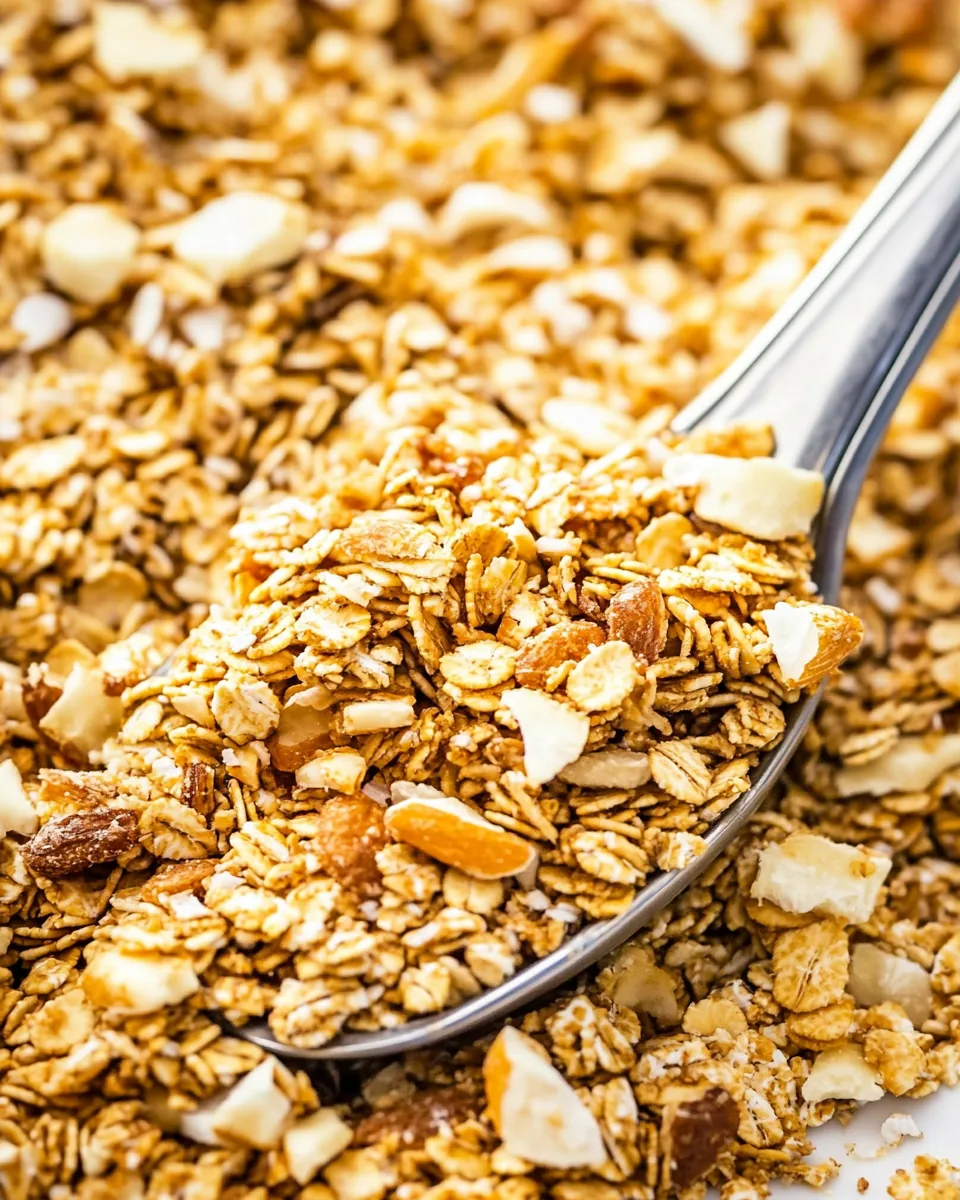
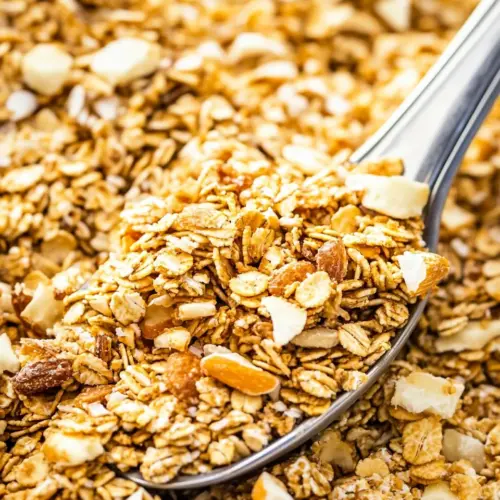
Creating a batch of delicious Granola is all about the quality of your ingredients. The combination of almonds, pecans, and shredded coconut provides a satisfying crunch, while rolled oats form the base of this nutritious snack. With just a handful of components, you can craft a delightful mix that’s not only tasty but also good for you.
- 1 cup almonds (sliced) – These add a lovely crunch and are packed with healthy fats and protein.
- ⅔ cup shredded coconut (sweetened or unsweetened) – Coconut gives a tropical flavor and chewy texture.
- ⅔ cup pecans (chopped) – Rich in flavor, they complement the oats perfectly.
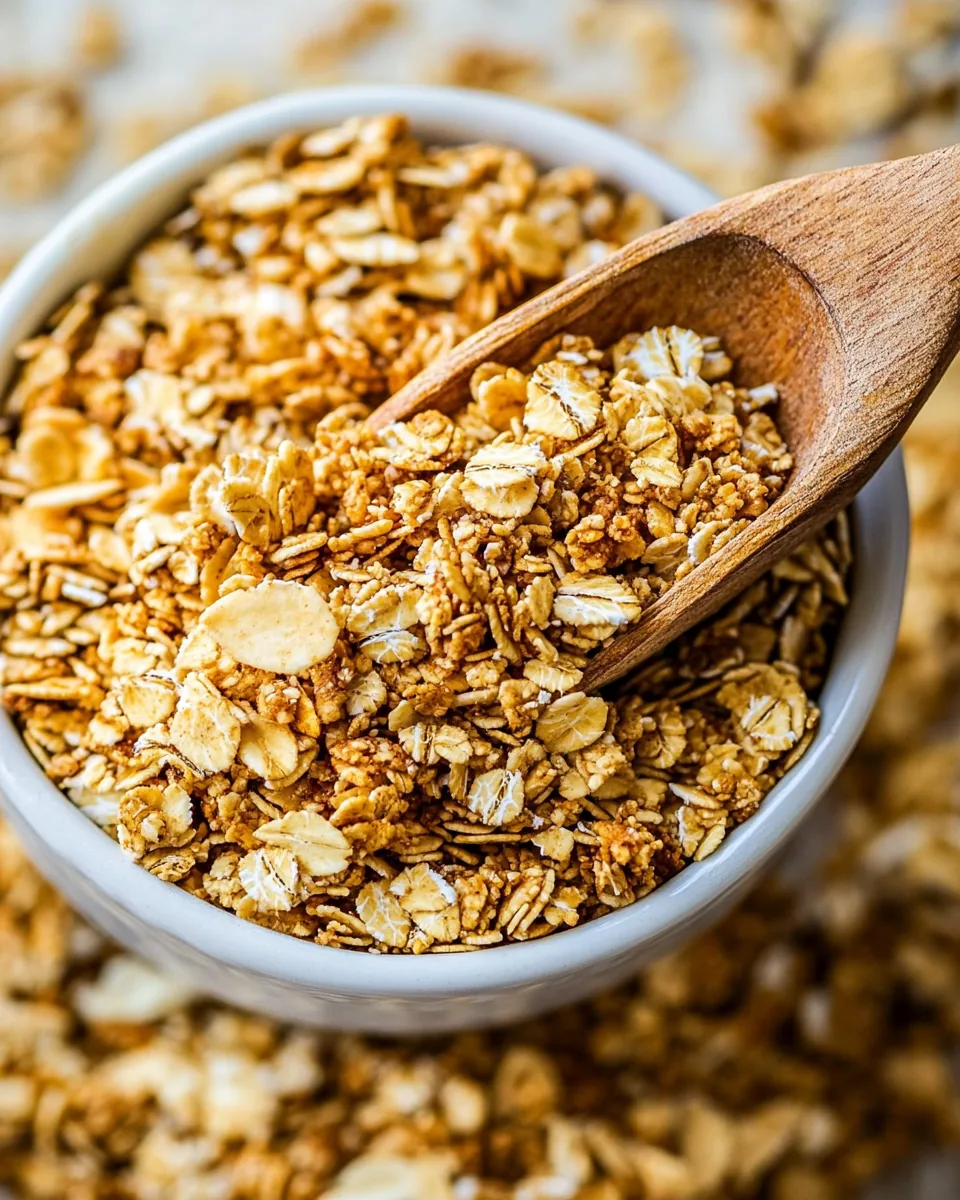
- 4 cups rolled oats – The base of the Granola, providing fiber and heartiness.
- 1¼ teaspoons salt – Enhances all the flavors and balances the sweetness.
- ½ cup maple syrup – A natural sweetener that binds everything together.
- ⅓ cup olive oil – Adds richness and helps achieve that crunchy texture.
- 1 teaspoon vanilla – For a lovely aromatic flavor that ties it all together.
The Process for Making Granola
Let’s dive into the fun part—making your own Granola! It’s incredibly straightforward and a great way to engage with your food. Follow these steps, and soon you’ll be rewarded with a warm, fragrant batch of goodness.
- Preheat the oven: Start by preheating your oven to 350°F. This step is crucial as it ensures even cooking and helps the Granola achieve that perfect crunch.
- Combine dry ingredients: In a large mixing bowl, combine the almonds, shredded coconut, pecans, rolled oats, and salt. Stir them together until evenly mixed. This blend of ingredients will create a delightful texture once baked.
- Add wet ingredients: Now, pour in the maple syrup, olive oil, and vanilla into the dry mix. Stir gently until everything is well combined. The mixture should be slightly sticky, which is what you want for clumping together.
- Prepare and bake: Spread the mixture evenly on a large baking sheet. Bake for 45 minutes, stirring every 10 to 15 minutes to ensure it bakes evenly. Keep an eye on it; you want a golden brown color without burning. The aroma while baking is simply divine!
Serve This Granola With
Now that you have this delicious Granola, let’s talk about how to enjoy it! Here’s how to serve it up right:
- With yogurt: Layer your homemade Granola with Greek yogurt and fresh fruits for a delightful breakfast.
- As a snack: Enjoy a handful as a quick pick-me-up during the day. It’s a healthy option that will keep your energy up!
- On oatmeal: Sprinkle it over a warm bowl of oatmeal for an extra crunch and flavor boost.
- In smoothies: Use it as a topping for smoothies or smoothie bowls to add a satisfying texture.
- For baking: Toss a handful into muffin or pancake batter for added texture and flavor.
- As a topping: Use it to top off desserts like ice cream or fruit salads for a sweet treat.
Things Worth Knowing
- Watch the oven: Granola can go from golden to burnt quickly, so keep an eye on it as it bakes.
- Cooling is key: Always let your Granola cool completely on the baking sheet to achieve maximum crunch.
- Storage matters: Store in an airtight container to keep it fresh and crispy.
- Experiment with flavors: Don’t hesitate to add your favorite spices or nuts to personalize your Granola.
Making Adjustments
Making your own Granola is not just about following a recipe; it’s about adapting it to your personal taste and dietary needs. Here are some helpful tips to consider:
- Storage: Store leftovers in an airtight container to ensure freshness. This way, your Granola stays crisp and delicious!
- Freezing: You can freeze your Granola for longer shelf life. Just wrap it tightly in plastic wrap or store in a resealable bag.
- Pairing: This Granola pairs wonderfully with coconut yogurt or almond milk for a vegan option.
- Sweetness level: Adjust the amount of maple syrup based on your preference for sweetness.
- Nut alternatives: Feel free to substitute any nut or seed according to what you have on hand.
- Flavor boosters: A sprinkle of cinnamon or nutmeg can elevate the flavor profile wonderfully!
Serve This Granola With
Here are some ideas on how to enjoy your homemade Granola:
- With yogurt: Layer it with Greek yogurt and fresh fruits for a delightful breakfast.
- As a snack: It’s perfect for mid-day munching, providing a healthy energy boost.
- On oatmeal: Sprinkle it over oatmeal for added texture and flavor.
- With smoothies: A delicious topping for smoothie bowls, giving them that extra crunch.
- In baked goods: Toss it into muffins or pancakes for a hearty addition.
- On desserts: Use it as a topping for ice cream or fruit salads for a sweet treat.
FAQ
Conclusion
This homemade Granola recipe is truly special because it combines health and flavor in one delightful mix. You get to tailor it completely to your preferences while enjoying the satisfaction of making something delicious from scratch. I encourage you to give it a try—once you experience the joy of homemade Granola, you may never go back to store-bought!
Granola
Equipment
- Glass Mixing Bowl Set (3 piece)
- Large Baking Sheet
- Keep Calm And Bake On Spatula
Ingredients
- 1 cup almonds sliced
- ⅔ cup shredded coconut sweetened or unsweetened
- ⅔ cup pecans chopped
- 4 cups rolled oats
- 1¼ teaspoons salt
- ½ cup maple syrup
- ⅓ cup olive oil
- 1 teaspoon vanilla extract
Instructions
- Preheat the oven: Preheat your oven to 350°F.
- Combine dry ingredients: In a large bowl, mix the almonds, shredded coconut, pecans, rolled oats, and salt.
- Add wet ingredients: Stir in the maple syrup, olive oil, and vanilla until well combined.
- Prepare and bake: Evenly spread the mixture on a baking sheet and bake for 45 minutes, stirring every 10 to 15 minutes.
Notes
- Serving size: is ¼ cup.
- Versatile: You can add or substitute many nuts, seeds, or dried fruit.
- Cool before storing: Always let granola cool completely before storing.
- Add to recipes: Mix a handful into muffin or pancake batter for extra texture.
- Storage: Keep in an airtight container for up to 6 months.
- Freezing: Can be frozen wrapped tightly in plastic wrap or a resealable bag.