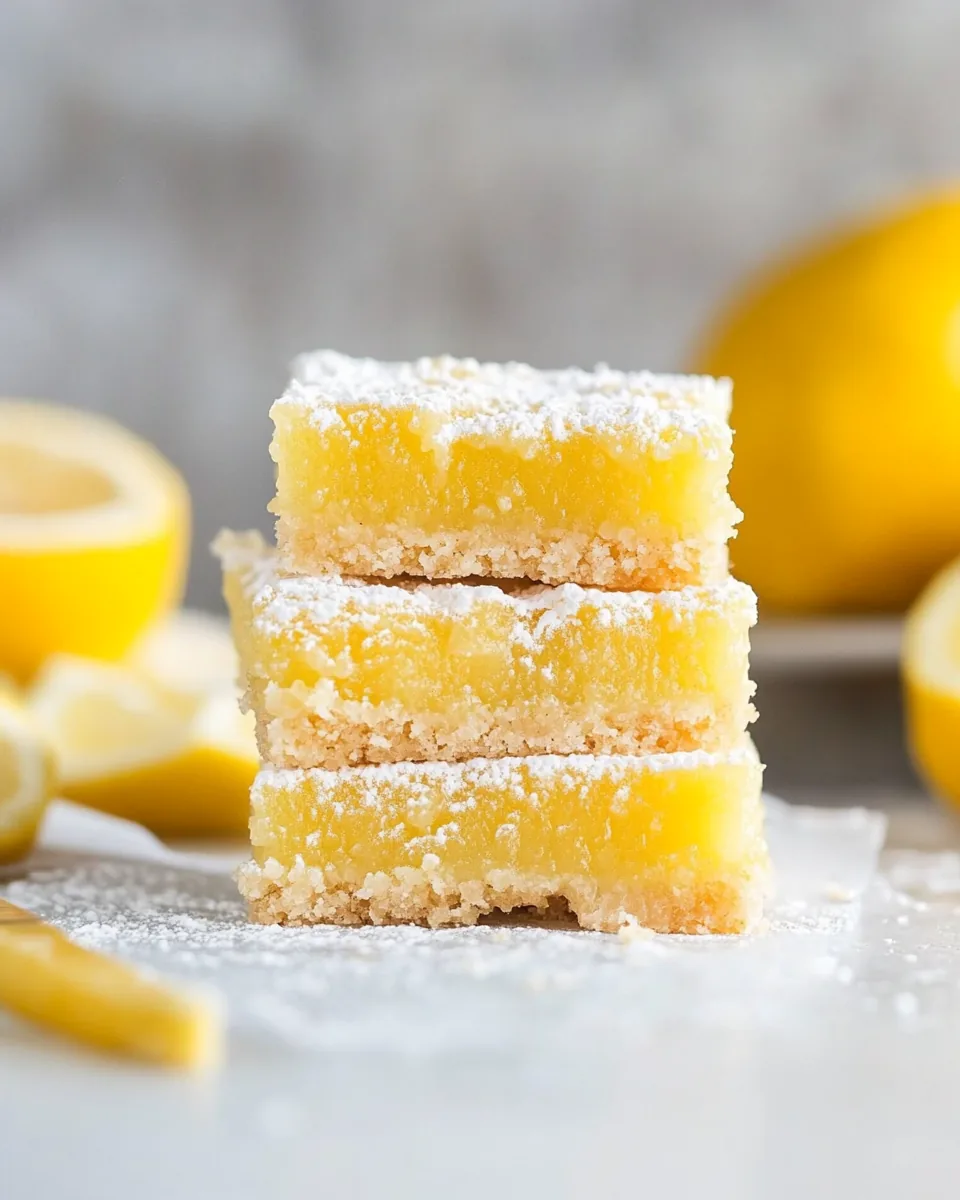
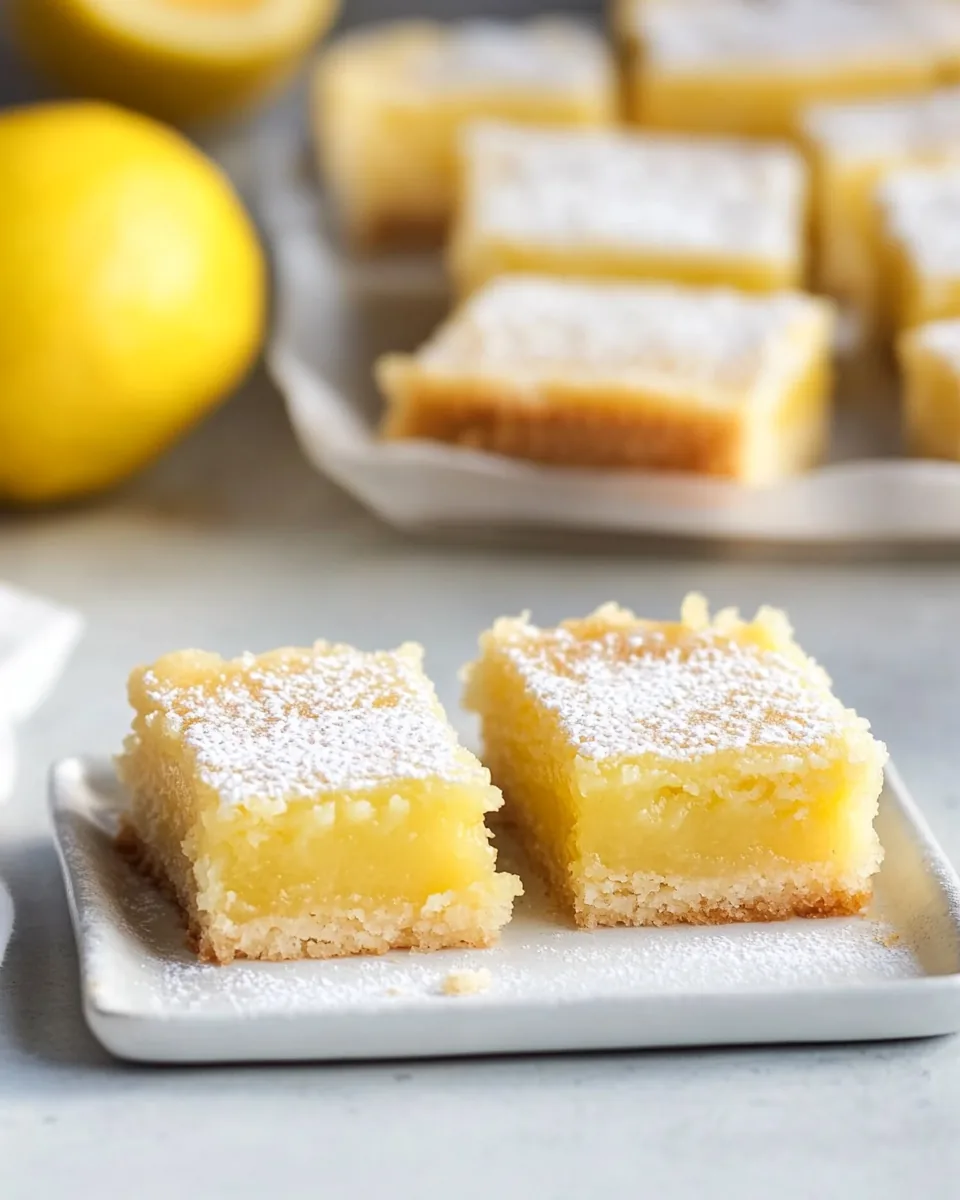
Gluten Free Lemon Bars
Every time I bite into a piece of Gluten Free Lemon Bars, I’m transported back to my grandmother’s sun-drenched kitchen. The smell of fresh lemons wafting through the air and the promise of sweet-tart goodness always had me excited. As a child, I would watch her mix together simple ingredients, turning them into a dessert that seemed like magic. What I love about making Gluten Free Lemon Bars is the nostalgia it brings and the joy of sharing them with family and friends. They’re not just a dessert; they’re a treat that brings everyone together, making them perfect for any occasion, be it a summer picnic or a cozy winter gathering. This recipe is not only easy but also a wonderful way to enjoy a gluten-free delight that doesn’t compromise on taste.
Recipe Snapshot
1 hr 20 mins
30 mins
50 mins
Medium
210 kcal
3 g
Keto, Paleo, Whole30
10 g
Kitchen Scale, 9×9-inch Baking Pan
Why We Love This Gluten Free Lemon Bars
1. Perfect Balance of Flavors
The combination of sweet and tart in Gluten Free Lemon Bars is simply unparalleled. The tartness of the fresh lemon juice perfectly complements the sweetness of the sugar, creating a taste that is both refreshing and indulgent. Each bite offers a delightful contrast that keeps you coming back for more.
2. Gluten-Free Goodness
This recipe embraces gluten-free ingredients, allowing everyone to enjoy the joy of dessert without worry. Using gluten free flour ensures that it meets dietary restrictions while still delivering that classic lemon bar experience.
3. Simple Ingredients
The beauty of Gluten Free Lemon Bars lies in their simplicity. With just a handful of ingredients, you can create a dessert that looks and tastes impressive. You don’t need to be a pastry chef to whip these up!
4. A Versatile Treat
Whether you’re serving them at a picnic, a holiday gathering, or simply enjoying them at home, these lemon bars are versatile enough to suit any occasion. They can be dressed up with a sprinkle of powdered sugar or served plain, making them just as delightful for formal events as they are for casual afternoons.
5. Easy to Make Ahead
One of my favorite aspects of Gluten Free Lemon Bars is how well they store. You can easily make them in advance and keep them in the fridge, allowing the flavors to meld together beautifully. They’re the perfect make-ahead dessert that can save you time on busy days!
What You’ll Need for Gluten Free Lemon Bars
To create the perfect Gluten Free Lemon Bars, you’ll need some key ingredients that work harmoniously together. Each component plays a crucial role in delivering the final product that’s both delicious and satisfying. From the zesty lemon juice providing that refreshing kick to the butter giving a rich texture, these ingredients come together to form a delightful treat.
- 1½ cups Gluten Free Flour: This is the star ingredient. It provides the structure for the bars without the gluten, ensuring a chewy texture.
- ½ cup granulated sugar: Sweetness is key in balancing the tartness of the lemons.
- ½ cup salted butter: Adds richness and a buttery flavor to the crust.
- 2 tablespoons water: Helps to bind the crust mixture.
- 1½ cups granulated sugar: Used again in the filling for the perfect sweetness.
- ½ cup lemon juice: Freshly squeezed is always best; it brings that zingy flavor that makes these bars unforgettable.
- 2 tablespoons grated lemon zest: Intensifies the lemon flavor, adding freshness.
- 4 large eggs: Essential for creating the silky filling.
- ¼ cup Gluten Free Flour: Added to the filling for a smooth consistency.
- Powdered sugar: Optional for dusting before serving.
Cooking Method for Gluten Free Lemon Bars
Making Gluten Free Lemon Bars is a straightforward process that anyone can tackle. The joy of creating this dessert lies in combining your ingredients and watching them transform into a delectable treat. Follow these steps carefully, and you’ll have delicious lemon bars ready to impress!
-
Preheat your oven to 350°F. Prepare your 9×9-inch baking pan by spraying it with nonstick spray. For an easier release, I recommend lining the pan with foil before spraying it.
In a medium bowl, stir together the 1½ cups Gluten Free Flour and ½ cup granulated sugar. Use a fork or pastry cutter to integrate the ½ cup salted butter until the mixture resembles coarse crumbs. Gradually add in 2 tablespoons water until the dough comes together.
Press the mixture firmly into the bottom of your prepared pan, creating an even base. Bake for approximately 25 minutes until it’s lightly golden and set. Keep an eye on it to avoid overbaking!
-
While the crust is baking, prepare the filling. In a large bowl, combine 1½ cups granulated sugar, ½ cup lemon juice, 2 tablespoons grated lemon zest, and 4 large eggs. Whisk until smooth and well-mixed. Add the ¼ cup Gluten Free Flour and mix until incorporated.
Once the crust is out of the oven and has cooled slightly, pour the lemon filling over the still-hot crust, spreading it evenly. Bake for an additional 22 to 26 minutes, until set in the center.
Let your Gluten Free Lemon Bars cool on the countertop for a minimum of 2 hours. This cooling period allows the filling to firm up properly.
-
Once cooled, cut into squares. For an extra touch, sprinkle with powdered sugar before serving. Enjoy your delicious homemade lemon bars!
Things Worth Knowing
- Let it Cool: Allowing the bars to cool completely before cutting is essential for clean edges.
- Use Fresh Ingredients: Fresh lemons will enhance the flavor significantly compared to bottled lemon juice.
- Layering Flavors: Don’t skip on the lemon zest; it adds a depth of flavor that makes a difference.
- Check for Doneness: The filling should be set but still a bit jiggly in the center when you take them out of the oven.
Substitutions and Tips
Here are some great tips for making your Gluten Free Lemon Bars even better! Whether you’re looking to tweak the recipe or make the most of your leftovers, I’ve got you covered.
- Storage: Store leftover bars in an airtight container in the refrigerator for up to a week.
- Freezing: Yes, you can freeze these bars! Just wrap them tightly in plastic wrap and then foil before placing them in the freezer. They’re best eaten within three months.
- Pairing: Serve with a light tea or coffee for a delightful afternoon treat.
- Flavor Variations: Add a hint of ginger or coconut to the filling for unique twists on the classic recipe.
- Serving Temperature: These bars are delicious served chilled or at room temperature, depending on your preference.
Serving Ideas for Gluten Free Lemon Bars
When it comes to serving Gluten Free Lemon Bars, the options are endless! Here are some creative ideas to elevate your presentation:
- Tea Parties: These lemon bars are a wonderful addition to any tea party, offering a light and refreshing option alongside pastries.
- Picnics: Pack them up for outdoor gatherings. They hold up well and provide a sweet treat that everyone will love.
- Holiday Parties: Serve these bars during festive occasions, garnished with fresh berries or mint for a pop of color.
- Lunch Boxes: They make a great sweet treat for kids’ lunch boxes—add a slice of fruit for balance!
- Seasonal Celebrations: Perfect for summer get-togethers, they evoke the essence of sunny days with their bright flavor.
FAQ
Conclusion
The Gluten Free Lemon Bars are a delightful balance of sweet and tangy flavors that make them a standout dessert. You’ll find that they’re easy to make, and the end result is a treat everyone will love. So why not gather your ingredients and whip up a batch? I assure you, after one bite, you’ll be hooked!
Gluten Free Lemon Bars
Equipment
- Kitchen Scale
- 9x9-inch Baking Pan
Ingredients
- 1.5 cups Gluten Free Flour
- 0.5 cup Granulated Sugar
- 0.5 cup Salted Butter
- 2 tablespoons Water
- 1.5 cups Granulated Sugar
- 0.5 cup Lemon Juice
- 2 tablespoons Grated Lemon Zest
- 4 large Eggs
- 0.25 cup Gluten Free Flour
- optional Powdered Sugar
Instructions
- Preheat your oven to 350°F. Prepare your 9×9-inch baking pan by spraying it with nonstick spray. For an easier release, I recommend lining the pan with foil before spraying it.
- In a medium bowl, stir together the 1½ cups Gluten Free Flour and ½ cup granulated sugar. Use a fork or pastry cutter to integrate the ½ cup salted butter until the mixture resembles coarse crumbs. Gradually add in 2 tablespoons water until the dough comes together.
- Press the mixture firmly into the bottom of your prepared pan, creating an even base. Bake for approximately 25 minutes until it’s lightly golden and set. Keep an eye on it to avoid overbaking!
- While the crust is baking, prepare the filling. In a large bowl, combine 1½ cups granulated sugar, ½ cup lemon juice, 2 tablespoons grated lemon zest, and 4 large eggs. Whisk until smooth and well-mixed. Add the ¼ cup Gluten Free Flour and mix until incorporated.
- Once the crust is out of the oven and has cooled slightly, pour the lemon filling over the still-hot crust, spreading it evenly. Bake for an additional 22 to 26 minutes, until set in the center.
- Let your Gluten Free Lemon Bars cool on the countertop for a minimum of 2 hours. This cooling period allows the filling to firm up properly.
- Once cooled, cut into squares. For an extra touch, sprinkle with powdered sugar before serving. Enjoy your delicious homemade lemon bars!
Notes
- Tip 1: Always check the ingredient list for powdered sugar to ensure it's gluten-free.
- Tip 2: If you prefer regular flour, you can substitute it easily without any issues.
- Tip 3: Store leftovers in an airtight container in the fridge for up to a week.
- Tip 4: These bars freeze well; just wrap them securely for best results.
- Tip 5: Enjoy them chilled for a refreshing treat.