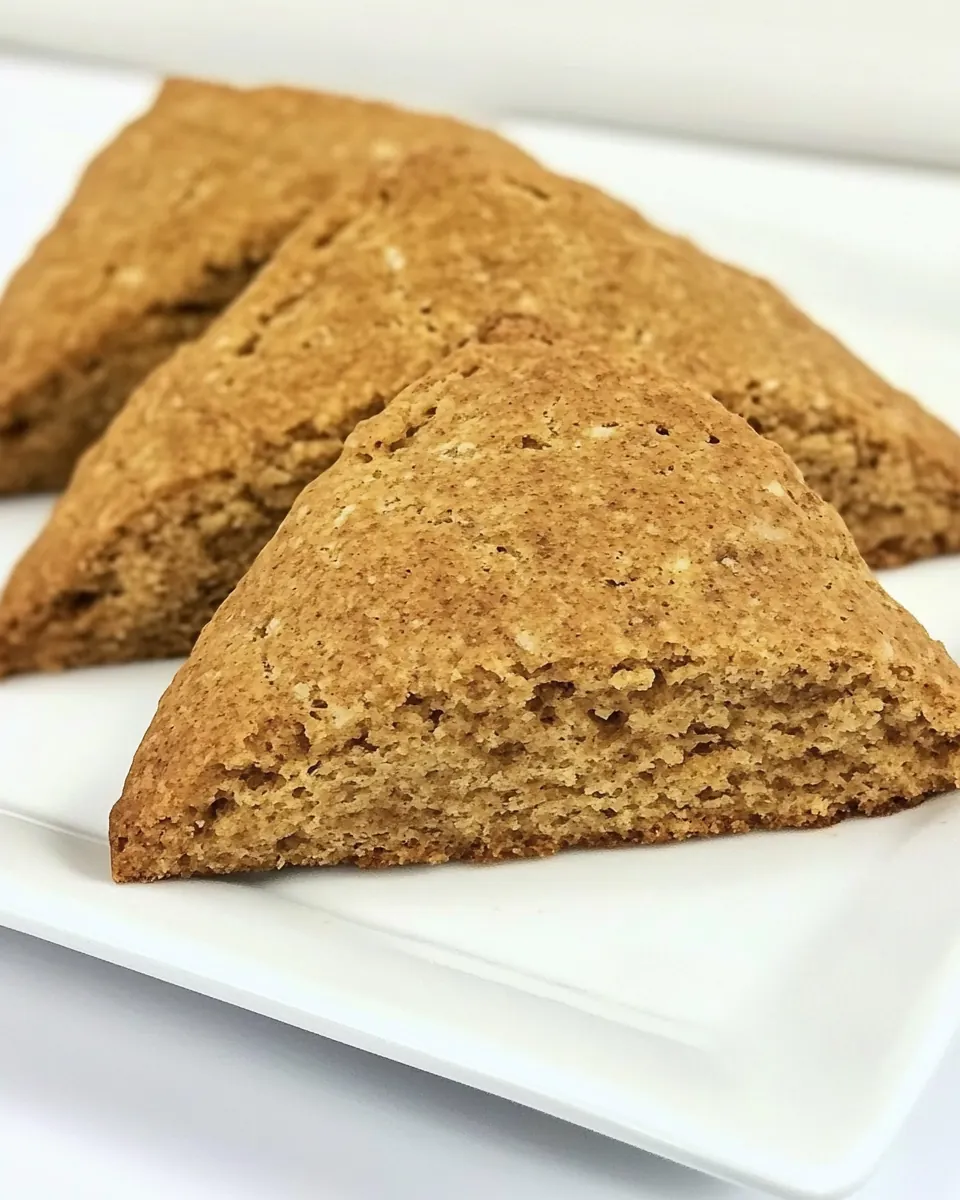
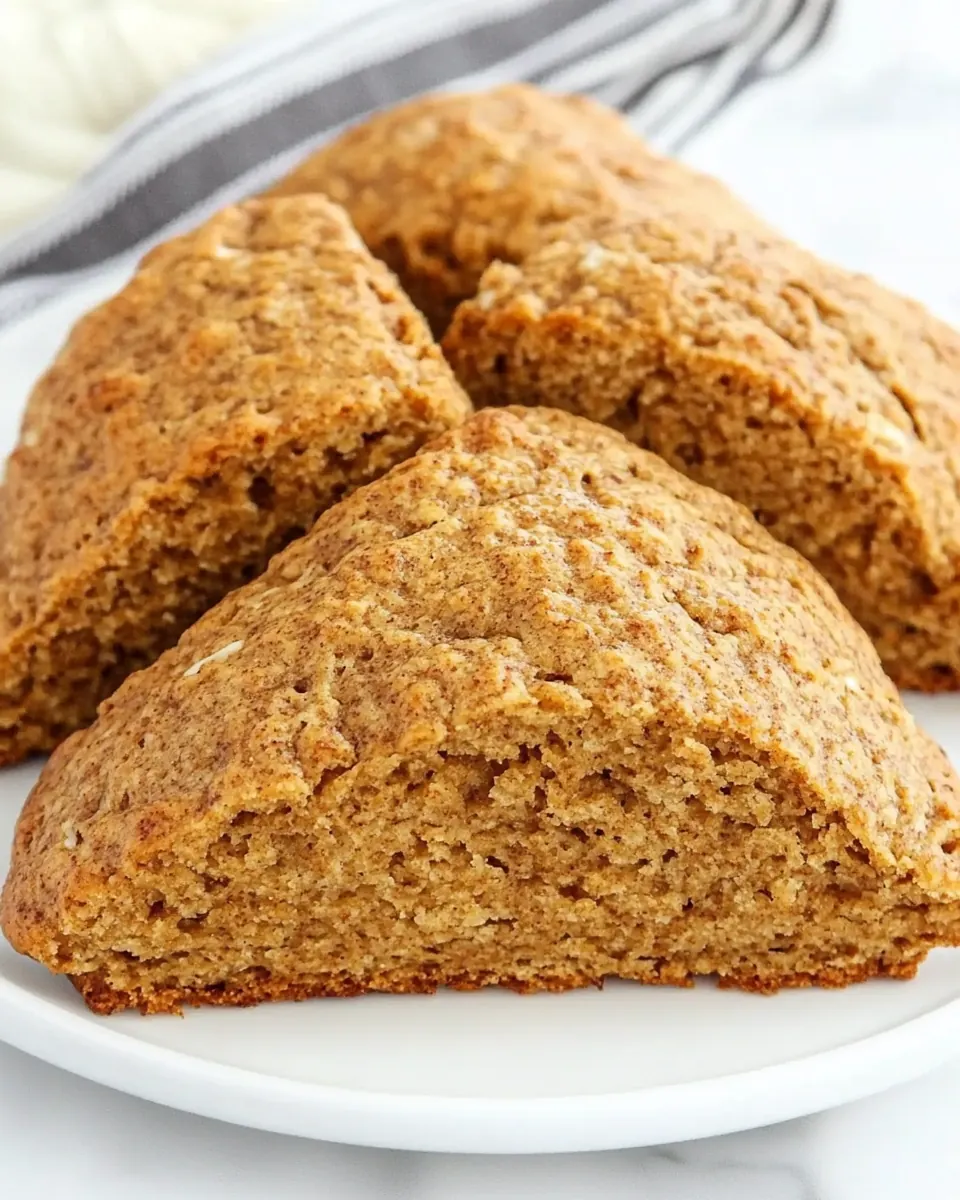
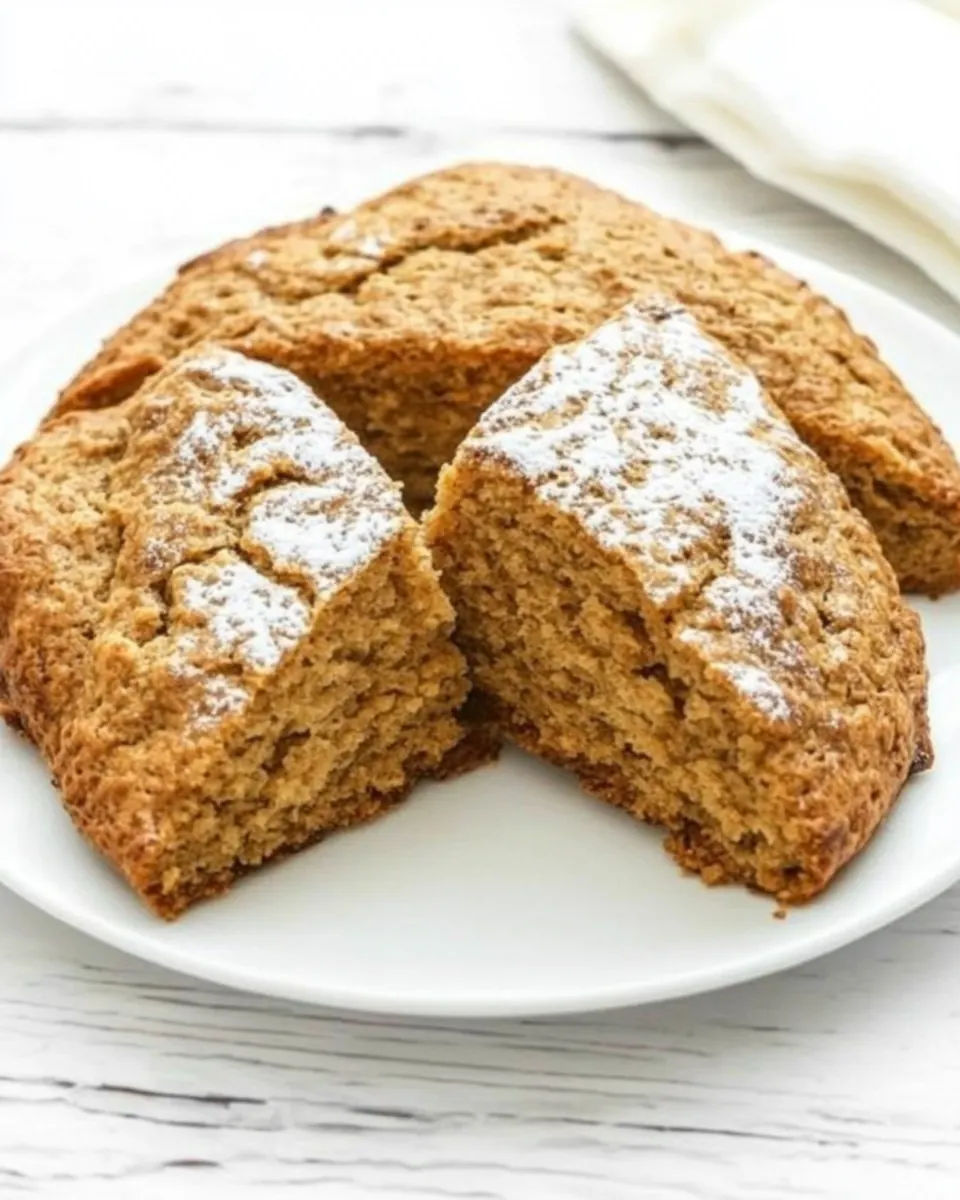
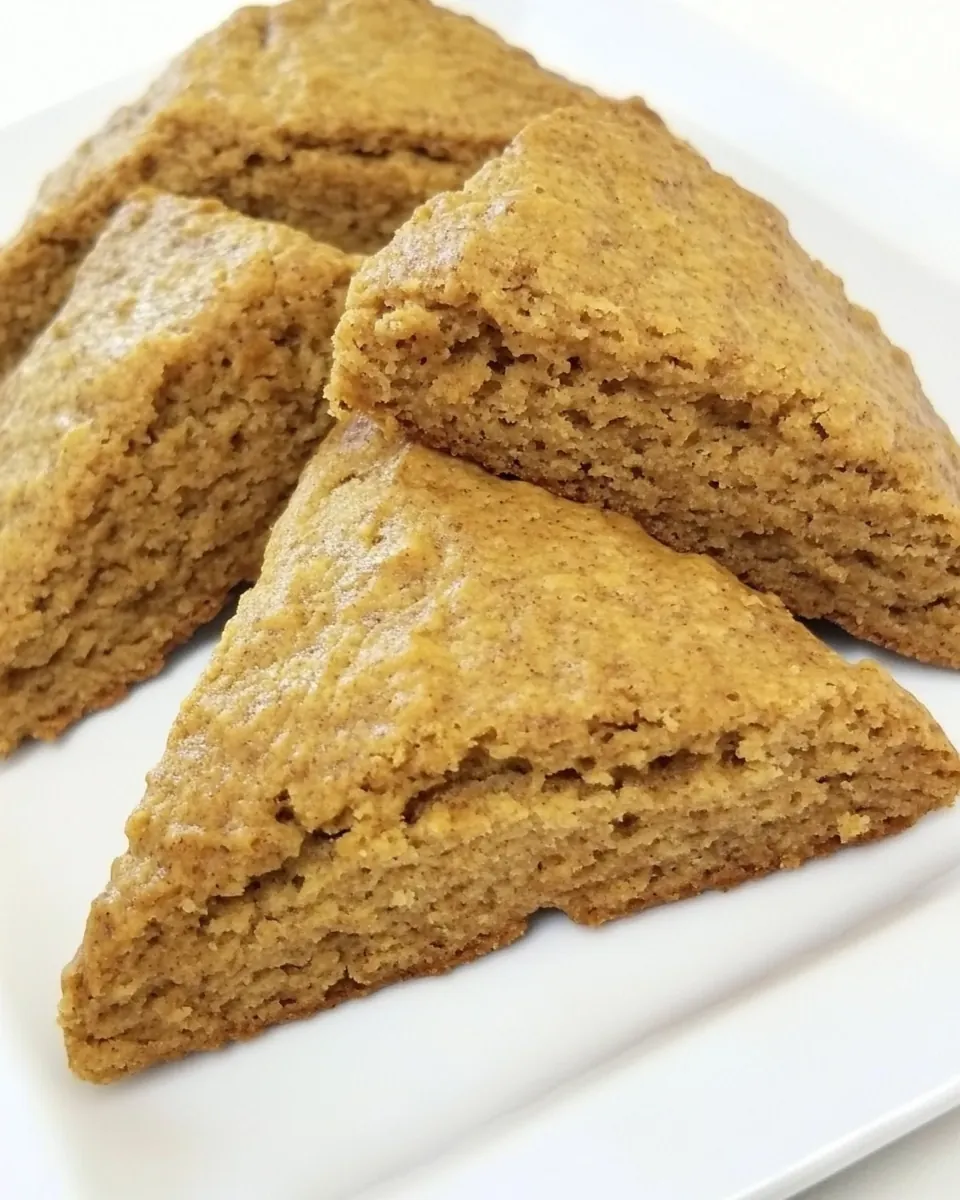
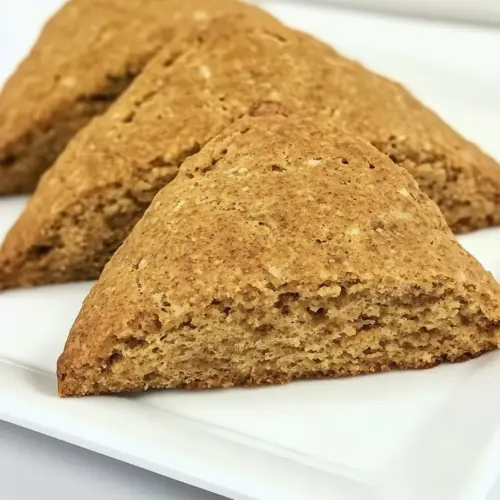
Gingerbread Scones
Gingerbread Scones have been a holiday staple in my kitchen for years, and the smell that fills the house when they bake always takes me right back to cozy afternoons by the window. I remember one blustery November when I first adapted this recipe from a handwritten family card, swapping a few things and testing until the texture felt just right, tender inside with a gently crisp top.
Over the years, I have learned to treat these scones like tiny, spiced celebrations. I like making a batch when friends drop by, because the aroma of molasses and ground ginger rounding out with ground cinnamon feels like an invitation. Sometimes I fold in plump raisins or tart dried cranberries, and other times I leave them plain so the spice notes shine. Each bite is flaky and slightly crumbly, with that comforting warmth that only warm spices provide.
Recipe Snapshot
45 mins
20 mins
25 mins
Medium
200 kcal
American
Gluten-Free, Low FODMAP
Breakfast
Food processor, Mixing bowl, Baking sheet, Parchment paper, Whisk
Why This Gingerbread Scones Works
Warm, nostalgic flavor
I love how Gingerbread Scones capture the familiar spice profile of classic gingerbread, but in a quick, bakery style treat. The combination of ground ginger, cinnamon, and cloves creates layers of flavor that feel both homey and refined. When I serve these, people immediately comment on the balance between sweet and spicy, which is exactly why I keep this recipe in heavy rotation.
Fast enough for a bustling morning
These scones come together rapidly, so I reach for this recipe when I need something substantial yet quick. The technique keeps the butter cold, which makes the crumb tender and flaky, and I appreciate that the dough does not demand long chilling. For holiday brunches or a spontaneous tea, this is a dependable choice.
Versatile with add ins
I enjoy that the base recipe is forgiving, so I can add raisins or dried cranberries for chew and brightness, or leave them out for a pure spice-forward pastry. I often tweak the amount of molasses depending on how deep I want the gingerbread character to be. This versatility keeps the recipe feeling fresh every time I make it.
Approachable techniques
There is something satisfying about simple pastry work that yields a bakery quality result. I teach friends how to pulse the dry ingredients with the butter until coarse, which is forgiving and hard to mess up. That low stress makes this a recipe I recommend again and again.
Perfect for gifting
I’ve wrapped these in parchment and twine for neighbors, and they travel well. Cooling them slightly before packing preserves their texture, and a tiny sprinkle of coarse sugar on top gives them a festive sparkle. They strike a charming balance between cozy and elegant.
What to Buy for Gingerbread Scones
These ingredients are simple pantry staples that work together to produce tender, warmly spiced scones. The dry ingredients build the structure, the butter adds richness and flakiness, and the wet components, especially molasses, bring that unmistakable gingerbread depth. The optional dried fruit and coarse sugar give texture and a festive finish.
- 2 cups all-purpose flour: Provide structure and bulk to the scones, forming the base of the dough and giving texture when combined with the other dry ingredients. Sift or whisk to ensure even distribution and to avoid lumps, which helps achieve tender, flaky scones.
- 1/3 cup packed dark brown sugar: Add sweetness and a deep, molasses-like flavor while contributing moisture that enriches the crumb; packed dark brown sugar also enhances the gingerbread character. Blend thoroughly with the flour so pockets of sugar are evenly distributed and to prevent streaks in the dough.
- 1 tablespoon baking powder: Leaven the dough, creating lift and a light, tender interior by releasing carbon dioxide when mixed and baked. Measure carefully and avoid overworking the dough after adding to maintain the rise provided by the baking powder.
- 3/4 teaspoon ground cinnamon: Impart warm, aromatic spice that complements the ginger and cloves, enhancing the overall gingerbread profile. Use as a balanced seasoning; too much can become overpowering, so keep to the measured amount for subtle warmth.
- 1/2 teaspoon ground ginger: Deliver the signature zesty, warming flavor associated with gingerbread and provide aromatic heat that brightens the sweet elements. Ground form blends uniformly through the dough, giving consistent spicy notes in every bite.
- 1/8 teaspoon ground cloves: Contribute a sharp, slightly sweet and floral spice that adds depth and complexity to the spice blend without dominating. Use sparingly to support the cinnamon and ginger, creating a layered gingerbread sensation.
- 6 tablespoons (3/4 stick) chilled butter, cut into pieces: Introduce cold fat that, when cut into the flour, creates flaky layers and tender pockets within the scone through steam generation during baking. Keep chilled and cut into small pieces to distribute evenly and prevent melting before baking.
- 1/4 cup milk: Provide moisture to bind the dough and help dissolve sugars while contributing to the scone's tenderness; milk also affects browning and crumb richness. Use the listed amount to achieve the correct dough consistency without making it too sticky.
- 1 large egg: Bind ingredients together and add richness, promoting a tender crumb and slight lift due to its fat content and emulsifying properties. Beat or mix briefly with the wet ingredients to incorporate air and ensure even distribution throughout the dough.
- 3 tablespoons molasses: Contribute deep, robust sweetness and classic gingerbread flavor, adding color and moisture to the dough for a richer taste. Stir in with the wet ingredients so the molasses disperses evenly and infuses the scones with characteristic warmth.
- 1 teaspoon vanilla extract: Add a layer of floral, sweet-vanilla aroma that rounds and enhances other flavors, contributing to the overall flavor complexity. Mix into the wet ingredients for uniform incorporation and to lift the profile of the finished scones.
- 2/3 cup raisins or dried cranberries () (optional): Offer optional chewy texture and bursts of sweetness or tartness depending on choice, enhancing textural contrast and flavor variation. Fold in gently at the end to distribute evenly without overworking the dough or creating clumps.
- 1 to 2 tablespoons coarse sugar, for sprinkling over scones () (optional): Provide an optional crunchy, sparkling finish that enhances appearance and adds a pleasant contrast to the soft interior; coarse sugar also emphasizes edges during baking. Sprinkle lightly on top just before baking to retain the crystals and create a decorative glaze.
Putting Together Gingerbread Scones
Assembling these scones is straightforward, and it is where technique shapes texture. Below I expand the original directions into detailed, sensory rich steps so you can feel confident every time you bake.
- Preheat the oven to 375°F. Lightly grease a baking sheet or line with parchment paper.: When you start with a properly heated oven, the scones will develop a golden crust quickly while the interior stays tender. You should notice a faint warmth in the kitchen and a slight scent from the oven as it reaches temperature. This blast of initial heat helps the baking powder activate right away. A common mistake is putting the scones into an oven that is not fully preheated, which can lead to uneven rise and denser centers, so allow the oven to reach the full temperature before baking.
- Blend the first 6 ingredients in food processor (through cloves). Add the butter and process until the mixture resembles coarse meal.: A lightly greased baking sheet or a sheet lined with parchment ensures the bottoms brown evenly and release cleanly. You will see the bottoms take on a warm, golden hue as they bake. If you skip greasing or lining, the scones can stick and tear when removed, so take the extra moment to prepare the pan for best results.
- Beat milk, egg, molasses and vanilla to blend in large bowl. Add flour mixture and dried fruit (if using); stir gently until dough forms.: Pulsing the flour , dark brown sugar , baking powder , ground cinnamon , ground ginger , and ground cloves in a food processor distributes the spices evenly and aerates the dry mix, which helps a light crumb. You will notice a uniform, fragrant powder when it is ready. Overprocessing can warm the mixture and slightly compress the baking powder , so pulse just until combined.
- Gather the dough into a ball. On lightly floured surface, press dough into a 1-inch-thick round. Cut the round into 8 wedges, (OR pat the dough into a circle and cut with a cookie cutter).: Incorporating the chilled butter into the dry mixture until it resembles coarse meal creates small visible bits of fat, which puff during baking and produce flakiness. You should still see pea sized pieces of butter in the mixture. If the butter becomes too soft or melts while processing, the scones will lose their flakiness, so work quickly and keep the butter cold.
- Place on the prepared baking sheet. If desired, sprinkle with coarse sugar.: Whisking the milk , egg , molasses , and vanilla extract creates a smooth, slightly glossy liquid that will hydrate the dry ingredients evenly. You will see the molasses swirl into deep ribbons before it fully integrates. If you add the wet mix to the flour mixture unevenly, you can get pockets of dry flour or overly wet spots, so whisk until cohesive and pour gradually.
- Bake about 25 minutes, or until toothpick inserted into the center comes out clean. Serve warm or at room temperature.: Folding the dry mixture and optional raisins or dried cranberries into the wet ingredients should produce a shaggy, slightly sticky dough. Look for visual cues like no large streaks of dry flour and evenly distributed fruit pieces. Overmixing will activate the gluten and make the scones tough, so stir just until the dough comes together.
- Gather the dough into a ball: Handling the dough gently keeps it tender. Bring it together on the counter with minimal pressure, and you will feel a cohesive mass rather than a wet batter. If the dough feels too dry, a teaspoon of milk at a time can help, but avoid adding too much liquid, which alters texture.
- On lightly floured surface, press dough into a 1 inch thick round: Pressing the dough into a uniform one inch thickness ensures even baking so the center and edges finish at the same time. You should see a smooth top with visible bits of butter . If the round is too thick, the center may remain underbaked, while too thin will yield crisp, drier scones.
- Cut the round into 8 wedges, (OR pat the dough into a circle and cut with a cookie cutter): Cutting into wedges gives the classic scone shape with crisp edges. Each wedge will hold together thanks to the egg and milk , and you might see some crumbs at the cut edges. A common mistake is twisting the knife while cutting, which seals edges and inhibits rise, so press straight down for clean cuts.
- Place on the prepared baking sheet: Arrange the wedges with a little space so hot air can circulate and edges brown evenly. You will notice the scones sit slightly lofty at this point. If you crowd the pan, the sides may steam and remain pale instead of developing a golden crust.
- If desired, sprinkle with coarse sugar: A light sprinkle of coarse sugar adds a sparkling crunch and a subtle sweet finish on top. The sugar will glint as it bakes and give a delightful first bite contrast. Too much sugar can create a hard, overly sweet top, so keep it light and even.
- Bake about 25 minutes, or until toothpick inserted into the center comes out clean: As the scones bake, the kitchen will fill with warm spice aromas and you will see them set and turn golden. The tops should be firm and the centers spring back lightly. If you underbake, centers will be doughy, while overbaking dries them out, so test with a toothpick and aim for a clean or nearly clean pull to ensure tender interior.
- Serve warm or at room temperature: Serving the scones warm gives the best textural contrast, with a tender interior and a slightly crisp exterior. If you let them cool completely, they still keep well and are wonderful with a smear of butter. Reheating briefly revives that just baked quality, but avoid long microwaving which can make them tough.
Make It Your Own
I like offering a few ways to personalize these scones without changing their core identity. Small swaps or finishing touches make them feel new, while keeping the technique consistent ensures reliable results.
- Add a glaze Lightly whisk powdered sugar with a few teaspoons of milk to drizzle over cooled scones for a sweet sheen that balances the spices.
- Swap the fruit Try tart dried cranberries instead of raisins for a brighter bite and color contrast.
- Adjust the molasses Increase to deepen the gingerbread character, or reduce slightly if you prefer a milder note.
- Sugar finish A sprinkle of coarse sugar before baking adds a bakery style crunch and visual sparkle.
- Briefly warm dried fruit Soak raisins or cranberries in warm water for a few minutes if they seem dry to keep them plump in the baked scones.
- Storage tip Store cooled scones in an airtight container at room temperature for up to two days, or freeze for longer keeping and reheat gently.
Serving Suggestions
These scones are lovely at a holiday brunch or as an afternoon treat with tea. I like presenting them on a platter with a small bowl of softened butter, and they pair well with light spreads and hot beverages. They are versatile enough for casual gatherings or a more polished brunch table.
- Brunch pairing Serve Gingerbread Scones warm with softened butter and a pot of tea for a relaxed morning spread.
- Holiday platter Arrange them with other small pastries and fruit for a festive dessert table during Christmas celebrations.
- Afternoon tea These scones are perfect alongside hot tea or coffee as a cozy afternoon treat.
- Room temperature serving Allow scones to cool slightly for easier handling at larger gatherings, they still taste great and hold up well.
- Storage and make ahead Bake in advance and freeze; thaw at room temperature and warm briefly to refresh the texture before serving.
- Seasonal pairing The warm spices make these ideal for fall and winter menus, especially around holiday occasions like Christmas.
FAQ
Conclusion
What makes these Gingerbread Scones special is their balance of warm spices and tender, flaky texture, delivering holiday flavors in an approachable pastry. I encourage you to give them a try, because they are quick to pull together and offer comforting, aromatic results that impress friends and family. Whether you fold in dried fruit or keep them plain, the technique centers on keeping the butter cold and not overworking the dough, and the payoff is delightful, cozy bites that feel both nostalgic and fresh.
Gingerbread Scones
Equipment
- Food Processor
- Mixing Bowl
- Baking Sheet
- Parchment Paper
- Whisk
Ingredients
- 2 cups all-purpose flour Provide structure and bulk to the scones, forming the base of the dough and giving texture when combined with the other dry ingredients. Sift or whisk to ensure even distribution and to avoid lumps, which helps achieve tender, flaky scones.
- 1/3 cup packed dark brown sugar Add sweetness and a deep, molasses-like flavor while contributing moisture that enriches the crumb; packed dark brown sugar also enhances the gingerbread character. Blend thoroughly with the flour so pockets of sugar are evenly distributed and to prevent streaks in the dough.
- 1 tablespoon baking powder Leaven the dough, creating lift and a light, tender interior by releasing carbon dioxide when mixed and baked. Measure carefully and avoid overworking the dough after adding to maintain the rise provided by the baking powder.
- 3/4 teaspoon ground cinnamon Impart warm, aromatic spice that complements the ginger and cloves, enhancing the overall gingerbread profile. Use as a balanced seasoning; too much can become overpowering, so keep to the measured amount for subtle warmth.
- 1/2 teaspoon ground ginger Deliver the signature zesty, warming flavor associated with gingerbread and provide aromatic heat that brightens the sweet elements. Ground form blends uniformly through the dough, giving consistent spicy notes in every bite.
- 1/8 teaspoon ground cloves Contribute a sharp, slightly sweet and floral spice that adds depth and complexity to the spice blend without dominating. Use sparingly to support the cinnamon and ginger, creating a layered gingerbread sensation.
- 6 tablespoons (3/4 stick) chilled butter, cut into pieces Introduce cold fat that, when cut into the flour, creates flaky layers and tender pockets within the scone through steam generation during baking. Keep chilled and cut into small pieces to distribute evenly and prevent melting before baking.
- 1/4 cup milk Provide moisture to bind the dough and help dissolve sugars while contributing to the scone's tenderness; milk also affects browning and crumb richness. Use the listed amount to achieve the correct dough consistency without making it too sticky.
- 1 large egg Bind ingredients together and add richness, promoting a tender crumb and slight lift due to its fat content and emulsifying properties. Beat or mix briefly with the wet ingredients to incorporate air and ensure even distribution throughout the dough.
- 3 tablespoons molasses Contribute deep, robust sweetness and classic gingerbread flavor, adding color and moisture to the dough for a richer taste. Stir in with the wet ingredients so the molasses disperses evenly and infuses the scones with characteristic warmth.
- 1 teaspoon vanilla extract Add a layer of floral, sweet-vanilla aroma that rounds and enhances other flavors, contributing to the overall flavor complexity. Mix into the wet ingredients for uniform incorporation and to lift the profile of the finished scones.
- 2/3 cup raisins or dried cranberries (optional) Offer optional chewy texture and bursts of sweetness or tartness depending on choice, enhancing textural contrast and flavor variation. Fold in gently at the end to distribute evenly without overworking the dough or creating clumps.
- 1 to 2 tablespoons coarse sugar, for sprinkling over scones (optional) Provide an optional crunchy, sparkling finish that enhances appearance and adds a pleasant contrast to the soft interior; coarse sugar also emphasizes edges during baking. Sprinkle lightly on top just before baking to retain the crystals and create a decorative glaze.
Instructions
- Preheat the oven to 375°F. Lightly grease a baking sheet or line with parchment paper.: When you start with a properly heated oven, the scones will develop a golden crust quickly while the interior stays tender. You should notice a faint warmth in the kitchen and a slight scent from the oven as it reaches temperature. This blast of initial heat helps the baking powder activate right away. A common mistake is putting the scones into an oven that is not fully preheated, which can lead to uneven rise and denser centers, so allow the oven to reach the full temperature before baking.
- Blend the first 6 ingredients in food processor (through cloves). Add the butter and process until the mixture resembles coarse meal.: A lightly greased baking sheet or a sheet lined with parchment ensures the bottoms brown evenly and release cleanly. You will see the bottoms take on a warm, golden hue as they bake. If you skip greasing or lining, the scones can stick and tear when removed, so take the extra moment to prepare the pan for best results.
- Beat milk, egg, molasses and vanilla to blend in large bowl. Add flour mixture and dried fruit (if using); stir gently until dough forms.: Pulsing the flour , dark brown sugar , baking powder , ground cinnamon , ground ginger , and ground cloves in a food processor distributes the spices evenly and aerates the dry mix, which helps a light crumb. You will notice a uniform, fragrant powder when it is ready. Overprocessing can warm the mixture and slightly compress the baking powder , so pulse just until combined.
- Gather the dough into a ball. On lightly floured surface, press dough into a 1-inch-thick round. Cut the round into 8 wedges, (OR pat the dough into a circle and cut with a cookie cutter).: Incorporating the chilled butter into the dry mixture until it resembles coarse meal creates small visible bits of fat, which puff during baking and produce flakiness. You should still see pea sized pieces of butter in the mixture. If the butter becomes too soft or melts while processing, the scones will lose their flakiness, so work quickly and keep the butter cold.
- Place on the prepared baking sheet. If desired, sprinkle with coarse sugar.: Whisking the milk , egg , molasses , and vanilla extract creates a smooth, slightly glossy liquid that will hydrate the dry ingredients evenly. You will see the molasses swirl into deep ribbons before it fully integrates. If you add the wet mix to the flour mixture unevenly, you can get pockets of dry flour or overly wet spots, so whisk until cohesive and pour gradually.
- Bake about 25 minutes, or until toothpick inserted into the center comes out clean. Serve warm or at room temperature.: Folding the dry mixture and optional raisins or dried cranberries into the wet ingredients should produce a shaggy, slightly sticky dough. Look for visual cues like no large streaks of dry flour and evenly distributed fruit pieces. Overmixing will activate the gluten and make the scones tough, so stir just until the dough comes together.
- Gather the dough into a ball: Handling the dough gently keeps it tender. Bring it together on the counter with minimal pressure, and you will feel a cohesive mass rather than a wet batter. If the dough feels too dry, a teaspoon of milk at a time can help, but avoid adding too much liquid, which alters texture.
- On lightly floured surface, press dough into a 1 inch thick round: Pressing the dough into a uniform one inch thickness ensures even baking so the center and edges finish at the same time. You should see a smooth top with visible bits of butter . If the round is too thick, the center may remain underbaked, while too thin will yield crisp, drier scones.
- Cut the round into 8 wedges, (OR pat the dough into a circle and cut with a cookie cutter): Cutting into wedges gives the classic scone shape with crisp edges. Each wedge will hold together thanks to the egg and milk , and you might see some crumbs at the cut edges. A common mistake is twisting the knife while cutting, which seals edges and inhibits rise, so press straight down for clean cuts.
- Place on the prepared baking sheet: Arrange the wedges with a little space so hot air can circulate and edges brown evenly. You will notice the scones sit slightly lofty at this point. If you crowd the pan, the sides may steam and remain pale instead of developing a golden crust.
- If desired, sprinkle with coarse sugar: A light sprinkle of coarse sugar adds a sparkling crunch and a subtle sweet finish on top. The sugar will glint as it bakes and give a delightful first bite contrast. Too much sugar can create a hard, overly sweet top, so keep it light and even.
- Bake about 25 minutes, or until toothpick inserted into the center comes out clean: As the scones bake, the kitchen will fill with warm spice aromas and you will see them set and turn golden. The tops should be firm and the centers spring back lightly. If you underbake, centers will be doughy, while overbaking dries them out, so test with a toothpick and aim for a clean or nearly clean pull to ensure tender interior.
- Serve warm or at room temperature: Serving the scones warm gives the best textural contrast, with a tender interior and a slightly crisp exterior. If you let them cool completely, they still keep well and are wonderful with a smear of butter. Reheating briefly revives that just baked quality, but avoid long microwaving which can make them tough.
Notes
- Add a glaze Lightly whisk powdered sugar with a few teaspoons of milk to drizzle over cooled scones for a sweet sheen that balances the spices.
- Swap the fruit Try tart dried cranberries instead of raisins for a brighter bite and color contrast.
- Adjust the molasses Increase to deepen the gingerbread character, or reduce slightly if you prefer a milder note.
- Sugar finish A sprinkle of coarse sugar before baking adds a bakery style crunch and visual sparkle.
- Briefly warm dried fruit Soak raisins or cranberries in warm water for a few minutes if they seem dry to keep them plump in the baked scones.
- Storage tip Store cooled scones in an airtight container at room temperature for up to two days, or freeze for longer keeping and reheat gently.