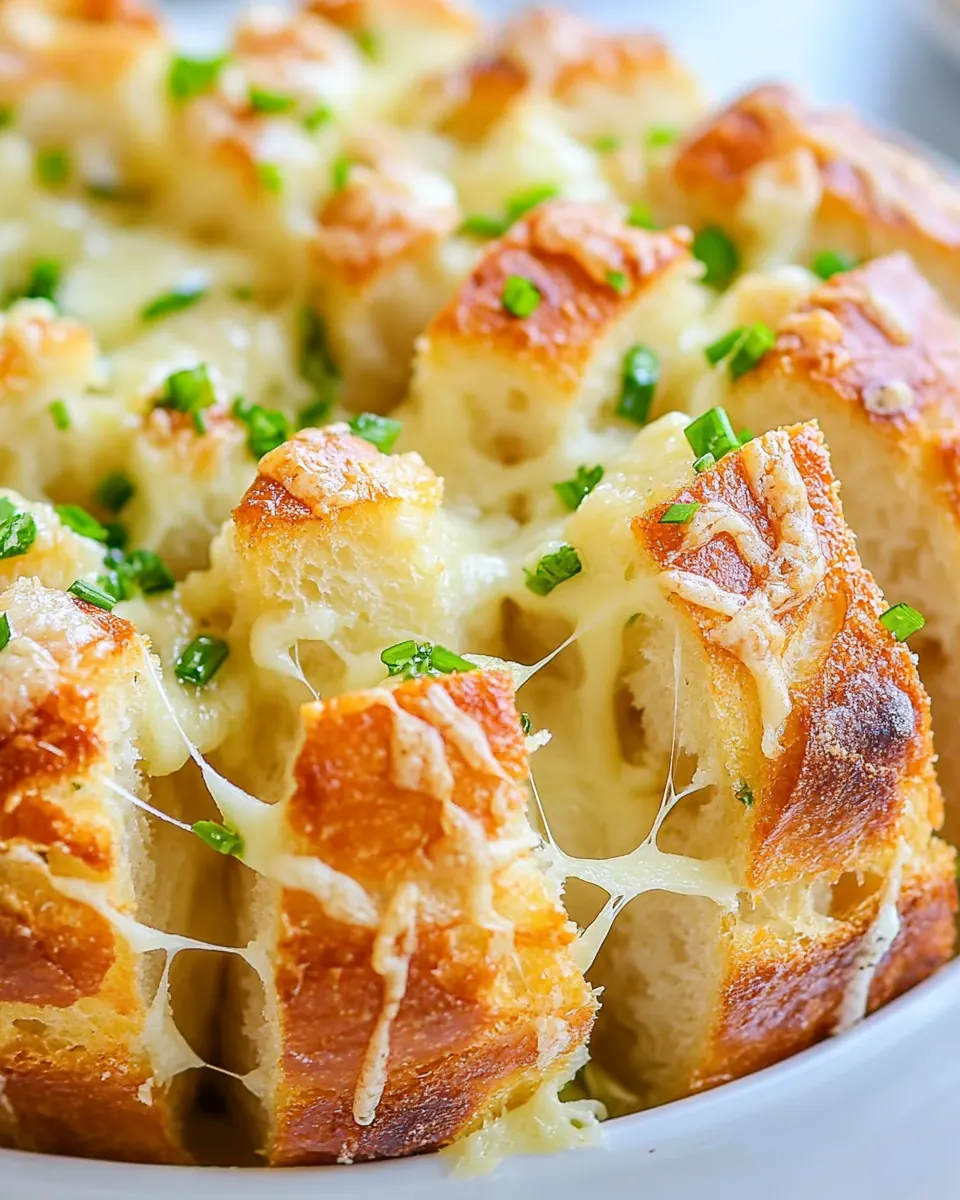
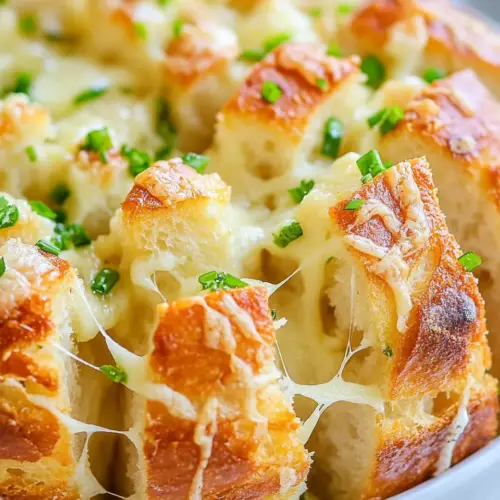
Garlic Cheesy Pull Apart Bread
Garlic Cheesy Pull Apart Bread is the kind of recipe I bring to gatherings when I want everyone to gather around the table and dig in with their hands. The first time I made this, I was trying to salvage a too crusty loaf, and after a little butter, garlic, and cheese magic, the entire room went quiet, which for me is the highest form of praise. I remember laughing as friends argued over the last crisp corner, the air thick with warm, garlicky butter and bubbling cheese.
There is something so comforting about tearing into warm bread, the inside soft and steaming, the outside flecked with golden, toasty spots. I love how simple the ingredient list is, yet how dramatic the results feel. I tinker with the fillings depending on the season, but the base combo of butter, garlic, and cheese is a reliable winner. Over time I learned small tricks that make the loaf extra gooey in the center and crispy at the edges, and those are the details I hold onto when I want the perfect pull apart.
What I appreciate most is how this recipe turns an ordinary loaf of bread into a shared experience. I often make it as an appetizer when friends drop by unannounced, because it almost cooks itself and invites conversation. The loaf becomes both the centerpiece and the treat, and the ritual of pulling pieces apart feels almost ceremonial. I always find myself smiling as the scent fills the house, knowing I created a simple, satisfying moment that people will remember.
Recipe Snapshot
40 mins
15 mins
25 mins
Medium
300 kcal
American
Keto, Gluten-Free
Appetizers
cutting board, sheet pan
What You’ll Enjoy About This Garlic Cheesy Pull Apart Bread
Irresistible Shareability
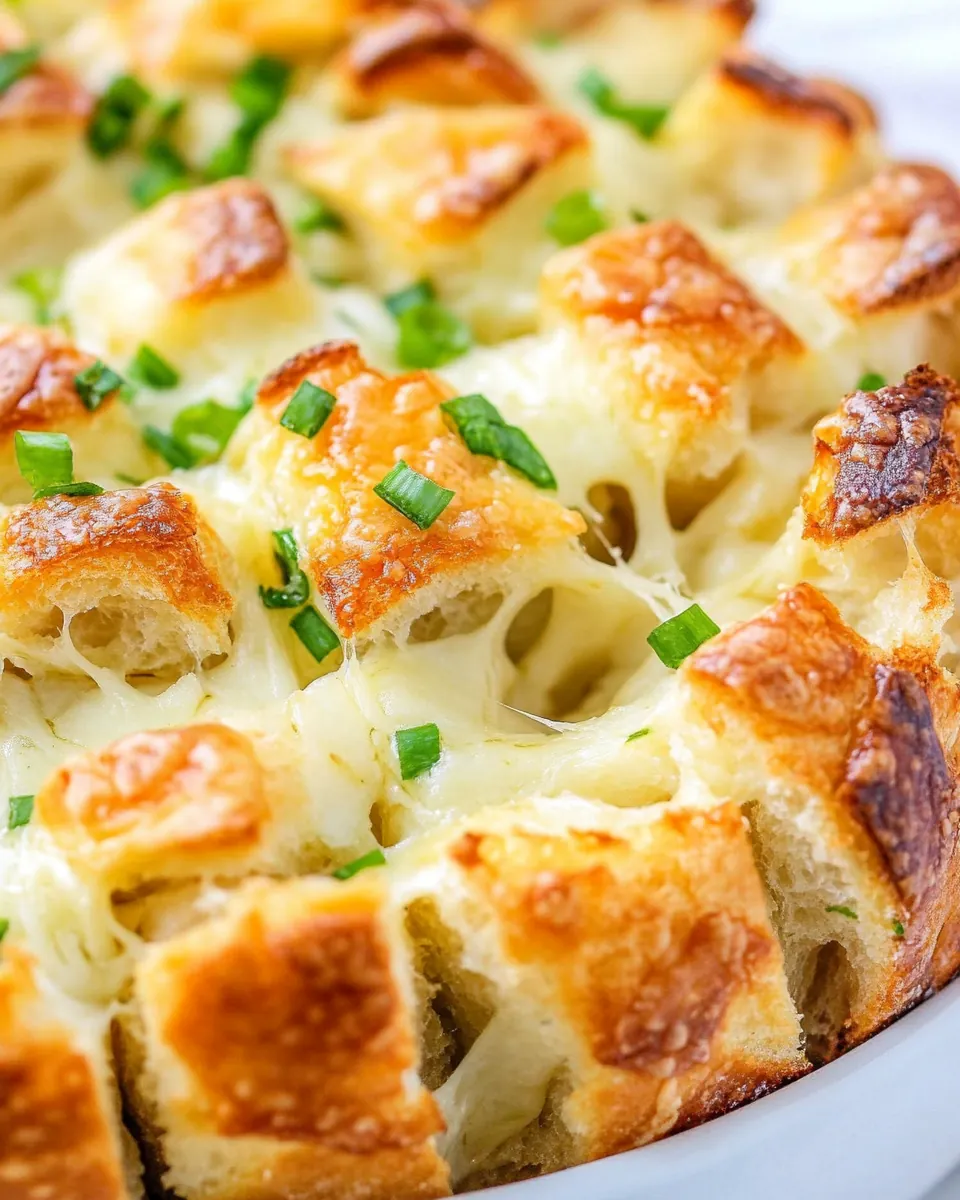
I adore how Garlic Cheesy Pull Apart Bread creates a communal eating moment. When I set it on the table, people immediately reach for the cheesy squares, and that shared experience turns a casual night into something memorable. The crosscut diamond pattern makes ripping pieces intuitive, and the bubbling cheese stretching as you pull is practically irresistible.
Flavor Packed with Minimal Effort
This dish delivers big flavor from very few elements. The combination of melted butter with minced garlic soaked into the bread provides deep savory notes, while the shredded mozzarella adds creamy, melty texture. I appreciate recipes that are easy to assemble yet taste indulgent, and this one nails that balance every time I make it.
Flexible and Forgiving
I often switch up the cheese or add extra herbs depending on what I have on hand, and the recipe holds up. Once, I made it with a mix of cheeses and it still came out wonderfully gooey. That flexibility makes it ideal when I want to use up odds and ends from the fridge, and I never worry about the results being ruined by small substitutions.
Textural Contrast
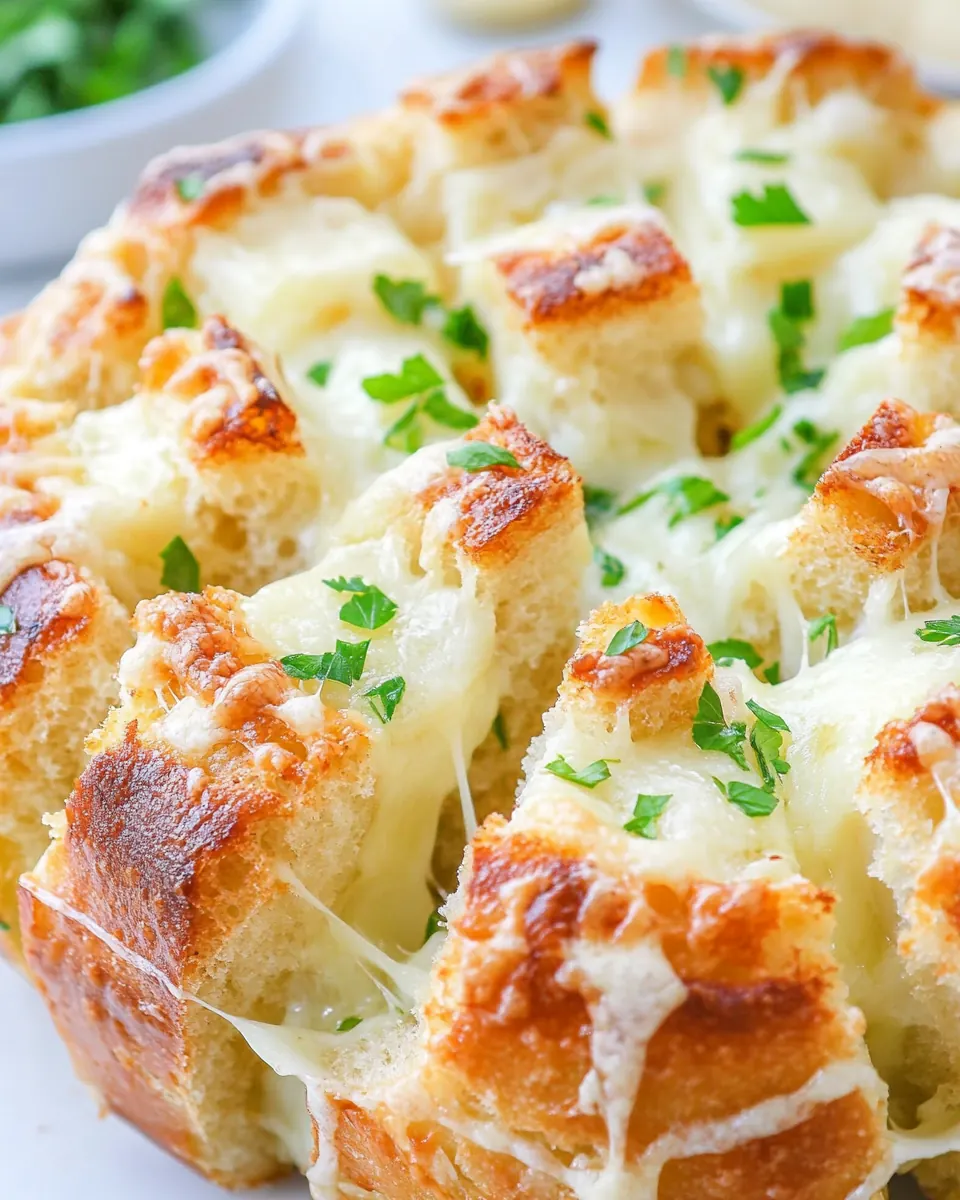
The magic lies in the texture contrast. The interior remains soft and tender, while the exterior crisps up where the butter pools. I love the contrast between the silky melted cheese and the toasty crust, and that crunch at the top keeps people coming back for more. I always aim for that golden finish because it signals the perfect bake.
Perfect for Gatherings
It is an ideal appetizer for casual dinners, potlucks, or game nights. I can prepare it in minutes and then pop it in the oven while I greet guests. The warm aroma acts like an invitation, and the fact that it is easy to tear and share means everyone feels included. For me, recipes that bring people together are the ones I return to again and again.
Shopping List for Garlic Cheesy Pull Apart Bread
These ingredients come together to make something far greater than the sum of its parts. The philosophy here is straightforward: take a hearty sourdough loaf or french loaf, infuse it with garlicky butter, layer in fresh aromatics like green onion and parsley, and finish with melting cheese for gooey, savory goodness. Each ingredient plays a clear role, whether it is texture, flavor, or melt.
- 16 ounce (900 g) sourdough loaf or french loaf: Provide a sturdy, crusty base that soaks up butter and garlic flavors while giving structure to tear-apart servings; slice loaf in a crosshatch pattern without cutting through to maintain pull-apart texture. Offer mild tang from fermentation that balances the richness of cheese and butter, ensuring each piece holds together when served warm.
- 1 stick (1/2 cup) (113 g) unsalted butter: Melt into a flavorful glaze that soaks into the loaf’s crevices, adding richness and a silky mouthfeel; measure and melt gently to avoid browning or separating. Bind herbs and seasonings to the bread while providing a satisfying, buttery finish on every pull-apart piece.
- 1 teaspoon kosher salt: Season the butter mixture to enhance overall flavor and create balance between savory and rich elements; dissolve into softened butter for even distribution throughout the bread. Add a subtle saline lift that amplifies the cheese and garlic without overpowering them.
- 2 cloves garlic minced: Infuse sharp, aromatic pungency when minced and mixed into the butter, releasing oils that permeate the bread for bold garlicky notes; sauté briefly if a milder flavor is desired. Complement the richness of butter and cheese by contributing bright, savory depth to each bite.
- 1/2 cup green onion sliced: Contribute fresh, oniony crunch and mild sharpness when thinly sliced and sprinkled between cuts of the loaf; cook slightly if a softer texture is preferred. Add visual contrast and a light vegetal note that contrasts with the creamy cheese and buttery bread.
- 1/4 cup fresh parsley chopped (divided): Add bright, herbaceous freshness and color when chopped and divided between the butter filling and final garnish; use some inside the bread for aromatic lift and reserve some on top for a vivid finish. Provide a clean, slightly peppery counterpoint that lightens the overall richness.
- 8 ounces shredded mozzarella or any other melting cheese: Provide melty, gooey texture and savory richness when shredded and stuffed into the loaf’s cuts; choose a good melting cheese for stretch and uniform coverage. Contribute umami and creamy mouthfeel that binds the layers together and creates irresistible pull-apart strands.
Making This Garlic Cheesy Pull Apart Bread
Working through this recipe is fast and satisfying. With a few careful cuts and a little patience while it bakes, you end up with a loaf that smells heavenly and invites everyone to reach in. Below are thorough, sensory-rich steps to help you achieve the perfect balance of melty interior and crisp top.
- Preheat your oven to 350°F (180°C), or 160°C for fan ovens.: The oven warming up produces a steady dry heat that will crisp the crust and melt the cheese without burning the top. You'll notice a gentle warmth and the faint metallic scent from the racks as it reaches temperature. Preheating ensures even baking, so don't skip it; placing the loaf into a cold oven often results in uneven melt and soggy pockets. One common mistake is not waiting for the oven to fully heat, which can prolong baking and yield uneven texture.
- Melt the butter in a small bowl. Add minced garlic, salt, and half of the chopped parsley. Stir until well combined.: The aroma of warmed butter and garlic will be immediate, releasing a savory perfume that hints at what is to come. Stirring helps the flavors marry, and the parsley brightens the mixture visually. This step infuses the butter so it penetrates the loaf when poured into the crevices. If the butter becomes too hot, the garlic can cook and turn bitter, so allow it to cool slightly before combining. A frequent oversight is letting the garlic sit in scalding butter, which dulls its fresh flavor.
- Place the bread loaf on a cutting board. Using a serrated knife, make diagonal cuts across the top of the loaf, and then repeat in the opposite direction to create a diamond pattern of 1-inch pieces. Be careful not to cut all the way through the bread.: The sound of the serrated blade sawing through the crust is satisfying, and you should feel slight resistance as you stop before reaching the bottom. These cuts create pockets to trap the butter and cheese , ensuring even distribution. It's important to keep the base intact to preserve the loaf structure and avoid a crumbly mess. Rushing can lead to cutting too deep, which causes the loaf to fall apart when you stuff it.
- Place the bread on a large piece of foil on a sheet pan. Pour the butter mixture into the crevices of the bread, ensuring it’s evenly distributed. Gently stuff the bread with sliced green onion and shredded cheese.: As you press the mixture into the cuts, you'll hear soft squishes and see the butter glisten, seeping into the bread's interior. The green onion adds flecks of color while the shredded mozzarella nests into pockets ready to melt. Distributing the filling evenly is crucial for consistent bites; clumping the cheese in one area creates hot spots and underfilled sections. A common issue is overstuffing, which can lead to cheese spillage and uneven baking.
- Cover the bread with foil and bake in the preheated oven for 15 minutes.: With the foil on, heat circulates and melts the cheese gently while the crust steams a touch and softens. The house will be filled with a warm, garlicky aroma that draws people in. Foil prevents the top from browning too quickly, allowing the interior to become fully melty. Removing the foil too soon can cause the interior to dry out; keep it covered for the recommended time to ensure a gooey center.
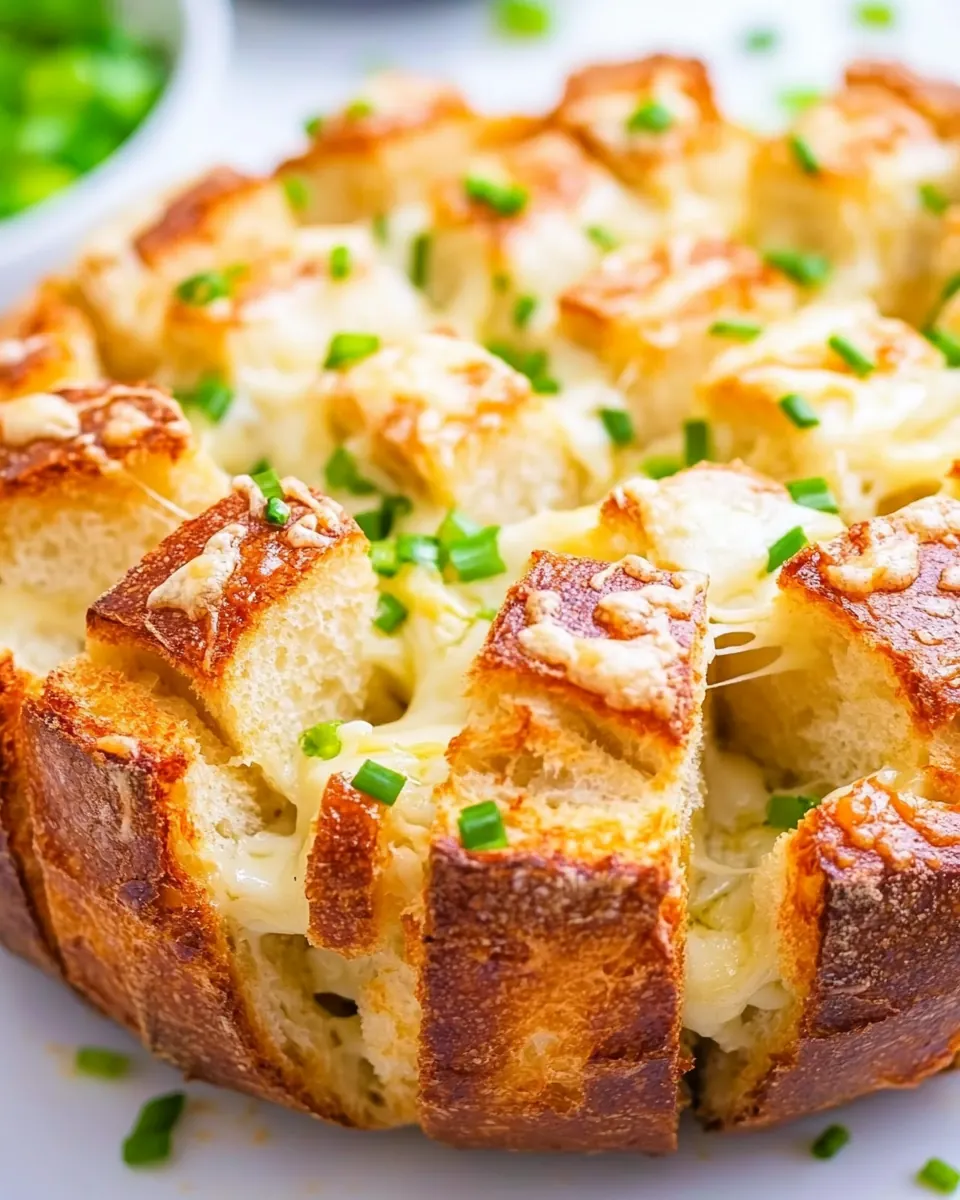
- For a crispy top, uncover the bread and bake for an additional 10 minutes.: Uncovering invites the dry oven heat to crisp the top, creating those desirable golden-brown edges. You will hear a slight crackle as the surface crisps and see bubbling where the cheese has reached the surface. This step gives you the lovely contrast between crunchy top and soft interior. Watch closely toward the end, because leaving it too long risks overbrowning and a dry texture. A typical mistake is skipping this step, which leaves the top soft instead of pleasantly crisp.
- Before serving, garnish the bread with the remaining parsley and additional green onion. Serve warm.: The final sprinkle of fresh parsley and extra green onion refreshes the rich flavors and brightens the presentation. Serve while the cheese is still molten, and you will hear delightful stretching and quiet gasps from guests. Cooling too long makes the cheese set and lose that pull apart quality, so aim to serve promptly. People sometimes let it sit too long, which results in a less dramatic, less gooey experience.
Helpful Notes about Garlic Cheesy Pull Apart Bread
This recipe rewards attention to small details. A few thoughtful moves will improve texture and flavor, from how you cut the loaf to the final minute of baking. Below are expanded tips to help you consistently get melty centers and crisp edges.
- Serrated Knife Matters Use a sharp serrated knife for clean cuts. Saw gently so you create deep pockets without collapsing the loaf. This preserves the structure, and helps the butter and cheese penetrate where they should.
- Cool the Butter Slightly After melting, let the butter sit briefly before mixing with raw minced garlic. This prevents the garlic from cooking and turning bitter, keeping its bright flavor intact.
- Even Cheese Distribution Spread the shredded mozzarella throughout the pockets rather than piling it in one area. Even distribution ensures consistent melting and prevents large cheese spills on the pan.
- Foil for Gentle Melting Keep the loaf covered for the initial bake. The foil helps the inside get warm and melty without overbrowning the top, producing a tender interior and a crisp finish after uncovering.
- Reserve Fresh Herbs Hold back some chopped parsley and sliced green onion for garnish. Adding them at the end brightens the dish and balances the richness.
- Store Properly Wrap cooled leftovers tightly and refrigerate. Reheat covered in a 350°F oven until the cheese is melty again, about 10 to 15 minutes, to revive the texture.
Serving Options for Garlic Cheesy Pull Apart Bread
This pull apart loaf is versatile at the table. It works as an appetizer, a side, or a casual main for relaxed gatherings. The warm, shareable nature of the loaf invites communal eating and pairs well with light salads or soups. Here are detailed serving ideas and occasions to showcase the recipe.
- Appetizer for Parties Serve as a starter for gatherings. The loaf encourages mingling, and guests love tearing off gooey squares while chatting. Place it on a large board with small plates nearby for easy sharing.
- Game Night Favorite Make it for game nights where finger foods are king. The loaf is easy to eat without formal utensils, and the combination of crispy edges and melty cheese keeps guests reaching back for more.
- Casual Dinner Side Pair with a bowl of soup or a fresh salad for a comforting weeknight meal. The bread brings richness, so balancing it with a bright, acidic salad helps keep the plate lively.
- Potluck Showstopper Bring it to potlucks for a guaranteed hit. It reheats well and looks impressive on arrival, making it an easy dish to contribute that disappears quickly.
- Storage and Make Ahead Prepare the stuffed loaf and refrigerate for a few hours before baking, or freeze wrapped for up to one month. Bake directly from frozen, adding a few extra minutes to the total time for a warm, fresh finish.
- Seasonal Pairings This loaf works year round. In colder months, pair with a hearty soup, and in warmer months, serve alongside a crisp, herb laden salad for contrast.
FAQ
Conclusion
Garlic Cheesy Pull Apart Bread stands out because it turns simple ingredients into a warm, communal experience with minimal effort. The balance of garlicky butter, melting cheese, and fresh herbs creates irresistible flavor, while the texture contrast between soft interior and crisp top keeps everyone coming back for more. Try this recipe the next time you want a hands on appetizer that will disappear fast, and enjoy the happy chaos that follows. When you serve it warm and bubbly, you are not just offering food, you are creating a moment that invites connection and easy conversation. It’s one of those dishes that makes hosting feel effortless and satisfying.
Garlic Cheesy Pull Apart Bread
Equipment
- Cutting Board
- Sheet Pan
Ingredients
- 16 ounce (900 g) sourdough loaf or french loaf Provide a sturdy, crusty base that soaks up butter and garlic flavors while giving structure to tear-apart servings; slice loaf in a crosshatch pattern without cutting through to maintain pull-apart texture. Offer mild tang from fermentation that balances the richness of cheese and butter, ensuring each piece holds together when served warm.
- 1 stick (1/2 cup) (113 g) unsalted butter Melt into a flavorful glaze that soaks into the loaf’s crevices, adding richness and a silky mouthfeel; measure and melt gently to avoid browning or separating. Bind herbs and seasonings to the bread while providing a satisfying, buttery finish on every pull-apart piece.
- 1 teaspoon kosher salt Season the butter mixture to enhance overall flavor and create balance between savory and rich elements; dissolve into softened butter for even distribution throughout the bread. Add a subtle saline lift that amplifies the cheese and garlic without overpowering them.
- 2 cloves garlic minced Infuse sharp, aromatic pungency when minced and mixed into the butter, releasing oils that permeate the bread for bold garlicky notes; sauté briefly if a milder flavor is desired. Complement the richness of butter and cheese by contributing bright, savory depth to each bite.
- 1/2 cup green onion sliced Contribute fresh, oniony crunch and mild sharpness when thinly sliced and sprinkled between cuts of the loaf; cook slightly if a softer texture is preferred. Add visual contrast and a light vegetal note that contrasts with the creamy cheese and buttery bread.
- 1/4 cup fresh parsley chopped (divided) Add bright, herbaceous freshness and color when chopped and divided between the butter filling and final garnish; use some inside the bread for aromatic lift and reserve some on top for a vivid finish. Provide a clean, slightly peppery counterpoint that lightens the overall richness.
- 8 ounces shredded mozzarella or any other melting cheese Provide melty, gooey texture and savory richness when shredded and stuffed into the loaf’s cuts; choose a good melting cheese for stretch and uniform coverage. Contribute umami and creamy mouthfeel that binds the layers together and creates irresistible pull-apart strands.
Instructions
- Preheat your oven to 350°F (180°C), or 160°C for fan ovens.: The oven warming up produces a steady dry heat that will crisp the crust and melt the cheese without burning the top. You'll notice a gentle warmth and the faint metallic scent from the racks as it reaches temperature. Preheating ensures even baking, so don't skip it; placing the loaf into a cold oven often results in uneven melt and soggy pockets. One common mistake is not waiting for the oven to fully heat, which can prolong baking and yield uneven texture.
- Melt the butter in a small bowl. Add minced garlic, salt, and half of the chopped parsley. Stir until well combined.: The aroma of warmed butter and garlic will be immediate, releasing a savory perfume that hints at what is to come. Stirring helps the flavors marry, and the parsley brightens the mixture visually. This step infuses the butter so it penetrates the loaf when poured into the crevices. If the butter becomes too hot, the garlic can cook and turn bitter, so allow it to cool slightly before combining. A frequent oversight is letting the garlic sit in scalding butter, which dulls its fresh flavor.
- Place the bread loaf on a cutting board. Using a serrated knife, make diagonal cuts across the top of the loaf, and then repeat in the opposite direction to create a diamond pattern of 1-inch pieces. Be careful not to cut all the way through the bread.: The sound of the serrated blade sawing through the crust is satisfying, and you should feel slight resistance as you stop before reaching the bottom. These cuts create pockets to trap the butter and cheese , ensuring even distribution. It's important to keep the base intact to preserve the loaf structure and avoid a crumbly mess. Rushing can lead to cutting too deep, which causes the loaf to fall apart when you stuff it.
- Place the bread on a large piece of foil on a sheet pan. Pour the butter mixture into the crevices of the bread, ensuring it’s evenly distributed. Gently stuff the bread with sliced green onion and shredded cheese.: As you press the mixture into the cuts, you'll hear soft squishes and see the butter glisten, seeping into the bread's interior. The green onion adds flecks of color while the shredded mozzarella nests into pockets ready to melt. Distributing the filling evenly is crucial for consistent bites; clumping the cheese in one area creates hot spots and underfilled sections. A common issue is overstuffing, which can lead to cheese spillage and uneven baking.
- Cover the bread with foil and bake in the preheated oven for 15 minutes.: With the foil on, heat circulates and melts the cheese gently while the crust steams a touch and softens. The house will be filled with a warm, garlicky aroma that draws people in. Foil prevents the top from browning too quickly, allowing the interior to become fully melty. Removing the foil too soon can cause the interior to dry out; keep it covered for the recommended time to ensure a gooey center.
- For a crispy top, uncover the bread and bake for an additional 10 minutes.: Uncovering invites the dry oven heat to crisp the top, creating those desirable golden-brown edges. You will hear a slight crackle as the surface crisps and see bubbling where the cheese has reached the surface. This step gives you the lovely contrast between crunchy top and soft interior. Watch closely toward the end, because leaving it too long risks overbrowning and a dry texture. A typical mistake is skipping this step, which leaves the top soft instead of pleasantly crisp.
- Before serving, garnish the bread with the remaining parsley and additional green onion. Serve warm.: The final sprinkle of fresh parsley and extra green onion refreshes the rich flavors and brightens the presentation. Serve while the cheese is still molten, and you will hear delightful stretching and quiet gasps from guests. Cooling too long makes the cheese set and lose that pull apart quality, so aim to serve promptly. People sometimes let it sit too long, which results in a less dramatic, less gooey experience.
Notes
- Serrated Knife Matters Use a sharp serrated knife for clean cuts. Saw gently so you create deep pockets without collapsing the loaf. This preserves the structure, and helps the butter and cheese penetrate where they should.
- Cool the Butter Slightly After melting, let the butter sit briefly before mixing with raw minced garlic. This prevents the garlic from cooking and turning bitter, keeping its bright flavor intact.
- Even Cheese Distribution Spread the shredded mozzarella throughout the pockets rather than piling it in one area. Even distribution ensures consistent melting and prevents large cheese spills on the pan.
- Foil for Gentle Melting Keep the loaf covered for the initial bake. The foil helps the inside get warm and melty without overbrowning the top, producing a tender interior and a crisp finish after uncovering.
- Reserve Fresh Herbs Hold back some chopped parsley and sliced green onion for garnish. Adding them at the end brightens the dish and balances the richness.
- Store Properly Wrap cooled leftovers tightly and refrigerate. Reheat covered in a 350°F oven until the cheese is melty again, about 10 to 15 minutes, to revive the texture.