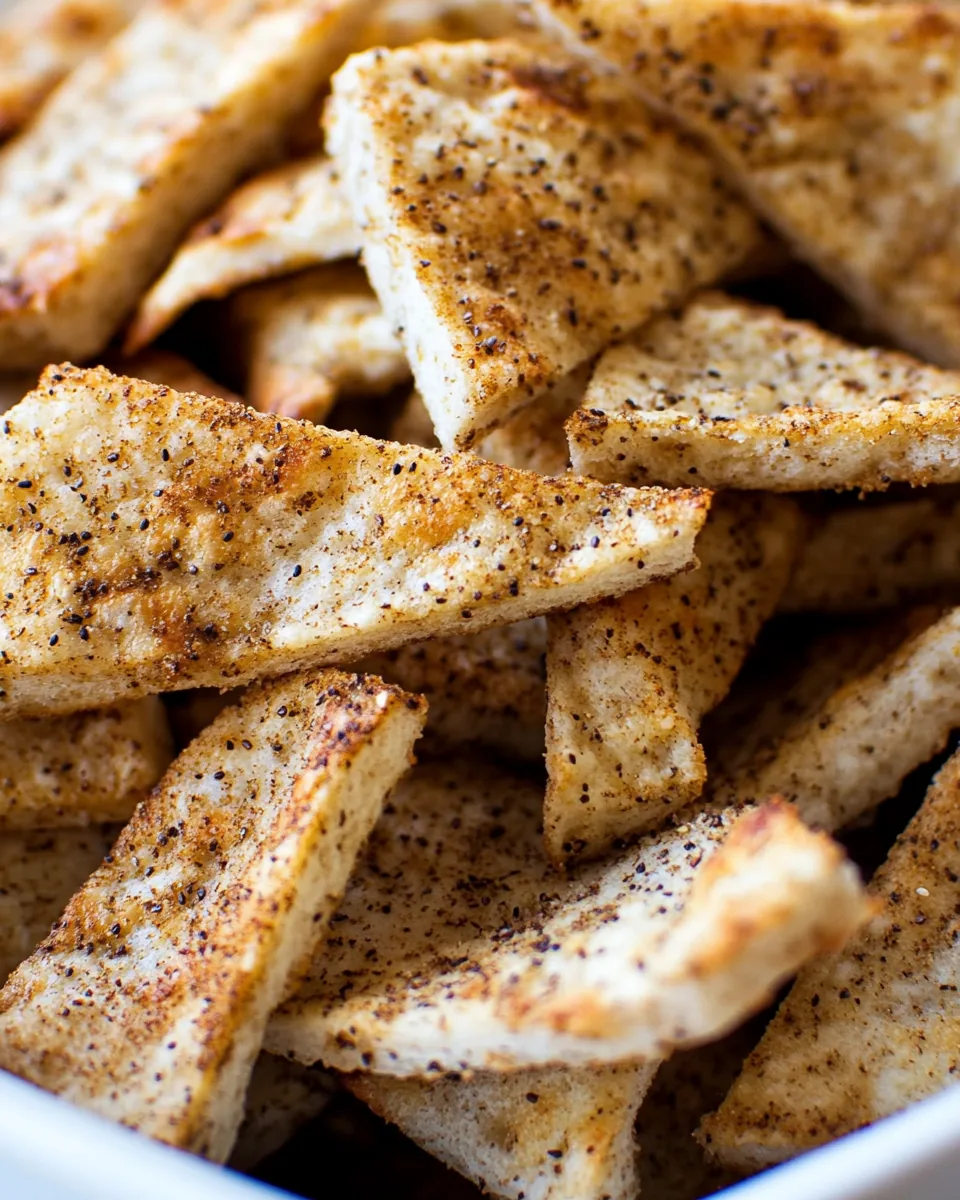
Easy Whole Grain Pita Chips
The first time I made Easy Whole Grain Pita Chips, it was a sunny afternoon, and I was craving something crunchy yet healthy. I rummaged through my pantry and found some whole grain pita bread, and just like that, an idea sparked! These chips are perfect for snacking, dipping, or even accompanying a meal. They’re light, crispy, and have that delightful homemade touch that store-bought snacks just can’t replicate. Plus, they come together in a snap, making them an ideal snack for any occasion. Whether you’re hosting a gathering or just enjoying a quiet night in, these Easy Whole Grain Pita Chips are the perfect companion.
Recipe Snapshot
15 mins
5 mins
10 mins
Medium
150 kcal
3 g
Vegan
6 g
Baking Sheet, Chef’s Knife, Oven
The Magic of This Easy Whole Grain Pita Chips
Healthy Snacking Made Easy
One of the main reasons I adore Easy Whole Grain Pita Chips is their health factor. Made with whole grain pita bread, they provide a wholesome crunch that satisfies your snack cravings without the guilt. Unlike traditional chips, they are baked, not fried, which means you can indulge while still being mindful of your health.
Customizable Flavors
You can easily customize these chips to match your taste preferences! Want something spicy? Add a sprinkle of cayenne pepper. Prefer a herbaceous flavor? Dried oregano or rosemary works wonders. The versatility of Easy Whole Grain Pita Chips allows you to experiment and find your perfect flavor combination.
Perfect for Dipping
These chips are fantastic for dipping! Pair them with your favorite hummus or salsa, and you’ve got yourself a delicious snack. The crunchy texture of the chips complements creamy dips perfectly, making them a delightful addition to any party platter or casual get-together.
Simple Ingredients
The beauty of Easy Whole Grain Pita Chips lies in its simplicity. With just a handful of ingredients—pita bread, olive oil, salt, and pepper—you can create a delicious snack without a long grocery list. It’s a great way to use up leftover pita bread, reducing waste while enjoying a tasty treat.
Quick to Make
What’s better than a snack that comes together in minutes? Easy Whole Grain Pita Chips are baked in the oven, requiring minimal prep time. In just a few steps, you’ll have freshly baked chips ready to enjoy, making them perfect for those last-minute cravings.
Great for Any Occasion
Whether you’re hosting a game night, a movie marathon, or just need a quick snack during a busy day, Easy Whole Grain Pita Chips are the answer. Their light and crispy nature makes them an excellent choice for any casual gathering or even for a healthy afternoon pick-me-up.
What to Buy for Easy Whole Grain Pita Chips

When it comes to making Easy Whole Grain Pita Chips, the ingredients you choose are essential. Whole grain pita bread is the star of this recipe, providing a healthy base for your chips. The addition of extra virgin olive oil, kosher salt, and black pepper elevates the flavor profile, making each bite irresistible. These ingredients not only work harmoniously together but also cater to a wholesome snacking experience.
- 6 whole grain pita bread rounds: These are the foundation of your chips. Whole grain pita is rich in fiber and nutrients, making it a healthier choice compared to regular pita.
- 2 tablespoons extra virgin olive oil: This adds a rich flavor and helps the seasonings stick to the pita. Plus, it contributes healthy fats to your snack.
- 2 teaspoons kosher or sea salt: A little salt enhances the flavor of the chips, making them truly addictive.
- 2 teaspoons black pepper, freshly ground: Freshly ground pepper adds a nice kick and depth to the flavor.
How to Assemble Easy Whole Grain Pita Chips

Making Easy Whole Grain Pita Chips is a breeze! Just follow these simple steps to create your delicious homemade snack. It’s an interactive process that lets you control the flavors and ensure your chips come out just right.
- Preheat your oven to 375 degrees Fahrenheit. This is the perfect temperature to achieve crispy chips without burning them.
- Take each whole grain pita bread and place it on a clean cutting board. Using a brush or your hands, add 1 teaspoon of olive oil to one side of each pita. Use a brush to spread it evenly. This will give the chips a beautiful golden color and crispiness.
- Next, sprinkle kosher salt and freshly ground black pepper over the oiled side of the pitas. Don’t be shy; make sure every chip gets a good dose of flavor!
- Now, it’s time to cut! Use a sharp knife or pizza cutter to slice each pita into 8 triangles. This way, they’ll be perfectly sized for dipping.
- Line a baking sheet with parchment paper or use a non-stick baking sheet. Arrange the pita triangles in a single layer, ensuring they don’t touch each other. This allows them to bake evenly and get crispy all around.
- Slide the baking sheet into the preheated oven and bake for about 10 minutes. Keep an eye on them, as oven temperatures can vary. You’re looking for a lovely golden color and a crispy texture.
- Once done, remove the chips from the oven and let them cool on the baking sheet for a few minutes. They’ll crisp up even more as they cool.
- While they’re cooling, why not prepare a delicious dip? I love serving these chips warm with Roasted Red Pepper Hummus—it’s a match made in heaven!
- Finally, once cooled, transfer your Easy Whole Grain Pita Chips to an airtight container. They can be stored for several days, but I doubt they’ll last that long!
Things Worth Knowing
- Oven Preheating: Make sure your oven is fully preheated to ensure even cooking. This helps achieve that perfect crunch.
- Watch the Bake Time: Every oven is different. Keep an eye on your chips during the last few minutes of baking to prevent burning.
- Oil Application: Use a brush or spray to evenly distribute the oil for consistent flavor and crunch.
- Storage Tips: Store the chips in an airtight container to maintain their crispy texture longer.
Change It Up

If you’re looking to elevate your Easy Whole Grain Pita Chips, try these variations and tips to customize your snack to your liking.
- Storage: Store leftover chips in an airtight container at room temperature to keep them crispy.
- Freezing: You can freeze unbaked pita triangles. When ready to enjoy, bake directly from the freezer for a quick snack.
- Pairing: These chips pair well with a variety of dips like guacamole, tzatziki, or even a simple salsa.
- Herb Additions: Experiment with different herbs like thyme or dill for a unique flavor twist.
- Spicy Kick: Add cayenne pepper or chili powder to the olive oil for a spicy version.
Pairing Suggestions for Easy Whole Grain Pita Chips
There are countless ways to enjoy your Easy Whole Grain Pita Chips. Here are some delightful pairings and occasions to serve them:
- With Dips: Serve your homemade chips with various dips such as hummus, guacamole, or a creamy yogurt dip for a flavorful snack.
- Great for Parties: These chips make a fantastic addition to any party platter. They’re perfect for game day or casual gatherings.
- Healthy Snack Option: Enjoy these chips as a guilt-free snack during your afternoon slump, paired with a cup of tea or coffee.
- Lunch Box Treat: Toss these chips into lunch boxes for a crunchy side that’s healthier than traditional chips.
- Seasonal Parties: Perfect for all year round, they suit any occasion, whether it’s a summer barbecue or a winter gathering.
- Picnic Essential: Pack these chips along with a refreshing salad for a delicious picnic in the park.
FAQ
Conclusion
Easy Whole Grain Pita Chips are a fantastic snack option that strikes a perfect balance between taste and health. Their crispy texture and customizable flavors make them a go-to for any occasion. I encourage you to give this recipe a try—you’ll love how simple and delicious they are. Plus, once you taste the homemade version, you may never want store-bought chips again!
Easy Whole Grain Pita Chips
Equipment
- Baking Sheet
- Chef's Knife
- Oven
Ingredients
- 6 rounds whole grain pita bread
- 2 tablespoons extra virgin olive oil
- 2 teaspoons kosher or sea salt
- 2 teaspoons black pepper freshly ground
Instructions
- Preheat your oven to 375 degrees Fahrenheit. This is the perfect temperature to achieve crispy chips without burning them.
- Take each whole grain pita bread and place it on a clean cutting board. Using a brush or your hands, add 1 teaspoon of olive oil to one side of each pita. Use a brush to spread it evenly. This will give the chips a beautiful golden color and crispiness.
- Next, sprinkle kosher salt and freshly ground black pepper over the oiled side of the pitas. Don’t be shy; make sure every chip gets a good dose of flavor!
- Now, it’s time to cut! Use a sharp knife or pizza cutter to slice each pita into 8 triangles. This way, they’ll be perfectly sized for dipping.
- Line a baking sheet with parchment paper or use a non-stick baking sheet. Arrange the pita triangles in a single layer, ensuring they don’t touch each other. This allows them to bake evenly and get crispy all around.
- Slide the baking sheet into the preheated oven and bake for about 10 minutes. Keep an eye on them, as oven temperatures can vary. You’re looking for a lovely golden color and a crispy texture.
- Once done, remove the chips from the oven and let them cool on the baking sheet for a few minutes. They’ll crisp up even more as they cool.
- While they’re cooling, why not prepare a delicious dip? I love serving these chips warm with Roasted Red Pepper Hummus—it’s a match made in heaven!
- Finally, once cooled, transfer your Easy Whole Grain Pita Chips to an airtight container. They can be stored for several days, but I doubt they’ll last that long!
Notes
- Storage: Store leftover chips in an airtight container at room temperature to keep them crispy.
- Freezing: You can freeze unbaked pita triangles. When ready to enjoy, bake directly from the freezer for a quick snack.
- Pairing: These chips pair well with a variety of dips like guacamole, tzatziki, or even a simple salsa.
- Herb Additions: Experiment with different herbs like thyme or dill for a unique flavor twist.
- Spicy Kick: Add cayenne pepper or chili powder to the olive oil for a spicy version.