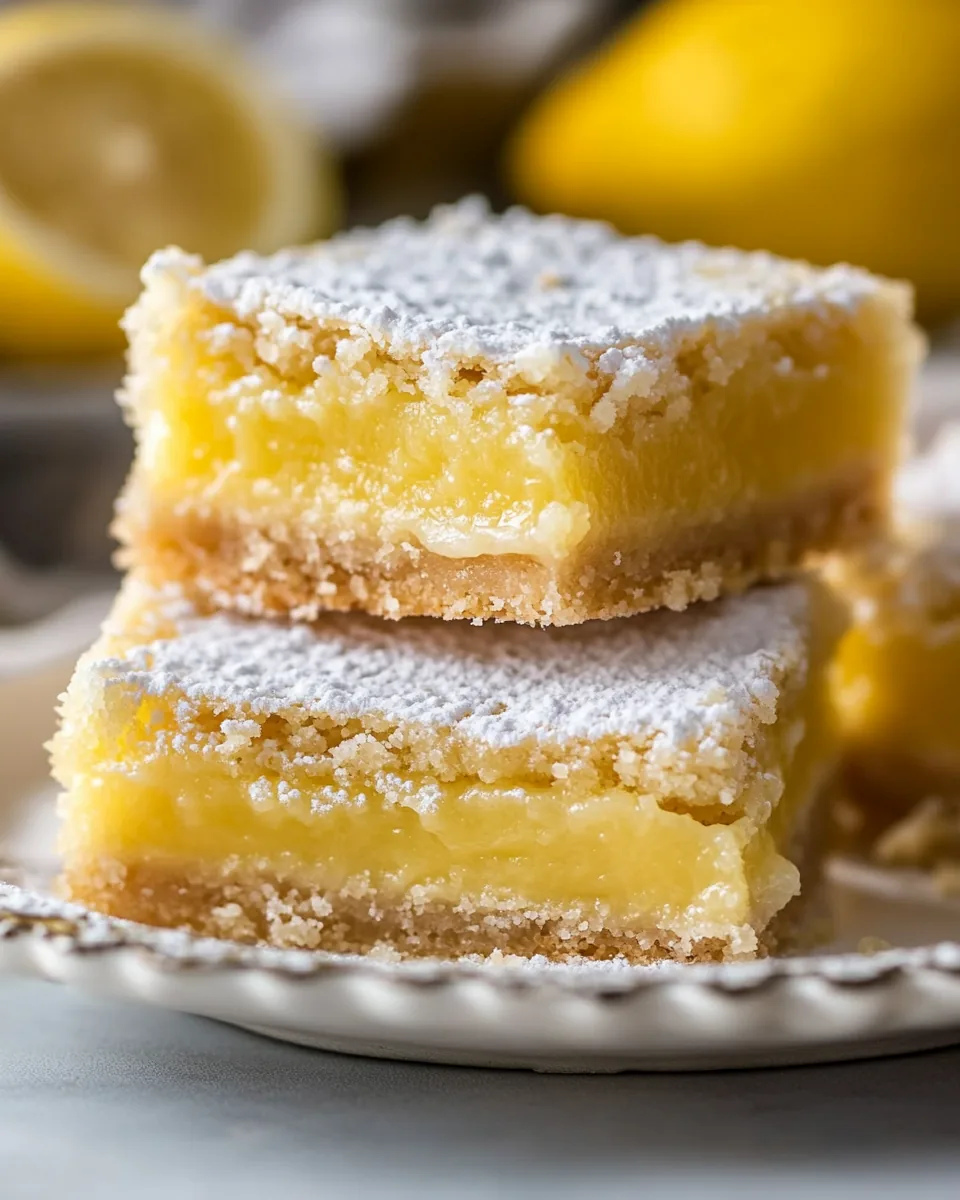
Easy Lemon Bars
There’s nothing quite like a batch of Easy Lemon Bars to brighten your day. I remember the first time I tasted these delightful treats at a summertime picnic. The sun was shining, and the tangy flavor of fresh lemons danced on my palate, perfectly balanced by a buttery crust. It was a moment of pure bliss, and from that day forward, I was hooked. These bars are not just a dessert; they evoke memories of laughter, family gatherings, and sunny afternoons. Whether you’re hosting a barbecue or just need a sweet pick-me-up, Easy Lemon Bars always fit the bill. They’re incredibly simple to whip up, making them a go-to for both novice bakers and seasoned pros alike.
Recipe Snapshot
55 mins
10 mins
45 mins
Medium
220 kcal
2 g
Keto, Paleo, Whole30
10 g
Frying Pan, Whisk, Blender, Baking Sheet, Oven
What You’ll Enjoy About This Easy Lemon Bars
Why You’ll Love These Lemon Bars
There’s a reason why Easy Lemon Bars have become a beloved classic, and it all starts with their unique combination of flavors and textures. Here are a few reasons to adore this recipe:
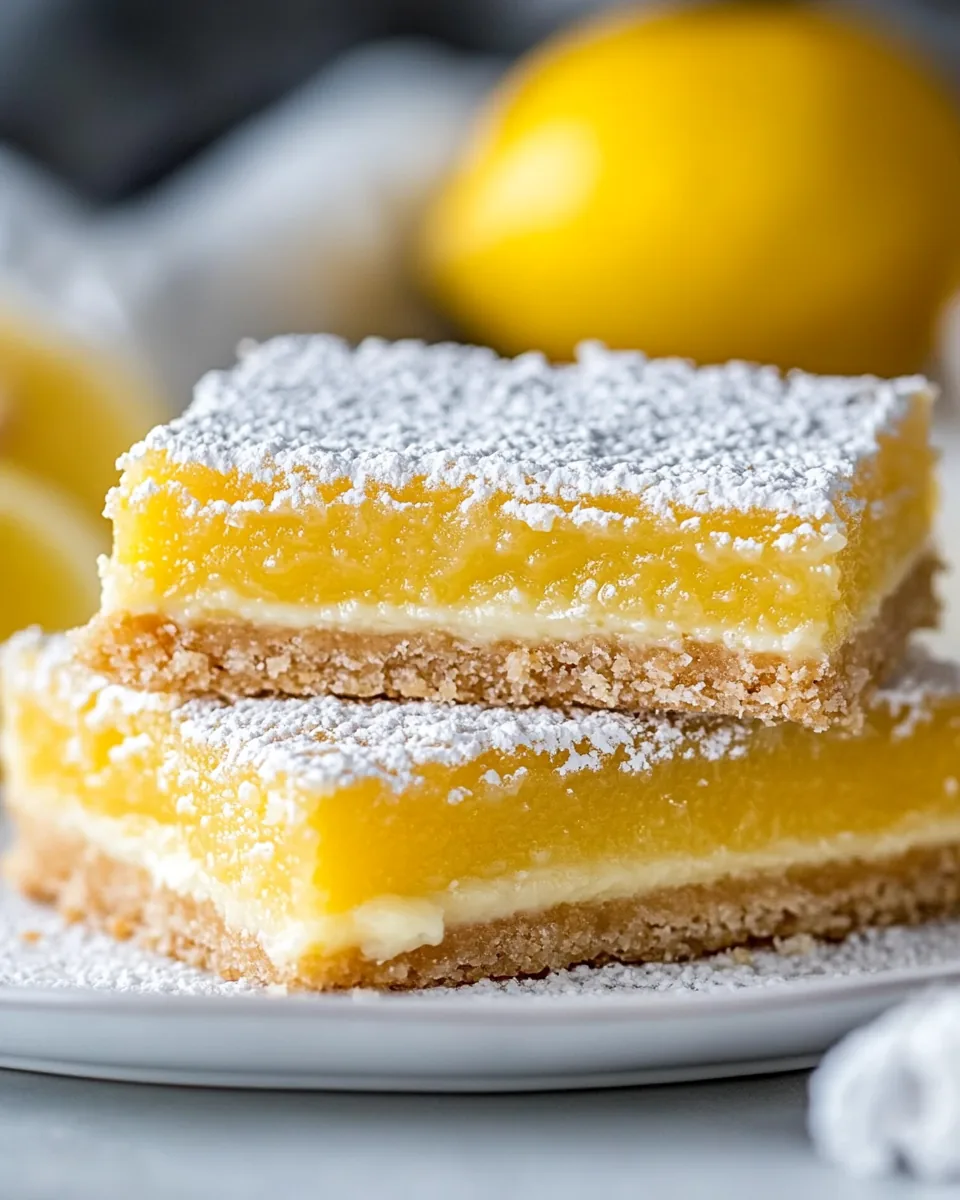
1. Bright, Zesty Flavor
These bars are bursting with the vibrant taste of fresh lemons. The tartness from the lemon juice and zest combined with the creamy filling creates a refreshing treat that’s perfect for any occasion.
2. Perfect Balance of Sweet and Tart
The unique combination of sugar and lemon juice ensures that every bite delivers just the right amount of sweetness alongside that zesty kick. It’s a flavor profile that keeps you coming back for more.
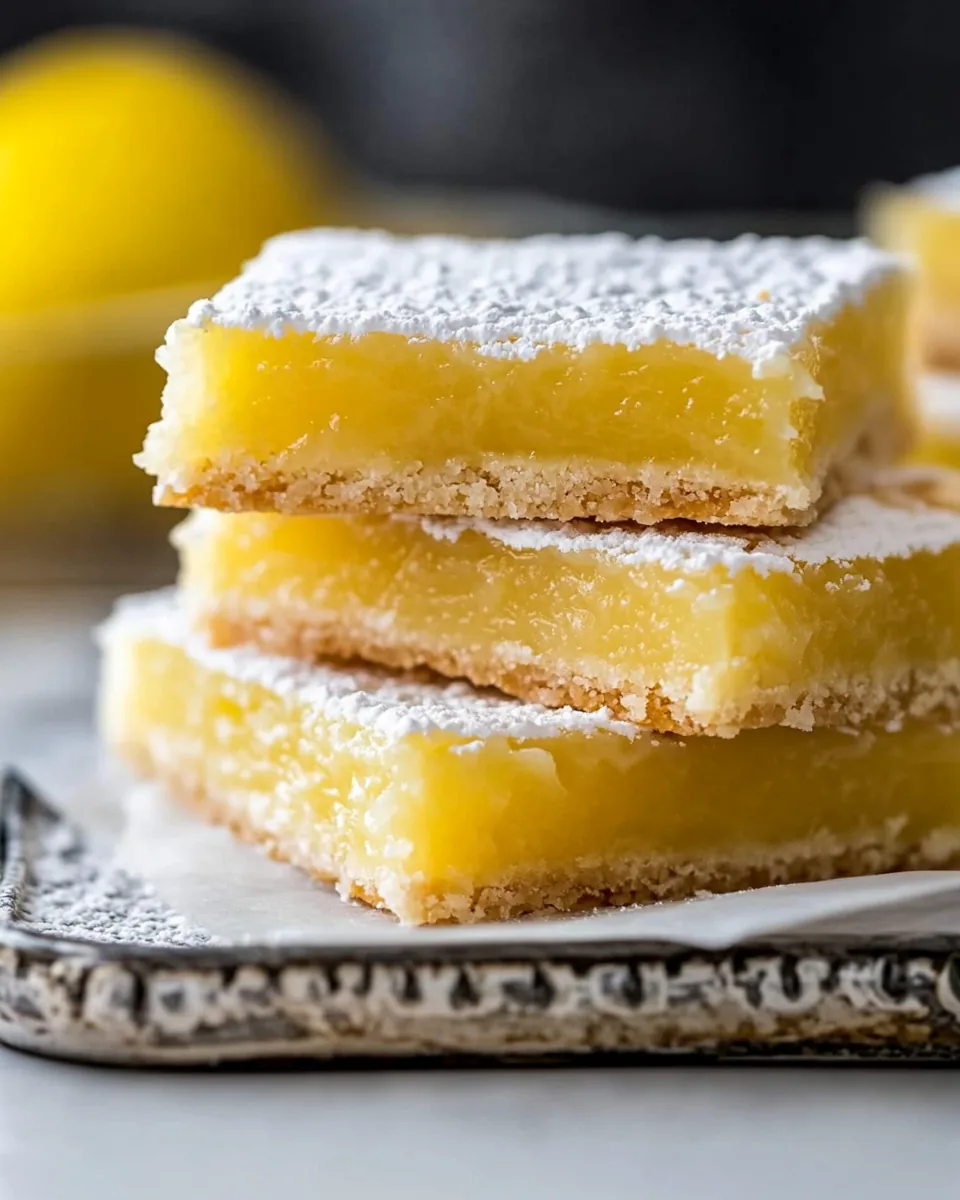
3. Buttery Crust
The base of these Easy Lemon Bars is a rich and buttery crust that serves as the ideal foundation for the tangy filling. It adds a delightful crunch that contrasts beautifully with the smooth topping.
4. Simple Ingredients
One of the best parts about making Easy Lemon Bars is how few ingredients you need. With staples like flour, sugar, and butter, you probably already have everything on hand!
5. Make Ahead and Chill
These bars can be made in advance, which is perfect for busy schedules. After baking, simply chill them in the fridge for a few hours before serving. This enhances the flavor and makes them even more refreshing.
6. Crowd-Pleaser
Whether it’s a family gathering, a picnic, or a potluck, Easy Lemon Bars are sure to impress. Their bright flavor and beautiful presentation make them an instant hit with everyone.
What’s In This Easy Lemon Bars
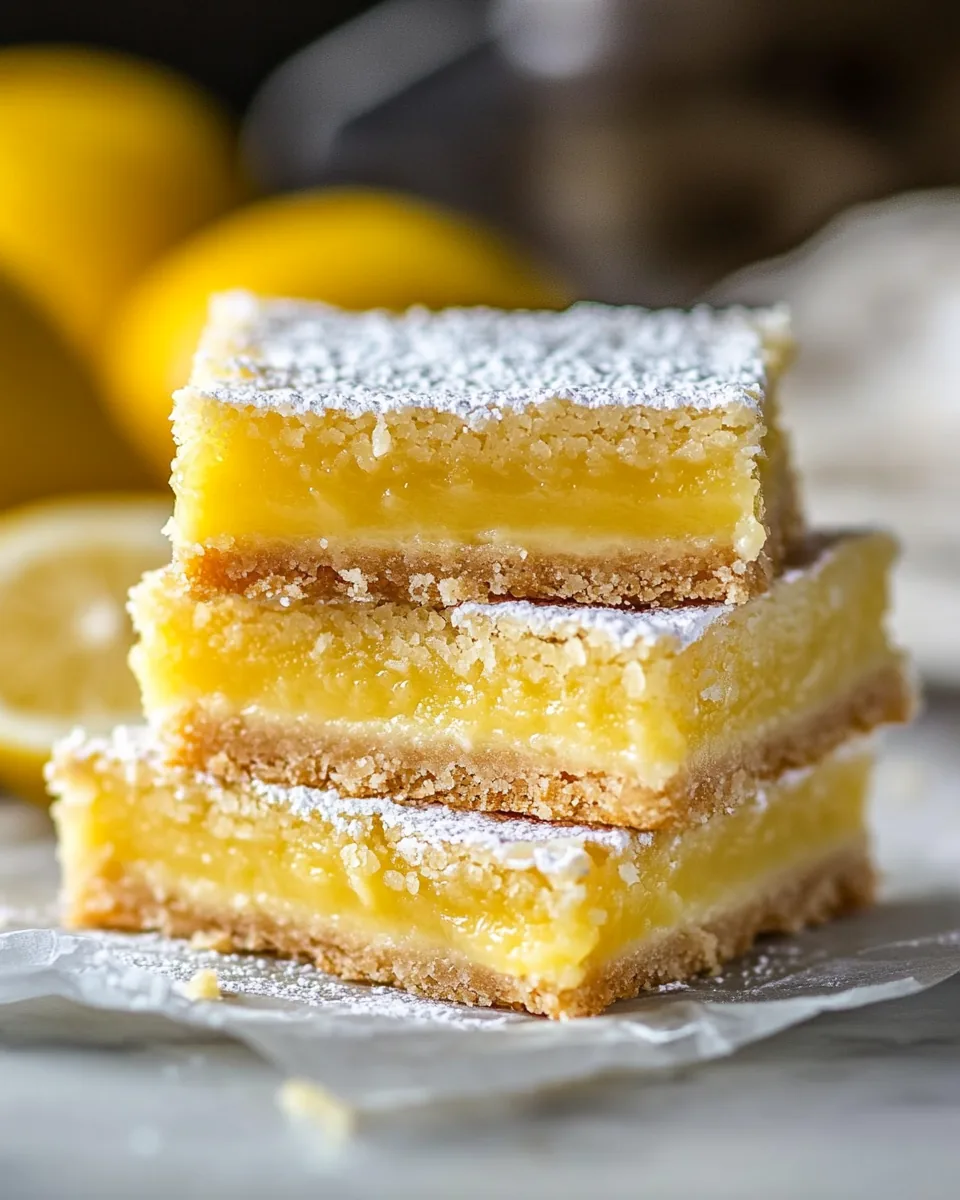
The ingredients for Easy Lemon Bars come together harmoniously to create a dessert that’s both simple and satisfying. Each component plays a crucial role in delivering that delightful balance of flavors. The star ingredients are fresh lemons, which bring brightness to every bite, while the buttery crust complements the creamy lemon filling.
- Butter: 1 cup of softened, unsalted butter forms the base for the crumbly crust, giving it a rich flavor.
- Flour: 2 cups of flour helps create a sturdy yet tender crust to support the luscious filling.
- Sugar: Combining ½ cup and 1 and ½ cups of sugar provides sweet notes to balance the tartness of the lemons.
- Kosher salt: ¼ teaspoon of kosher salt enhances the flavors, ensuring that the sweetness is not overwhelming.
- Eggs: 4 large eggs are essential for the filling, providing richness and structure.
- Fresh lemon juice: ⅔ cup of freshly squeezed lemon juice adds that iconic zesty flavor that makes these bars so special.
- Lemon zest: 1 tablespoon of lemon zest intensifies the lemon flavor, giving the bars an aromatic quality.
Making This Easy Lemon Bars
Creating Easy Lemon Bars is a delightful process that anyone can master. Follow these simple steps, and you’ll soon be enjoying this zesty treat in no time!
- First, preheat your oven to 350 degrees F. This is essential for ensuring the crust bakes evenly. Line a 9×13 inch glass baking dish with parchment paper, which will help you easily remove the bars later.
- In a medium bowl, blend together 1 cup of softened butter, 2 cups of flour, and ½ cup of sugar. Use a fork or a pastry cutter until the mixture resembles coarse crumbs. Then, press this mixture into the bottom of the prepared baking pan, creating an even layer.
- Place the pan in the oven and bake for 20 to 25 minutes. Keep an eye on it; you want it to be firm and golden. The aroma of baking butter and sugar will fill your kitchen.
- While the crust is baking, prepare the filling. In another bowl, whisk together the remaining 1 and ½ cups of sugar and ¼ cup of flour. This will prevent lumps in your filling. Then, whisk in the 4 large eggs, ⅔ cup of fresh lemon juice, and 1 tablespoon of lemon zest until well combined.
- Once the crust is ready, pour the lemon filling over the baked crust. Be careful not to disturb the crust too much; you want them to stay separate.
- Return the pan to the oven to bake for an additional 20 to 25 minutes. It’s done when the filling is set and not jiggly. The top should look slightly golden and a bit puffy.
- After baking, allow the bars to cool at room temperature in the pan on a wire rack. This will help them set up perfectly.
- Once cooled, transfer the pan to the fridge and chill for at least 4 hours. This step is crucial for the best texture.
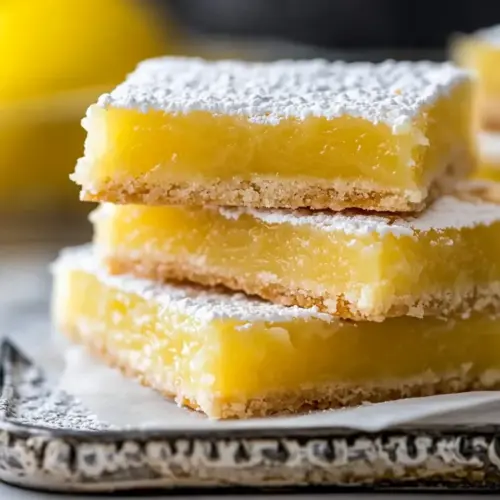
- When you’re ready to serve, dust the top with confectioners’ sugar if desired. This adds a lovely touch and a bit of sweetness.
- Cut into squares and serve chilled. Enjoy the bright, zesty flavors of your homemade Easy Lemon Bars!
Things Worth Knowing
- Room Temperature Ingredients: Always use eggs and butter at room temperature for a smoother filling.
- Don’t Overbake: Keep an eye on the filling; overbaking can make it dry and rubbery.
- Chill Time: The longer you chill these bars, the better they set and taste!
- Use Fresh Lemons: Freshly squeezed juice and zest will give you a far superior flavor compared to bottled varieties.
Substitutions and Tips
While the traditional recipe for Easy Lemon Bars is perfect as is, here are some tips and substitutions to consider:
- Storage: Keep leftover bars in an airtight container in the fridge for up to three days to maintain freshness.
- Freezing: You can freeze these bars for up to a month. Just wrap them tightly in plastic wrap and then foil to protect them.
- Pairing: Serve with fresh berries or a scoop of vanilla ice cream for added indulgence.
- Variations: Consider adding a layer of meringue on top for a delightful twist or swap out some lemon juice for lime juice for a different flavor.
- Serving Size: Adjust the size of your bars based on the occasion; smaller pieces are perfect for parties.
Perfect Pairings for Easy Lemon Bars
When it comes to serving Easy Lemon Bars, there are plenty of delightful options to consider:
- Summer Picnics: These bars are the perfect dessert for outdoor gatherings. Their bright flavor complements the warmth of summer.
- Tea Parties: Enjoy with a hot cup of tea for a sophisticated pairing. The tartness of the lemons works well with the flavors of various teas.
- Potlucks: Take these bars to your next potluck event. They’re easy to transport and always a crowd-pleaser.
- Holiday Celebrations: Brighten up your holiday feast with these bars. Their vibrant color adds a festive touch to any dessert table.
- Storage Tip: If you have leftovers, store them in the fridge, and they can be enjoyed cold or at room temperature.
FAQ
Conclusion
Easy Lemon Bars are a delightful treat that perfectly blend tangy lemon flavor with a buttery crust, making them a must-try for any dessert lover. I encourage you to gather your ingredients and whip up a batch today; you won’t regret it! They are sure to become a new favorite in your household.
Easy Lemon Bars
Equipment
- Frying Pan
- Whisk
- Blender
- Baking Sheet
- Oven
Ingredients
- 1 cup Butter softened, unsalted
- 2 cups Flour
- ½ cup Sugar
- ¼ teaspoon Kosher salt
- 1 ½ cups Sugar
- ¼ cup Flour
- 4 pieces Eggs at room temperature
- ⅔ cup Fresh lemon juice about 6 lemons
- 1 tablespoon Lemon zest from 2-3 small lemons
Instructions
- Preheat oven to 350 degrees F. Line a 9x13 inch glass baking dish with parchment paper, set aside.
- In a medium bowl, blend together softened butter, 2 cups flour, and ½ cup sugar. Press into the bottom of the prepared 9x13 inch pan.
- Bake for 20 to 25 minutes, or until firm and golden.
- In another bowl, whisk together the remaining 1 and ½ cups sugar and ¼ cup flour. Whisk in the eggs, lemon juice, and zest. Pour over the baked crust.
- Bake for an additional 20 to 25 minutes, until filling is set and not jiggly. Allow to cool at room temperature in the pan on a wire rack.
- When cooled, transfer pan to the fridge and chill for at least 4 hours before cutting. Dust with confectioners sugar before cutting if desired.
- Store leftovers in the fridge for up to three days.
Notes
- Tip 1: Store leftovers in an airtight container in the fridge for up to three days.
- Tip 2: You can freeze these bars for up to a month. Just wrap them tightly in plastic wrap and then foil to protect them.
- Tip 3: Serve with fresh berries or a scoop of vanilla ice cream for added indulgence.
- Tip 4: Consider adding a layer of meringue on top for a delightful twist or swap out some lemon juice for lime juice for a different flavor.
- Tip 5: Adjust the size of your bars based on the occasion; smaller pieces are perfect for parties.