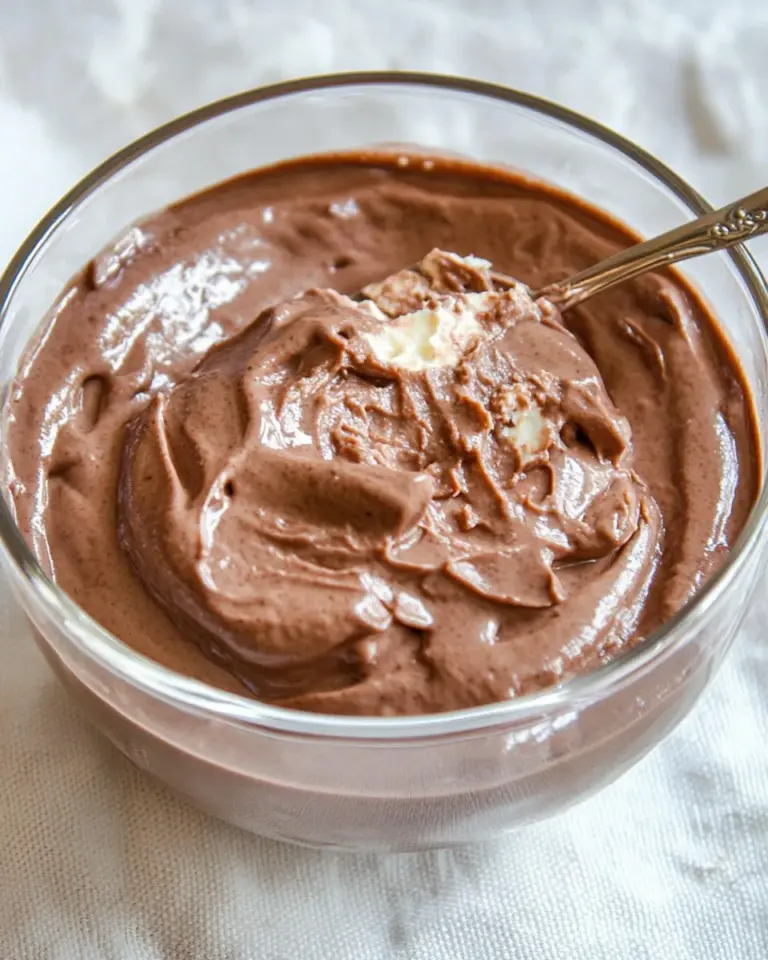
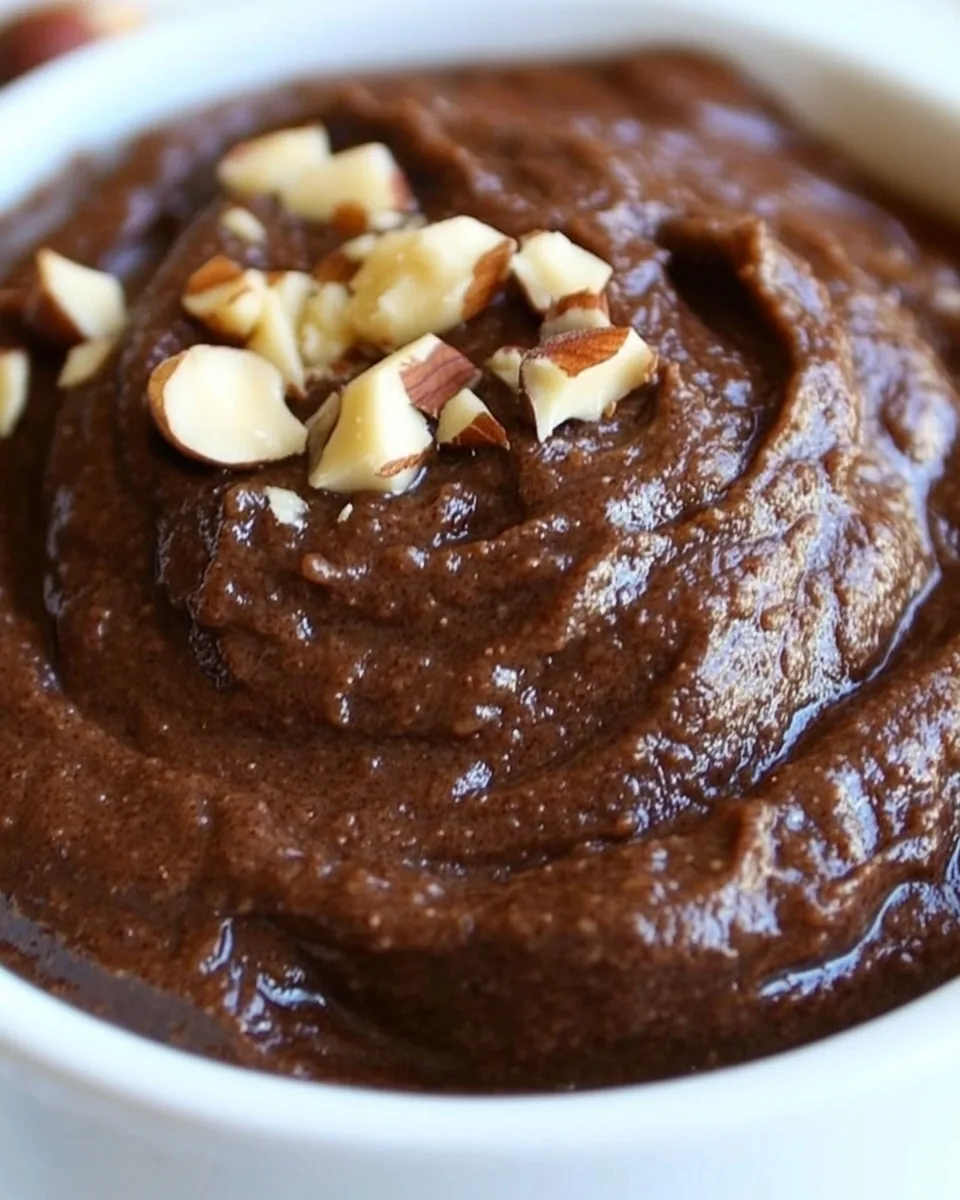
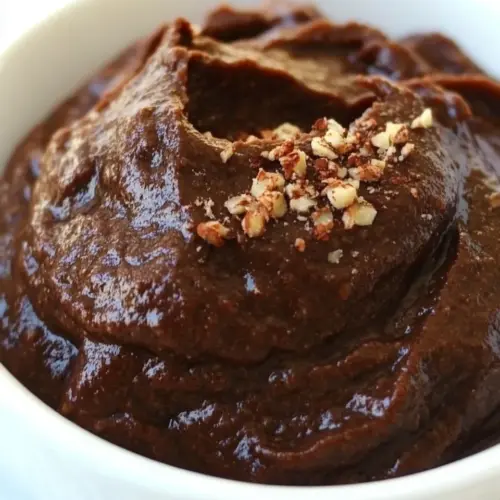
Cocoa Hazelnut Butter
There’s nothing quite like the warmth of homemade spreads, and today I’m excited to share my journey with Cocoa Hazelnut Butter. I remember the first time I decided to whip up a batch. It was a chilly afternoon, and I was craving something sweet yet nutty. As the aroma of toasted hazelnuts filled my kitchen, I knew I was onto something special. This creamy, velvety spread is not only delectable but also a joy to prepare. It brings back memories of cozy breakfasts, where I would layer it on warm toast and pair it with fresh fruit. The mix of rich cocoa and the earthy flavor of hazelnuts creates a delightful contrast that captivates the senses. Whether you spread it on your morning toast or use it in a dessert, this Cocoa Hazelnut Butter is sure to impress.
Recipe Snapshot
10 mins
10 mins
0 mins
Easy
188 kcal
3 g
Keto, Paleo, Whole30
13 g
Food Processor, Blender
What We Adore About This Cocoa Hazelnut Butter
Unique Flavor Combination
The blend of toasted hazelnuts and rich cocoa powder makes for an extraordinary flavor profile. It’s a harmonious balance that elevates any dish, from breakfast to desserts.
Simple Ingredients
With just a handful of wholesome ingredients, you can create a luxurious spread that’s both nutritious and satisfying. Each ingredient complements the others perfectly, ensuring a smooth and creamy texture.
Versatile Uses
Cocoa Hazelnut Butter isn’t just for toast! Use it as a dip for fresh fruit, a topping for pancakes, or even a delightful filling for pastries. The possibilities are endless.
Healthier Alternative
Unlike store-bought spreads that often contain preservatives and added sugars, making your own Cocoa Hazelnut Butter allows you to control the ingredients and make healthier choices.
Perfect for Gifting
Homemade goodies are always appreciated, and this spread makes a thoughtful gift. Put it in a decorative jar, and you’ve got a delightful, personal present for friends and family.
What You Need for Cocoa Hazelnut Butter
Creating Cocoa Hazelnut Butter is all about selecting quality ingredients that work in harmony. The key players—toasted hazelnuts, cocoa powder, honey, olive oil, and a pinch of sea salt—come together to form a smooth, rich spread that’s both indulgent and wholesome. Each component plays a vital role, enhancing the flavor and texture of the final product.
- 1 1/2 cups toasted hazelnuts: The star of the show, hazelnuts contribute a nutty flavor and creamy consistency that serves as the base for this spread. Toasting them enhances their natural sweetness and aroma, making your Cocoa Hazelnut Butter even more delightful.
- 1/4 teaspoon sea salt: A sprinkle of salt balances the sweetness and enhances the overall flavor, making every bite more satisfying.
- 1/4 cup honey: This natural sweetener adds a touch of sweetness while also providing moisture to the spread. It’s a healthier alternative to refined sugars.
- 1/4 cup cocoa powder: The rich chocolate flavor from cocoa powder brings depth and decadence to your spread, making it irresistible.
- 1/4 cup olive oil: This adds creaminess and helps achieve the desired smooth texture. Olive oil is a healthier fat option that complements the other ingredients.
- Splash of water (optional): You can adjust the consistency of your Cocoa Hazelnut Butter with a little water if it’s too thick.
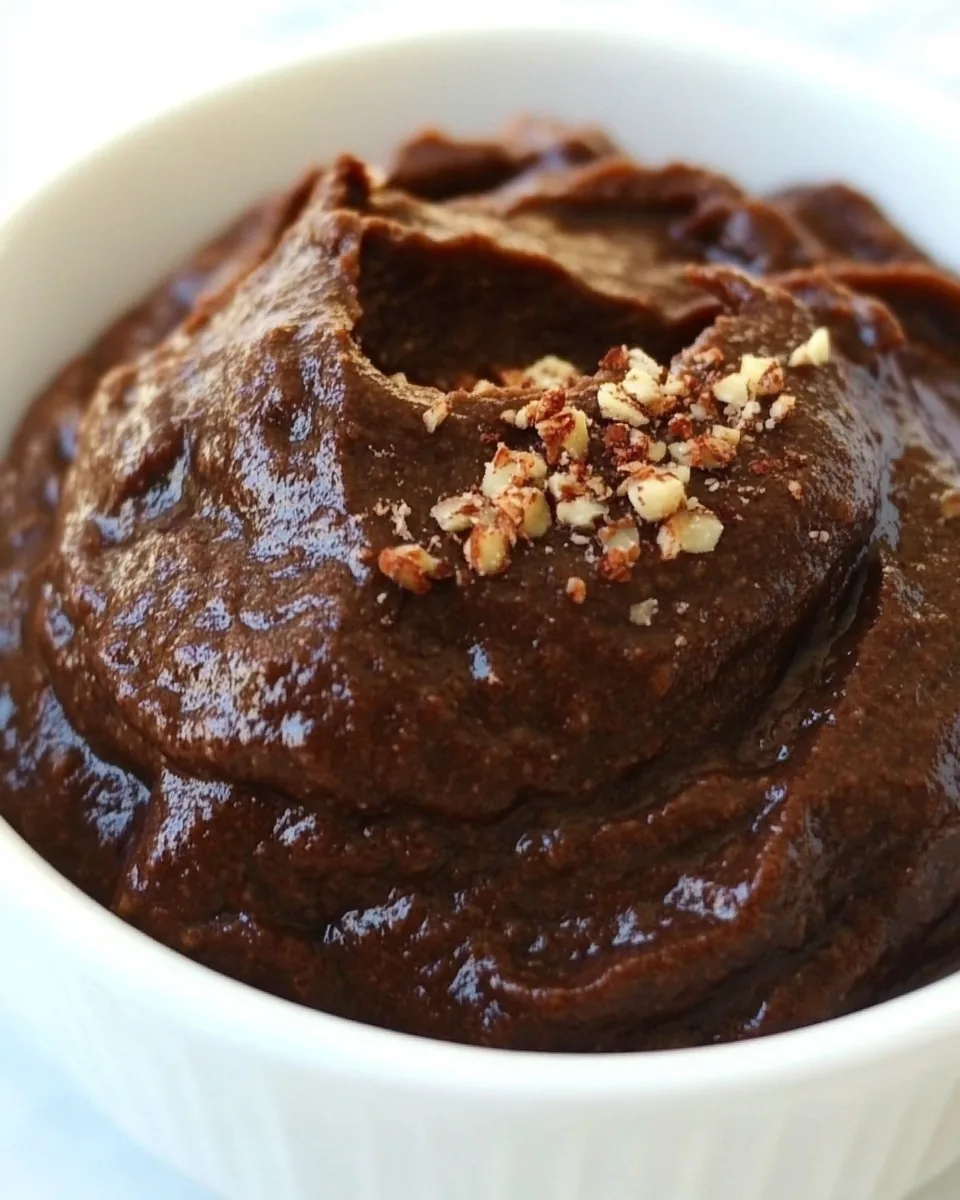
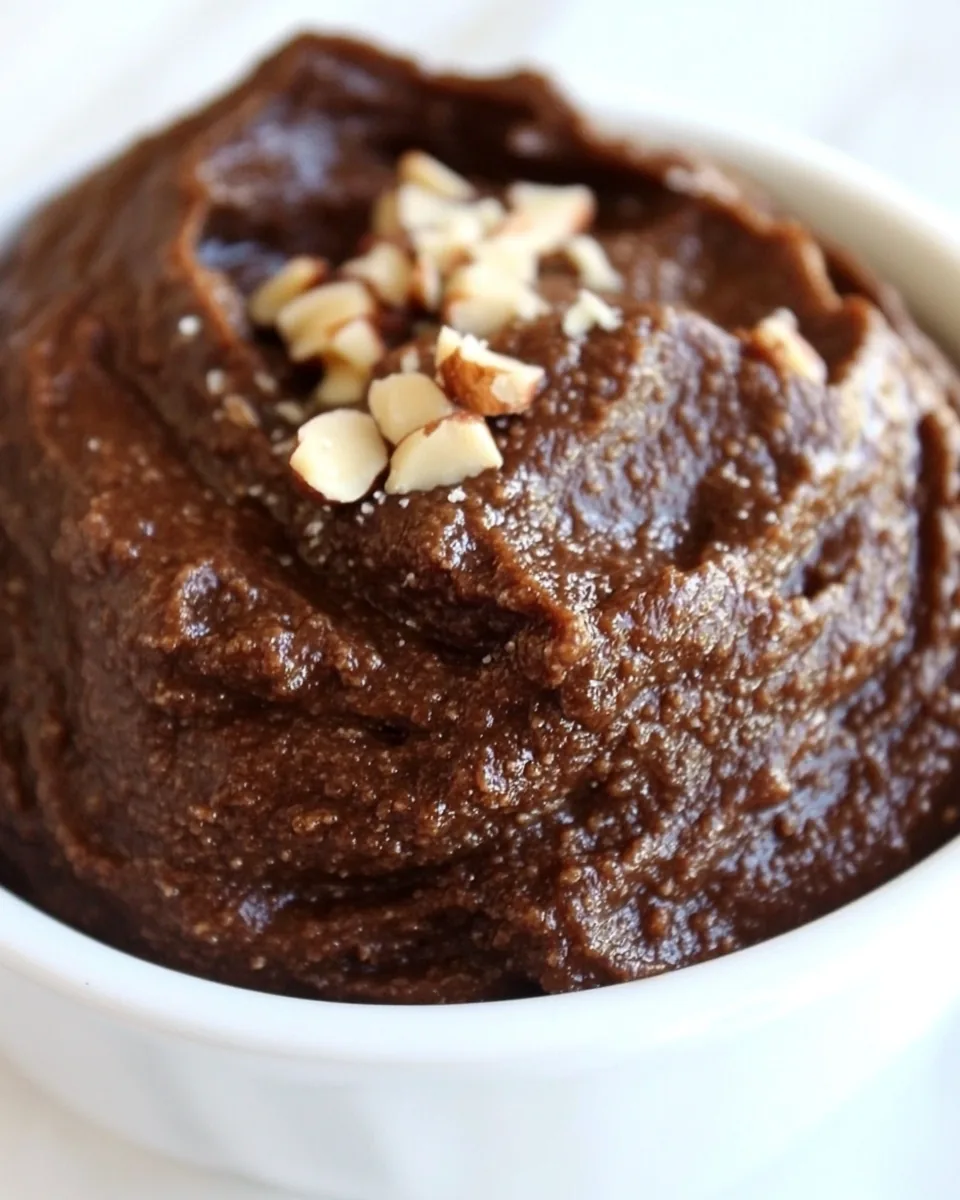
How to Cook Cocoa Hazelnut Butter
Making Cocoa Hazelnut Butter is a fun and rewarding experience, perfect for a cozy day in the kitchen. Follow these simple steps to create your own delicious spread. Each step brings you closer to a creamy and sweet nut butter that you’ll want to enjoy every day!
- Begin by placing all the toasted hazelnuts in a food processor or blender. Blend them on high speed for 2 to 3 minutes until they break down into a fine meal. You’ll notice the oils starting to release, creating a paste-like texture.
- Next, add the cocoa powder, honey, sea salt, and olive oil to the hazelnut paste. Continue blending for another 3 to 5 minutes. Be sure to stop and scrape down the sides of the processor to ensure everything is thoroughly mixed.
- If the mixture appears too thick, add a splash of water to achieve your desired consistency. Blend again, watching how the Cocoa Hazelnut Butter transforms into a smooth and creamy delight.
- Once you’ve reached a velvety texture, taste it! Adjust the sweetness or saltiness according to your preference by adding more honey or sea salt if needed.
- Transfer the Cocoa Hazelnut Butter into a clean, airtight container. Make sure to scrape every last bit from the blender with a spatula. You’ll want to enjoy all of it!
- Store your homemade spread in the refrigerator. It should stay fresh for up to 2 weeks, but I doubt it will last that long with how delicious it is!
Things Worth Knowing
- Consistency is Key: The final texture of your Cocoa Hazelnut Butter can depend on how long you blend the ingredients. The longer you blend, the creamier it becomes, so keep blending until you achieve your desired smoothness.
- Choosing Hazelnuts: Opt for fresh, high-quality hazelnuts for the best flavor. Toast them yourself for an added depth of flavor, but be careful not to burn them.
- Adjusting Sweetness: Everyone has different taste preferences. Start with the amount of honey recommended and adjust to your liking. You can also use other natural sweeteners if you prefer.
- Other Uses: Don’t limit your Cocoa Hazelnut Butter to just spreads; try using it in baking recipes, smoothies, or drizzling it over your favorite desserts for an extra chocolatey kick.
Variations to Try
There are countless ways to enjoy and personalize your Cocoa Hazelnut Butter. Here are some delicious variations to consider!
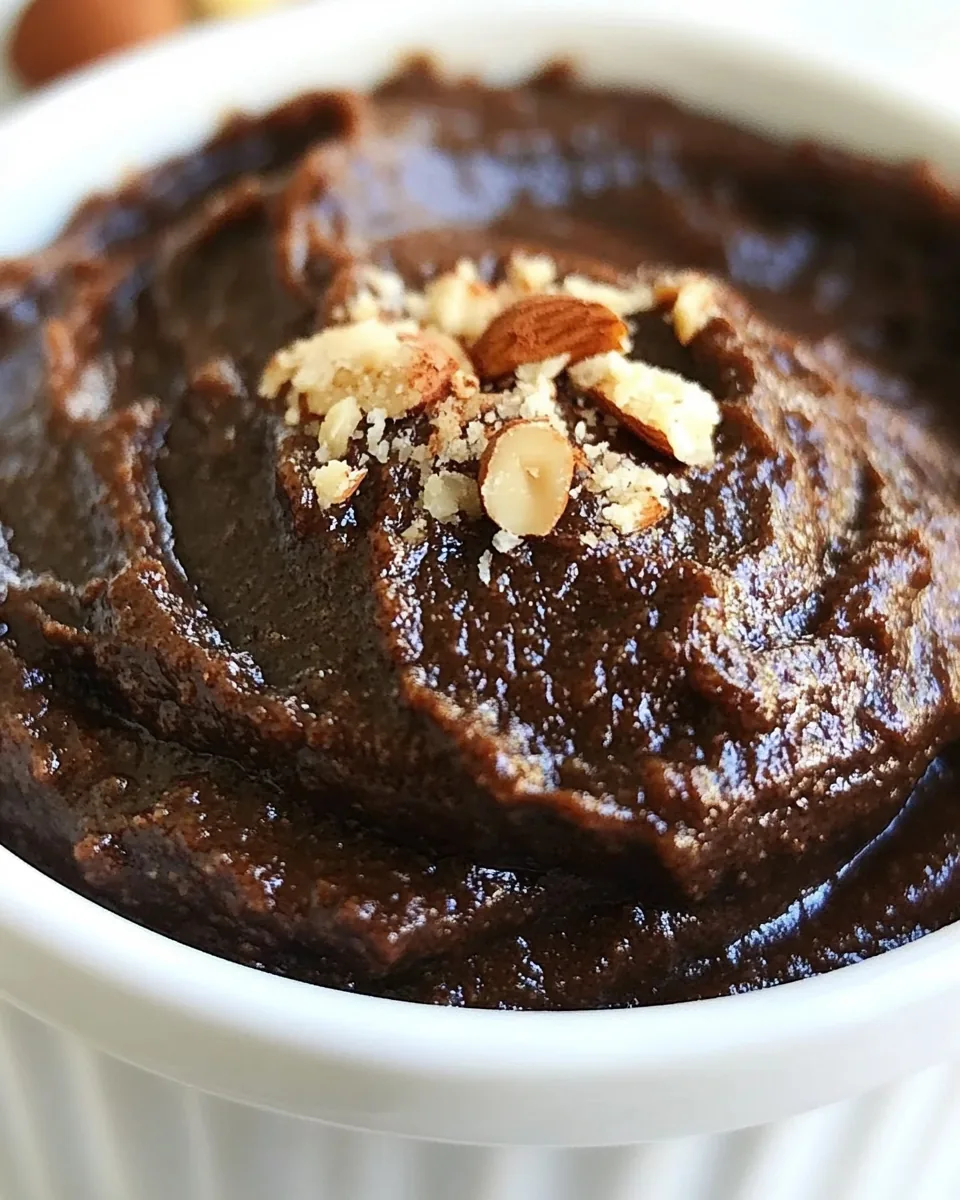
- Nut Mix: Add a handful of other nuts like almonds or walnuts to the mix for a varied texture and flavor.
- Spices: Experiment with spices like cinnamon or nutmeg to bring a warm, aromatic quality to your spread.
- Chocolate Chips: For an extra chocolate boost, fold in some mini chocolate chips after blending the main ingredients.
- Nut-Free Version: Substitute the hazelnuts with sunflower seeds to create a nut-free alternative that’s just as delicious.
- Sweeten It Up: Try different sweeteners like maple syrup or agave nectar for a unique twist on flavor.
Serve This Cocoa Hazelnut Butter With
When it comes to serving Cocoa Hazelnut Butter, the options are delightful and diverse. From breakfast to dessert, here are some wonderful pairings:
- Fresh Fruit: Serve with sliced bananas, strawberries, or apple wedges for a nutritious snack.
- Toast or Bread: Spread generously on warm toast, bagels, or even pancakes for a scrumptious breakfast treat.
- Yogurt: Swirl into a bowl of yogurt for added creaminess and flavor.
- Oatmeal: Stir a spoonful into your morning oatmeal for a rich chocolatey taste.
- Desserts: Use as a filling in pastries, cakes, or as a topping on ice cream for an indulgent dessert.
- Gifting: Package in a jar and tie with a ribbon for a thoughtful homemade gift.
FAQ
Conclusion
Cocoa Hazelnut Butter is a delightful and versatile spread that can elevate your breakfast or snack game. With its rich flavor and creamy texture, it’s bound to become a household favorite. I encourage you to try making it yourself; it’s simple and rewarding. Enjoy the process and the delicious results!
Cocoa Hazelnut Butter
Equipment
- Food Processor
- Blender
Ingredients
- 1 1/2 cups toasted hazelnuts
- 1/4 teaspoon sea salt
- 1/4 cup honey
- 1/4 cup cocoa powder
- 1/4 cup olive oil
- splash water (optional)
Instructions
- Begin by placing all the toasted hazelnuts in a food processor or blender. Blend them on high speed for 2 to 3 minutes until they break down into a fine meal. You’ll notice the oils starting to release, creating a paste-like texture.
- Next, add the cocoa powder, honey, sea salt, and olive oil to the hazelnut paste. Continue blending for another 3 to 5 minutes. Be sure to stop and scrape down the sides of the processor to ensure everything is thoroughly mixed.
- If the mixture appears too thick, add a splash of water to achieve your desired consistency. Blend again, watching how the Cocoa Hazelnut Butter transforms into a smooth and creamy delight.
- Once you’ve reached a velvety texture, taste it! Adjust the sweetness or saltiness according to your preference by adding more honey or sea salt if needed.
- Transfer the Cocoa Hazelnut Butter into a clean, airtight container. Make sure to scrape every last bit from the blender with a spatula. You’ll want to enjoy all of it!
- Store your homemade spread in the refrigerator. It should stay fresh for up to 2 weeks, but I doubt it will last that long with how delicious it is!
Notes
- Consistency is Key: The final texture of your Cocoa Hazelnut Butter can depend on how long you blend the ingredients. The longer you blend, the creamier it becomes, so keep blending until you achieve your desired smoothness.
- Choosing Hazelnuts: Opt for fresh, high-quality hazelnuts for the best flavor. Toast them yourself for an added depth of flavor, but be careful not to burn them.
- Adjusting Sweetness: Everyone has different taste preferences. Start with the amount of honey recommended and adjust to your liking. You can also use other natural sweeteners if you prefer.
- Other Uses: Don’t limit your Cocoa Hazelnut Butter to just spreads; try using it in baking recipes, smoothies, or drizzling it over your favorite desserts for an extra chocolatey kick.