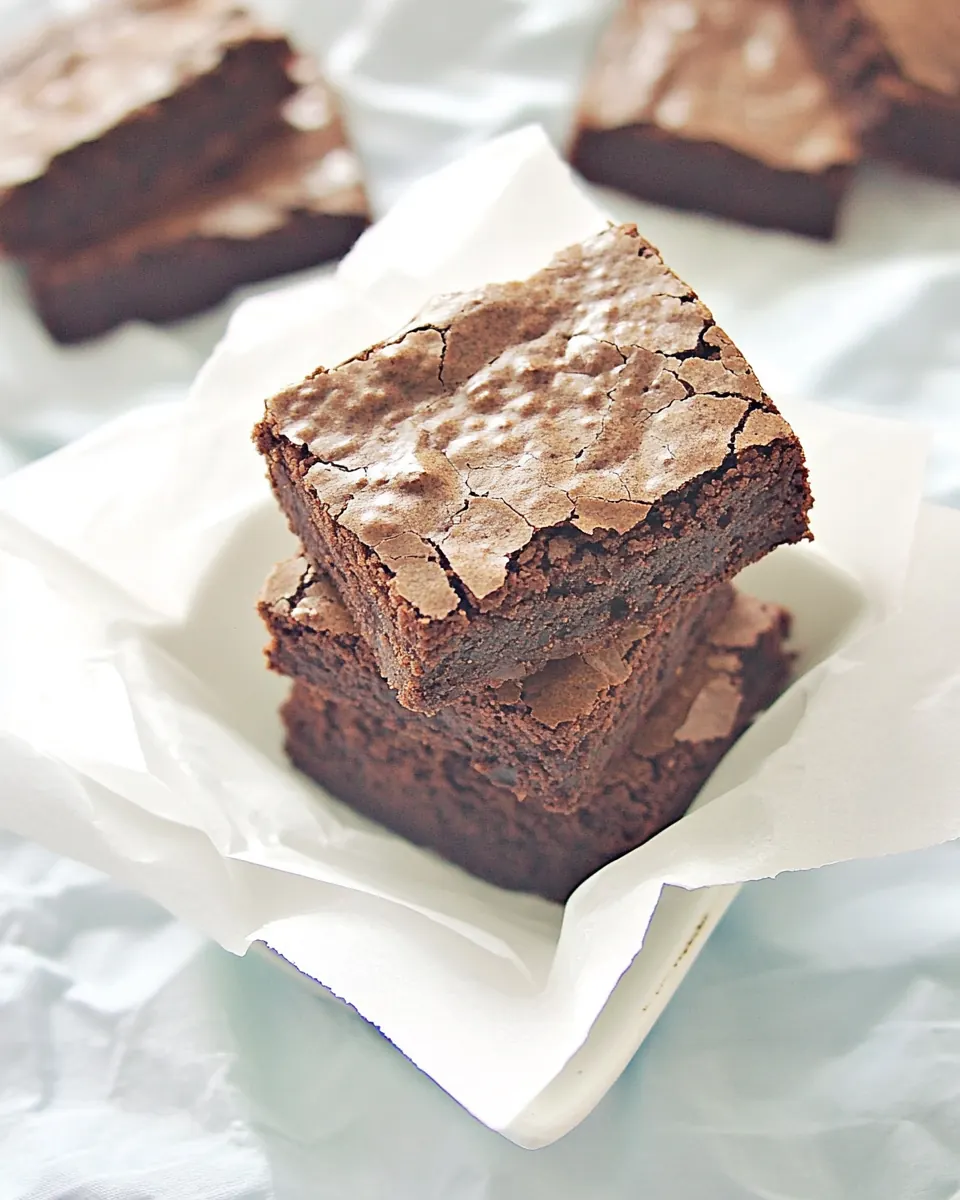
Cocoa Brownies
Cocoa Brownies have been my go to when I need a reliable, chocolate forward treat that never asks for fuss. The first time I baked these, I was juggling a busy week and a lanky friend who loved dense, fudgy squares. I remember stirring a glossy batter while music played in the background, and within an hour the whole kitchen smelled like warm cocoa powder and toasted butter. It felt like comfort in a pan, and those brownies disappeared faster than I expected, which taught me how much joy a simple tray of brownies can bring.
Over the years I refined the technique, learning how small tweaks change texture. I learned to stop the mixing the moment the flour disappears, otherwise the crumb gets cakier. I also learned to respect temperature, letting the warm batter cool slightly before adding eggs, so they don’t curdle and the texture stays glossy. Friends started asking for my recipe after potlucks, and I began bringing these to weekend coffee meet ups. They fit every situation, from an after school snack to a cozy night in.
Recipe Snapshot
45 mins
15 mins
30 mins
Medium
250 kcal
American
Gluten-Free, Low FODMAP
Desserts
Oven, 8×8 baking pan, Foil, Double boiler or heatproof bowl and saucepan, Whisk, Stand mixer or wooden spoon, Offset spatula
What Makes This Cocoa Brownies Special
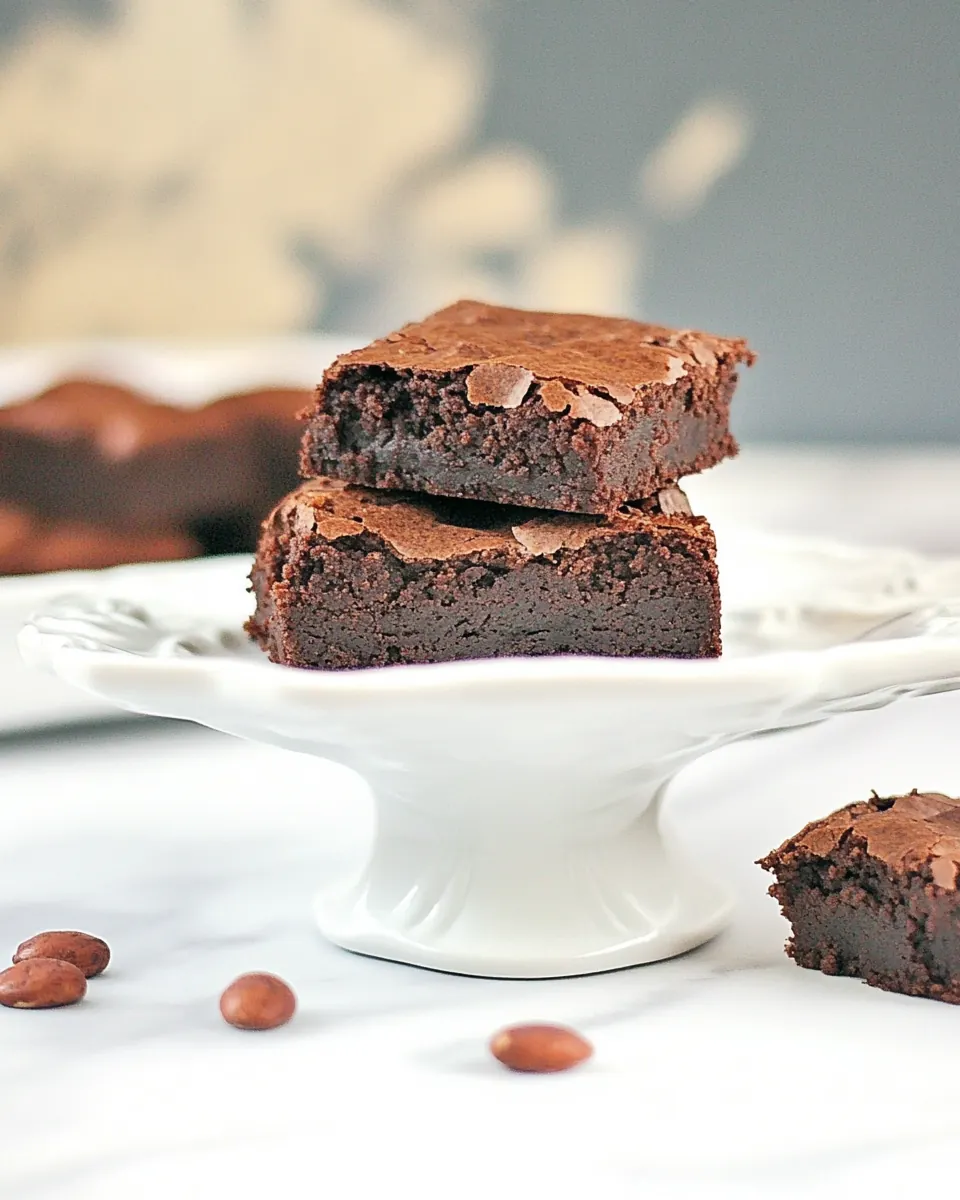
Fudgy Texture That Feels Luxurious
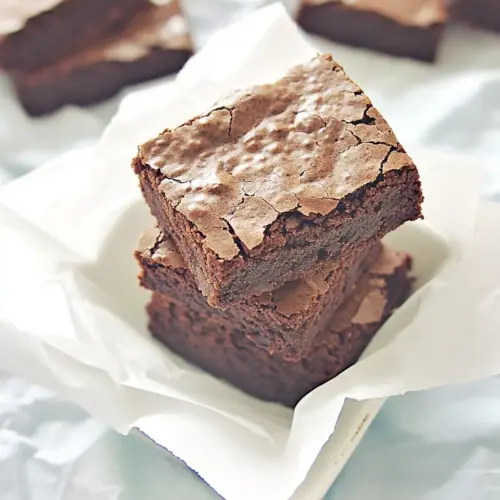
I love how Cocoa Brownies deliver a dense, chewy bite without feeling heavy. The combination of melted butter and cocoa powder produces a rich mouthfeel, and when you cut them thin you get a tender center with slightly firmer edges, which I always aim for.
Simple Pantry Ingredients
These brownies rely on straightforward items like granulated sugar, all purpose flour, and eggs. I appreciate recipes that don’t demand specialty items, because it makes me more likely to bake on a whim. The familiarity of the ingredients also makes it easy to trust the result.
Fast and Low Fuss
I count on Cocoa Brownies when I need something quick but impressive. Most of the work is melting and mixing, then the oven does the rest. For busy evenings, that hands off approach is a lifesaver, and it leaves room to clean up while the brownies bake.
Forgiving Method
The technique is adaptable, and small variations in mixing or pan size do not wreck the final treat. I’ve learned that being gentle with the eggs and not overworking the batter keeps the texture ideal. If you slightly underbake them they come out gooier, which many people prefer.
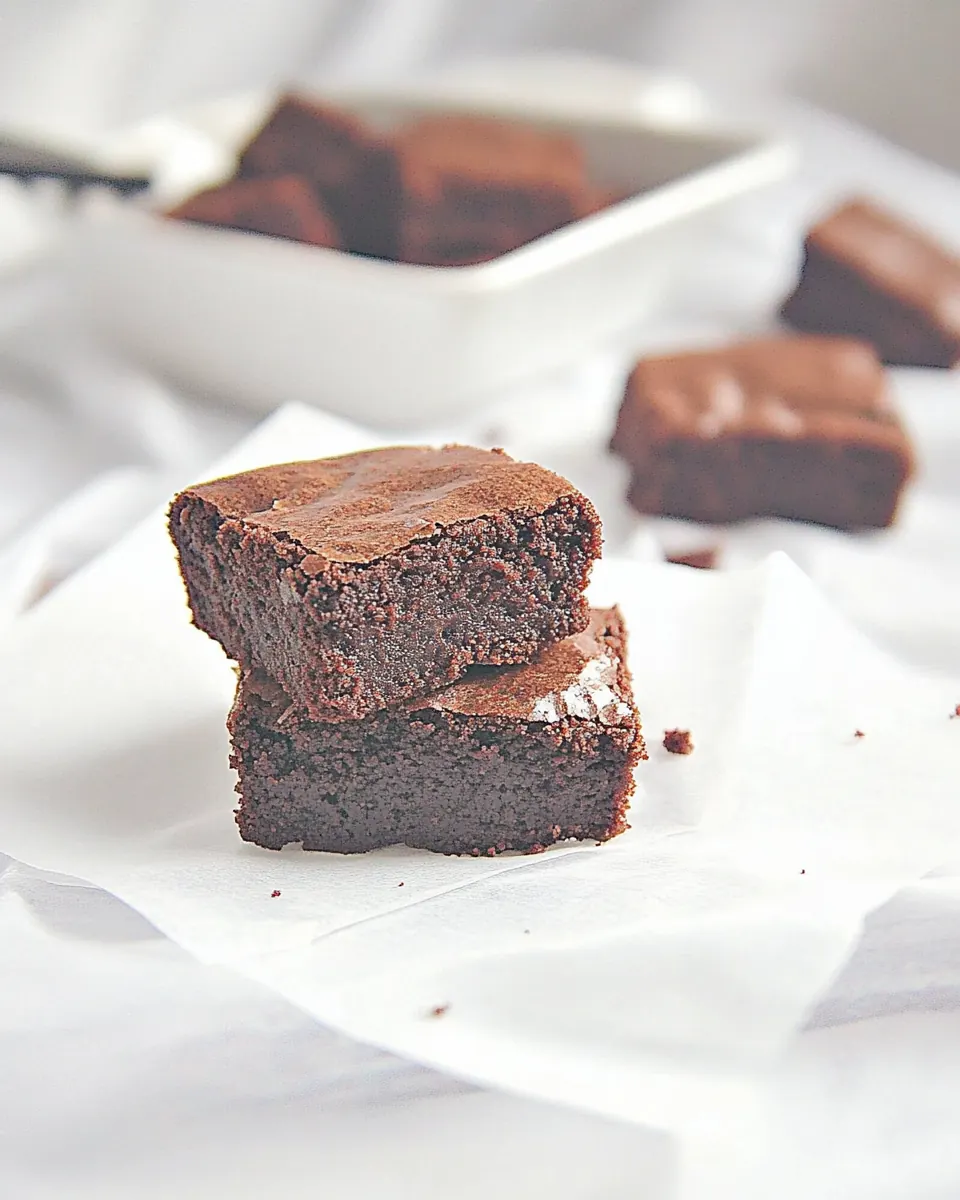
Versatile Serving Options
You can enjoy these warm with a scoop of ice cream, or serve them room temperature with coffee. I often slice a batch into small squares for casual gatherings because they travel and plate beautifully. That flexibility makes them a recipe I reach for often.
Main Ingredients for Cocoa Brownies
These ingredients form a simple, focused lineup meant to highlight rich chocolate notes and a fudgy crumb. The key players are unsalted butter and cocoa powder, which create the chocolate backbone, while eggs and all purpose flour build structure. Granulated sugar balances bitterness and helps with gloss, and a pinch of salt brightens everything.
- 10 tablespoon unsalted butter: Melted and rich, provides the primary fat that gives brownies their tender, fudgy texture and glossy top when properly incorporated and baked. Enhances flavor depth and helps dissolve sugar and cocoa for a smooth batter.
- 1 1/4 c granulated sugar: Sweet and crystalline, supplies structure and sweetness while aiding in moisture retention and caramelization to form a crackly crust during baking. Also helps balance the bitterness of cocoa for a rounded flavor.
- 3/4 c + 2 tablespoon unsweetened cocoa powder: Bitter and intense, imparts deep chocolate flavor and color while contributing to the dry structure of the batter; sifting helps prevent lumps. Works with sugar and butter to create the characteristic cocoa-forward taste.
- 1/4 teaspoon salt: Mineral-rich and sharp, enhances overall flavor balance and amplifies sweetness and chocolate notes when dissolved in the batter. Also helps control yeast or leavening reactions in other recipes, though here it mainly seasons.
- 1/2 teaspoon vanilla extract: Aromatic and sweet, adds a warm, fragrant note that rounds and brightens the chocolate flavor without adding moisture. Best added with the eggs to evenly distribute its aroma throughout the batter.
- 2 large eggs: Binding and leavening agent, provides structure, richness, and moisture while helping set the crumb as proteins coagulate during baking. Beaten lightly, eggs also contribute to a tender yet slightly chewy brownie texture.
- 1/2 c all-purpose flour: Neutral and starchy, gives body and structure to the brownies by forming gluten and providing absorbent bulk for the wet ingredients. Should be folded in gently to avoid overdeveloping gluten and keeping brownies tender.
Step by Step Instructions for Cocoa Brownies
I like to talk you through the flow of making these brownies because the sensory cues really matter. The method is straightforward, but attention to temperature and timing makes the difference between a cakey bar and a glossy, fudgy square.
- Preheat your oven to 325 degrees.: You will notice a faint warmth in the room as the oven comes up to temperature, which helps set expectations for bake time. Preheating ensures even baking so edges do not overcook before the center sets. A common mistake is popping the pan into a not fully heated oven, which can lengthen baking unpredictably. If your oven runs hot or cold consider using an oven thermometer for accuracy.
- Line a 8"x 8" baking pan with foil. Set aside.: Lining the pan with foil gives a smooth surface and makes release effortless, with a faint crinkle sound when you press it in. This step prevents sticking and makes removing the brownies easier, which preserves the edges. If you skip lining you risk tearing the brownie crust when lifting them out.
- In a double boiler, melt together butter, sugar, cocoa powder and salt. Whisk together.: As the mixture warms you will smell the butter blooming and the raw cocoa powder softening into a richer aroma. Whisking creates a unified, glossy mixture, showing fewer dry streaks. If you heat too quickly the cocoa can clump or the butter can brown unevenly, so keep the heat gentle and stir often.
- When all the butter has melted and everything is mixed together, remove the bowl from the heat and set aside to cool. It should be warm but not hot or it will scramble the eggs.: The surface will appear velvety and the steam will be minimal as it cools, signaling it is safe for eggs. Cooling prevents the eggs from cooking on contact, which would ruin texture. Rushing this step can lead to curdled eggs and a grainy batter, so give it time to drop in temperature a bit.
- At this point, I poured the cocoa mixture into my stand mixer bowl and turned it on 2. Mix for 2 minutes. You can use whisk or wooden spoon.: The airiness you hear as the mixer runs helps create a glossy sheen, and you will see the mixture lighten slightly. This short aeration integrates the sugar and gives body to the batter. Overmixing here can incorporate too much air, leading to a less dense final texture, so stick to the brief mix time.
- Add vanilla and stir.: When you add the vanilla extract a warm, floral note lifts the chocolate scent. Stirring disperses the aroma throughout the batter. A heavy hand here is unnecessary, as too much stirring at this point can build gluten later when you add flour.
- Add eggs, one at a time, beating well after each addition.: Each egg will make the batter shine and thicken, with a satin texture emerging as you beat. Adding slowly helps emulsify the mixture so it stays cohesive. If you add eggs all at once the batter can separate or the texture may become uneven, so patience pays off.
- When your batter looks shiny, it's time to add flour. Add it all at once and beat until it disappears in the batter.: The batter will gloss over and appear elastic when ready, then the flour will vanish into a smooth mass. This step controls the final crumb, keeping it tender while providing structure. Overmixing after the flour is folded in activates gluten, which will make the brownies more cake like, so stop mixing as soon as no streaks remain.
- Pour the batter into your prepared pan and spread evenly.: You will hear a soft sliding sound as the batter settles and see it level out with a slightly glossy surface. Spreading evenly ensures uniform baking and consistent edges. If you pile batter unevenly the center may take longer to set, causing edge overbaking; use an offset spatula for evenness.
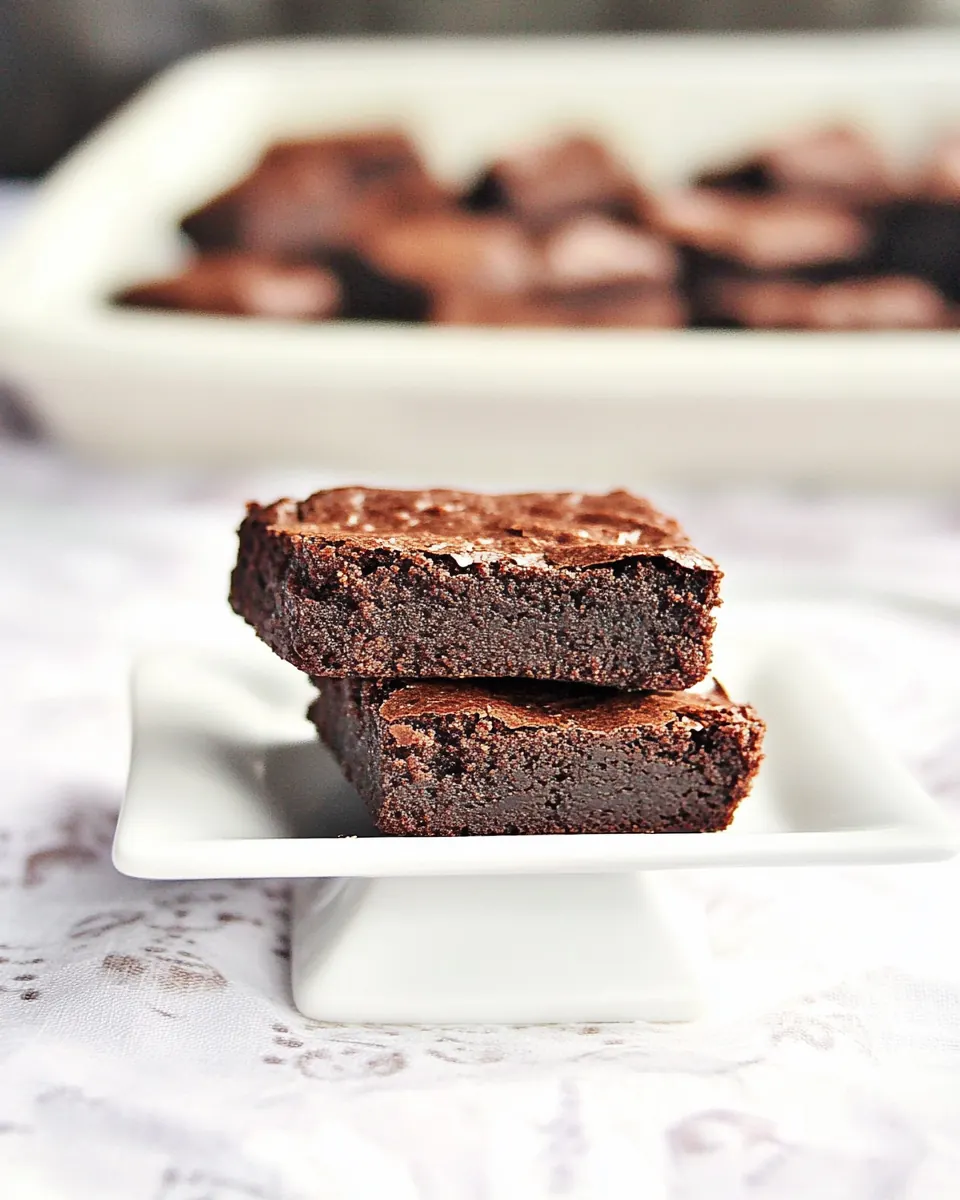
- Bake 25 – 30 minutes.: During baking you will notice a thin crust forming and a chocolate aroma filling the kitchen, with tiny cracks on top signaling readiness. A toothpick inserted will show a few moist crumbs for fudgy brownies. Leaving them in past the point of setness will dry them out, while pulling them out too soon may leave them overly gooey unless that is your aim.
- Cool completely before cutting.: Cooling allows the internal structure to firm up so slices hold their shape, and you will notice the surface losing its glossy sheen as it cools. If you cut while warm the squares may crumble or smear, so patience gives cleaner slices. A frequent error is slicing immediately, which leads to messy pieces and uneven texture.
Ways to Adapt This Recipe
These adaptation tips help you make Cocoa Brownies suit your preferences and pantry. Small adjustments can deepen flavor, change texture, or streamline the process.
- Swap cocoa types carefully Use Dutch processed or natural cocoa powder with awareness of flavor differences, as Dutch will be mellower while natural cocoa is brighter.
- Adjust sweetness Reduce the granulated sugar slightly if you prefer a less sweet bar, but don’t cut too much or the texture will shift and the crust may not form properly.
- Control fudginess by baking time Bake toward the lower end of the 25 to 30 minute window for gooier centers, and toward the higher end for firmer slices that hold shape well.
- Use room temperature eggs Let eggs come to room temperature so they incorporate more evenly into the batter and produce a smoother texture.
- Measure flour accurately Spoon and level the all purpose flour rather than scooping from the bag to avoid dense, dry brownies from too much flour.
What Complements This Cocoa Brownies
These serving ideas and pairings help present Cocoa Brownies beautifully across occasions, from casual coffee breaks to celebratory gatherings. Think about texture contrasts, temperature, and plating to elevate a humble square into a memorable bite.
- Serve warm with ice cream A warm brownie paired with a scoop of vanilla gives a contrast of hot and cold, and the melting ice cream adds creaminess to the fudgy crumb, ideal for dessert after a cozy dinner.
- Plate with espresso or strong coffee The bitterness of coffee complements the chocolate, making these brownies a perfect afternoon treat or post meal indulgence during a relaxed weekend.
- Pack for picnics or gatherings Cut into small, uniform squares and layer between parchment in a tin to transport, great for potlucks or sharing at casual meet ups.
- Pair with fruit for balance Bright berries on the side can cut through the richness, offering acidity that refreshes the palate between dense bites.
- Store properly Keep cooled brownies in an airtight container at room temperature for two to three days, or refrigerate for longer life, bringing them back to room temperature before serving for best texture.
- Occasions These brownies suit casual coffee hours, school bake sales, holiday trays, or anytime you want a quick, crowd pleasing dessert that travels well.
FAQ
Conclusion
What makes these Cocoa Brownies special is their ability to deliver rich chocolate intensity with minimal fuss, providing a fudgy, glossy result from simple pantry ingredients. Try them because they are forgiving, fast to assemble, and endlessly satisfying whether you serve them warm or at room temperature. Give this recipe a go and enjoy the little ritual of melting, stirring, and sharing a tray of warm chocolate squares with friends or family; it always brings a slice of comfort to any moment.
Cocoa Brownies
Equipment
- Oven
- 8x8 baking pan
- Foil
- Double boiler or heatproof bowl and saucepan
- Whisk
- Stand mixer or wooden spoon
- Offset Spatula
Ingredients
- 10 tablespoon unsalted butter Melted and rich, provides the primary fat that gives brownies their tender, fudgy texture and glossy top when properly incorporated and baked. Enhances flavor depth and helps dissolve sugar and cocoa for a smooth batter.
- 1 1/4 c granulated sugar Sweet and crystalline, supplies structure and sweetness while aiding in moisture retention and caramelization to form a crackly crust during baking. Also helps balance the bitterness of cocoa for a rounded flavor.
- 3/4 c + 2 tablespoon unsweetened cocoa powder Bitter and intense, imparts deep chocolate flavor and color while contributing to the dry structure of the batter; sifting helps prevent lumps. Works with sugar and butter to create the characteristic cocoa-forward taste.
- 1/4 teaspoon salt Mineral-rich and sharp, enhances overall flavor balance and amplifies sweetness and chocolate notes when dissolved in the batter. Also helps control yeast or leavening reactions in other recipes, though here it mainly seasons.
- 1/2 teaspoon vanilla extract Aromatic and sweet, adds a warm, fragrant note that rounds and brightens the chocolate flavor without adding moisture. Best added with the eggs to evenly distribute its aroma throughout the batter.
- 2 large eggs Binding and leavening agent, provides structure, richness, and moisture while helping set the crumb as proteins coagulate during baking. Beaten lightly, eggs also contribute to a tender yet slightly chewy brownie texture.
- 1/2 c all-purpose flour Neutral and starchy, gives body and structure to the brownies by forming gluten and providing absorbent bulk for the wet ingredients. Should be folded in gently to avoid overdeveloping gluten and keeping brownies tender.
Instructions
- Preheat your oven to 325 degrees.: You will notice a faint warmth in the room as the oven comes up to temperature, which helps set expectations for bake time. Preheating ensures even baking so edges do not overcook before the center sets. A common mistake is popping the pan into a not fully heated oven, which can lengthen baking unpredictably. If your oven runs hot or cold consider using an oven thermometer for accuracy.
- Line a 8"x 8" baking pan with foil. Set aside.: Lining the pan with foil gives a smooth surface and makes release effortless, with a faint crinkle sound when you press it in. This step prevents sticking and makes removing the brownies easier, which preserves the edges. If you skip lining you risk tearing the brownie crust when lifting them out.
- In a double boiler, melt together butter, sugar, cocoa powder and salt. Whisk together.: As the mixture warms you will smell the butter blooming and the raw cocoa powder softening into a richer aroma. Whisking creates a unified, glossy mixture, showing fewer dry streaks. If you heat too quickly the cocoa can clump or the butter can brown unevenly, so keep the heat gentle and stir often.
- When all the butter has melted and everything is mixed together, remove the bowl from the heat and set aside to cool. It should be warm but not hot or it will scramble the eggs.: The surface will appear velvety and the steam will be minimal as it cools, signaling it is safe for eggs. Cooling prevents the eggs from cooking on contact, which would ruin texture. Rushing this step can lead to curdled eggs and a grainy batter, so give it time to drop in temperature a bit.
- At this point, I poured the cocoa mixture into my stand mixer bowl and turned it on 2. Mix for 2 minutes. You can use whisk or wooden spoon.: The airiness you hear as the mixer runs helps create a glossy sheen, and you will see the mixture lighten slightly. This short aeration integrates the sugar and gives body to the batter. Overmixing here can incorporate too much air, leading to a less dense final texture, so stick to the brief mix time.
- Add vanilla and stir.: When you add the vanilla extract a warm, floral note lifts the chocolate scent. Stirring disperses the aroma throughout the batter. A heavy hand here is unnecessary, as too much stirring at this point can build gluten later when you add flour.
- Add eggs, one at a time, beating well after each addition.: Each egg will make the batter shine and thicken, with a satin texture emerging as you beat. Adding slowly helps emulsify the mixture so it stays cohesive. If you add eggs all at once the batter can separate or the texture may become uneven, so patience pays off.
- When your batter looks shiny, it's time to add flour. Add it all at once and beat until it disappears in the batter.: The batter will gloss over and appear elastic when ready, then the flour will vanish into a smooth mass. This step controls the final crumb, keeping it tender while providing structure. Overmixing after the flour is folded in activates gluten, which will make the brownies more cake like, so stop mixing as soon as no streaks remain.
- Pour the batter into your prepared pan and spread evenly.: You will hear a soft sliding sound as the batter settles and see it level out with a slightly glossy surface. Spreading evenly ensures uniform baking and consistent edges. If you pile batter unevenly the center may take longer to set, causing edge overbaking; use an offset spatula for evenness.
- Bake 25 - 30 minutes.: During baking you will notice a thin crust forming and a chocolate aroma filling the kitchen, with tiny cracks on top signaling readiness. A toothpick inserted will show a few moist crumbs for fudgy brownies. Leaving them in past the point of setness will dry them out, while pulling them out too soon may leave them overly gooey unless that is your aim.
- Cool completely before cutting.: Cooling allows the internal structure to firm up so slices hold their shape, and you will notice the surface losing its glossy sheen as it cools. If you cut while warm the squares may crumble or smear, so patience gives cleaner slices. A frequent error is slicing immediately, which leads to messy pieces and uneven texture.
Notes
- Swap cocoa types carefully Use Dutch processed or natural cocoa powder with awareness of flavor differences, as Dutch will be mellower while natural cocoa is brighter.
- Adjust sweetness Reduce the granulated sugar slightly if you prefer a less sweet bar, but don’t cut too much or the texture will shift and the crust may not form properly.
- Control fudginess by baking time Bake toward the lower end of the 25 to 30 minute window for gooier centers, and toward the higher end for firmer slices that hold shape well.
- Use room temperature eggs Let eggs come to room temperature so they incorporate more evenly into the batter and produce a smoother texture.
- Measure flour accurately Spoon and level the all purpose flour rather than scooping from the bag to avoid dense, dry brownies from too much flour.