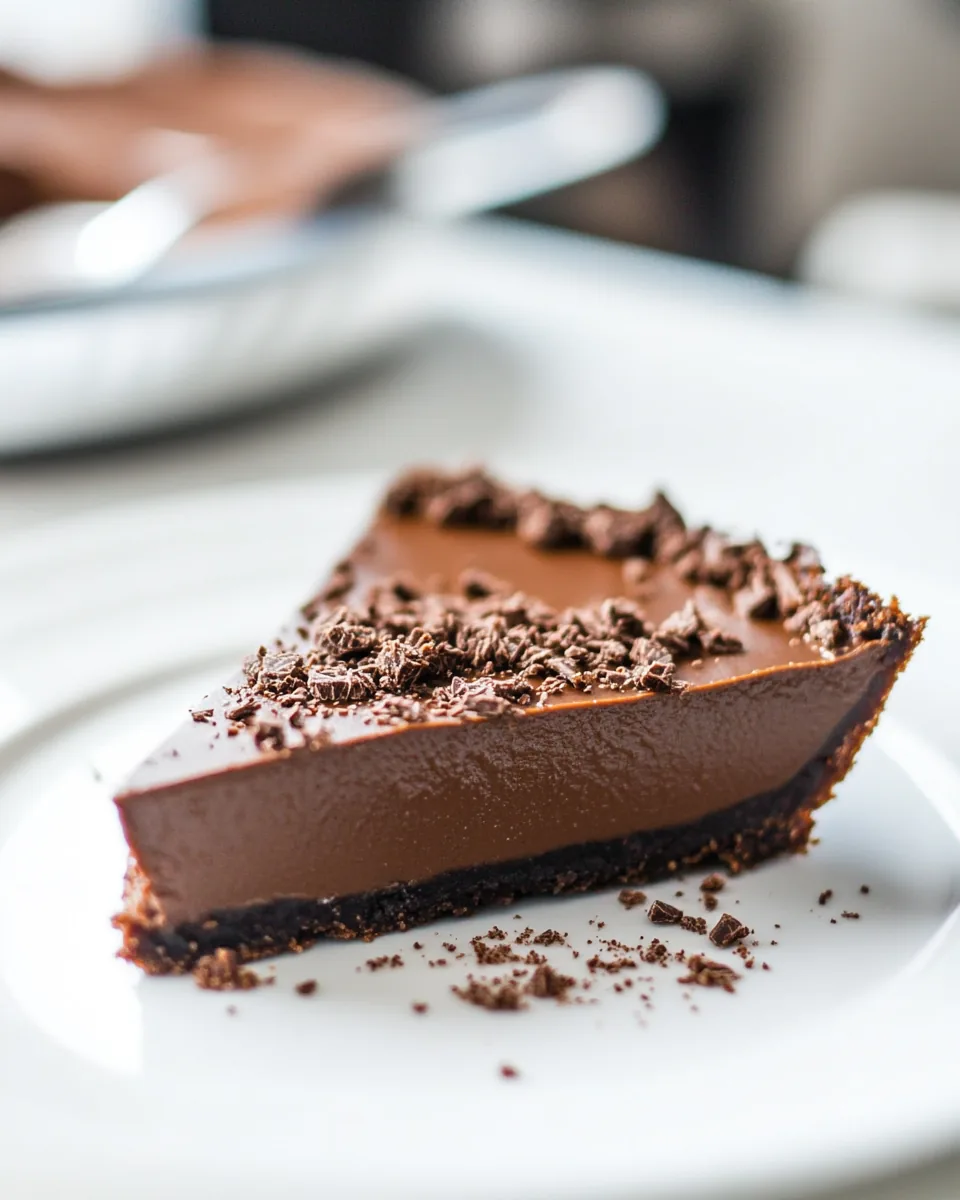
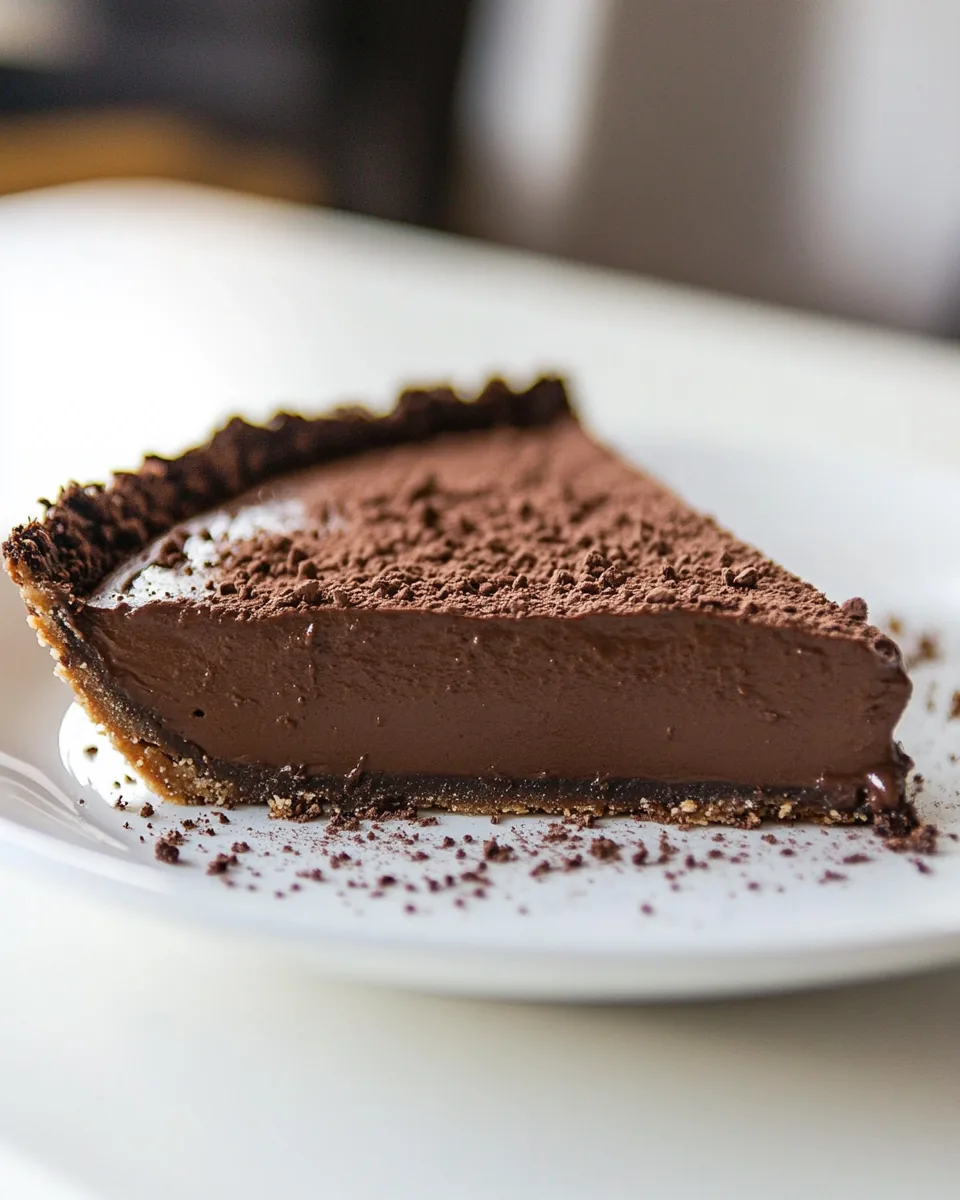
Chocolate Dirt Pie
Growing up, one of my favorite desserts was my grandmother’s signature treat, the Chocolate Dirt Pie. Every holiday gathering, she would bring this delightful dish that looked like something straight out of a whimsical fairy tale. The way the rich chocolate filling peeked out from beneath a blanket of crushed cookies made it seem like a treasure waiting to be discovered. Each bite was a delicious mix of creamy chocolate and crunchy cookie that felt like a hug for my taste buds. Whenever I make Chocolate Dirt Pie, it brings back such fond memories of laughter and joy. It’s become a beloved tradition in my own family, and I can’t wait to share this magical dessert with you!
Recipe Snapshot
15 mins
10 mins
5 mins
Medium
320 kcal
4 g
Gluten-Free, Low FODMAP
15 g
Wooden Spoon, Mixing Bowl, Chef’s Knife, Whisk, Baking Sheet, Large Pot
What You’ll Enjoy About This Chocolate Dirt Pie
Comforting and Indulgent
One of the things I adore about Chocolate Dirt Pie is its ability to satisfy both kids and adults alike. The combination of creamy chocolate filling and the crunch of cookie crumbs creates a texture that is absolutely irresistible. Not only is it delicious, but it’s also visually appealing, making it a showstopper at any gathering.
Simple to Prepare
If you’re looking for a dessert that doesn’t demand hours of slaving away in the kitchen, look no further. This Chocolate Dirt Pie comes together quickly, allowing you to focus on what really matters—spending time with your loved ones. You can even prepare it a day in advance, freeing up your schedule on the day of the event.
Fun for All Ages
This dessert is not just about eating—it’s about the fun of making it! Kids love helping out in the kitchen, and this pie is perfect for little hands. Let them crush the cookies or decorate the pie with gummy worms or other candies. It’s a wonderful way to create lasting memories.
Customizable for Any Occasion
What I love most is how versatile Chocolate Dirt Pie is. You can change the toppings or even the filling to suit the occasion. For Halloween, adding gummy worms creates a spooky vibe, while for birthdays, colorful sprinkles can bring an extra festive flair. The possibilities are endless!
A Nostalgic Experience
Every bite of Chocolate Dirt Pie takes me back to my childhood. It reminds me of family gatherings filled with laughter and love, making it more than just a dessert—it’s a piece of my history. Each time I serve it, I share those memories with my family and friends, bringing us closer together.
Ingredients to Make Chocolate Dirt Pie

The ingredients for Chocolate Dirt Pie are simple yet effective, each contributing to the overall delightful flavor and texture of the dish. The combination of creamy textures from the chocolate and the crunch from the cookies come together to create a mouthwatering dessert that’s perfect for any occasion.
- 18 inch pie crust (blind baked) – A crisp and buttery crust that holds the filling beautifully, providing the perfect foundation for the pie.
- 1 cup granulated sugar – Sweetness is key, and this sugar balances out the rich cocoa flavors perfectly.
- 1/2 cup unsweetened cocoa powder – The star ingredient that gives the pie its rich chocolate flavor.
- 1/2 cup corn starch – This thickener ensures that the filling sets up beautifully for a sliceable pie.
- 1/4 teaspoon salt – A pinch of salt enhances the sweetness and chocolate flavor, creating a more rounded taste.
- 2 1/2 cups 2% milk – The creaminess of the milk helps create a luscious filling that melts in your mouth.
- 1 teaspoon vanilla – Vanilla adds a warm, aromatic flavor that complements the chocolate.
- 2 tablespoons salted butter – Butter adds richness and depth to the filling, making it even more delicious.
- 3/4 cup semisweet chocolate chips – For those who crave intense chocolate flavor, these chips melt into the filling beautifully.
- 12 OREO thins (crushed) – These add a delicious crunch and hint of creaminess, making the pie even more decadent.
- Gummy worms or other candy for decoration (optional) – Fun toppings for a whimsical touch that kids will love.
Recipe Directions for Chocolate Dirt Pie
Making Chocolate Dirt Pie is a fun and straightforward process. Follow these steps, and you’ll have a delicious dessert that impresses everyone!
- In a large pot off the heat, measure 1 cup granulated sugar, 1/2 cup unsweetened cocoa powder, 1/2 cup corn starch, and 1/4 teaspoon salt. Whisk together to combine, ensuring there are no lumps. The mixture should be a nice, smooth powder.
- Slowly whisk in 2 1/2 cups 2% milk, using a spatula to help reach the corners of the pot. The goal is to combine everything until you have a smooth mixture.
- Place the pot over medium-high heat, whisking continuously. This step is crucial—keep stirring as the mixture thickens. Look for it to begin bubbling gently; it should take about 5 to 10 minutes.
- Once it thickens and just starts to boil, remove from heat immediately. Stir in 1 teaspoon vanilla, 2 tablespoons salted butter, and 3/4 cup semisweet chocolate chips. You’ll notice the chocolate chips melting into the mixture, creating a rich, creamy filling.
- Pour the filling into the prepared 18 inch pie crust, smoothing the top with a spatula. It should look glossy and inviting. Cover the top with plastic wrap, ensuring the wrap is in direct contact with the filling to prevent a skin from forming.
- Refrigerate for 6 to 8 hours or overnight. This resting time is important; it allows the filling to set properly so that each slice holds its shape.
- Once the pie is set, carefully remove the plastic wrap. The filling should peel away cleanly, revealing a smooth top.
- Spread crushed OREO thins over the top of the pie for added texture. You can also add gummy worms or other fun candy decorations, especially if it’s for a themed gathering.
- Slice and serve the pie chilled. The contrast of the cool, creamy filling with the crunchy topping is absolutely delightful. Enjoy the smiles on everyone’s faces!
Things Worth Knowing
- Whisking Continuously: It’s important to whisk continuously while heating the mixture. This helps prevent any lumps from forming and ensures even cooking.
- Blind Baked Crust: Blind baking the pie crust ensures it stays crisp and doesn’t become soggy once you add the filling.
- Cool Completely: Allow the pie to cool in the fridge for the full duration. This ensures it sets perfectly and slices beautifully.
- Decorating: Be creative with decorations! You can use different candies or even fruit for a fresh twist.
Variations to Try
If you want to put a personal twist on your Chocolate Dirt Pie, consider these fun variations. Each offers a unique spin on this classic dessert!
- Storage: To store leftovers, cover the pie with plastic wrap and keep it in the fridge. It should last for about 3 to 4 days.
- Freezing: Yes, you can freeze Chocolate Dirt Pie! Just make sure it’s well-covered to avoid freezer burn. Thaw in the refrigerator before serving.
- Flavor Swap: Swap out the unsweetened cocoa powder for flavored powders like dark chocolate or mint for a twist!
- Extra Toppings: Try adding crushed nuts or different types of candy on top for a crunchy contrast.
- Pie Crust Options: Use different types of crusts, such as graham cracker or chocolate cookie crust, for added flavor.
- Festive Touch: For holiday gatherings, use themed decorations like sprinkles or candies that suit the occasion!
Serving This Chocolate Dirt Pie
If you’re looking for the perfect way to serve Chocolate Dirt Pie, here are some thoughtful ideas that will make your dessert stand out:
- Chilled Delight: Serve the pie straight from the fridge for a refreshing treat, especially great after a heavy meal.
- Family Gatherings: This dessert is perfect for family get-togethers, birthdays, or holiday parties where everyone can dig in together.
- Pairing with Drinks: Pair with a glass of milk or a scoop of vanilla ice cream for an extra special touch.
- Presentation: Use a cake stand to display the pie, making it the star of your dessert table.
- Seasonal Touch: For Halloween, serve on a themed platter and add spooky decorations on the table to enhance the festive atmosphere.
- Leftover Ideas: Use leftover pie in ice cream sundaes or in a parfait with whipped cream and fresh fruit for a fun twist!
FAQ
Conclusion
The Chocolate Dirt Pie is more than just a dessert; it’s a delightful experience that brings joy and nostalgia to the table. Its rich chocolate flavor and fun presentation make it a favorite among family and friends. I encourage you to give this recipe a try—it’s easy, fun, and sure to become a cherished tradition in your home as well!
Chocolate Dirt Pie
Equipment
- Wooden Spoon
- Mixing Bowl
- Chef's Knife
- Whisk
- Baking Sheet
- Large Pot
Ingredients
- 1 pie crust 18 inch pie crust blind baked
- 1 cup granulated sugar
- 1/2 cup unsweetened cocoa powder
- 1/2 cup corn starch
- 1/4 teaspoon salt
- 2 1/2 cups 2% milk
- 1 teaspoon vanilla
- 2 tablespoons salted butter
- 3/4 cup semisweet chocolate chips or chopped chocolate
- 12 OREO thins crushed
- 1 gummy worms or other candy for decoration, optional
Instructions
- In a large pot off the heat, measure 1 cup granulated sugar, 1/2 cup unsweetened cocoa powder, 1/2 cup corn starch, and 1/4 teaspoon salt. Whisk together to combine. The mixture should be a nice, smooth powder.
- Slowly whisk in 2 1/2 cups 2% milk, using a spatula to help reach the corners of the pot. The goal is to combine everything until you have a smooth mixture.
- Place the pot over medium-high heat, whisking continuously. This step is crucial—keep stirring as the mixture thickens. Look for it to begin bubbling gently; it should take about 5 to 10 minutes.
- Once it thickens and just starts to boil, remove from heat immediately. Stir in 1 teaspoon vanilla, 2 tablespoons salted butter, and 3/4 cup semisweet chocolate chips. You’ll notice the chocolate chips melting into the mixture, creating a rich, creamy filling.
- Pour the filling into the prepared 18 inch pie crust, smoothing the top with a spatula. It should look glossy and inviting. Cover the top with plastic wrap, ensuring the wrap is in direct contact with the filling to prevent a skin from forming.
- Refrigerate for 6 to 8 hours or overnight. This resting time is important; it allows the filling to set properly so that each slice holds its shape.
- Once the pie is set, carefully remove the plastic wrap. The filling should peel away cleanly, revealing a smooth top.
- Spread crushed OREO thins over the top of the pie for added texture. You can also add gummy worms or other fun candy decorations, especially if it’s for a themed gathering.
- Slice and serve the pie chilled. The contrast of the cool, creamy filling with the crunchy topping is absolutely delightful. Enjoy the smiles on everyone’s faces!