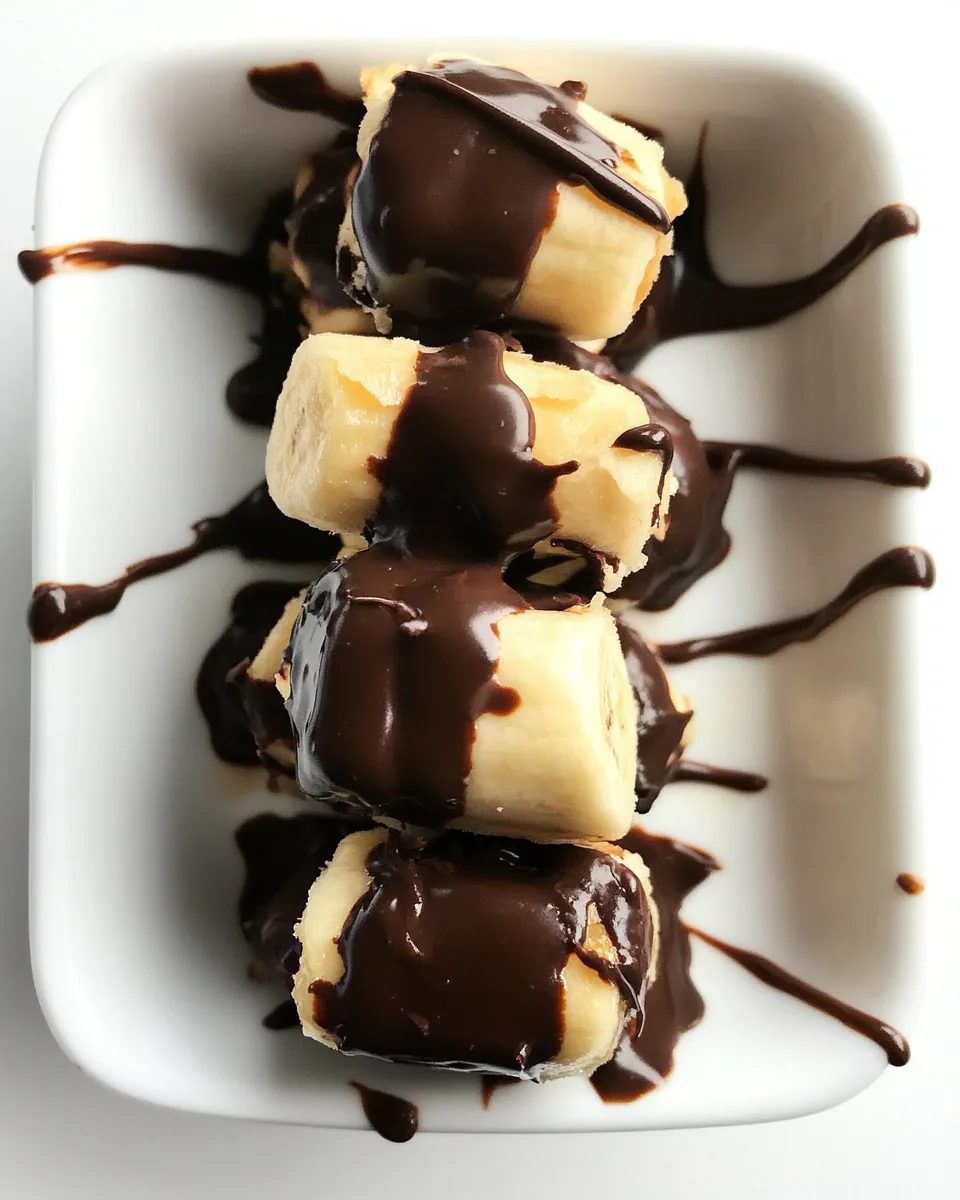
Chocolate Covered Banana Bites
Whenever I crave something sweet yet healthy, I think of Chocolate Covered Banana Bites. They’re like little bites of happiness that never fail to lift my spirits. The combination of rich chocolate and creamy bananas is simply irresistible! I remember the first time I made these treats; I had some friends over for a movie night, and I needed something that would satisfy everyone’s sweet tooth without feeling too guilty. I whipped up these delightful bites, and they disappeared in no time! The best part? They’re so easy to make, and you can customize them with your favorite flavors.
Recipe Snapshot
60 mins
0 mins
0 mins
Medium
150 kcal
2 g
Gluten-Free, Low FODMAP
7 g
Wooden Spoon, Baking Sheet, Chef’s Knife, Frying Pan
What Sets This Chocolate Covered Banana Bites Apart
Perfect for Any Occasion
One of the reasons I absolutely love making Chocolate Covered Banana Bites is their versatility. Whether it’s a casual gathering, a birthday party, or just a delightful treat for yourself, these bites fit right in. You can serve them as a fun snack for kids or as a sophisticated dessert for adults.
Healthy Yet Indulgent
These bites are a fantastic way to satisfy a sweet craving without going overboard. The base of bananas provides natural sweetness and fiber, making them a better choice than traditional candy. I often find myself snacking on these instead of reaching for cookies or other sugary snacks!
Endless Flavor Combinations
The beauty of Chocolate Covered Banana Bites is that you can mix and match flavors. The classic peanut butter and chocolate combination is a winner, but you can also experiment with Nutella, caramel, or even some unique toppings like crushed nuts or sprinkles. Every time you make them, you can try something new!
Fun for All Ages
This recipe is not just for adults; kids absolutely love them too! Making these bites can be an enjoyable activity for families. Kids can help with assembling the bites, and it allows them to be creative with their toppings. Plus, it’s a great way to sneak in some fruit into their diet!
Quick and Easy to Make
With just a few simple ingredients and minimal effort, you can have a delicious treat ready in no time. There’s no need for complicated techniques or fancy equipment. Just slice, dip, and chill. It’s as simple as that!
Ingredients Required for Chocolate Covered Banana Bites
Creating Chocolate Covered Banana Bites is all about using quality ingredients that complement each other beautifully. The key players here are ripe bananas, which provide natural sweetness, and rich chocolate that adds a decadent touch. Each ingredient plays a vital role in achieving that perfect balance of flavors and textures.
- 11 oz. Ghiradelli Chocolate, 65% cacao: This chocolate is rich and creamy, perfect for coating the banana bites.
- 2 tablespoons vegetable shortening: This helps the chocolate melt smoothly and creates a shiny finish.
- 3 medium bananas, sliced: Ripe bananas are sweet, creamy, and the star of this recipe.
- 3 tablespoons peanut butter: Adds a nutty flavor and creaminess that pairs perfectly with chocolate.
- 6 large marshmallows: They provide a delightful chewiness and sweetness atop the banana.
- 3 tablespoons Nutella: This chocolate-hazelnut spread adds a rich, indulgent flavor.
- 6 tablespoons Rice Krispies: For a delightful crunch that contrasts with the creamy banana.
- 3 tablespoons caramel: A sweet sticky treat that adds additional flavor and texture.
- 4 tablespoons sweetened shredded coconut: It adds a tropical flair and chewy texture.
Putting Together Chocolate Covered Banana Bites
Making Chocolate Covered Banana Bites is straightforward and fun! You’ll love the satisfying process of assembling these yummy bites. Let’s dive into making this treat that will surely impress your family and friends.
- First, reserve one banana for each flavor you plan to create. Slice the remaining bananas into 1/4 inch thick rounds. Ensure they are uniform so they freeze evenly.
- Next, prepare your fillings. Place the peanut butter, Nutella, and caramel in separate plastic baggies. Snip off one corner of each bag to make piping easier later on.
- In a small saucepan, combine the chocolate and vegetable shortening. Place it over low heat and stir continuously until melted and smooth. Be patient; you want the chocolate to be glossy without burning.
- Now, for the first flavor, take a slice of banana and pipe some peanut butter on top. Cut a marshmallow in half, placing one half on top of the peanut butter.
- Dip this creation in the melted chocolate, ensuring it’s fully coated. Use a fork to lift it out, tapping off the excess chocolate.
- Place the dipped banana on a parchment-lined baking sheet. Repeat this process until all banana slices for the peanut butter and marshmallow flavor are prepared. Transfer the sheet to the freezer for approximately 5 minutes or until the chocolate sets.
- For the next flavor, take a banana slice, pipe some Nutella onto it, and then dip it in Rice Krispies for extra texture. Top with another slice of banana and dip in the melted chocolate, then place on the parchment paper.
- Repeat the freezing process for these bites as well, about 5 minutes until the chocolate hardens.
- For the last flavor, take a banana slice, pipe caramel on top, and then add a second banana slice. Dip this sandwich into the chocolate, ensuring it’s completely covered in chocolate, and coat the exterior with shredded coconut.
- Place all the assembled bites back in the freezer for another 5 minutes before serving. Once the chocolate is set, you can serve them immediately or store them in an airtight container in the fridge.
Things Worth Knowing
- Perfectly ripe bananas: Choose bananas that are ripe but not overly soft. They should have a few brown spots to ensure natural sweetness.
- Melting chocolate: Be careful not to overheat the chocolate. Stir continuously and heat on low to maintain its texture.
- Freezing time: Keep a close eye on the cooling time. You want the chocolate to set but not freeze hard.
- Serving suggestions: These bites are great as a snack or dessert, and they pair well with fruit salads or ice cream for a fun twist.
Variations to Try
If you’re looking to add some creativity to your Chocolate Covered Banana Bites, there are plenty of variations you can try! Each tweak can lead to a delightful twist on the original.
- Try different chocolates: Experiment with white chocolate, dark chocolate, or even flavored chocolates for a fun twist.
- Add spices: Sprinkle some cinnamon or chili powder on top of the chocolate for a spicy kick!
- Fruit alternatives: Substitute bananas with strawberries or apple slices for a different flavor profile.
- Nutty toppings: After dipping in chocolate, roll the bites in crushed nuts or seeds for added crunch.
- Sweet dips: Serve your bites with a side of caramel, chocolate syrup, or yogurt for dipping!
How to Serve Chocolate Covered Banana Bites
Serving Chocolate Covered Banana Bites is all about presentation and making them enjoyable for your guests. Here are some ideas:
- Snack platter: Arrange the bites on a colorful platter with fresh fruit for a visually appealing snack spread.
- Movie night: These bites are perfect for cozy evenings—pair them with popcorn and a classic movie for a fun night in.
- Kids’ parties: Serve these bites at birthday parties or playdates. Kids will love the fun shapes and the sweet, creamy flavors.
- Picnics: Pack them in a cooler for a refreshing snack in the park during warm weather.
- Festive occasions: Decorate the bites with holiday-themed sprinkles for seasonal celebrations!
FAQ
Conclusion
Chocolate Covered Banana Bites are a delightful treat that combines the natural sweetness of bananas with rich chocolate. They’re versatile, easy to make, and perfect for any occasion. I encourage you to try making these bites; you’ll find they not only satisfy your sweet tooth but also bring a smile to your face!

Chocolate Covered Banana Bites
Equipment
- Wooden Spoon
- Baking Sheet
- Chef's Knife
- Frying Pan
Ingredients
- 11 oz. Ghiradelli Chocolate, 65% cacao
- 2 tablespoons vegetable shortening
- 3 medium bananas, sliced
- 3 tablespoons peanut butter
- 6 large marshmallows
- 3 tablespoons Nutella
- 6 tablespoons Rice Krispies
- 3 tablespoons caramel
- 4 tablespoons sweetened shredded coconut
Instructions
- First, reserve one banana for each flavor you plan to create. Slice the remaining bananas into 1/4 inch thick rounds. Ensure they are uniform so they freeze evenly.
- Next, prepare your fillings. Place the peanut butter, Nutella, and caramel in separate plastic baggies. Snip off one corner of each bag to make piping easier later on.
- In a small saucepan, combine the chocolate and vegetable shortening. Place it over low heat and stir continuously until melted and smooth. Be patient; you want the chocolate to be glossy without burning.
- Now, for the first flavor, take a slice of banana and pipe some peanut butter on top. Cut a marshmallow in half, placing one half on top of the peanut butter.
- Dip this creation in the melted chocolate, ensuring it’s fully coated. Use a fork to lift it out, tapping off the excess chocolate.
- Place the dipped banana on a parchment-lined baking sheet. Repeat this process until all banana slices for the peanut butter and marshmallow flavor are prepared. Transfer the sheet to the freezer for approximately 5 minutes or until the chocolate sets.
- For the next flavor, take a banana slice, pipe some Nutella onto it, and then dip it in Rice Krispies for extra texture. Top with another slice of banana and dip in the melted chocolate, then place on the parchment paper.
- Repeat the freezing process for these bites as well, about 5 minutes until the chocolate hardens.
- For the last flavor, take a banana slice, pipe caramel on top, and then add a second banana slice. Dip this sandwich into the chocolate, ensuring it’s completely covered in chocolate, and coat the exterior with shredded coconut.
- Place all the assembled bites back in the freezer for another 5 minutes before serving. Once the chocolate is set, you can serve them immediately or store them in an airtight container in the fridge.