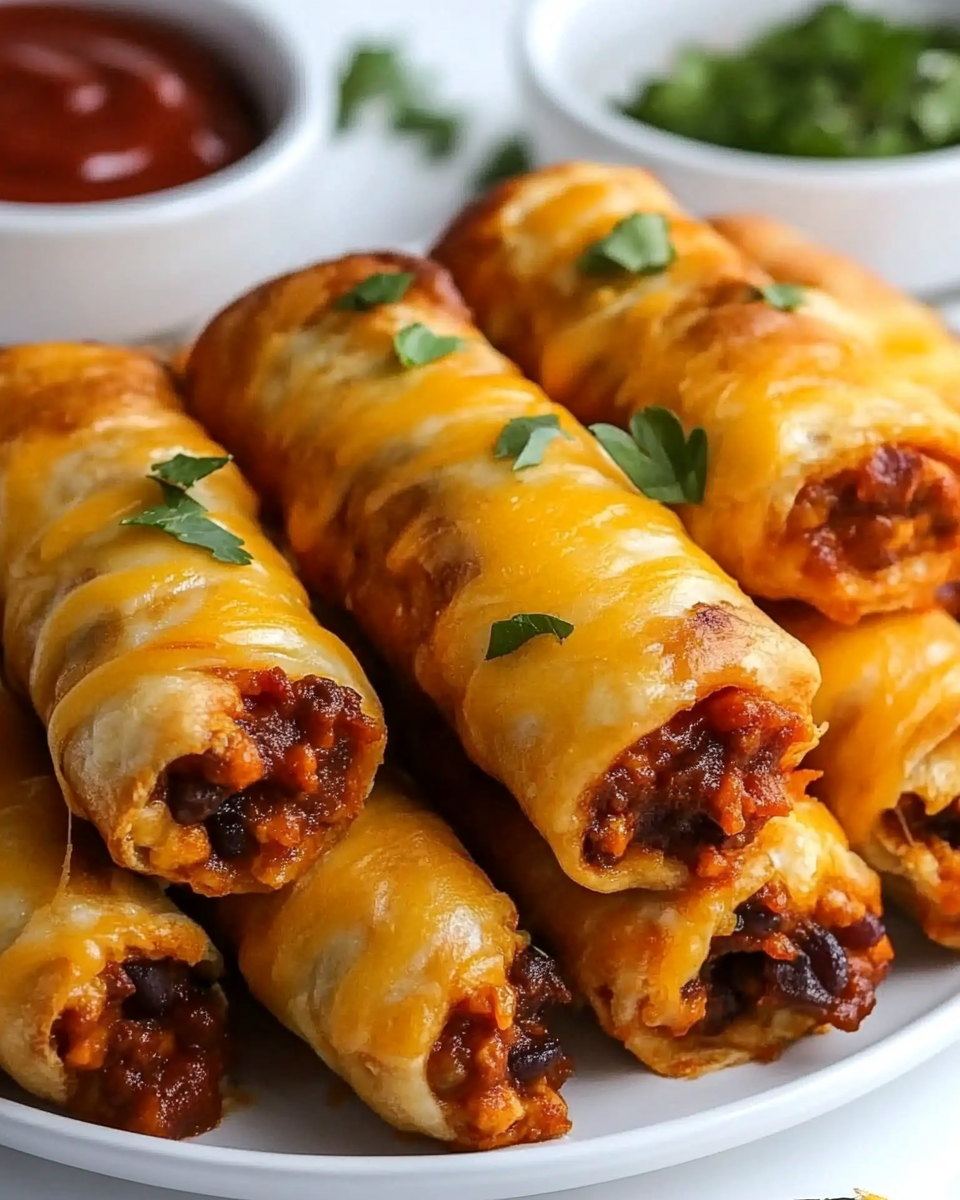
Cheesy Taco Sticks
Cheesy Taco Sticks are the ultimate comfort food that combines the flavors of your favorite taco fillings wrapped in a crispy, cheesy exterior. This recipe transforms traditional taco ingredients into a fun and shareable snack perfect for parties, game days, or a cozy family dinner. The gooey melted cheese mingles with seasoned ground meat and zesty vegetables, all encased in a golden-brown crust. Each bite delivers a satisfying crunch followed by the rich and savory taste that taco lovers adore. Easy to prepare and customizable, these cheesy sticks can be made with various fillings, allowing you to cater to different tastes and preferences. Whether you’re serving them as an appetizer, a main dish, or a late-night snack, Cheesy Taco Sticks are sure to please everyone at the table.
Why You’ll Love This Recipe?
There are numerous reasons to fall in love with Cheesy Taco Sticks. First and foremost, the taste is simply irresistible. The combination of seasoned ground meat, melty cheese, and fresh vegetables creates a flavor explosion that will tantalize your taste buds. Each bite is a delightful mix of textures, from the crispy exterior to the gooey interior, making it a satisfying snack or meal.
Another reason is the ease of preparation. With just a few simple ingredients and minimal cooking time, you can whip up a batch of these cheesy sticks in no time. The recipe is straightforward, making it perfect for beginner cooks or anyone looking for a quick and delicious dish.
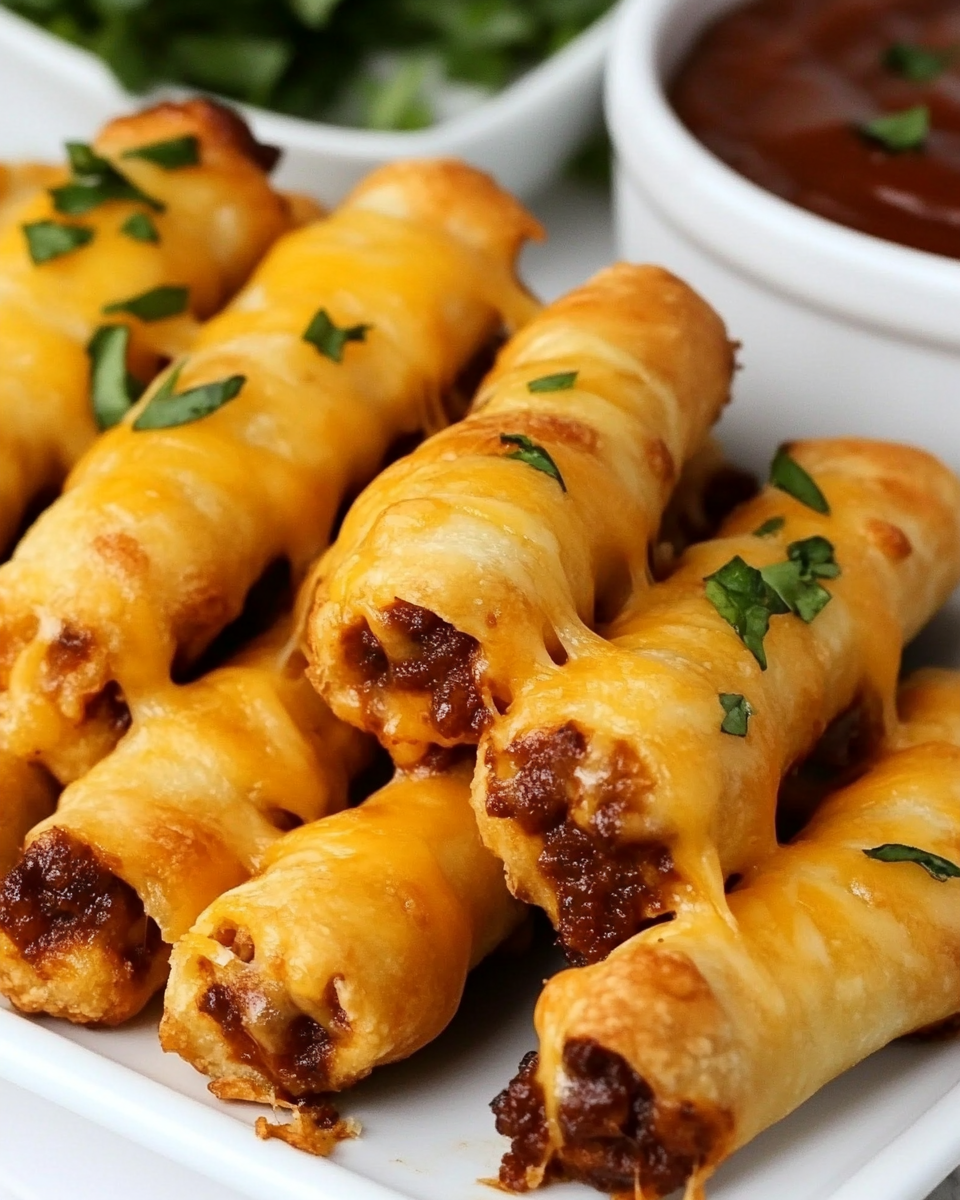
Lastly, the presentation of Cheesy Taco Sticks is visually appealing. Their golden-brown color, combined with the enticing melted cheese oozing from the sides, makes them an attractive addition to any platter. Serve them with your favorite dipping sauces, and they become a show-stopping treat that will impress your guests.
Ingredients:
To create the perfect Cheesy Taco Sticks, gather the following ingredients:
- Ground beef (1 pound): This will be the main protein in your taco filling. Choose a lean option to reduce excess fat while still achieving a flavorful dish.
- Taco seasoning (1 packet): A convenient way to infuse your ground beef with classic taco flavors. You can also make your own seasoning blend using chili powder, cumin, garlic powder, onion powder, and paprika.
- Shredded cheese (2 cups): A blend of cheddar and Monterey Jack is ideal for melting. This combination provides a rich flavor and excellent stretch, making your cheesy sticks irresistible.
- Tortillas (8 large): Flour tortillas work best for wrapping the filling. They are pliable and can hold a generous amount of filling without tearing.
- Vegetables (1 cup total): Chopped onions, bell peppers, and tomatoes add freshness and texture to your filling. Feel free to use your favorite vegetables or whatever you have on hand.
- Cooking oil (for frying): Vegetable or canola oil is perfect for frying your cheesy sticks until they are golden and crispy. The amount will depend on the frying method you choose.
- Sour cream (for serving): This creamy condiment adds a tangy flavor that pairs beautifully with the cheesy, savory sticks.
- Salsa (for serving): A fresh salsa enhances the taco flavor and adds a refreshing touch, making it a perfect dip for your cheesy sticks.
With these ingredients, you can create a delicious and satisfying dish that caters to your taco cravings. The combination of protein, cheese, and vegetables ensures that every bite is packed with flavor. Don’t hesitate to get creative and add your favorite toppings or sides to make this dish your own.
How To Make Cheesy Taco Sticks?

Follow these step-by-step instructions to prepare Cheesy Taco Sticks that will impress your family and friends:
- Cook the ground beef: In a large skillet over medium heat, add the ground beef. Use a wooden spoon to break it apart as it cooks. Stir occasionally until the beef is browned and fully cooked, about 7-10 minutes. Drain excess fat if necessary.
- Add taco seasoning: Sprinkle the taco seasoning over the cooked beef. Add a splash of water to help the seasoning adhere. Stir well and let it simmer for about 5 minutes until the flavors meld together. Remove from heat and let it cool slightly.
- Prepare the vegetables: While the beef is cooling, chop your chosen vegetables. Aim for small, even pieces to ensure they cook evenly and fit nicely inside the tortillas.
- Combine the filling: In a large bowl, combine the cooked beef, shredded cheese, and chopped vegetables. Mix well until everything is evenly distributed.
- Assemble the taco sticks: Take a tortilla and place a generous amount of the filling mixture in the center. Roll the tortilla tightly from one end to the other, ensuring the filling is well sealed inside. Repeat this process for all tortillas.
- Heat the oil: In a large frying pan or deep fryer, heat about 1-2 inches of oil over medium heat. The oil should be hot enough that a small piece of tortilla sizzles when added.
- Fry the taco sticks: Carefully place a few rolled tortillas in the hot oil. Fry them for about 2-3 minutes on each side until they are golden brown and crispy. Avoid overcrowding the pan to ensure even cooking.
- Drain and cool: Once cooked, transfer the Cheesy Taco Sticks to a plate lined with paper towels to absorb excess oil. Let them cool slightly before serving.
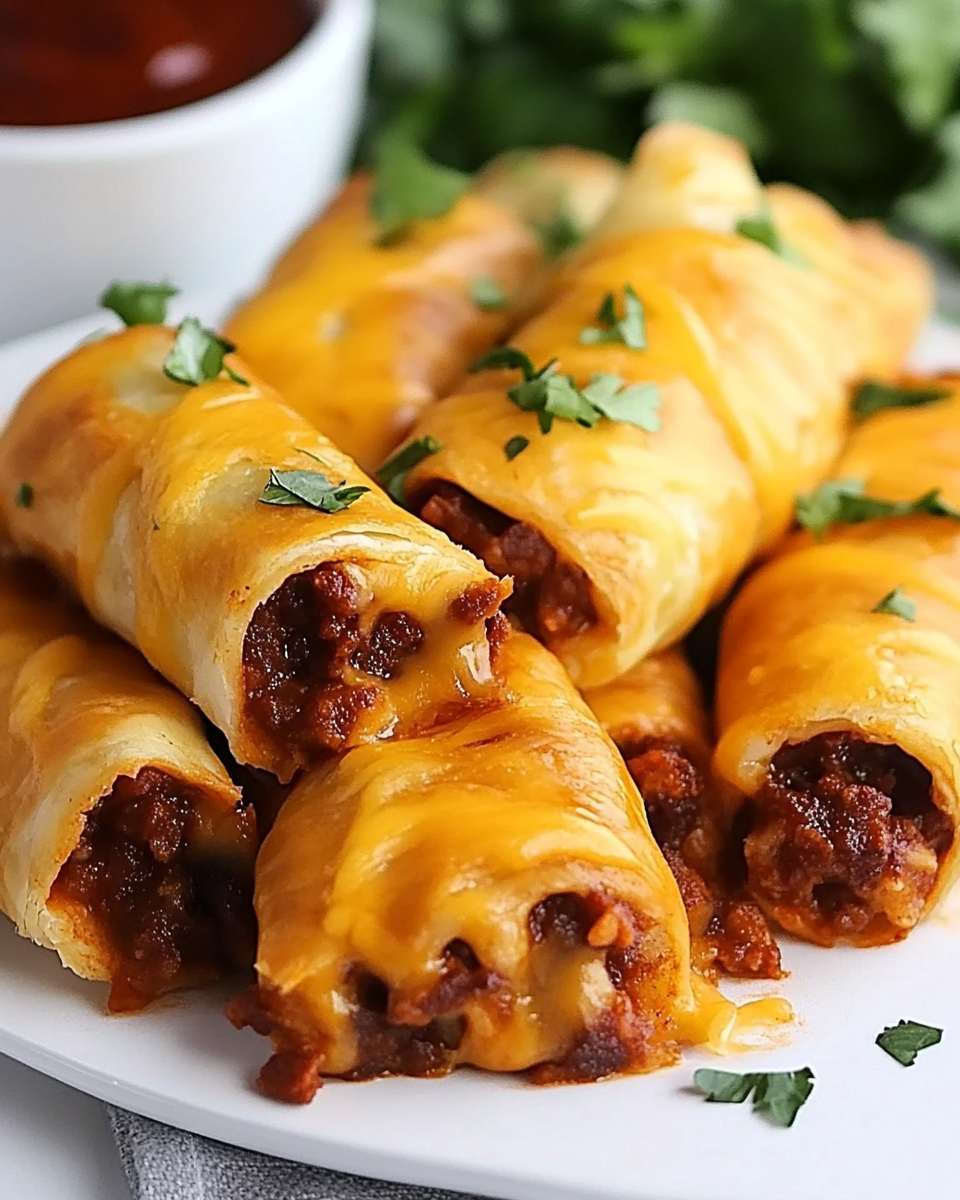
- Serve: Arrange the Cheesy Taco Sticks on a platter and serve them warm with sides of sour cream and salsa for dipping. Enjoy your delicious creation!
Tips For Variations:
Cheesy Taco Sticks are incredibly versatile, allowing for many variations to suit different tastes and dietary preferences. Here are some ideas to customize your Cheesy Taco Sticks:
- Protein options: While ground beef is a classic choice, you can experiment with other proteins such as ground turkey, shredded chicken, or even plant-based alternatives. Each option will impart a unique flavor while still delivering that satisfying cheesy goodness.
- Cheese varieties: Don’t feel limited to just cheddar and Monterey Jack. Try using pepper jack for a spicy kick or mozzarella for a milder, stretchy cheese experience. Mixing different cheeses can create a more complex flavor profile.
- Vegetable medley: Customize your filling by incorporating vegetables like corn, black beans, or jalapeños. These additions can enhance the flavor and texture while adding nutritional variety.
- Baking option: For a healthier twist, consider baking the Cheesy Taco Sticks instead of frying. Preheat your oven to 400°F (200°C), place the assembled sticks on a baking sheet lined with parchment paper, and lightly spray them with cooking oil. Bake for about 15-20 minutes or until golden brown, flipping halfway through.
- Spice it up: If you enjoy a bit of heat, add diced jalapeños or a few dashes of hot sauce to the filling mixture. Alternatively, sprinkle some chili flakes or cayenne pepper into the taco seasoning for an extra kick.
- Garnish and toppings: Enhance your serving experience by garnishing the Cheesy Taco Sticks with fresh cilantro, diced avocado, or sliced green onions. These toppings not only elevate the flavor but also add a pop of color to your presentation.
Feel free to get creative with these variations to make the dish your own. The flexibility of Cheesy Taco Sticks allows you to tailor them to any occasion, ensuring there is something for everyone to enjoy.
Serving Suggestions:
To truly elevate the experience of enjoying Cheesy Taco Sticks, consider these creative serving suggestions:
- Platter presentation: Arrange the Cheesy Taco Sticks on a large serving platter, interspersing colorful garnishes like cherry tomatoes, avocado slices, and fresh herbs. This vibrant display will entice your guests and make the dish more inviting.
- Dipping stations: Create a mini taco bar by offering a variety of dipping sauces. In addition to sour cream and salsa, consider guacamole, pico de gallo, or a spicy ranch dressing. This allows guests to customize their dipping experience according to their preferences.
- Side dishes: Serve your Cheesy Taco Sticks alongside traditional Mexican sides, such as Mexican rice, refried beans, or a fresh garden salad. These additions create a more complete meal and complement the flavors of the taco sticks.
- Game day snacks: For a fun twist, serve Cheesy Taco Sticks during game days or movie nights. Pair them with chips and salsa or nachos for a festive, shareable snack that everyone will love.
- Kids’ parties: These cheesy sticks are an excellent option for children’s parties. Consider cutting them into smaller pieces for easy handling, and serve them with cute toothpicks for a fun and interactive eating experience.
- Leftover creativity: If you have any Cheesy Taco Sticks left over, consider chopping them up and adding them to a salad or using them as a filling in a quesadilla. This way, you can enjoy them in new ways, reducing waste while still enjoying delicious flavors.
By incorporating these serving suggestions, you can create a memorable dining experience centered around your Cheesy Taco Sticks. Whether it’s an everyday meal or a special occasion, these ideas will enhance your presentation and enjoyment of this delightful dish.
FAQ:
Can I make Cheesy Taco Sticks ahead of time?
Yes, you can prepare the filling and assemble the sticks ahead of time. Store them in the refrigerator until you are ready to fry or bake them. This makes for a convenient option for parties or busy weeknights.
What can I do if my tortillas tear while rolling?
If your tortillas tear, you can microwave them for a few seconds to make them more pliable. Alternatively, use smaller tortillas or layer two together to create a sturdier wrap for your filling.
How do I store leftover Cheesy Taco Sticks?
Store any leftover Cheesy Taco Sticks in an airtight container in the refrigerator for up to three days. Reheat them in the oven or air fryer for best results to restore their crispiness.
Can I freeze Cheesy Taco Sticks?
Yes, you can freeze assembled Cheesy Taco Sticks before frying. Place them on a baking sheet, freeze until firm, then transfer to a freezer-safe container. Fry or bake them directly from the freezer without thawing.
What dipping sauces pair well with Cheesy Taco Sticks?
Classic pairings include sour cream and salsa, but you can also try guacamole, spicy ranch, or even a tangy barbecue sauce for a unique twist.

Cheesy Taco Sticks
Equipment
- Large Skillet
- Mixing Bowl
- Frying Pan
Ingredients
Main Ingredients
- 1 pound Ground beef Choose a lean option for less fat.
- 1 packet Taco seasoning Use store-bought or homemade.
- 2 cups Shredded cheese A blend of cheddar and Monterey Jack is ideal.
- 8 large Tortillas Flour tortillas work best.
- 1 cup Vegetables Chopped onions, bell peppers, and tomatoes.
- Cooking oil For frying, use vegetable or canola oil.
- Sour cream For serving.
- Salsa For serving.
Instructions
- In a large skillet over medium heat, add the ground beef. Cook until browned, about 7-10 minutes. Drain excess fat if necessary.
- Sprinkle the taco seasoning over the cooked beef and add a splash of water. Stir well and let it simmer for about 5 minutes.
- Chop your chosen vegetables while the beef is cooling.
- In a large bowl, combine the cooked beef, shredded cheese, and chopped vegetables. Mix well.
- Take a tortilla and place a generous amount of the filling mixture in the center. Roll tightly and seal.
- Heat about 1-2 inches of oil in a frying pan over medium heat.
- Carefully place rolled tortillas in the hot oil. Fry for about 2-3 minutes on each side until golden brown.
- Transfer the Cheesy Taco Sticks to a plate lined with paper towels to absorb excess oil. Let cool slightly before serving.
- Serve warm with sides of sour cream and salsa for dipping.