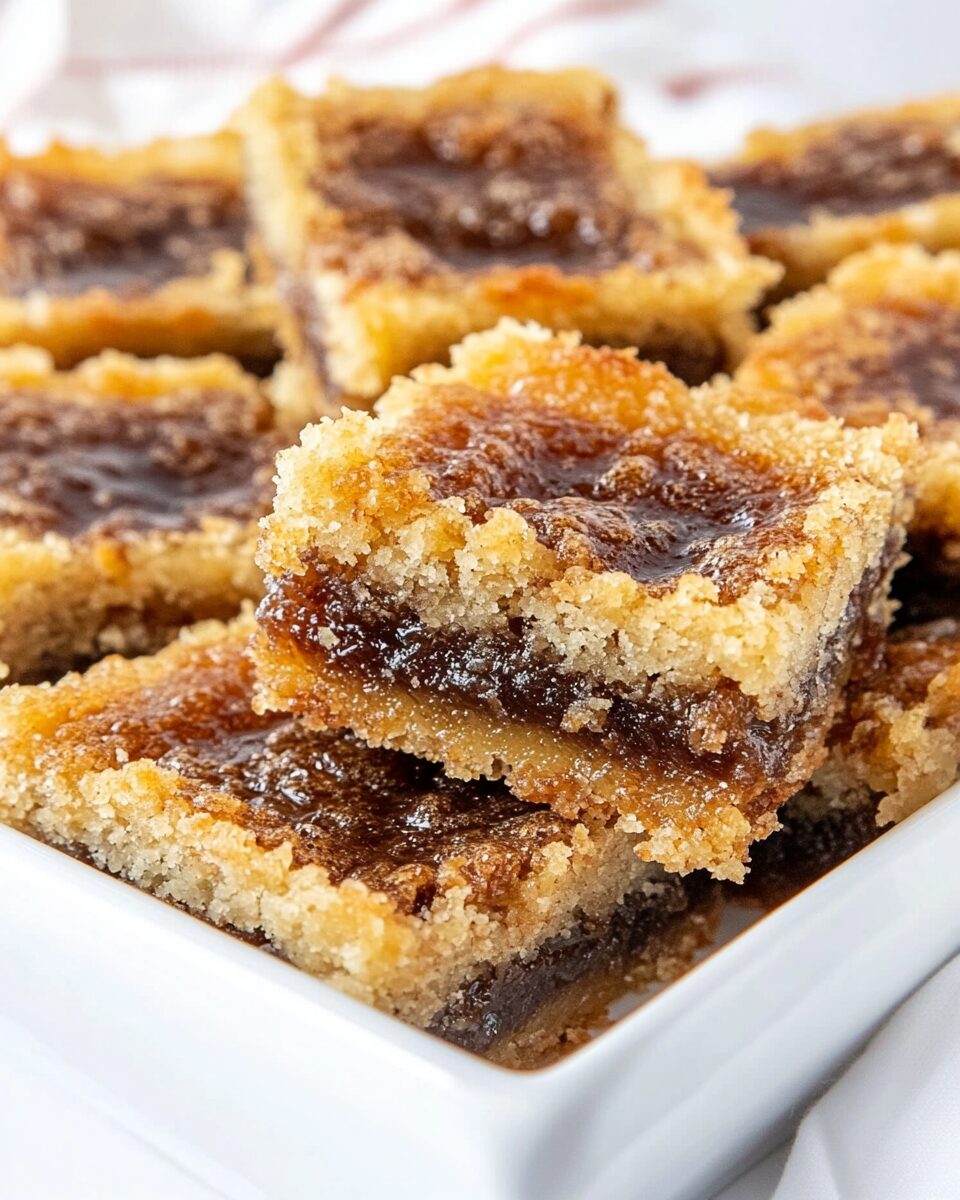
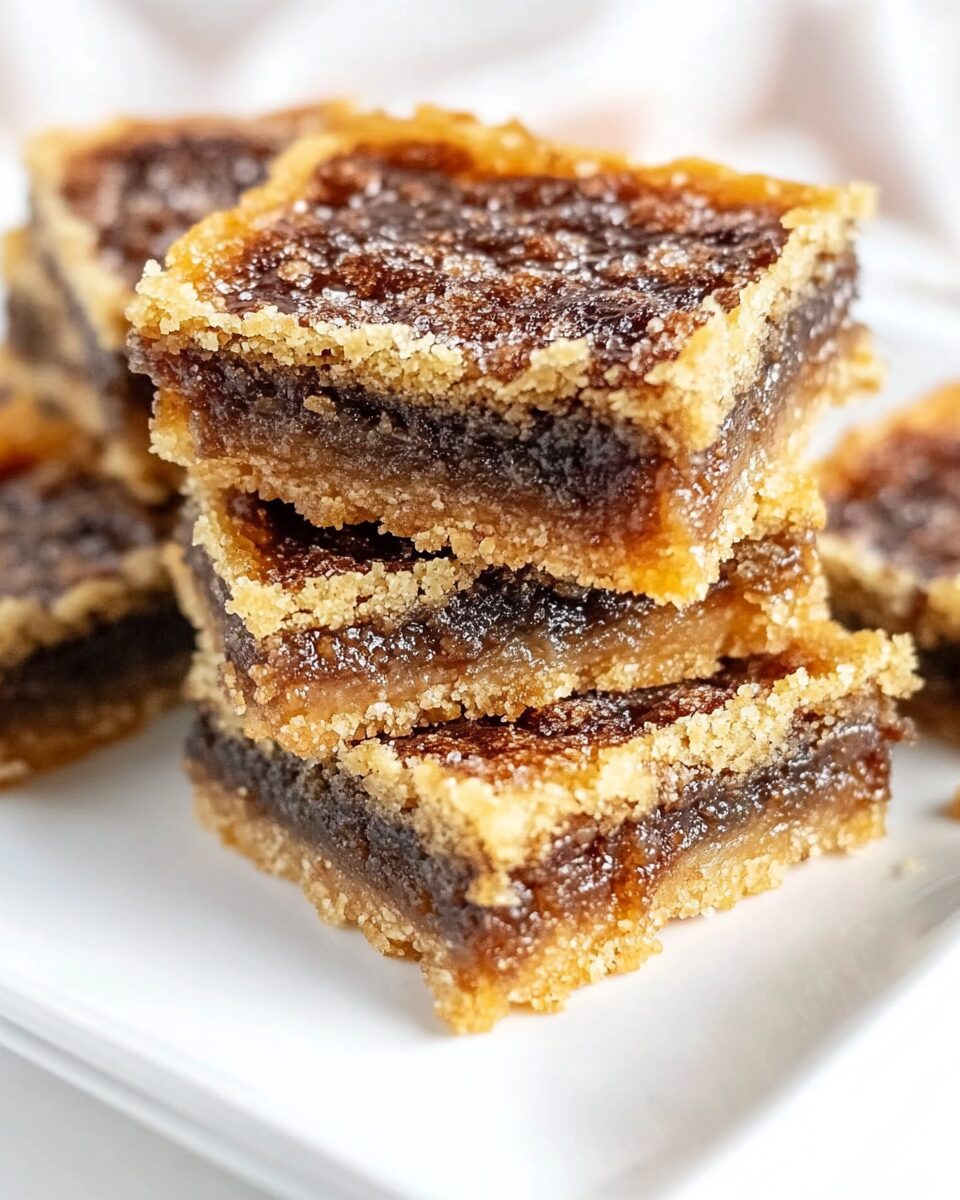
Butter Tart Bars
Butter Tart Bars are a delightful twist on the classic Canadian dessert, capturing the essence of the beloved butter tart in a convenient, sliceable form. Imagine buttery, gooey filling nestled within a sweet, crumbly crust that practically melts in your mouth. Perfect for gatherings or as an indulgent treat for yourself, these bars are a crowd-pleaser that combines rich flavors with a satisfying texture. Whether you’re hosting a potluck, looking for a sweet addition to your dessert table, or simply craving something decadent, Butter Tart Bars are the answer. With a hint of sweetness and a touch of nostalgia, these bars are sure to become a staple in your recipe collection. Plus, they are easy to make, requiring minimal ingredients and effort, yet delivering maximum satisfaction. Get ready to impress friends and family with this delightful dessert that is as visually appealing as it is delicious!
Why You’ll Love This Recipe?
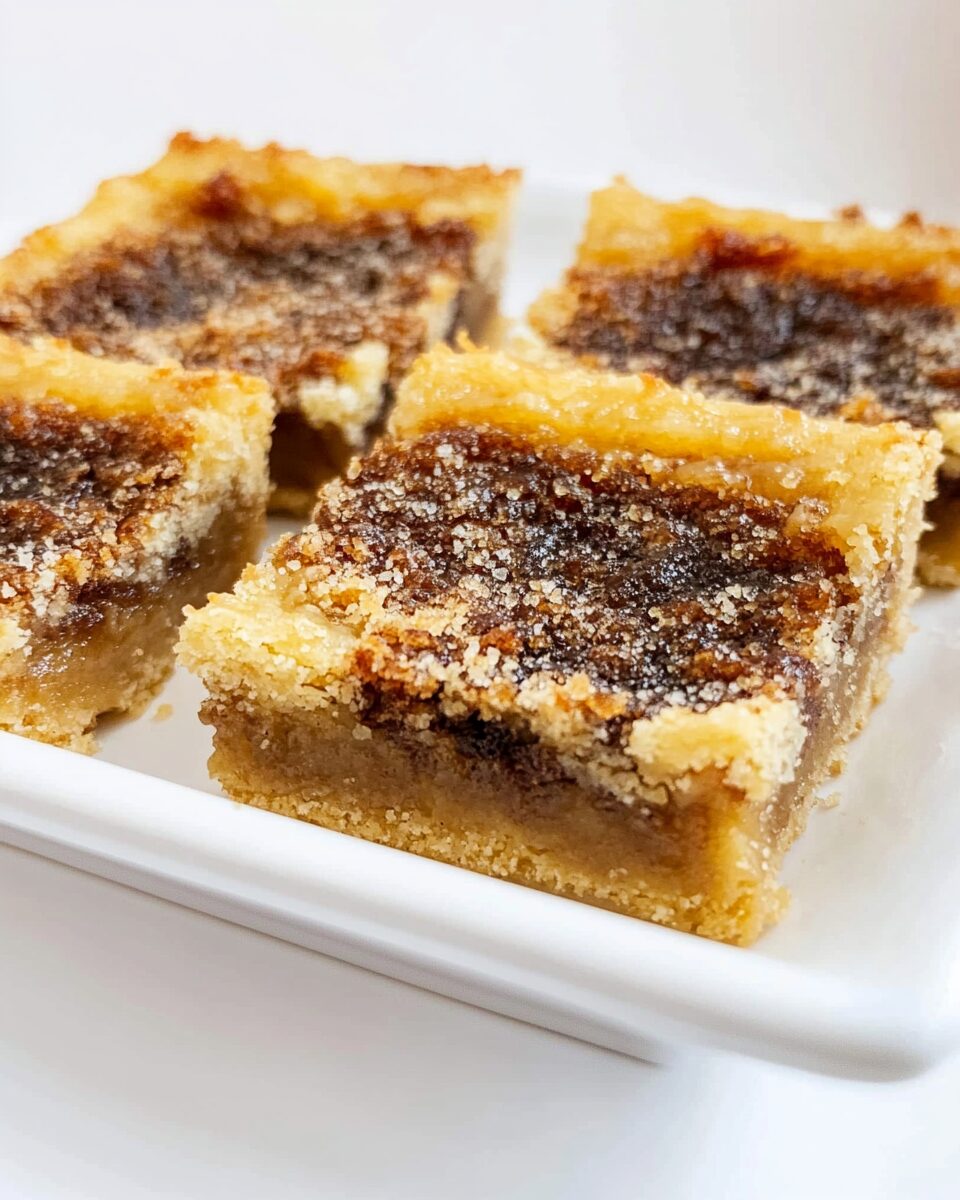
This Butter Tart Bars recipe is a treasure for several reasons. First and foremost, the flavor profile is a harmonious blend of sweet and buttery goodness, with each bite offering an irresistible taste of caramelized sugar and a hint of vanilla. The crust is perfectly balanced, providing just the right amount of crunch to complement the gooey filling. Secondly, the preparation is incredibly straightforward, making it accessible for bakers of all skill levels. With just a few simple steps, you can whip up a batch in no time, perfect for those who want to create something special without spending hours in the kitchen. Additionally, the visual appeal of these bars cannot be overlooked. Their golden-brown top and rich filling create a mouthwatering presentation that’s sure to impress anyone who lays eyes on them. Lastly, Butter Tart Bars are versatile; they can be customized with your favorite mix-ins or toppings, allowing you to tailor them to your taste preferences. Whether you enjoy nuts for added crunch or chocolate chips for a decadent twist, the possibilities are endless!
Ingredients:
To create the perfect Butter Tart Bars, gather the following ingredients. Each one plays a crucial role in achieving that iconic flavor and texture.
- 1 cup unsalted butter – Softened to room temperature for easy mixing, the butter is the star of this recipe, providing richness and flavor.
- 1 cup brown sugar – Packed brown sugar adds a deep caramel flavor and moisture to the filling, creating that gooey texture.
- 1 cup granulated sugar – Balancing the richness, granulated sugar contributes sweetness and helps with the caramelization during baking.
- 4 large eggs – Eggs act as a binding agent and help in achieving the desired custard-like filling consistency.
- 1 teaspoon vanilla extract – This adds a warm, inviting flavor that enhances the overall taste of the bars.
- 2 cups all-purpose flour – The base for the crust, all-purpose flour provides structure and a tender crumb.
- 1 teaspoon baking powder – This helps to lighten the texture of the crust, ensuring it’s not too dense.
- 1/2 teaspoon salt – A small amount of salt enhances the flavors and balances the sweetness.
- 1/2 cup chopped nuts (optional) – Walnuts or pecans add a delightful crunch and nutty flavor if desired.
- 1/2 cup raisins (optional) – For those who enjoy a bit of chewiness, raisins can be added for an extra layer of flavor.
Ensure all ingredients are at room temperature for the best results, and feel free to experiment with the optional ingredients to make these bars your own!
How To Make Butter Tart Bars?
Creating these Butter Tart Bars is a delightful journey that requires just a few simple steps. Follow this detailed guide to ensure your bars turn out perfectly every time.
- Preheat your oven: Start by preheating your oven to 350°F (175°C). This ensures that your bars bake evenly and achieve that perfect golden color.
- Prepare the baking dish: Grease a 9×13-inch baking dish with butter or line it with parchment paper for easy removal. This will prevent the bars from sticking and make for easier cutting.
- Make the crust: In a large mixing bowl, cream together the softened butter, granulated sugar, and brown sugar until light and fluffy. This will take about 3-4 minutes. Add in the eggs one at a time, mixing well after each addition. Stir in the vanilla extract.
- Combine dry ingredients: In a separate bowl, whisk together the all-purpose flour, baking powder, and salt. Gradually add the dry mixture to the wet ingredients, mixing until just combined. Be careful not to overmix.
- Press the crust into the pan: Take about two-thirds of the dough and press it evenly into the bottom of your prepared baking dish. This will form the base for your bars. Use a spatula or your hands to ensure an even layer.
- Prepare the filling: In another bowl, combine the brown sugar, granulated sugar, eggs, and vanilla extract. Whisk until smooth and well blended. If you’re adding optional ingredients like nuts or raisins, stir them in now.
- Pour the filling over the crust: Carefully pour the filling mixture over the crust in the baking dish, spreading it evenly to cover the entire surface.
- Bake: Place the baking dish in the preheated oven and bake for 30-35 minutes, or until the filling is set but still slightly jiggly in the center. The edges should be golden brown.
- Cool: Once baked, remove the bars from the oven and allow them to cool in the baking dish for about 15 minutes. Then, transfer them to a wire rack to cool completely before slicing.
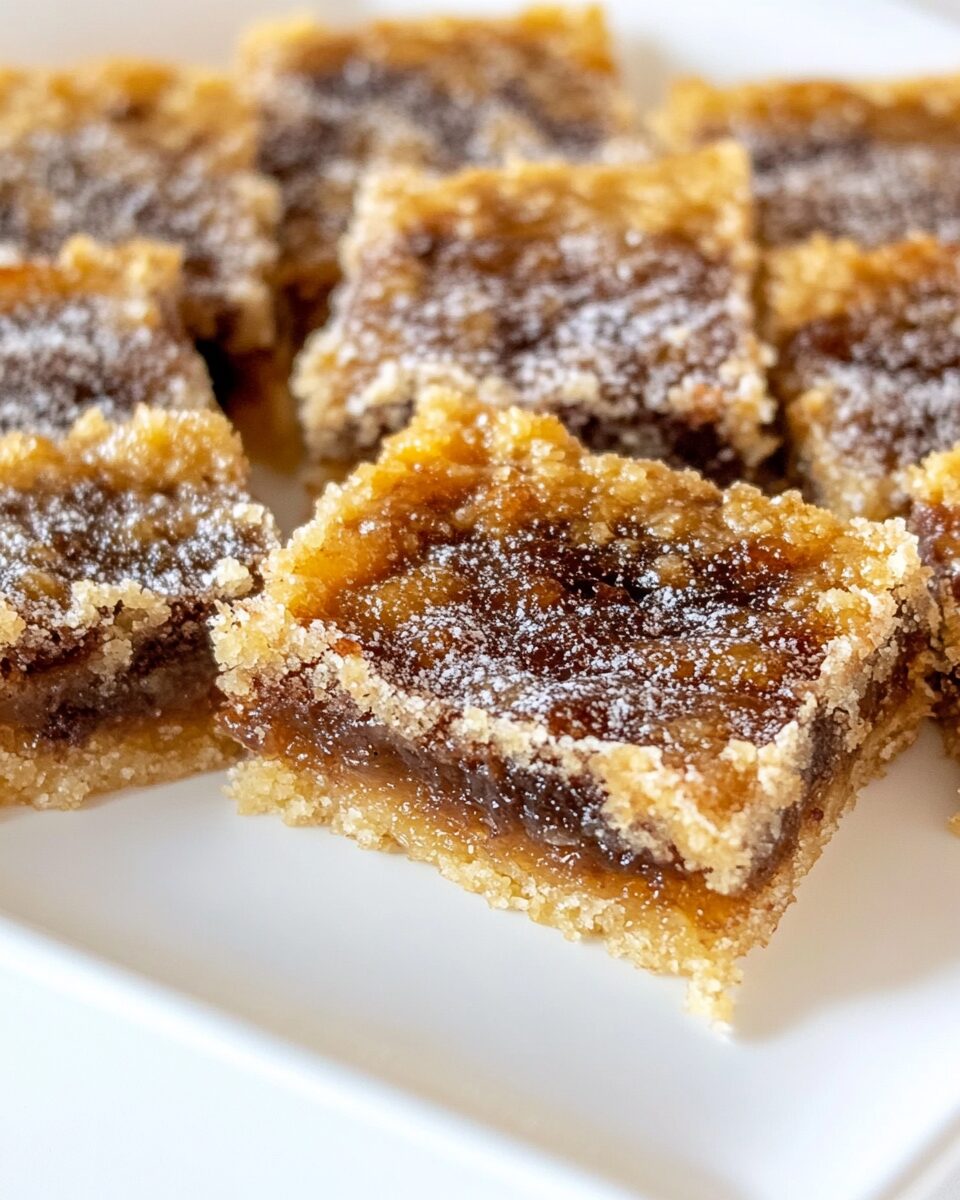
- Slice and serve: Once cooled, use a sharp knife to cut the bars into squares or rectangles. Serve them on a platter or store them in an airtight container for later enjoyment.
Enjoy the delightful aroma that fills your kitchen as these Butter Tart Bars bake, and savor the anticipation as you prepare to indulge in a truly scrumptious treat!
Tips For Variations:
While the classic Butter Tart Bars are delicious on their own, you can easily customize them to suit your taste preferences or to make them more exciting. Here are some unique variations to consider:
- Chocolate Lovers: For a rich twist, add 1 cup of semi-sweet chocolate chips to the filling mixture. The chocolate melts beautifully and creates a decadent contrast to the buttery filling.
- Fruit Infusion: Incorporate dried fruits like cranberries or cherries for a burst of flavor. Chopped apricots or figs can also add a delightful chewiness and a hint of tang.
- Nutty Crunch: Instead of just adding nuts, consider toasting them lightly before incorporating them into the filling. Toasted walnuts or pecans bring out a deeper flavor and crunch.
- Spiced Up: Add a teaspoon of cinnamon or nutmeg to the filling for a warm spice note that complements the sweetness beautifully. This is especially delightful during the fall and winter months.
- Caramel Drizzle: After slicing the bars, drizzle melted caramel sauce over the top for an extra layer of sweetness and a beautiful presentation. This can elevate the dessert for special occasions.
- Gluten-Free Option: For those avoiding gluten, use a gluten-free all-purpose flour blend in place of regular flour. Ensure that all other ingredients are gluten-free as well.
- Mini Bars: To create bite-sized treats, use a mini muffin tin to bake individual portions. Adjust the baking time to about 18-20 minutes for these smaller bars.
Feel free to mix and match these ideas to create your perfect Butter Tart Bars. Each variation offers a unique twist on the classic recipe!
Serving Suggestions:
Presenting your Butter Tart Bars in an appealing way can enhance the overall experience. Here are some creative serving suggestions to elevate your dessert:
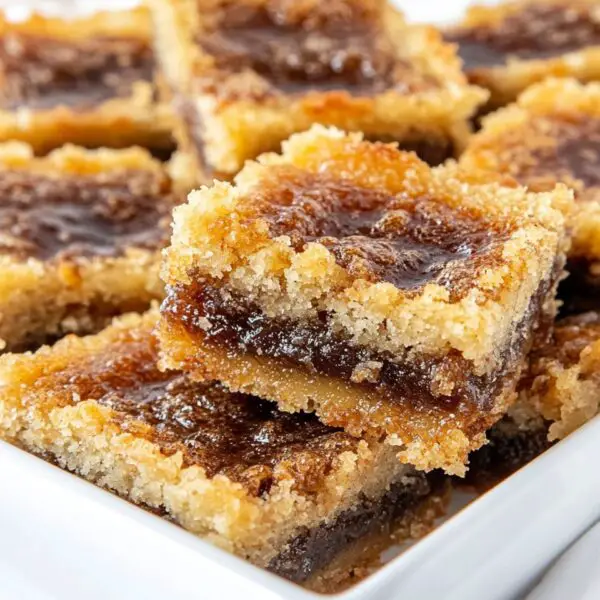
- Platter Presentation: Arrange the sliced bars on a beautiful serving platter, garnishing with fresh mint leaves or edible flowers for a touch of elegance. This makes for a stunning centerpiece at any gathering.
- Accompanied by Ice Cream: Serve warm Butter Tart Bars with a scoop of vanilla ice cream on the side. The combination of warm, gooey bars and cold ice cream creates a delightful contrast that is hard to resist.
- With Fresh Fruit: Pair the bars with seasonal fresh fruit like strawberries, raspberries, or sliced apples. The acidity of the fruit helps balance the sweetness of the bars.
- Drizzled with Cream: For an indulgent touch, drizzle heavy cream or whipped cream over the bars just before serving. This adds a rich creaminess that complements the buttery filling.
- Tea or Coffee Pairing: These bars make an excellent afternoon treat alongside a cup of tea or coffee. The flavors meld beautifully, making it a perfect pairing for a cozy afternoon.
- Gift-Worthy Treats: Consider packaging the bars in decorative boxes or tins for gifts. This makes for a thoughtful homemade gift for friends or family during the holidays or special occasions.
No matter how you choose to serve your Butter Tart Bars, they are sure to impress and be the star of the show!
FAQ:
Can I make Butter Tart Bars ahead of time?
Absolutely! Butter Tart Bars can be made a day in advance. Just store them in an airtight container at room temperature or in the refrigerator for up to a week for optimal freshness.
How do I know when the bars are done baking?
The bars are done when the edges are golden brown and the center is set but still has a slight jiggle. They will firm up as they cool.
Can I freeze Butter Tart Bars?
Yes, you can freeze them! Wrap the cooled bars tightly in plastic wrap and then in foil. They can be frozen for up to three months. Thaw in the refrigerator before serving.
What is the best way to cut Butter Tart Bars?
For clean cuts, use a sharp knife and wipe it clean between cuts. This prevents the filling from sticking to the knife and helps maintain neat edges.
Can I use different types of sugar?
While brown and granulated sugar provide the best results, you can experiment with other sugars like coconut sugar or maple sugar. Be aware that this may change the flavor and texture slightly.
Butter Tart Bars
Equipment
- Mixing Bowl
- Baking Dish
- Whisk
- Spatula
Ingredients
Butter Tart Bars Ingredients
- 1 cup unsalted butter Softened to room temperature for easy mixing.
- 1 cup brown sugar Packed brown sugar adds a deep caramel flavor.
- 1 cup granulated sugar Contributes sweetness and helps with caramelization.
- 4 large eggs Acts as a binding agent for the filling.
- 1 teaspoon vanilla extract Adds a warm, inviting flavor.
- 2 cups all-purpose flour Provides structure for the crust.
- 1 teaspoon baking powder Helps to lighten the texture of the crust.
- 1/2 teaspoon salt Enhances flavors and balances sweetness.
- 1/2 cup chopped nuts Optional, for added crunch and flavor.
- 1/2 cup raisins Optional, for added chewiness.
Instructions
- Preheat your oven to 350°F (175°C).
- Grease a 9×13-inch baking dish with butter or line it with parchment paper.
- Cream together the softened butter, granulated sugar, and brown sugar until light and fluffy.
- Add in the eggs one at a time, mixing well after each addition. Stir in the vanilla extract.
- In a separate bowl, whisk together the all-purpose flour, baking powder, and salt. Gradually add the dry mixture to the wet ingredients, mixing until just combined.
- Press about two-thirds of the dough into the bottom of your prepared baking dish.
- In another bowl, combine the brown sugar, granulated sugar, eggs, and vanilla extract. Whisk until smooth. Stir in optional ingredients if desired.
- Pour the filling mixture over the crust in the baking dish, spreading it evenly.
- Bake for 30-35 minutes, or until the filling is set but still slightly jiggly in the center.
- Allow to cool in the baking dish for about 15 minutes, then transfer to a wire rack to cool completely before slicing.
- Slice into squares or rectangles and serve.