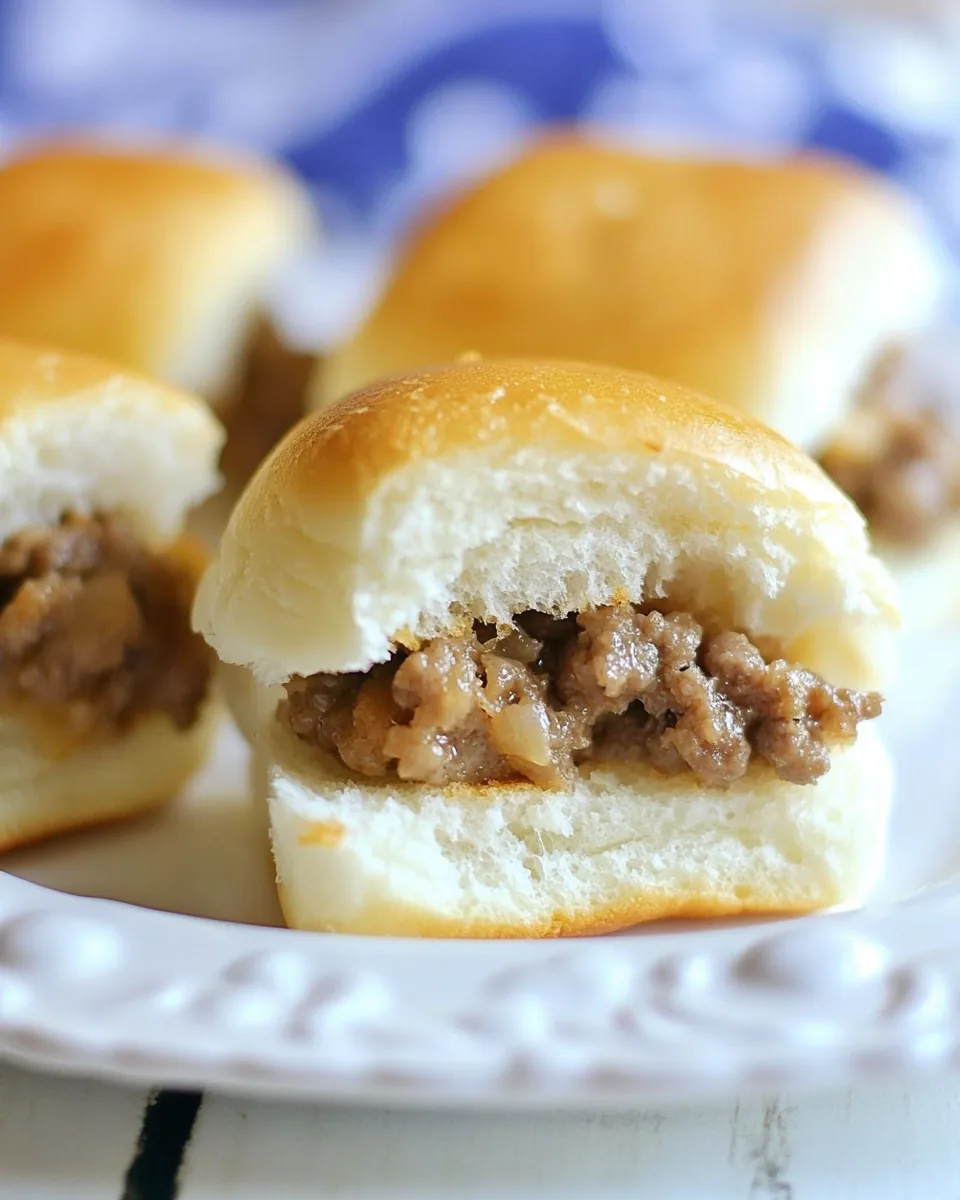
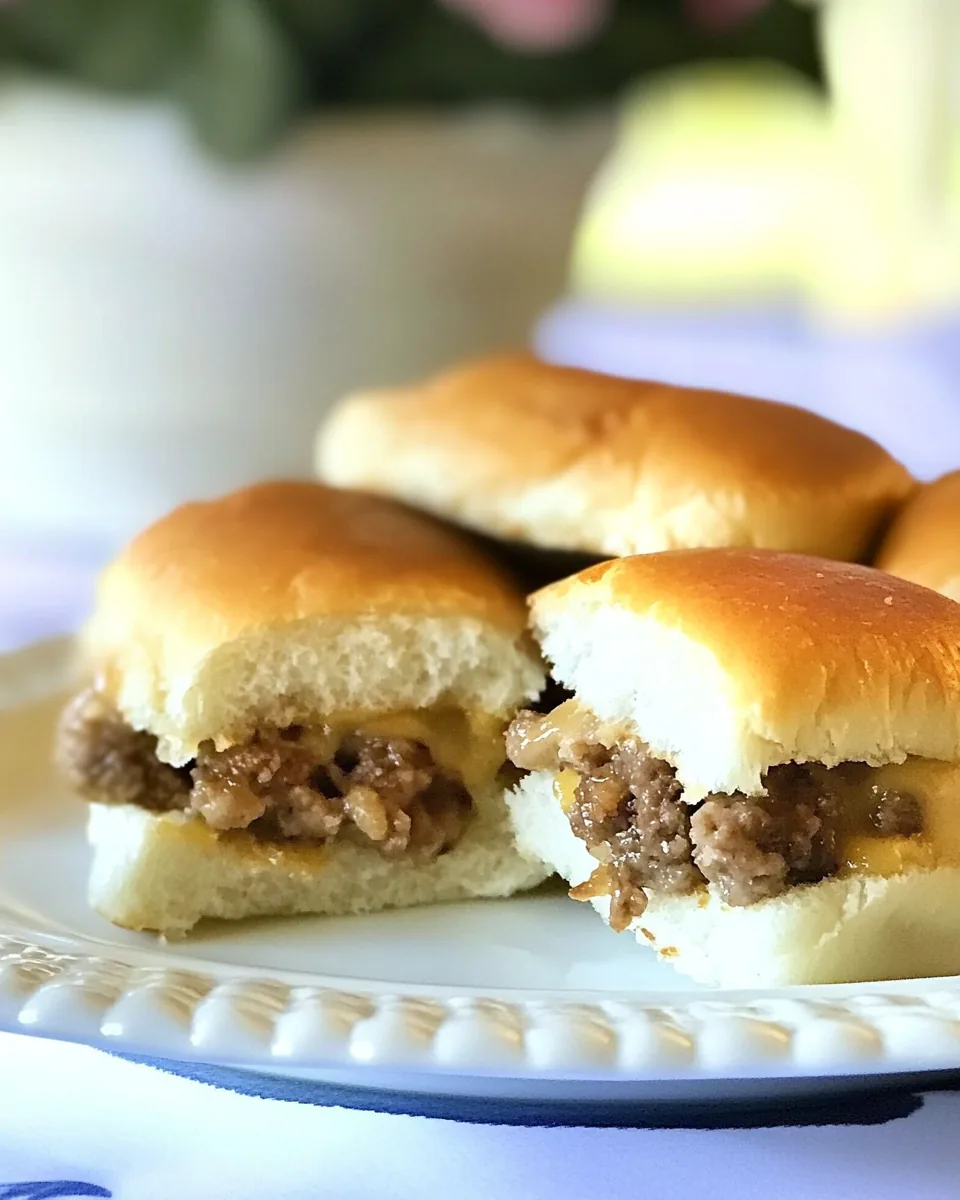
White Castle Sliders
Growing up, one of my absolute favorite treats was a good old-fashioned White Castle Sliders. It wasn’t just about the food; it was about the experience. Imagine coming home after a long day, the scents of sizzling beef and melted cheese wafting through the air, pulling at your heartstrings and making your stomach rumble. These mini burgers have a unique charm that brings back fond memories of family gatherings and late-night cravings. When I finally learned to make my own White Castle Sliders, it felt like a rite of passage! They are perfect for game day, parties, or even a cozy dinner at home, and guess what? They’re surprisingly easy to prepare!
Recipe Snapshot
35 mins
10 mins
25 mins
Medium
240 kcal
12 g
Keto, Gluten-Free
16 g
Wooden Spoon, Mixing Bowl, Frying Pan, Chef’s Knife, Baking Sheet, Oven
Why This White Castle Sliders Shines
Why They’re So Irresistible
The White Castle Sliders are not just any burgers; they are little bites of joy that pack a punch. Here’s why I love them:
A Taste of Nostalgia
Every time I whip up a batch of these sliders, I’m taken back to my youth. The flavors are reminiscent of those late-night runs to the drive-thru, where each bite brought warmth and comfort. It’s like enjoying a piece of history wrapped in a delicious bun!
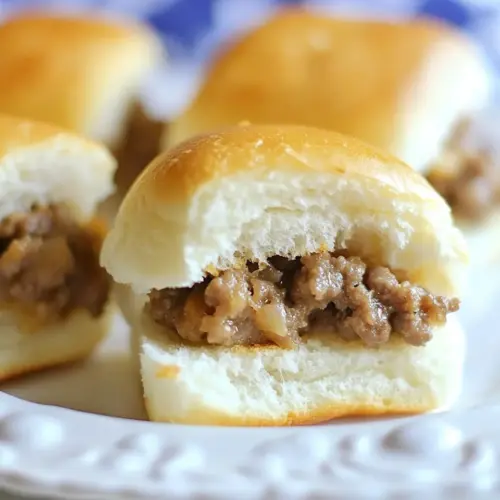
Perfectly Portable
These sliders are an absolute hit for any gathering. They are small enough to be eaten in one or two bites, making them easy to serve at parties. You can stack them up on a platter and watch as everyone goes for seconds!
Customizable Goodness
If you’re like me, you love to experiment. The base recipe for White Castle Sliders can be altered to please everyone’s taste buds. Want a spicy kick? Add some jalapeños. Prefer vegetarian? Swap out the beef for grilled veggies or a meat substitute.
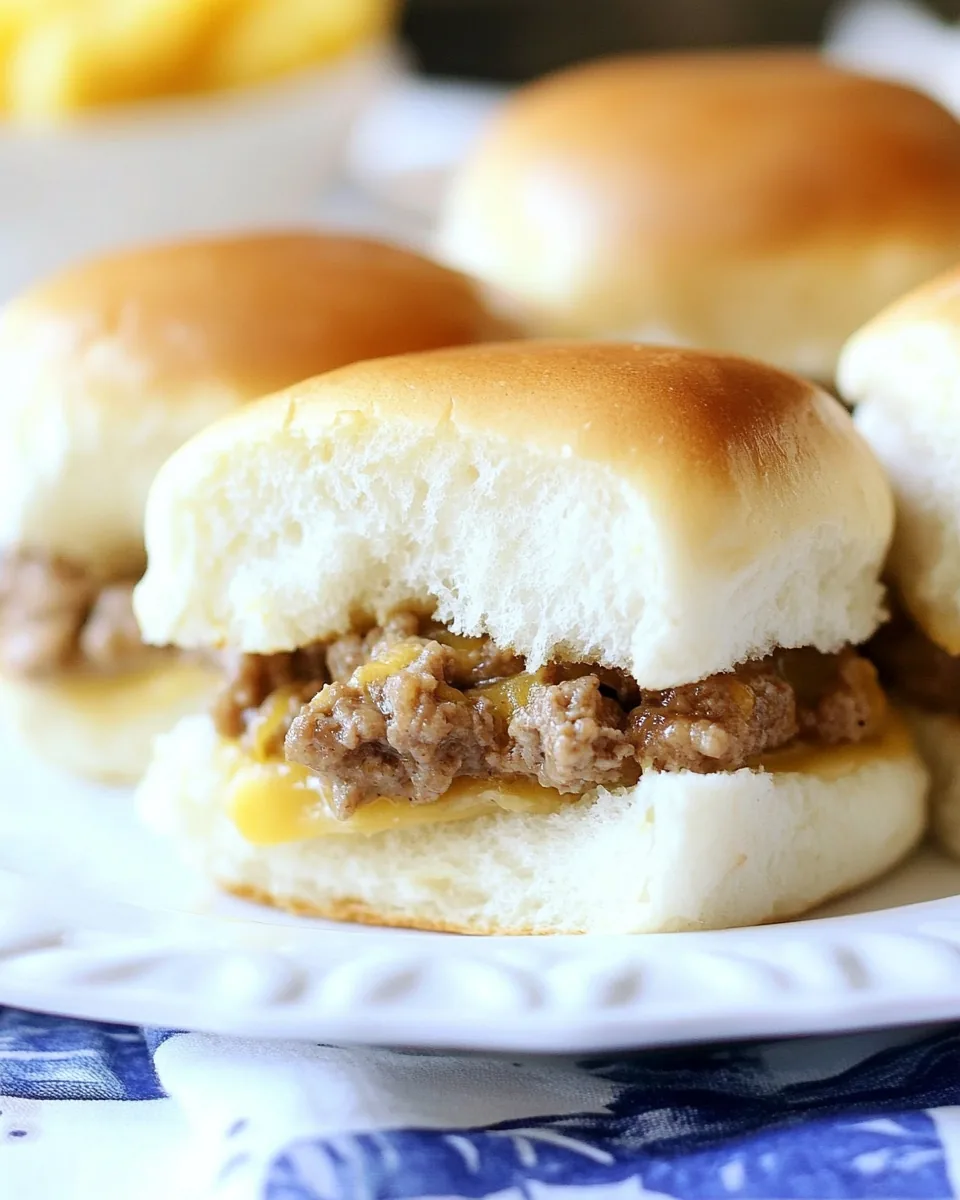
Melty Cheese Heaven
What’s better than melted cheese oozing from a hot slider? The combination of the rich flavor of melted cheese and the savory beef is simply magical. Every bite is a gooey delight that keeps you coming back for more.
Speedy to Make
These sliders don’t require hours in the kitchen. With just a few ingredients and minimal prep, you’ll have a delicious meal ready in no time. It’s perfect for those busy weeknights when you don’t want to compromise on flavor.
Feed a Crowd
With a yield of around forty sliders, this recipe is designed to feed a crowd. Whether it’s for a birthday party, a game-day celebration, or just a family get-together, these sliders will satisfy everyone’s cravings!
Ingredients Required for White Castle Sliders
Creating the perfect White Castle Sliders comes down to the quality of ingredients you use. Each element plays a crucial role in achieving that savory, mouthwatering flavor. Let’s look at the key players in this recipe that make it a crowd favorite!
- 1 pound ground beef: This is the star of the dish. The beef provides that rich, meaty flavor that everyone loves.
- 1 small onion, chopped fine: Adds a hint of sweetness and depth to the sliders.
- 8 ounces Velveeta cheese, cubed: The ultimate melting cheese that gives you that creamy texture.
- 0.5 (1 1/4 ounce) package onion soup mix: Enhances the flavor profile with savory seasonings.
- 40 slider rolls, sliced in half: The perfect vessels for all that delicious filling.
- 40 slices dill pickle slices: Adds a tangy crunch that complements the sliders beautifully.
The Process for Making White Castle Sliders

When it comes to preparing White Castle Sliders, the process is simple and straightforward. This recipe is all about layering flavors and textures to create something truly special. Let’s dive into the steps that will lead you to burger bliss.
- Start by preheating your oven to 350 degrees. This is essential for getting those sliders nice and toasty.
- In a large skillet, brown the ground beef and onion together. As they cook, the onion will become translucent and sweet, infusing the beef with flavor. Make sure to break the beef into small pieces so it cooks evenly.
- Once the beef is browned, drain the excess fat. You want the meat to be moist, but not greasy.
- Next, stir in the Velveeta cheese and the onion soup mix. Cook this mixture over low heat until the cheese melts completely. This should take around five minutes. The result will be a creamy, cheesy filling that’s simply irresistible.
- Take your slider rolls and slice them in half horizontally. This creates the perfect little nests for our delicious filling.
- Spread the cheesy beef mixture generously on the bottom half of each roll. I find using a cupcake scooper makes this step a breeze!
- Carefully place the tops of the rolls over the filling, creating little sandwiches. This is where the magic happens!
- Arrange the filled sliders on a baking dish lined with parchment paper. This helps with easy cleanup and prevents sticking.
- You can choose to wrap the whole pan in foil or each slider individually. This helps to keep the moisture in as they bake.
- Slide the baking dish into your preheated oven and bake for 15 to 20 minutes. You’ll know they’re done when the tops are golden brown and crispy.
- Once out of the oven, remove the foil and top each slider with a dill pickle slice. This adds a nice crunch and flavor contrast that ties everything together.
- Serve the sliders immediately, optionally with ketchup and mustard on the side for that extra zing!
Things Worth Knowing
- Tip for Browning Beef: Always ensure your skillet is hot before adding the ground beef. This helps to achieve a nice sear, locking in flavor.
- Cheese Melting: Use low heat when melting cheese to prevent it from separating. Slow and steady wins the cheese race!
- Roll Type: Opt for fresh slider rolls for the best texture and flavor. They should be soft but sturdy enough to hold the filling.
- Batch Cooking: If making these for a large gathering, consider preparing the filling ahead of time. You can assemble and bake just before serving!
Tips for Success
To ensure you nail these White Castle Sliders, here are some handy tips to guide you through the process:
- Storage: Leftover sliders can be stored in an airtight container in the fridge for up to three days. Reheat in the oven for best results.
- Freezing: Feel free to freeze any leftover sliders. Just wrap them tightly in foil or plastic wrap. They’ll keep for about two months!
- Pairing: Serve these sliders with a side of crispy fries or a fresh salad to balance the richness.
- Flavor Variations: Experiment with different cheeses like cheddar or pepper jack for a unique twist.
- Cooking Method: For a smoky flavor, try grilling the sliders instead of baking them. Just be sure to keep an eye on them!
- Serving Style: These sliders are perfect for game day or family gatherings. Set up a slider bar with various toppings!
Perfect Pairings for White Castle Sliders
When it comes to serving White Castle Sliders, think about what will complement their savory goodness. Here are some ideas:
- Classic Fries: Crispy fries are a must! Their salty crunch pairs beautifully with the sliders.
- Coleslaw: A refreshing coleslaw adds crunch and a tangy contrast to the rich sliders.
- Potato Chips: For a quick side, serve with a variety of potato chips. They provide a satisfying crunch.
- Fresh Vegetables: Serve a platter of fresh veggies with dip for a lighter option.
- Game Day Treat: These sliders are a fantastic addition to any game-day spread. Serve them alongside dips and wings for an ultimate feast!
- Seasonal Touch: In the fall, consider adding pumpkin spice to your dips for a seasonal flavor that works surprisingly well!
FAQ
Conclusion
The White Castle Sliders truly bring the taste of nostalgia right into your kitchen. With their cheesy, savory goodness and the ease of preparation, they are sure to become a family favorite. I encourage you to try making them yourself; you won’t be disappointed! Enjoy every bite and create your own memories around the dinner table!
White Castle Sliders
Equipment
- Wooden Spoon
- Mixing Bowl
- Frying Pan
- Chef's Knife
- Baking Sheet
- Oven
Ingredients
- 1 pound ground beef
- 1 small onion, chopped fine
- 8 ounces Velveeta cheese, cubed
- 0.5 package onion soup mix (see Note)
- 40 slider rolls sliced in half
- 40 slices dill pickle slices
Instructions
- Start by preheating your oven to 350 degrees. This is essential for getting those sliders nice and toasty.
- In a large skillet, brown the ground beef and onion together. As they cook, the onion will become translucent and sweet, infusing the beef with flavor. Make sure to break the beef into small pieces so it cooks evenly.
- Once the beef is browned, drain the excess fat. You want the meat to be moist, but not greasy.
- Next, stir in the Velveeta cheese and the onion soup mix. Cook this mixture over low heat until the cheese melts completely. This should take around five minutes. The result will be a creamy, cheesy filling that’s simply irresistible.
- Take your slider rolls and slice them in half horizontally. This creates the perfect little nests for our delicious filling.
- Spread the cheesy beef mixture generously on the bottom half of each roll. I find using a cupcake scooper makes this step a breeze!
- Carefully place the tops of the rolls over the filling, creating little sandwiches. This is where the magic happens!
- Arrange the filled sliders on a baking dish lined with parchment paper. This helps with easy cleanup and prevents sticking.
- You can choose to wrap the whole pan in foil or each slider individually. This helps to keep the moisture in as they bake.
- Slide the baking dish into your preheated oven and bake for 15 to 20 minutes. You’ll know they’re done when the tops are golden brown and crispy.
- Once out of the oven, remove the foil and top each slider with a dill pickle slice. This adds a nice crunch and flavor contrast that ties everything together.
- Serve the sliders immediately, optionally with ketchup and mustard on the side for that extra zing!
Notes
- Tip 1: Each Lipton Onion Soup Mix packet comes with 2 (.5 ounce) packets but note that the recipe only calls for one.
- Tip 2: This recipe can yield between 24 and 40 sandwiches depending on how big you slider rolls are.