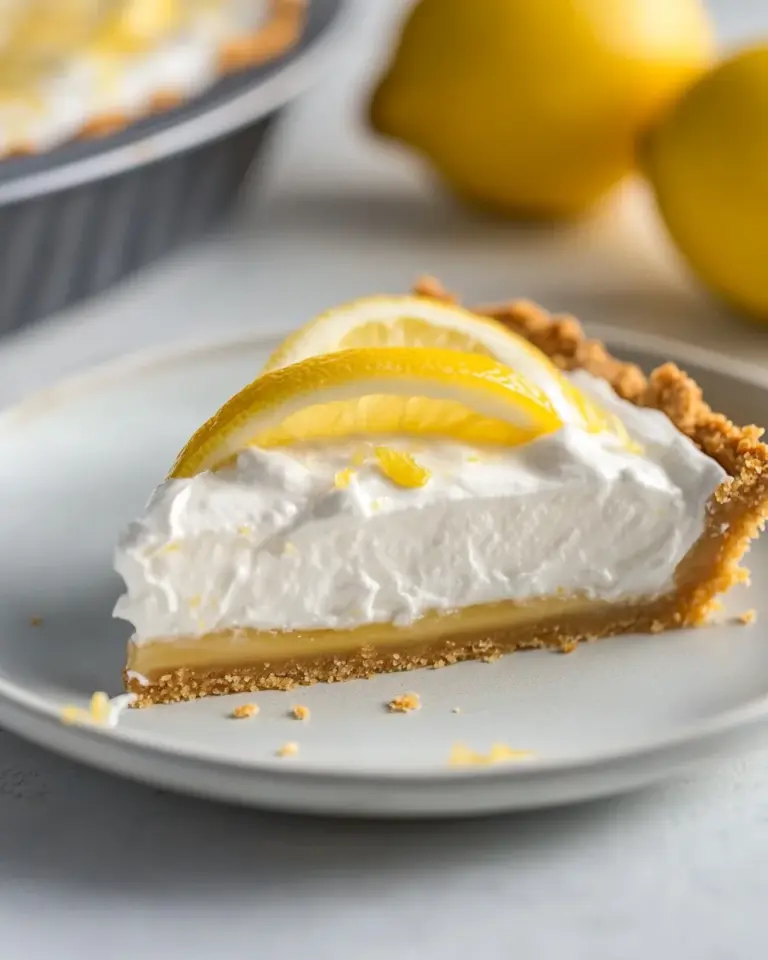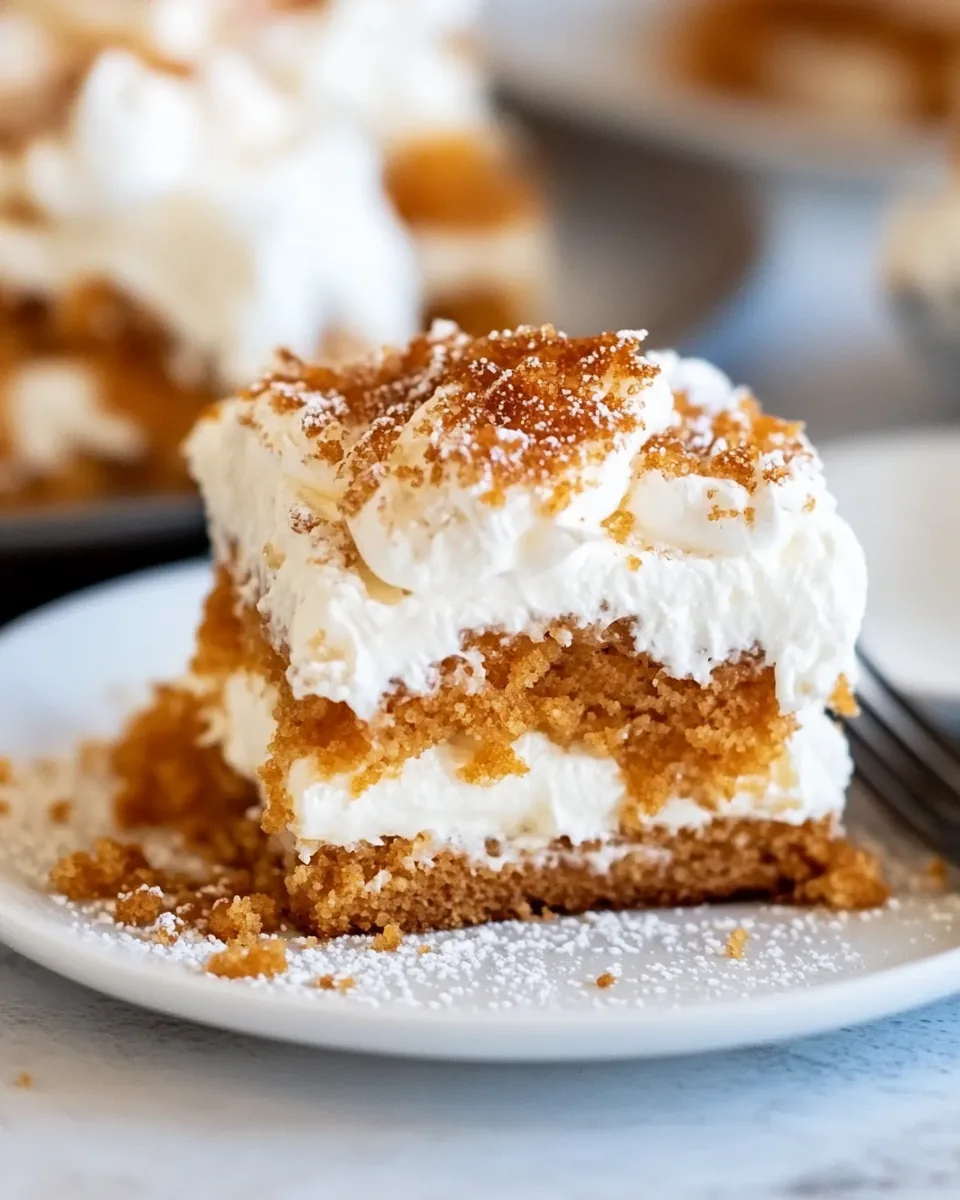
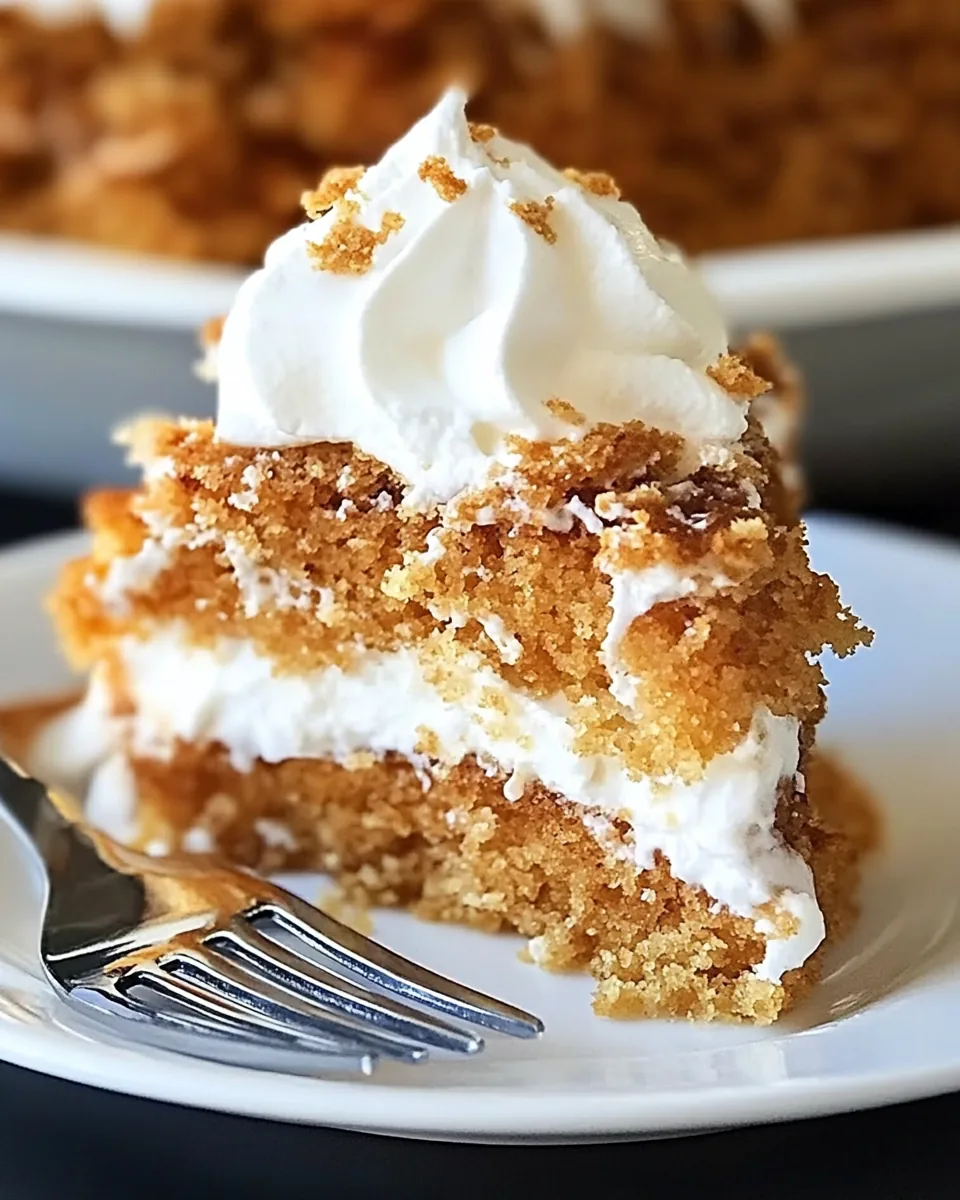
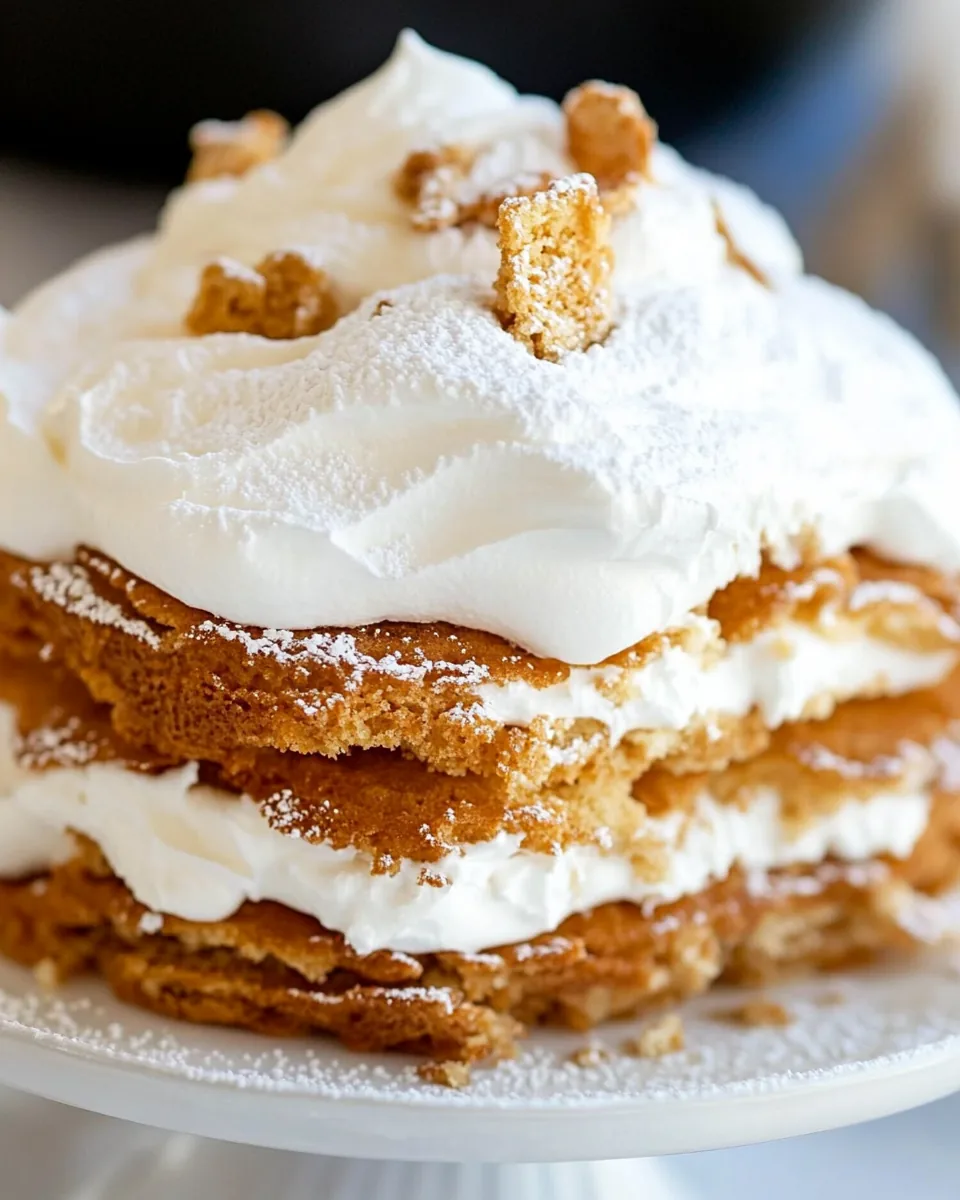
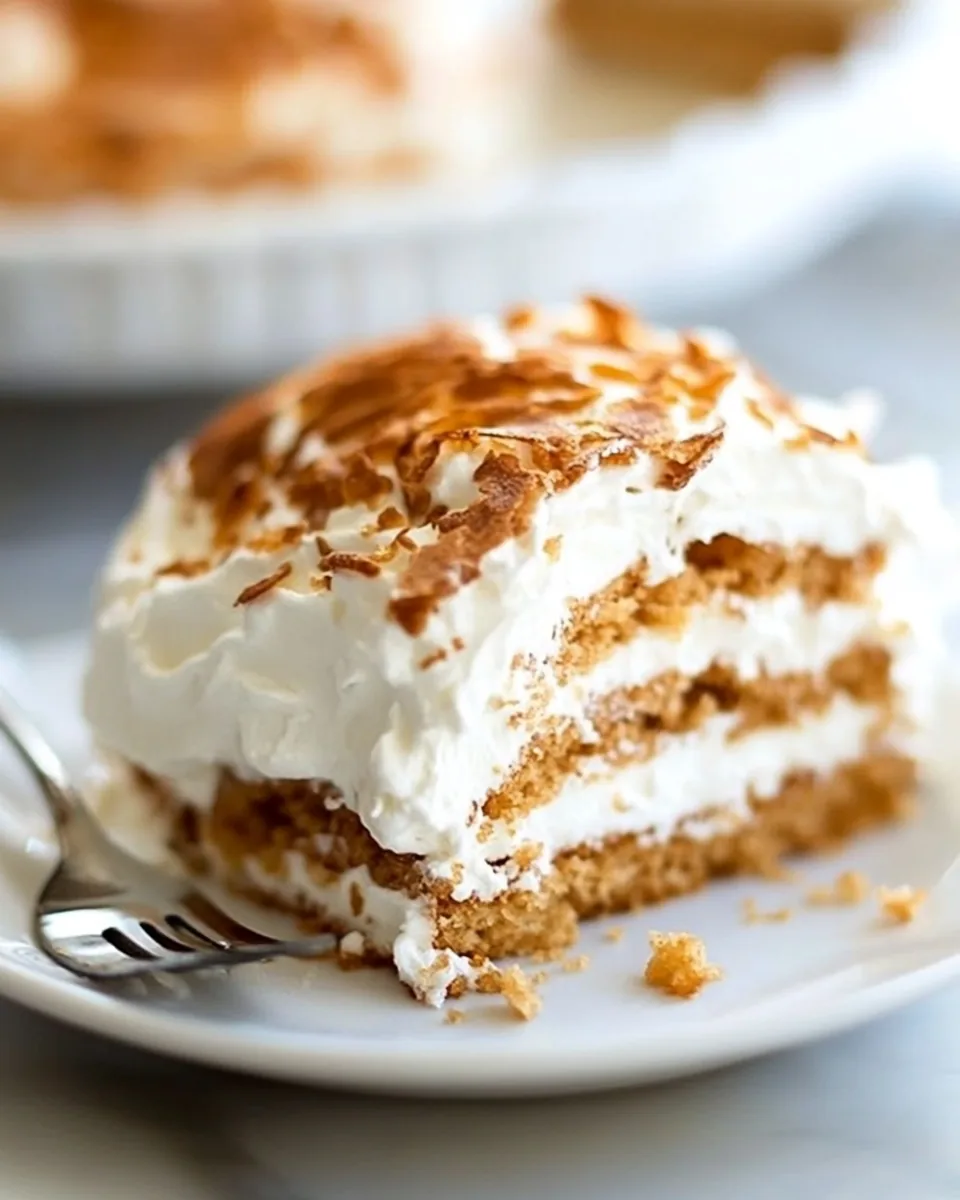
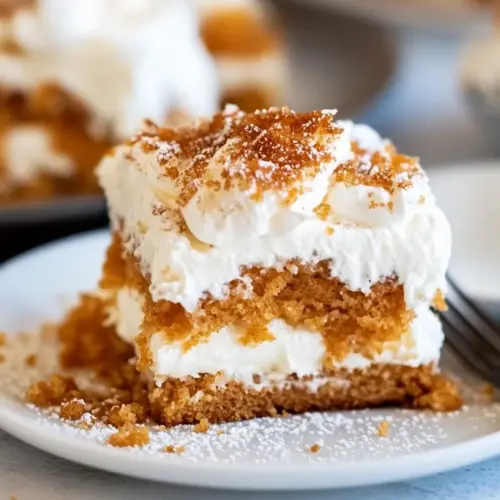
Vanilla Wafer Cake
Whenever I think of a sweet treat that brings back fond memories, I can’t help but think of Vanilla Wafer Cake. This delightful cake reminds me of family gatherings and birthday parties filled with laughter and joy. I remember the first time I tried it; the combination of creamy textures and sweet flavors was simply irresistible. It’s not only pleasing to the palate, but it also holds a special place in my heart as a recipe that brings people together.
Recipe Snapshot
1 hr 15 mins
15 mins
60 mins
Medium
350 kcal
5 g
Keto, Gluten-Free, Low FODMAP
17 g
Electric Stand Mixer
Why This Vanilla Wafer Cake Stands Out
1. Comforting Flavors
One of the reasons I adore Vanilla Wafer Cake is its comforting and nostalgic flavor profile. The buttery notes of the cake combined with the sweetness of the crushed vanilla wafers create a flavor that feels like home. Each bite takes me back to simpler times, making it a perfect choice for any occasion.
2. Simple and Accessible Ingredients
This cake uses everyday ingredients that you can easily find in your pantry. From butter to eggs, and of course, those delicious vanilla wafers, making this cake is not only easy but also budget-friendly. You don’t have to stress about running to a specialty store.
3. Perfect for Any Occasion
No matter the celebration – birthdays, holidays, or just a cozy family dinner – Vanilla Wafer Cake fits right in. It’s a versatile dessert that can be dressed up or down. Top it with fresh fruit or a dollop of whipped cream, and you have a fancy dessert!
4. Crowd-Pleaser
This cake is a hit among all age groups. Kids love the sweet taste, while adults appreciate the nostalgic element. Every time I serve it, I’m met with smiles and happy faces, proving that it’s a true crowd-pleaser.
5. Easy to Make
If you’re not an experienced baker, worry not! Vanilla Wafer Cake is straightforward to whip up. Each step is simple, and the results are impressive. You’ll feel like a professional baker in no time!
6. Beautiful Presentation
The cake’s subtle golden color and moist texture make for a beautiful presentation. It looks stunning on any dessert table, especially with a light dusting of powdered sugar or fresh berries on top. You’ll be proud to serve it to guests!
Vanilla Wafer Cake Shopping List
When preparing for the Vanilla Wafer Cake, it’s essential to gather the best ingredients. The combination of flavors and textures from these ingredients creates a delightful cake that everyone will love. Let’s take a look at the key players!
- 2 sticks butter (1 cup, softened) – Rich and creamy, butter is crucial for achieving a moist and flavorful cake.
- 1 3/4 cups sugar – This sweetener helps the cake rise and provides its delightful sweetness.
- 6 eggs – Essential for structure, eggs also enrich the flavor and contribute to the cake’s fluffy texture.
- 1 (11-ounce) box vanilla wafers – These crushed wafers are the star of the show, adding flavor and texture.
- 1/2 cup milk – Milk adds moisture and richness, helping bind all ingredients together.
- 1 1/2 teaspoons vanilla extract – A touch of real vanilla enhances the cake’s flavor profile.
- 1 (7-ounce) package sweetened shredded coconut – Coconut adds a lovely chewy texture and subtle sweetness.
- 1 cup finely chopped pecans – These nuts provide crunch and a nutty flavor that complements the cake beautifully.
Cooking Instructions for Vanilla Wafer Cake
Let’s dive into the delightful process of making a Vanilla Wafer Cake. The steps are easy, and the aroma of baking will fill your kitchen with warmth. Follow along, and soon you’ll have a delicious cake!
- Preheat your oven to 350 degrees Fahrenheit. Ensure your oven is fully preheated for an even bake. While preheating, grease and flour a Bundt pan well to prevent sticking.
- In a large mixing bowl, use your electric mixer to cream the butter and sugar together. Aim for a light and fluffy texture, which usually takes about 3 to 5 minutes. This step is crucial as it incorporates air into the batter, giving your cake a nice rise.
- Add the eggs one at a time, ensuring each egg is fully incorporated before adding the next. This gradual addition helps maintain the cake’s structure and texture. You should see a smooth and shiny batter by the time you’re done.
- Now, gradually mix in the crushed vanilla wafers alternating with the milk. Start with about a quarter of the wafers, then add some milk, and repeat until both are fully incorporated. This will help keep the batter from becoming too thick.
- Stir in the vanilla extract, coconut, and pecans gently, ensuring even distribution. At this point, the batter should be thick and fragrant.
- Pour the batter into the prepared Bundt pan, smoothing the top with a spatula. Make sure the batter is evenly distributed to allow for uniform baking.
- Place the Bundt pan in the preheated oven and bake for 60 to 70 minutes. Start checking for doneness at the 60-minute mark by inserting a toothpick into the center. If it comes out clean, it’s ready!
- Once baked, let the cake cool in the pan for about 15 minutes. This cooling step is essential to allow the cake to set before inverting it.
- After cooling, carefully invert the cake onto a cake stand or plate. Tap the pan gently to help release the cake and admire your beautiful creation!
Things Worth Knowing
- Bundt Pan Care: Always grease and flour your Bundt pan to prevent sticking.
- Cooling Time: Allow the cake to cool in the pan before inverting to avoid breakage.
- Flavor Enhancements: Feel free to add a pinch of salt to balance the sweetness.
- Storage: This cake stays moist for several days if stored properly in an airtight container.
Tips and Tricks about Vanilla Wafer Cake
Making a perfect Vanilla Wafer Cake can be a breeze with these helpful tips! Here’s how to ensure your cake turns out delightful every time.
- Storage: Properly store leftover cake in an airtight container at room temperature for up to three days, or refrigerate for up to a week.
- Freezing: You can freeze the cake by wrapping it tightly in plastic wrap and placing it in an airtight container. It can be frozen for up to three months.
- Pairing: Serve with fresh fruits like strawberries or raspberries for a refreshing contrast to the sweetness.
- Variations: Try adding chocolate chips for a chocolate twist!
- Serving Size: This cake is perfect for gatherings. Consider serving it alongside a scoop of ice cream for an added treat!
Serve This Vanilla Wafer Cake With
When it comes to serving your Vanilla Wafer Cake, consider these delicious options:
- Fresh Fruits: Pair it with seasonal fruits like strawberries or peaches for a refreshing contrast.
- Whipped Cream: A dollop of whipped cream on top adds a creamy texture that complements the cake beautifully.
- Ice Cream: Serve with vanilla or coconut ice cream for an extra indulgent treat.
- Coffee: A cup of coffee or a latte pairs wonderfully as a cozy afternoon snack.
- Celebrations: Perfect for birthdays, potlucks, and family gatherings, this cake is sure to be a crowd-pleaser.
FAQ
Conclusion
The Vanilla Wafer Cake is a delightful treat that combines nostalgic flavors and textures into one scrumptious dessert. I encourage you to give it a try – whether it’s for a special occasion or just a sweet treat at home. It’s easy to make, delicious, and sure to bring smiles to your table!
Vanilla Wafer Cake
Equipment
- Electric Stand Mixer
Ingredients
- 2 sticks butter (1 cup, softened)
- 1.75 cups sugar
- 6 eggs eggs
- 1 box vanilla wafers (11-ounce)
- 0.5 cups milk
- 1.5 teaspoons vanilla extract
- 1 package sweetened shredded coconut (7-ounce)
- 1 cup finely chopped pecans
Instructions
- Preheat your oven to 350 degrees Fahrenheit. Ensure your oven is fully preheated for an even bake. While preheating, grease and flour a Bundt pan well to prevent sticking.
- In a large mixing bowl, use your electric mixer to cream the butter and sugar together. Aim for a light and fluffy texture, which usually takes about 3 to 5 minutes. This step is crucial as it incorporates air into the batter, giving your cake a nice rise.
- Add the eggs one at a time, ensuring each egg is fully incorporated before adding the next. This gradual addition helps maintain the cake's structure and texture. You should see a smooth and shiny batter by the time you’re done.
- Now, gradually mix in the crushed vanilla wafers alternating with the milk. Start with about a quarter of the wafers, then add some milk, and repeat until both are fully incorporated. This will help keep the batter from becoming too thick.
- Stir in the vanilla extract, coconut, and pecans gently, ensuring even distribution. At this point, the batter should be thick and fragrant.
- Pour the batter into the prepared Bundt pan, smoothing the top with a spatula. Make sure the batter is evenly distributed to allow for uniform baking.
- Place the Bundt pan in the preheated oven and bake for 60 to 70 minutes. Start checking for doneness at the 60-minute mark by inserting a toothpick into the center. If it comes out clean, it’s ready!
- Once baked, let the cake cool in the pan for about 15 minutes. This cooling step is essential to allow the cake to set before inverting it.
- After cooling, carefully invert the cake onto a cake stand or plate. Tap the pan gently to help release the cake and admire your beautiful creation!
Notes
- Tip 1: Whenever I bake something in a bundt pan, I place it on a baking sheet just in case there is any overflow.
- Tip 2: This cake likes to stick to the pan. Be sure you use a good quality nonstick bundt pan.
- Tip 3: I have good luck spraying the pan with Baker’s Joy with Flour.