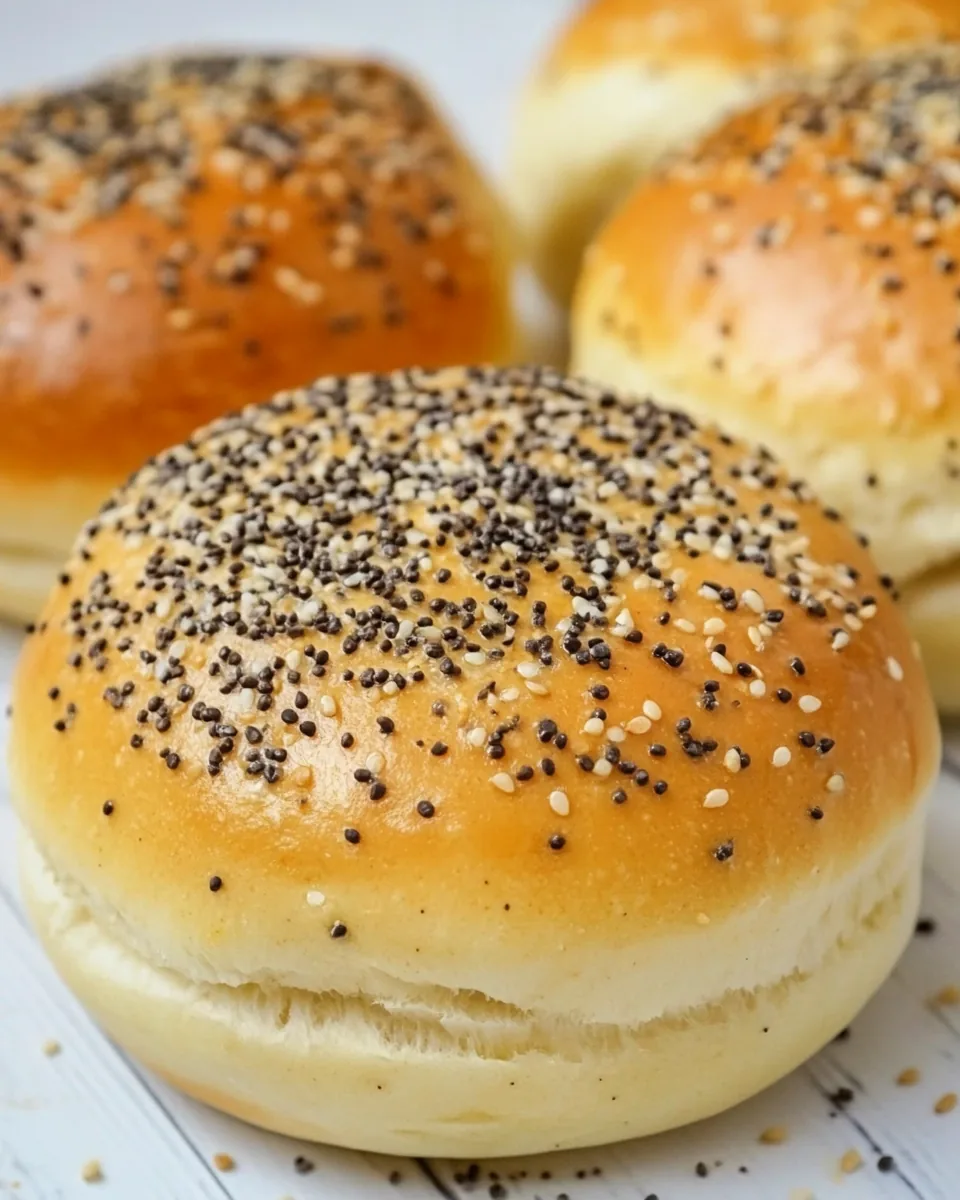
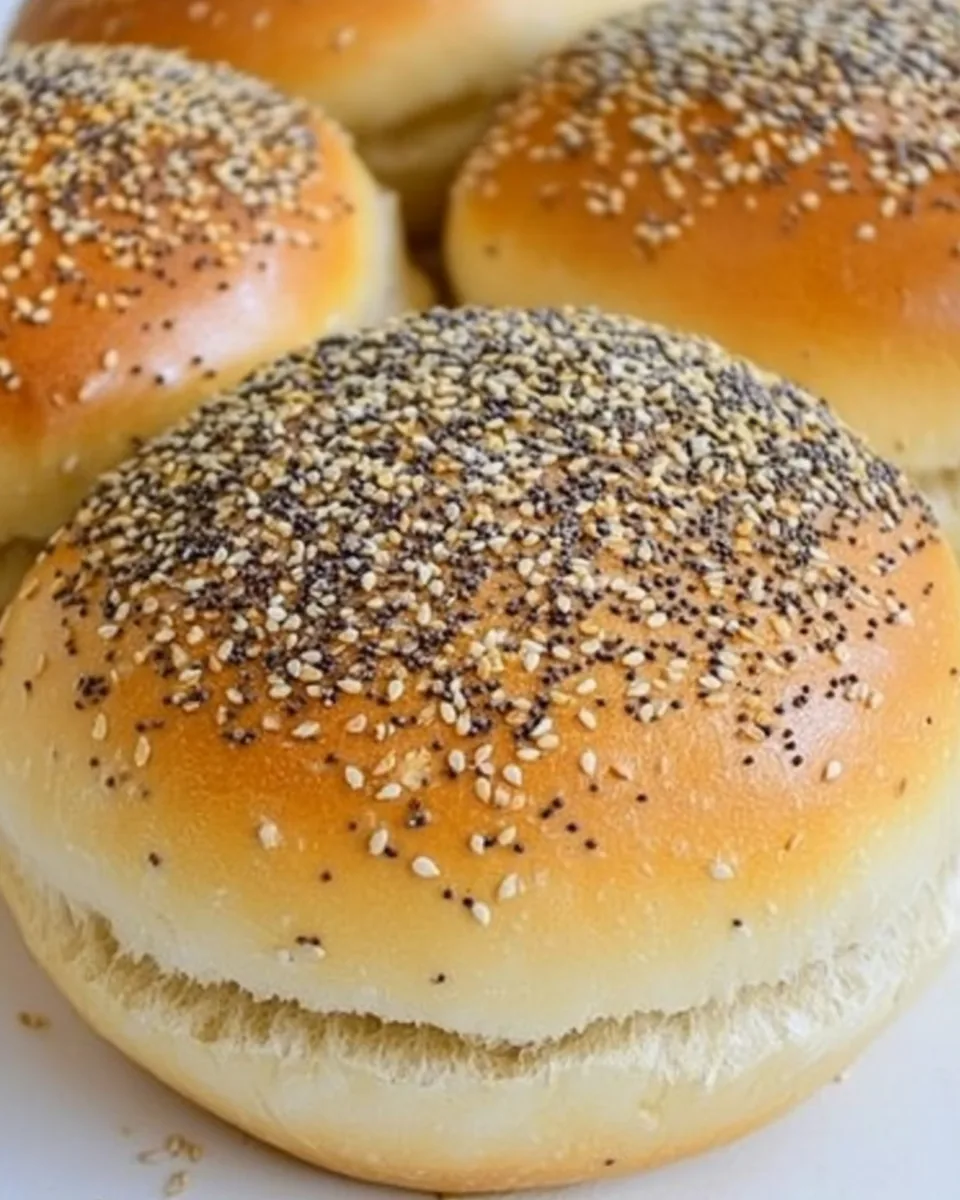
Soft Burger Buns
Every now and then, I crave something that takes me back to my childhood—something comforting and familiar. That’s where these Soft Burger Buns come in. I remember the weekends where my family would gather around the grill, and the smell of toasting buns would waft through the air, mingling with laughter and stories. There’s something magical about making your own buns; it’s not just about the final product, but the entire process. From kneading the dough to watching it rise, every step is an experience in itself. When you bite into a fresh, warm bun that you made, it’s pure happiness. Whether you’re planning a summer cookout or simply looking for a delicious addition to your weeknight dinners, these buns are the perfect companion for your favorite burger or sandwich.
Recipe Snapshot
32 mins
15 mins
17 mins
Medium
160 kcal
4 g
Gluten-Free, Low FODMAP
4 g
Baking Sheet, Oven, Mixing Bowl
Now, you might wonder why the fuss over homemade buns? Well, let me tell you, the taste difference is astounding! Store-bought buns often lack the fluffy texture and rich flavor that homemade versions possess. Plus, they give you a chance to tailor the ingredients to your liking, ensuring freshness and quality. Let’s dive into why these Soft Burger Buns are so special.
Why This Soft Burger Buns Shines
1. The Perfect Texture
These buns are not just fluffy; they’re pillowy! The key to achieving that perfect texture lies in the kneading process. Just the right amount of flour and butter create a soft, tender crust that holds up beautifully to any fillings. It’s a game changer for any meal!
2. Fresh Ingredients Make All the Difference
When I make these buns, I love that I know exactly what’s going into them. Using fresh ingredients like yeast and butter not only enhances the flavor but also elevates the overall quality of the dish. You can taste the love in every bite!
3. Simple Yet Rewarding
Don’t be intimidated by the thought of baking! This recipe is straightforward, and the steps are quite simple. Once you try it, you’ll see that making your own buns is incredibly rewarding. Imagine pulling warm buns out of the oven—what a delight!
4. Versatile for Any Meal
These Soft Burger Buns are not just for burgers; they’re incredibly versatile! Use them for sandwiches, sliders, or even breakfast sandwiches. The possibilities are endless, making this recipe a must-have in your repertoire.
5. Fun for the Whole Family
Baking together can be a wonderful family activity. Kids love getting their hands in the dough and seeing the transformation from simple ingredients to delicious buns. It’s a wonderful way to bond and create lasting memories.
What Goes Into Soft Burger Buns
When it comes to the ingredients for these Soft Burger Buns, simplicity is key. Each ingredient serves a purpose, and together they create that soft, fluffy texture we all adore. The combination of yeast for leavening, sugar for a hint of sweetness, and butter for richness melds beautifully. This balance is essential for achieving the perfect bun!
- 1 cup lukewarm water (not too cold or hot, more like your body temperature): This is the base for activating the yeast, which gives the buns their airy structure.
- 2 teaspoons dry yeast instant: This is what helps the dough to rise and become light and fluffy.
- 3 tablespoons sugar: Adds a touch of sweetness and helps activate the yeast.
- 1 egg: Provides moisture and richness to the buns.
- 2 tablespoons cold butter cut into 1/4 inch cubes: This enhances flavor and tenderness in the final product.
- 2 1/2 cups all-purpose flour (1/4 cup more or less depending on the type of flour and the level of humidity/dryness in your area): The foundation of our dough.
- 1 1/2 teaspoons kosher salt: To balance the flavors.
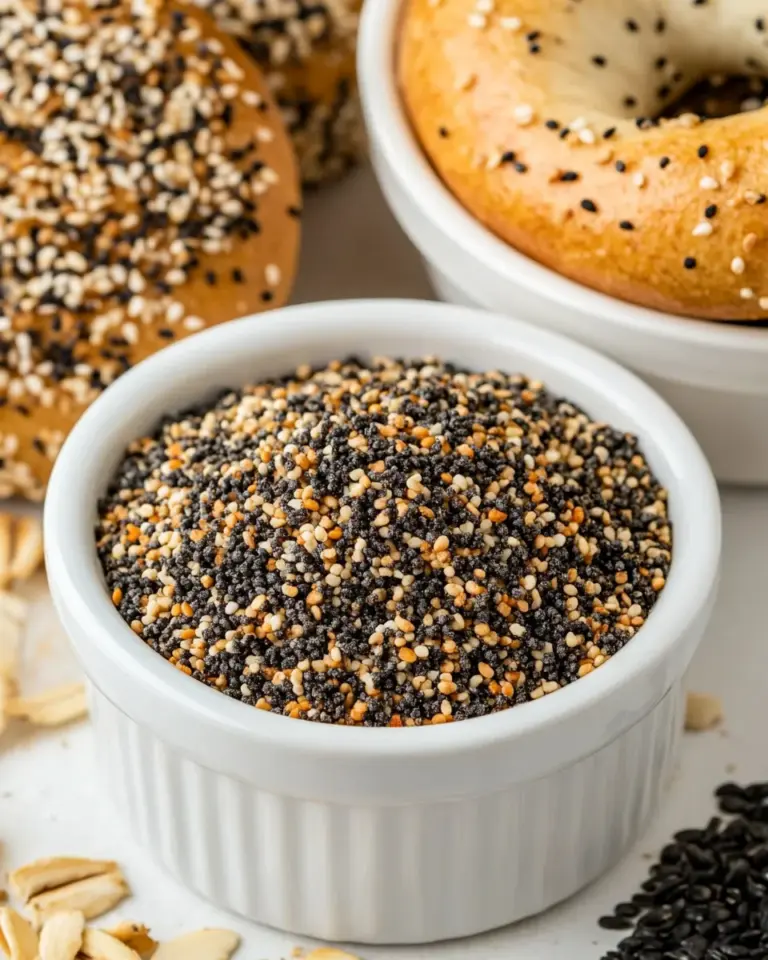
- 2 tablespoons sesame seeds: Optional toppings for added flavor and texture.
- 2 tablespoons poppy seeds: Another optional topping to elevate your buns.
- 1 egg beaten well: For the egg wash that gives buns a beautiful golden color.
- 1 teaspoon water or milk or cream: For mixing with the egg wash.
Step by Step Guide for Soft Burger Buns
Making these Soft Burger Buns is a delightful experience that brings a little bit of warmth into your kitchen. The steps are straightforward, and you’ll find that the process is just as enjoyable as the final product. Let’s get started!
- In a large mixing bowl, combine the flour and salt. It’s important to mix these dry ingredients well before incorporating any wet ingredients. This ensures an even distribution of flavors.
- Now, rub the cold butter into the flour until the mixture resembles coarse crumbs. This step is crucial because the butter needs to be evenly incorporated, which will help create that desirable texture in the buns.
- Set the dry mixture aside and grab a measuring cup. Measure out the lukewarm water, then add the sugar and yeast to it. Stir this mixture gently and allow it to sit for about 2 to 3 minutes. You should notice it becoming cloudy and possibly foaming, indicating that the yeast is activating.
- Once the yeast is foamy, add in the egg and mix it well. This will be the wet mixture that brings everything together.
- Pour the activated yeast mixture into the flour mixture. Begin kneading the dough, either by hand or using a mixer. If kneading by hand, aim for about 4 to 6 minutes. The dough should be smooth and slightly sticky to the touch, but it should not stick to your hands or the surface excessively.
- After kneading, place the dough in an oiled bowl and cover it with plastic wrap. Let it rise in a warm, dry place (like inside your oven while it’s turned off) for about 1 to 2 hours. Check back to see if it has doubled in size, which is a sign it’s ready for the next step.
- Once the dough has risen, remove it from the oven and preheat it to 350 degrees Fahrenheit. This ensures that your buns will bake perfectly.
- Shape your dough into the desired size and thickness of buns. Once shaped, cover them with plastic wrap again and let them rest for another 30 minutes while the oven is preheating. This additional rise will make them even fluffier!
- Before placing the buns in the oven, brush the tops with the beaten egg wash and sprinkle with sesame or poppy seeds if you’re using them. This will give your buns a beautiful, golden finish.
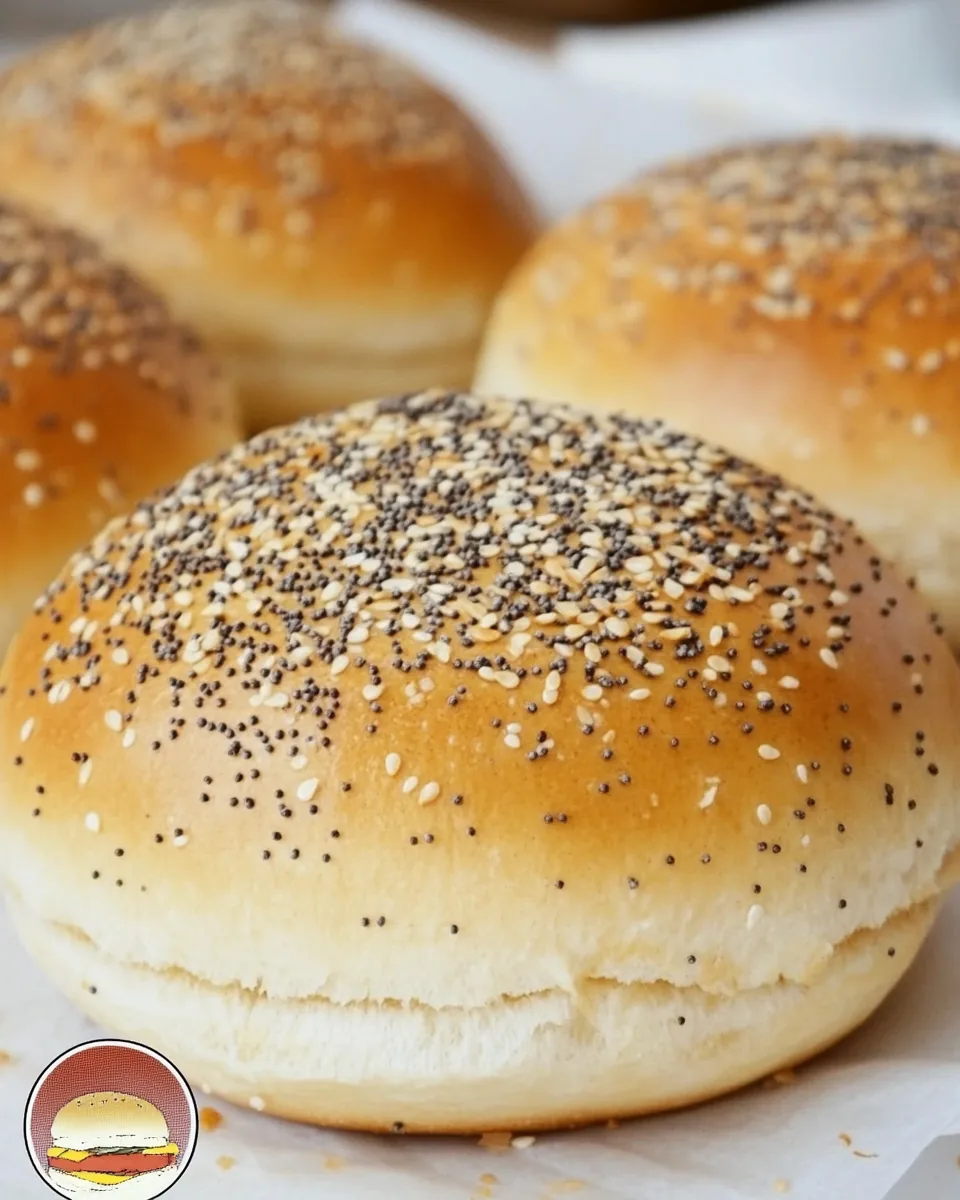
- Finally, bake the buns on a middle rack for 15 to 20 minutes, depending on their size, until they’re nice and golden. Once they’re baked, let them cool slightly before serving.
Things Worth Knowing
- Know Your Yeast: Make sure your yeast is fresh for the best results. Expired yeast will not activate properly.
- Don’t Rush the Rise: Allow the dough to rise fully. This step is crucial for achieving fluffy buns.
- Temperature Matters: Keep your water lukewarm—too hot can kill the yeast, while too cold won’t activate it.
- Kneading Technique: If kneading by hand, keep your workspace slightly floured to prevent sticking but avoid adding too much flour.
- Storage: Store any leftover buns in an airtight container to keep them fresh for longer.
Recipe Variations about Soft Burger Buns
Feeling adventurous? Here are some variations to try with your Soft Burger Buns that can add a twist to this classic recipe:
- Herb-Infused Buns: Add fresh or dried herbs like rosemary or thyme to your dough for an aromatic touch.
- Cheesy Buns: Incorporate shredded cheese into the dough for a cheesy goodness that pairs beautifully with burgers.
- Whole Wheat Option: Substitute half of the all-purpose flour for whole wheat for a healthier version.
- Sweet Buns: Add a tablespoon of honey or a touch of cinnamon for a sweet twist, perfect for breakfast sandwiches!
- Gluten-Free Version: Use a gluten-free flour blend to make these buns suitable for those with gluten sensitivities.
What Goes Well With This Soft Burger Buns
These Soft Burger Buns are incredibly versatile and pair wonderfully with a range of dishes. Here are some ideas for serving:
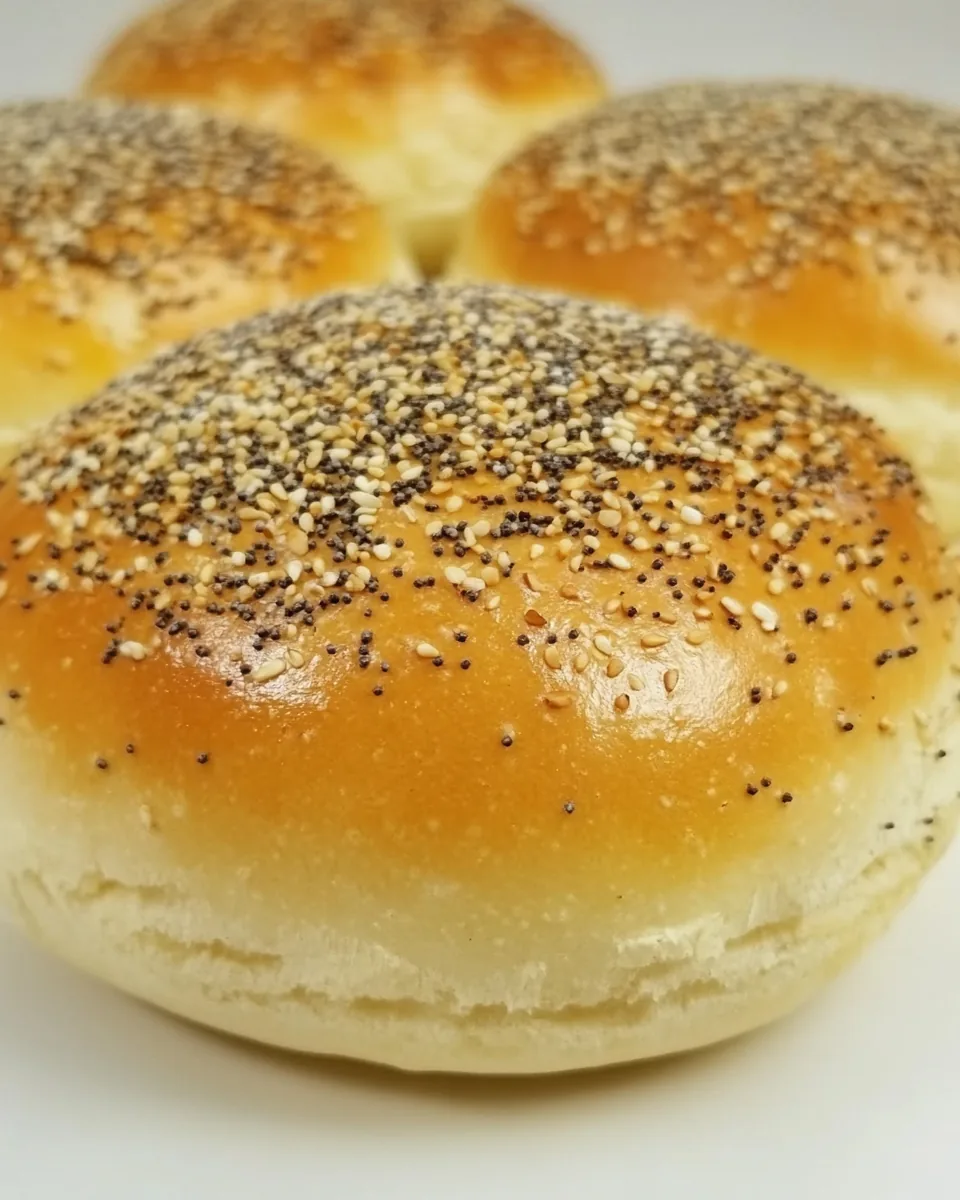
- Grilled Burgers: Of course, the ultimate pairing is a juicy grilled burger. The softness of the bun complements the meat perfectly.
- Classic Sandwiches: Use them for turkey, ham, or veggie sandwiches—they hold fillings well without falling apart.
- Sliders: Perfect for making mini sliders for parties or game day. You can fill them with anything from pulled chicken to mini meatballs.
- Salads: Serve alongside a refreshing side salad for a light lunch or dinner.
- Soup: These buns make a great accompaniment to hearty soups, perfect for dipping.
- Breakfast Sandwiches: Use them for breakfast sandwiches with eggs, cheese, and your favorite breakfast meat.
FAQ
Conclusion
The Soft Burger Buns recipe truly encapsulates the joy of homemade baking. With their fluffy texture and rich flavor, they’re a delightful addition to any meal. I encourage you to try making these buns yourself; you’ll be amazed at the difference fresh, homemade bread can make. It’s a simple yet rewarding process that can elevate any burger or sandwich. Happy baking!
Soft Burger Buns
Equipment
- Baking Sheet
- Oven
- Mixing Bowl
Ingredients
- 1 cup water lukewarm (not too cold or hot, more like your body temperature)
- 2 teaspoons dry yeast instant
- 3 tablespoons sugar
- 1 egg
- 2 tablespoons cold butter cut into 1/4 inch cubes
- 2.5 cups all-purpose flour (1/4 cup more or less depending on the type of flour and the level of humidity/dryness in your area)
- 1.5 teaspoons kosher salt
- 2 tablespoons sesame seeds
- 2 tablespoons poppy seeds
- 1 egg beaten well
- 1 teaspoon water or milk or cream
Instructions
- 1. In a large mixing bowl, combine the flour and salt. It’s important to mix these dry ingredients well before incorporating any wet ingredients. This ensures an even distribution of flavors.
- 2. Now, rub the cold butter into the flour until the mixture resembles coarse crumbs. This step is crucial because the butter needs to be evenly incorporated, which will help create that desirable texture in the buns.
- 3. Set the dry mixture aside and grab a measuring cup. Measure out the lukewarm water, then add the sugar and yeast to it. Stir this mixture gently and allow it to sit for about 2 to 3 minutes. You should notice it becoming cloudy and possibly foaming, indicating that the yeast is activating.
- 4. Once the yeast is foamy, add in the egg and mix it well. This will be the wet mixture that brings everything together.
- 5. Pour the activated yeast mixture into the flour mixture. Begin kneading the dough, either by hand or using a mixer. If kneading by hand, aim for about 4 to 6 minutes. The dough should be smooth and slightly sticky to the touch, but it should not stick to your hands or the surface excessively.
- 6. After kneading, place the dough in an oiled bowl and cover it with plastic wrap. Let it rise in a warm, dry place (like inside your oven while it’s turned off) for about 1 to 2 hours. Check back to see if it has doubled in size, which is a sign it’s ready for the next step.
- 7. Once the dough has risen, remove it from the oven and preheat it to 350 degrees Fahrenheit. This ensures that your buns will bake perfectly.
- 8. Shape your dough into the desired size and thickness of buns. Once shaped, cover them with plastic wrap again and let them rest for another 30 minutes while the oven is preheating. This additional rise will make them even fluffier!
- 9. Before placing the buns in the oven, brush the tops with the beaten egg wash and sprinkle with sesame or poppy seeds if you’re using them. This will give your buns a beautiful, golden finish.
- 10. Finally, bake the buns on a middle rack for 15 to 20 minutes, depending on their size, until they’re nice and golden. Once they’re baked, let them cool slightly before serving.
Notes
- Know Your Yeast: Make sure your yeast is fresh for the best results. Expired yeast will not activate properly.
- Don’t Rush the Rise: Allow the dough to rise fully. This step is crucial for achieving fluffy buns.
- Temperature Matters: Keep your water lukewarm—too hot can kill the yeast, while too cold won’t activate it.
- Kneading Technique: If kneading by hand, keep your workspace slightly floured to prevent sticking but avoid adding too much flour.
- Storage: Store any leftover buns in an airtight container to keep them fresh for longer.