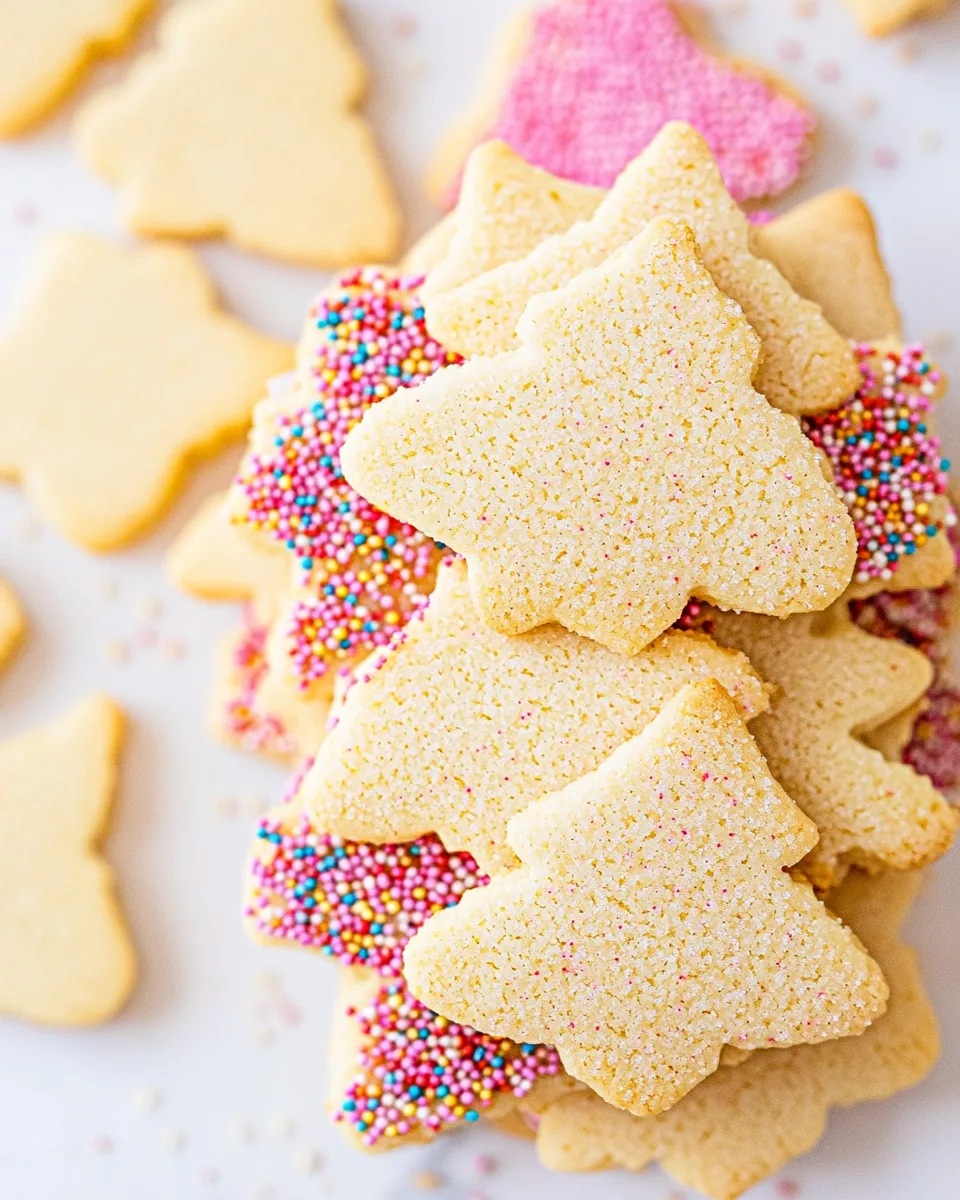
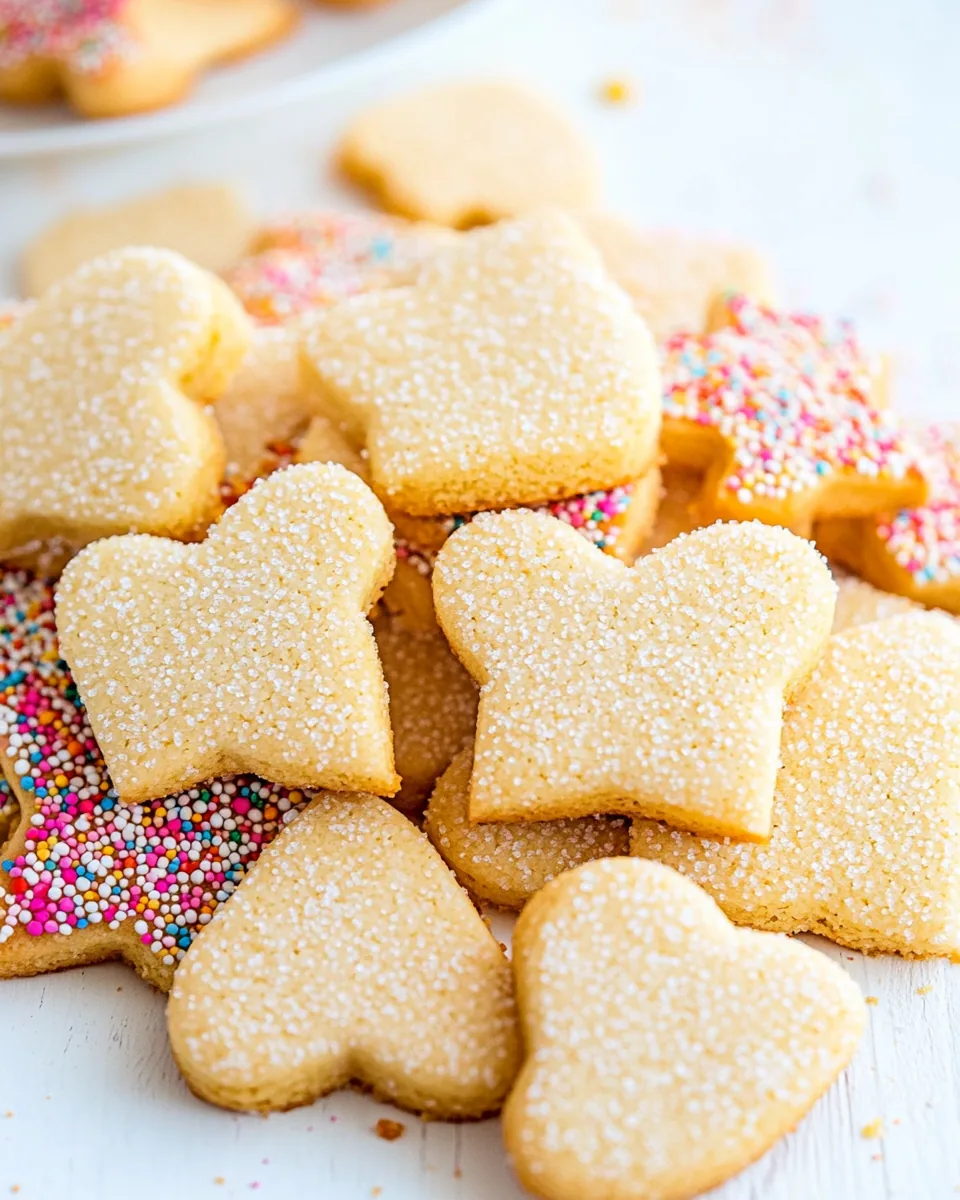
Shortbread Cut Out Cookies
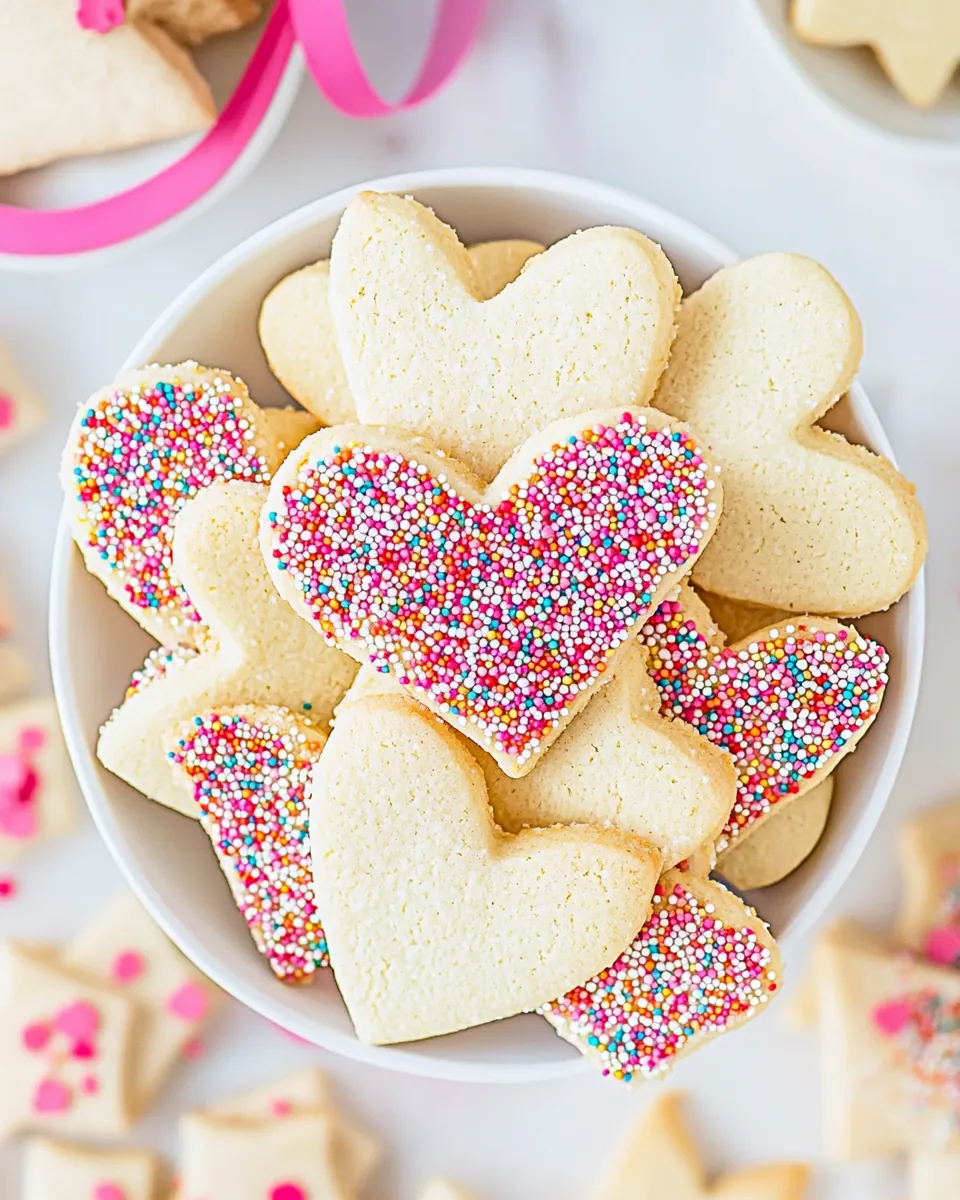
There’s something truly magical about baking Shortbread Cut Out Cookies during the holiday season, or really any time of year. As a child, I remember gathering in the kitchen with my family, flour dusting the countertops, and the sweet aroma of butter filling the air. We would roll out the dough, using heart-shaped cookie cutters, and decorate them with colorful sprinkles. It was a time filled with laughter, stories, and the joy of creating something delicious together. Each cookie was a labor of love, and I still cherish those memories today. Now, as an adult, I find that making Shortbread Cut Out Cookies is not just about the end result, but about the process and those special moments shared in the kitchen. This recipe is perfect for any occasion, whether it’s a festive gathering or a simple afternoon treat with friends.
Recipe Snapshot
60 mins
30 mins
30 mins
Medium
150 kcal
1 g
Vegan, Gluten-Free, AIP
7 g
Wooden Spoon, Baking Sheet, Oven, Mixing Bowl
What You’ll Enjoy About This Shortbread Cut Out Cookies
Timeless Tradition
Every time I make Shortbread Cut Out Cookies, I’m reminded of the tradition that comes with baking. This recipe has been passed down through generations in my family, and it’s a reminder of the love we share. The simplicity of the ingredients creates a rich flavor that perfectly complements any festive occasion.
Versatile for Any Occasion
Shortbread Cut Out Cookies are incredibly versatile. You can shape them for any holiday or celebration, from hearts for Valentine’s Day to stars for Christmas. It’s amazing how a simple cookie can bring so much joy and excitement.
Perfectly Customizable
What I love most about this recipe is how easy it is to customize. You can switch up the chocolate type or add different sprinkles to match your theme, making each batch unique. Whether it’s basic chocolate or something festive like peppermint, the possibilities are endless!
Great for Gifting
These cookies make fantastic gifts. When wrapped in a cute box or a festive bag, they are an ideal treat to share with friends and family. The thoughtfulness behind homemade gifts adds a personal touch that store-bought treats can’t match.
So Simple to Make
If you’re new to baking, this recipe is perfect for you! With only a handful of ingredients and straightforward steps, even novice bakers can achieve delicious results. It’s a wonderful way to start your baking journey.
Family Fun
Baking Shortbread Cut Out Cookies is an activity the whole family can enjoy together. Kids love to help roll out the dough, cut out the shapes, and decorate. It creates lasting memories and teaches valuable skills in the kitchen.
What You’ll Need for Shortbread Cut Out Cookies
These ingredients are key to creating delicious and beautiful Shortbread Cut Out Cookies. Each one plays a vital role in achieving the perfect balance of flavor and texture. The buttery goodness of the dough pairs perfectly with the sweetness of the sugar, while the flour provides structure. Let’s dive into the essentials!
- ½ cup unsalted butter, softened
- ⅓ cup granulated sugar
- 1 cup all-purpose flour
- ½ cup white candy melts or chocolate chips
- ½ cup milk or semi-sweet candy melts or chocolate chips
- Sprinkles for decorating
How to Make Shortbread Cut Out Cookies
Making Shortbread Cut Out Cookies is a delightful experience that requires just a few steps. Each step is simple, and the end result is incredibly rewarding. Here’s how you can create these delicious cookies in no time!
- Start by adding the butter and sugar to a large mixing bowl. Beat them together until the mixture is light and creamy. This usually takes about 2 to 3 minutes. You want to ensure the butter is softened to room temperature for the best texture.
- Once your mixture is creamy, it’s time to incorporate the flour. Add it gradually while mixing on low speed. You’ll want to beat it until a smooth dough forms – this should take around 30 seconds. Be careful not to overmix, as this can toughen the cookies.
- Now, prepare your workspace by placing the dough between two sheets of wax or parchment paper. Roll it out gently to about ¼ inch thick. To prevent sticking, you can dust your rolling pin with a bit of flour. After rolling, wrap the dough and chill it in the refrigerator for at least 30 minutes, or overnight if you have the time.
- While the dough is chilling, preheat your oven to 350°F (175°C). Line your cookie sheets with parchment paper or silicone baking mats. This will help prevent the cookies from sticking and makes for easy cleanup.
- After chilling, remove the dough from the refrigerator. Unwrap it and peel off the top sheet of wax paper. Use a cookie cutter to cut the dough into your desired shapes. I love using hearts, but stars or flowers are fun too!
- As you cut out the shapes, re-roll the remaining dough as needed. If it becomes too warm, chill it again to make cutting easier. Spread the cookies on the prepared baking sheets, leaving some space between each one.
- Don’t worry about spreading; these cookies are designed to hold their shape. Bake them in the preheated oven for 10 to 15 minutes, just until the edges turn a light, golden brown and the tops lose their glossy sheen.
- Once they’re done baking, remove the cookies from the oven and allow them to cool on the baking sheets for about 10 minutes. This will help them firm up before you transfer them to a cooling rack to cool completely.
- While the cookies cool, it’s time to prepare the chocolate coating. In a microwave-safe bowl, melt the chocolate on 50% power, stirring every 30 seconds until it’s smooth and fully melted. This should take about 2 to 3 minutes. Be patient and stir well!
- Dip the cooled cookies halfway into the melted chocolate, allowing the excess to drip off. Then, sprinkle your choice of decorations on top. Finally, place them back on the parchment paper to set. They’ll be ready to enjoy in no time!
Things Worth Knowing
- Chilling the dough: Chilling the dough is essential as it helps the cookies maintain their shape during baking. It also makes the dough easier to handle.
- Mixing Technique: Always start mixing at a low speed when adding dry ingredients to prevent a flour explosion!
- Consistent thickness: Aim for a uniform thickness when rolling out the dough to ensure even baking.
- Decorating Fun: Get creative with decorations! Different sprinkles can make your cookies look festive for any occasion.
Recipe Notes about Shortbread Cut Out Cookies

Before you dive into baking, here are some tips to ensure your Shortbread Cut Out Cookies turn out perfectly every time. These notes will help you navigate through the baking process with ease!
- Storage: Keep your cookies in an airtight container at room temperature. They should stay fresh for several days, allowing you to enjoy them longer!
- Freezing: These cookies can be frozen for up to 3 months. Just be sure to wrap them tightly in plastic wrap or in an airtight container to prevent freezer burn.
- Doubling the Recipe: If you’re planning a big event, consider doubling or tripling the recipe. They’re perfect for parties!
- Chocolate Options: Using different types of chocolate can change the flavor profile completely. Experiment with dark or flavored chocolates for variety.
- Festive Variations: Change up the shapes and decorations for different holidays. From pumpkins to snowflakes, the possibilities are endless!
Pairing Suggestions for Shortbread Cut Out Cookies
Pairing Shortbread Cut Out Cookies with the right accompaniments can elevate your dessert experience. Here are some ideas to serve alongside your delicious cookies:
- Tea: These cookies pair beautifully with a warm cup of tea. The buttery texture complements the flavors of various types of tea.
- Coffee: Enjoy them with your morning coffee or as an afternoon snack. The sweetness of the cookies balances the bitterness of the coffee.
- Milk: A classic pairing! Dipping these cookies into cold milk is sure to bring back nostalgic childhood memories.
- Fruit Platter: Serve with a variety of fresh fruit for a delightful contrast. The freshness of fruits like strawberries or blueberries adds a refreshing element.
- Ice Cream: For an indulgent treat, serve them with a scoop of ice cream. The combination of flavors is simply heavenly.
- Festive Displays: Use these cookies as part of a dessert table arrangement. Their beautiful shapes and colors will attract attention and delight guests.
FAQ
Conclusion
The charm of Shortbread Cut Out Cookies lies in their simplicity and the joy they bring to any occasion. They’re not just cookies; they’re memories waiting to be made in the kitchen. I encourage you to gather your loved ones and try this delightful recipe. Whether for a celebration or a casual day, these cookies are sure to bring smiles and satisfaction. Bake a batch today and indulge in the sweet moments they create!

Shortbread Cut Out Cookies
Equipment
- Wooden Spoon
- Baking Sheet
- Oven
- Mixing Bowl
Ingredients
- ½ cup Unsalted Butter softened
- ⅓ cup Granulated Sugar
- 1 cup All-Purpose Flour
- ½ cup White Candy Melts or Chocolate Chips
- ½ cup Milk or Semi-Sweet Candy Melts or Chocolate Chips
- 1 cup Sprinkles for decorating
Instructions
- Start by adding the butter and sugar to a large mixing bowl. Beat them together until the mixture is light and creamy. This usually takes about 2 to 3 minutes. You want to ensure the butter is softened to room temperature for the best texture.
- Once your mixture is creamy, it’s time to incorporate the flour. Add it gradually while mixing on low speed. You’ll want to beat it until a smooth dough forms – this should take around 30 seconds. Be careful not to overmix, as this can toughen the cookies.
- Now, prepare your workspace by placing the dough between two sheets of wax or parchment paper. Roll it out gently to about ¼ inch thick. To prevent sticking, you can dust your rolling pin with a bit of flour. After rolling, wrap the dough and chill it in the refrigerator for at least 30 minutes, or overnight if you have the time.
- While the dough is chilling, preheat your oven to 350°F (175°C). Line your cookie sheets with parchment paper or silicone baking mats. This will help prevent the cookies from sticking and makes for easy cleanup.
- After chilling, remove the dough from the refrigerator. Unwrap it and peel off the top sheet of wax paper. Use a cookie cutter to cut the dough into your desired shapes. I love using hearts, but stars or flowers are fun too!
- As you cut out the shapes, re-roll the remaining dough as needed. If it becomes too warm, chill it again to make cutting easier. Spread the cookies on the prepared baking sheets, leaving some space between each one.
- Don’t worry about spreading; these cookies are designed to hold their shape. Bake them in the preheated oven for 10 to 15 minutes, just until the edges turn a light, golden brown and the tops lose their glossy sheen.
- Once they’re done baking, remove the cookies from the oven and allow them to cool on the baking sheets for about 10 minutes. This will help them firm up before you transfer them to a cooling rack to cool completely.
- While the cookies cool, it’s time to prepare the chocolate coating. In a microwave-safe bowl, melt the chocolate on 50% power, stirring every 30 seconds until it’s smooth and fully melted. This should take about 2 to 3 minutes. Be patient and stir well!
- Dip the cooled cookies halfway into the melted chocolate, allowing the excess to drip off. Then, sprinkle your choice of decorations on top. Finally, place them back on the parchment paper to set. They’ll be ready to enjoy in no time!
Notes
- Storage: Keep your cookies in an airtight container at room temperature. They should stay fresh for several days, allowing you to enjoy them longer!
- Freezing: These cookies can be frozen for up to 3 months. Just be sure to wrap them tightly in plastic wrap or in an airtight container to prevent freezer burn.
- Doubling the Recipe: If you’re planning a big event, consider doubling or tripling the recipe. They’re perfect for parties!
- Chocolate Options: Using different types of chocolate can change the flavor profile completely. Experiment with dark or flavored chocolates for variety.
- Festive Variations: Change up the shapes and decorations for different holidays. From pumpkins to snowflakes, the possibilities are endless!