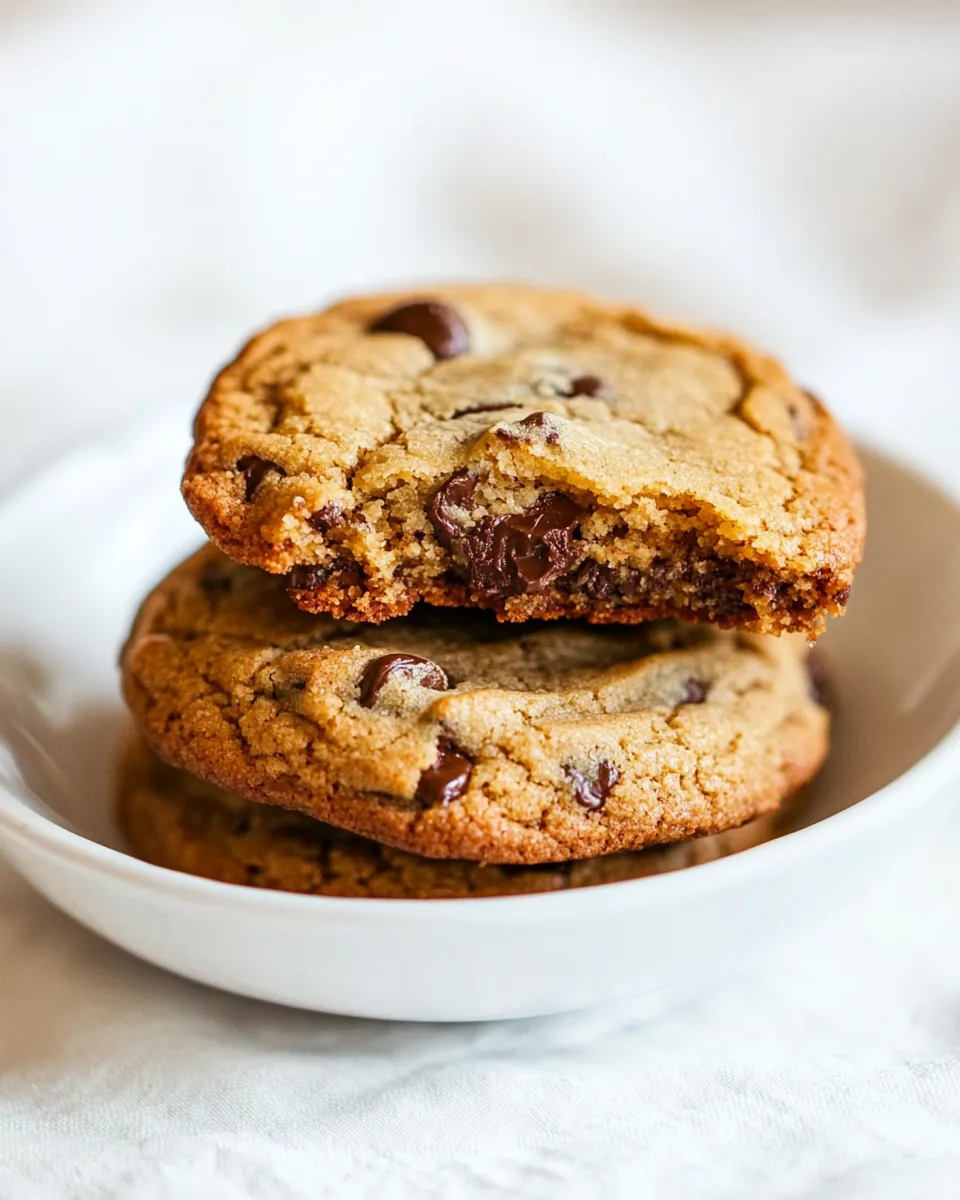
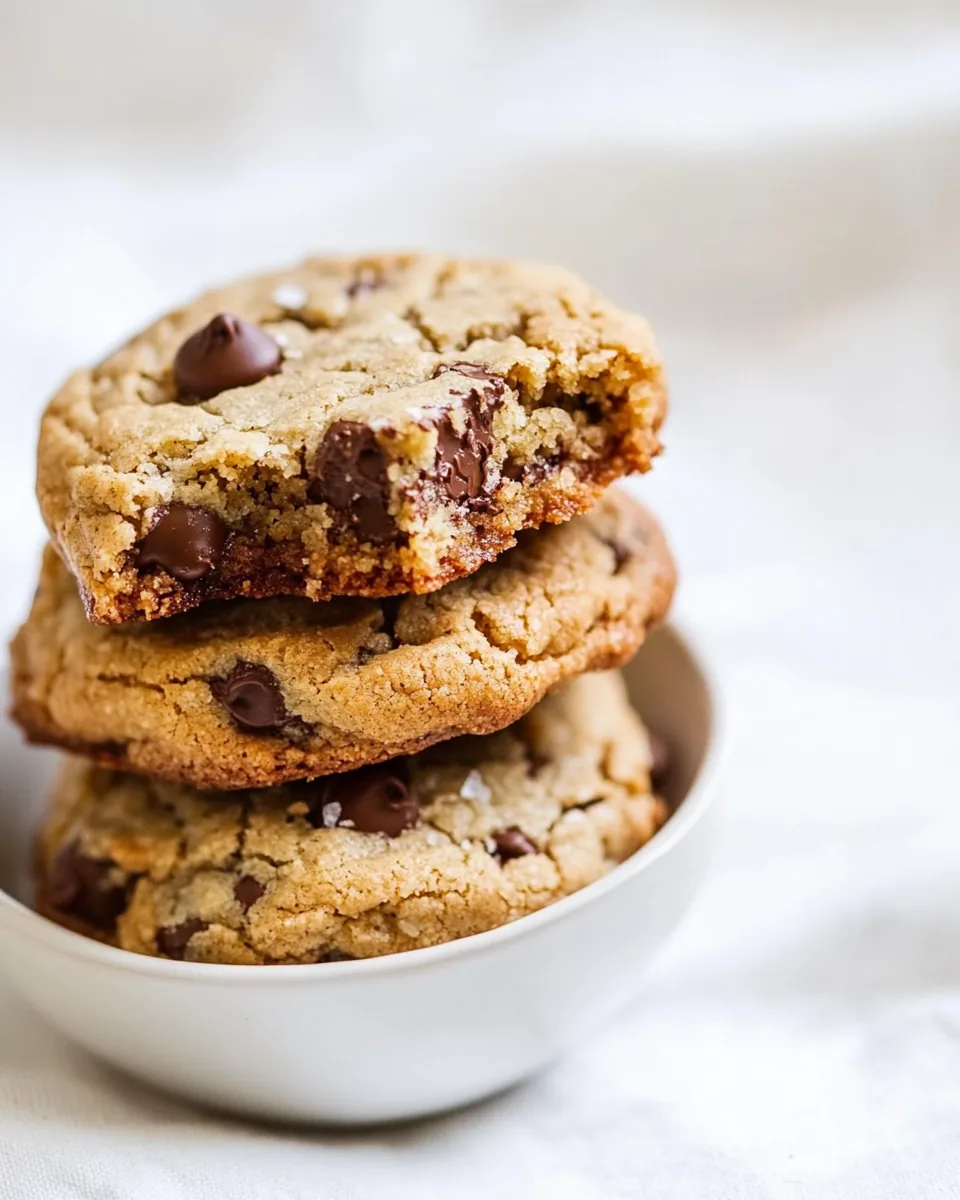
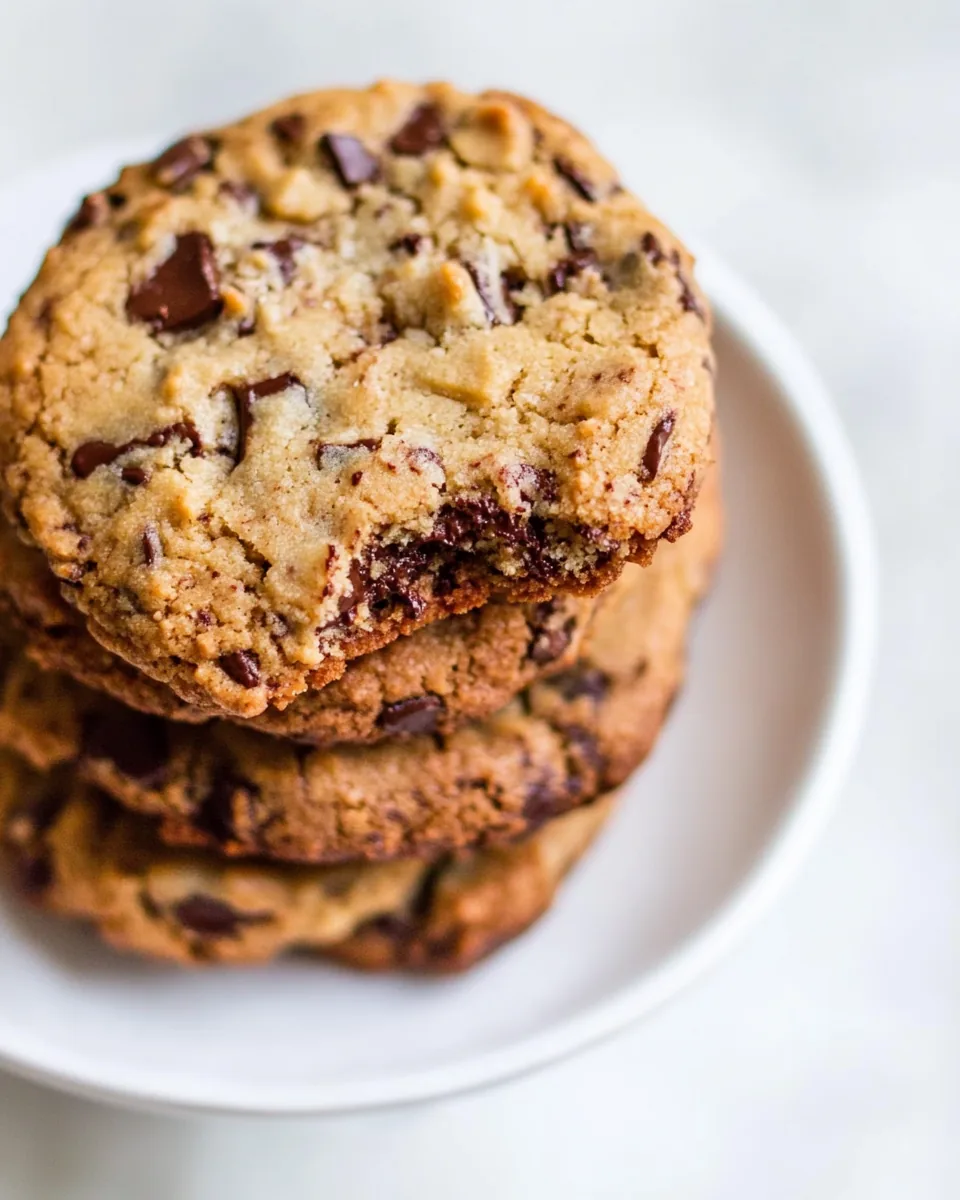
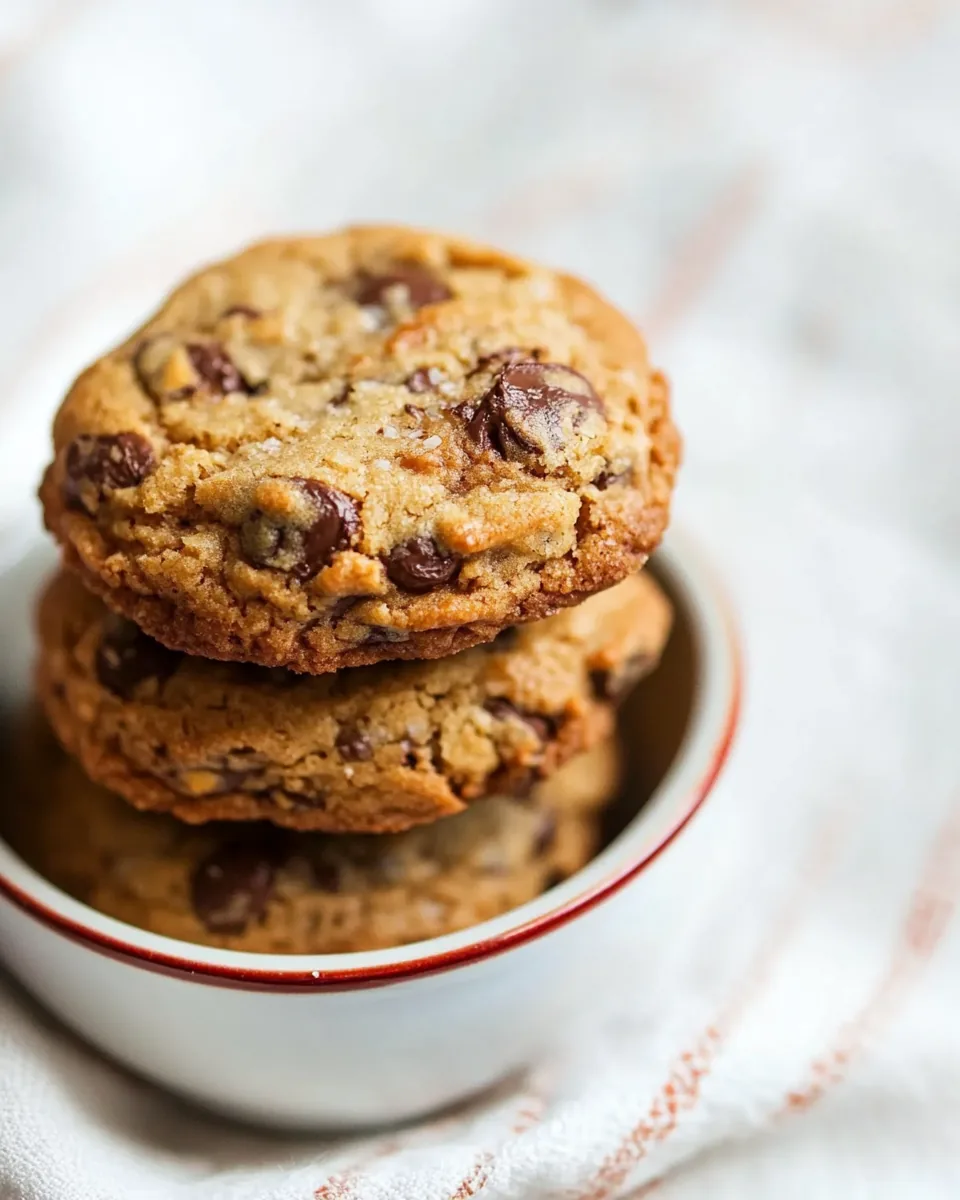
Salted Butter Chocolate Chip Cookie
There’s nothing quite like the smell of freshly baked cookies wafting through the house, and that’s exactly what you’ll experience with these Salted Butter Chocolate Chip Cookies. I remember the first time I made these cookies; it was a rainy afternoon, and I was feeling a bit nostalgic. I dug out my grandmother’s old recipe book, and there it was—her famous cookie recipe. Each bite of these cookies brings me back to those cozy days spent in her warm kitchen, filled with laughter and the sound of rustling pages. The combination of salted butter and chocolate creates a sweet yet savory delight that’s irresistible. Whether you’re looking for a comforting treat after a long day or a sweet addition to your weekend plans, these cookies are the answer. Let’s dive into this recipe that’s sure to become a staple in your kitchen and create some sweet memories of your own!
Recipe Snapshot
1 hr 20 mins
60 mins
20 mins
Medium
150 kcal
2 g
Gluten-Free, Low FODMAP
7 g
Wooden Spoon, Mixing Bowl, Chef’s Knife, Whisk, Baking Sheet, Oven
Why We Love This Salted Butter Chocolate Chip Cookie
They’re Irresistibly Delicious
First and foremost, what makes these Salted Butter Chocolate Chip Cookies so special is their rich flavor. The use of salted butter enhances the sweetness of the chocolate, creating an addictive balance that keeps you coming back for more. You’ll find the combination of textures—from the chewiness of the cookie itself to the melty chunks of bittersweet chocolate—simply perfect.
Perfect for Any Occasion
These cookies aren’t just for dessert; they’re perfect for any occasion! Whether it’s a casual gathering with friends, a family movie night, or even a bake sale at work, these cookies are sure to impress. Their classic appeal makes them a hit with all ages, and they’re great for sharing.
Easy to Make
You don’t need to be a baking expert to whip these up. The process is straightforward and requires only a few simple steps. With ingredients you likely already have in your pantry, making these cookies is as easy as mixing, chilling, and baking.
Chill Time Equals Better Flavor
This recipe calls for chilling the cookie dough, which may seem like an extra step, but trust me, it’s worth it! Chilling allows the flavors to meld together and the dough to firm up, resulting in perfectly textured cookies that won’t spread too much during baking.
Endless Variations
While the classic version is always a favorite, you can easily customize these cookies. Add in different types of nuts, swap out the chocolate for your favorite mix-ins, or throw in some dried fruit for a different twist. The possibilities are endless, making this recipe versatile for any palate.
Great for Storage
These cookies store beautifully, so you can enjoy them for days after baking. Just pop them in an airtight container, and they’ll stay fresh for up to five days. If you want to save some for later, the dough can be refrigerated or frozen for future baking adventures!
Salted Butter Chocolate Chip Cookie Shopping List
When it comes to the ingredients for these Salted Butter Chocolate Chip Cookies, simplicity is key. The combination of basic pantry staples and a few special touches creates a perfect cookie dough. You’ll find that each ingredient plays a vital role in achieving that classic cookie flavor and texture. Let’s explore the key players in this cookie masterpiece!
- Salted Butter: The star of this recipe, it adds richness and a touch of savory flavor that elevates the sweetness of the chocolate perfectly.
- Dark or Light Brown Sugar: This adds moisture and depth of flavor, giving these cookies that signature chewiness.
- Granulated Sugar: Balances the brown sugar and contributes to the cookies’ structure, helping them to bake up perfectly.
- Large Egg: Acts as a binder, adding moisture and richness.
- Flour: The foundation of our cookie dough, providing structure and stability.
- Baking Soda: A leavening agent that helps the cookies rise and become fluffy.
- Flaky Sea Salt or Kosher Salt: Enhances flavors and balances the sweetness.
- Bittersweet or Semisweet Chocolate: The gooey chocolate chunks are the highlight of these cookies, making each bite heavenly.
- Toasted Nuts: Optional, but they add a lovely crunch and nutty flavor that complements the chocolate.
Recipe Steps for Salted Butter Chocolate Chip Cookie
Making these cookies is a delightful process that will fill your kitchen with an irresistible aroma. Let’s break down the steps together so you can create a batch of warm cookies that will have everyone asking for the recipe!
- Start by preheating your oven to 350ºF (180ºC). Prepare two baking sheets by lining them with parchment paper or silicone baking mats. This will ensure your cookies don’t stick and bake evenly.
- In a large bowl or the bowl of a stand mixer, combine salted butter, brown sugar, and granulated sugar. Beat the mixture on medium speed until smooth and creamy. You want this to be light and fluffy, which should take about two to three minutes.
- Once your butter and sugars are well combined, add in a large egg and a splash of vanilla extract. Beat again until everything is fully incorporated. You’re looking for a rich, creamy batter.
- In a separate small bowl, whisk together the dry ingredients: flour, baking soda, and flaky sea salt. This step ensures that your leavening agent is evenly dispersed throughout the dough.
- Now it’s time to combine the wet and dry ingredients. Gradually stir the dry mixture into the butter mixture. Mix until just combined. Avoid overmixing, as it can lead to tough cookies.
- Fold in the chocolate chunks and toasted nuts (if using) with a spatula. Be generous with the chocolate; you want every bite to be filled with melty goodness!
- Cover the bowl with plastic wrap and chill the cookie dough in the refrigerator for at least one hour. For best results, chill it overnight. This step is crucial for flavor development and achieving the perfect texture.
- Once the dough is chilled, scoop out portions about the size of a large unshelled walnut and form them into rounds. Place them on the prepared baking sheets, spacing them about two inches apart. Press down the tops gently to flatten them slightly.
- Bake the cookies for about ten minutes. Keep an eye on them; they should be set but not browned. Rotate the baking sheets halfway through to ensure even baking.
- After baking, remove the cookies from the oven. Using a spatula, gently tap the tops of each cookie for an even texture, then return them to the oven for an additional two to five minutes until golden brown.
- Finally, let the cookies cool on the baking sheets before transferring them to a wire rack. This allows them to firm up and makes them easier to handle.
Things Worth Knowing
- Chilling the Dough: Chilling the cookie dough enhances the flavors and ensures that the cookies maintain their shape while baking.
- Measuring Flour: When measuring flour, spoon it into your measuring cup and level it off with a knife for accuracy. This prevents dense cookies.
- Texture Check: The dough should be soft but not overly sticky. If it feels too wet, add a little more flour.
- Variations: Feel free to experiment with different types of chocolate or add-ins like dried fruit or different nuts for a unique twist!
Pro Tips and Tweaks
Whether you’re a novice baker or a seasoned pro, these tips will help you make the best possible version of these cookies. Follow along and discover the secrets to perfecting your Salted Butter Chocolate Chip Cookies!
- Storage: How to store leftovers: Keep cookies in an airtight container at room temperature for up to five days. This keeps them soft and chewy.
- Freezing: Can you freeze this? Yes! The dough can be frozen for up to two months. Just scoop the dough onto a baking sheet, freeze until solid, then transfer to a zip-top bag.
- Pairing: What to serve with this? Enjoy these cookies with a glass of cold milk or a warm cup of coffee for a delightful combination.
- Adjust Sweetness: If you prefer less sweetness, reduce the granulated sugar slightly while maintaining the brown sugar for moisture.
- Even Baking: For even baking, rotate your baking sheets halfway through the baking time, ensuring the cookies cook uniformly.
- Different Shapes: Experiment with different cookie shapes by using cookie cutters instead of forming traditional rounds!
What to Serve With Salted Butter Chocolate Chip Cookie
When it comes to serving your delicious Salted Butter Chocolate Chip Cookies, the options are as delightful as the cookies themselves. Here are some ideas that pair perfectly with your sweet treats:
- Warm Milk: Serve your cookies with a glass of warm milk for that classic cookie and milk experience.
- Ice Cream: Sandwich a scoop of vanilla or chocolate ice cream between two cookies for a decadent dessert!
- Coffee: Pair these cookies with your favorite brewed coffee; the flavors are a match made in heaven.
- Fruit: Consider a light fruit salad or some fresh berries on the side for a refreshing contrast to the sweet cookies.
- Seasonal Treats: During holidays, these cookies can complement festive treats like pumpkin pie or peppermint bark.
- Picnics: These cookies are perfect for outdoor gatherings. They travel well and are a hit with both kids and adults!
FAQ
Conclusion
The Salted Butter Chocolate Chip Cookies are the ultimate treat that combines rich flavors with a wonderfully chewy texture. Whether you’re enjoying them fresh out of the oven or sharing them with loved ones, these cookies are sure to bring joy to any occasion. So why not give this recipe a try? Bake a batch tonight and savor the delightful experience of homemade cookies that warm the heart and satisfy the sweet tooth.
Salted Butter Chocolate Chip Cookie
Equipment
- Wooden Spoon
- Mixing Bowl
- Chef's Knife
- Whisk
- Baking Sheet
- Oven
Ingredients
- 4 ounces Salted Butter at room temperature
- 2/3 cup Dark or Light Brown Sugar packed
- 1/2 cup Granulated Sugar
- 1 large Egg at room temperature
- 1/2 teaspoon Vanilla Extract
- 1 1/3 cup Flour
- 1/2 teaspoon Baking Soda
- 1/2 teaspoon Flaky Sea Salt or Kosher Salt
- 1 1/3 cups Bittersweet or Semisweet Chocolate coarsely chopped
- 1 cup Toasted Nuts coarsely chopped
Instructions
- Start by preheating your oven to 350ºF (180ºC). Prepare two baking sheets by lining them with parchment paper or silicone baking mats. This will ensure your cookies don’t stick and bake evenly.
- In a large bowl or the bowl of a stand mixer, combine salted butter, brown sugar, and granulated sugar. Beat the mixture on medium speed until smooth and creamy. You want this to be light and fluffy, which should take about two to three minutes.
- Once your butter and sugars are well combined, add in a large egg and a splash of vanilla extract. Beat again until everything is fully incorporated. You’re looking for a rich, creamy batter.
- In a separate small bowl, whisk together the dry ingredients: flour, baking soda, and flaky sea salt. This step ensures that your leavening agent is evenly dispersed throughout the dough.
- Now it’s time to combine the wet and dry ingredients. Gradually stir the dry mixture into the butter mixture. Mix until just combined. Avoid overmixing, as it can lead to tough cookies.
- Fold in the chocolate chunks and toasted nuts (if using) with a spatula. Be generous with the chocolate; you want every bite to be filled with melty goodness!
- Cover the bowl with plastic wrap and chill the cookie dough in the refrigerator for at least one hour. For best results, chill it overnight. This step is crucial for flavor development and achieving the perfect texture.
- Once the dough is chilled, scoop out portions about the size of a large unshelled walnut and form them into rounds. Place them on the prepared baking sheets, spacing them about two inches apart. Press down the tops gently to flatten them slightly.
- Bake the cookies for about ten minutes. Keep an eye on them; they should be set but not browned. Rotate the baking sheets halfway through to ensure even baking.
- After baking, remove the cookies from the oven. Using a spatula, gently tap the tops of each cookie for an even texture, then return them to the oven for an additional two to five minutes until golden brown.
- Finally, let the cookies cool on the baking sheets before transferring them to a wire rack. This allows them to firm up and makes them easier to handle.
Notes
- Storage: Keep cookies in an airtight container at room temperature for up to five days. This keeps them soft and chewy.
- Freezing: Yes! The dough can be frozen for up to two months. Just scoop the dough onto a baking sheet, freeze until solid, then transfer to a zip-top bag.
- Pairing: Enjoy these cookies with a glass of cold milk or a warm cup of coffee for a delightful combination.
- Adjust Sweetness: If you prefer less sweetness, reduce the granulated sugar slightly while maintaining the brown sugar for moisture.
- Even Baking: For even baking, rotate your baking sheets halfway through the baking time, ensuring the cookies cook uniformly.
- Different Shapes: Experiment with different cookie shapes by using cookie cutters instead of forming traditional rounds!