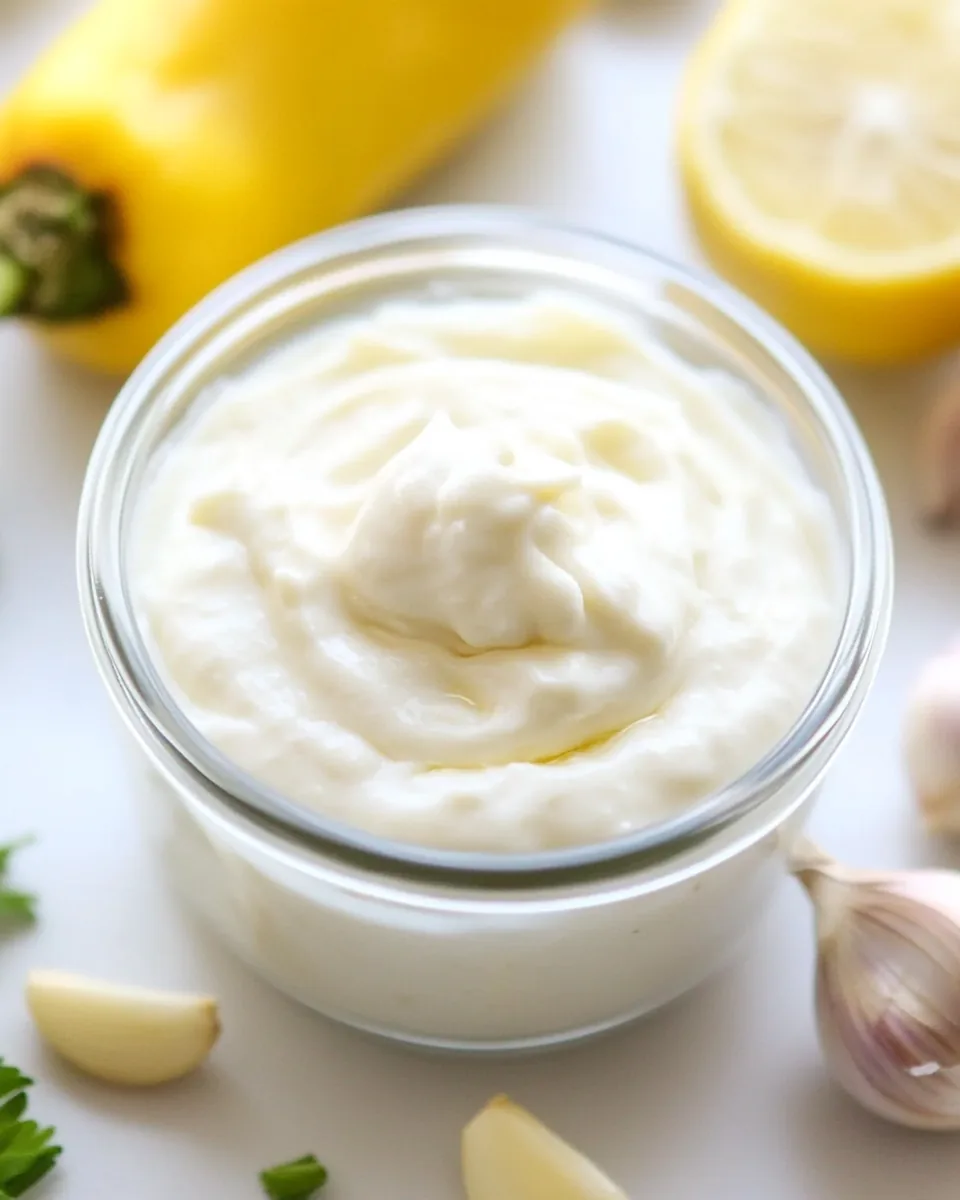
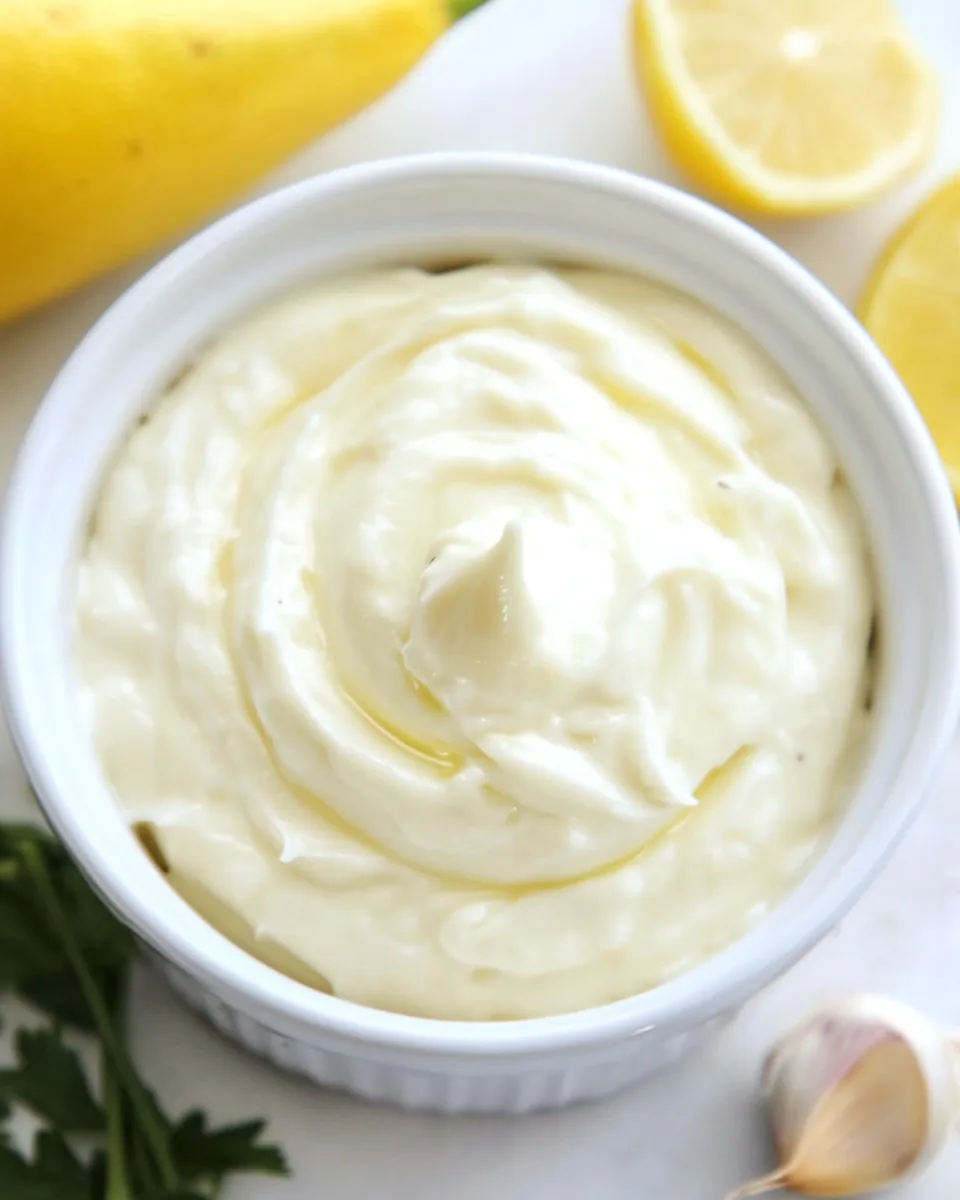
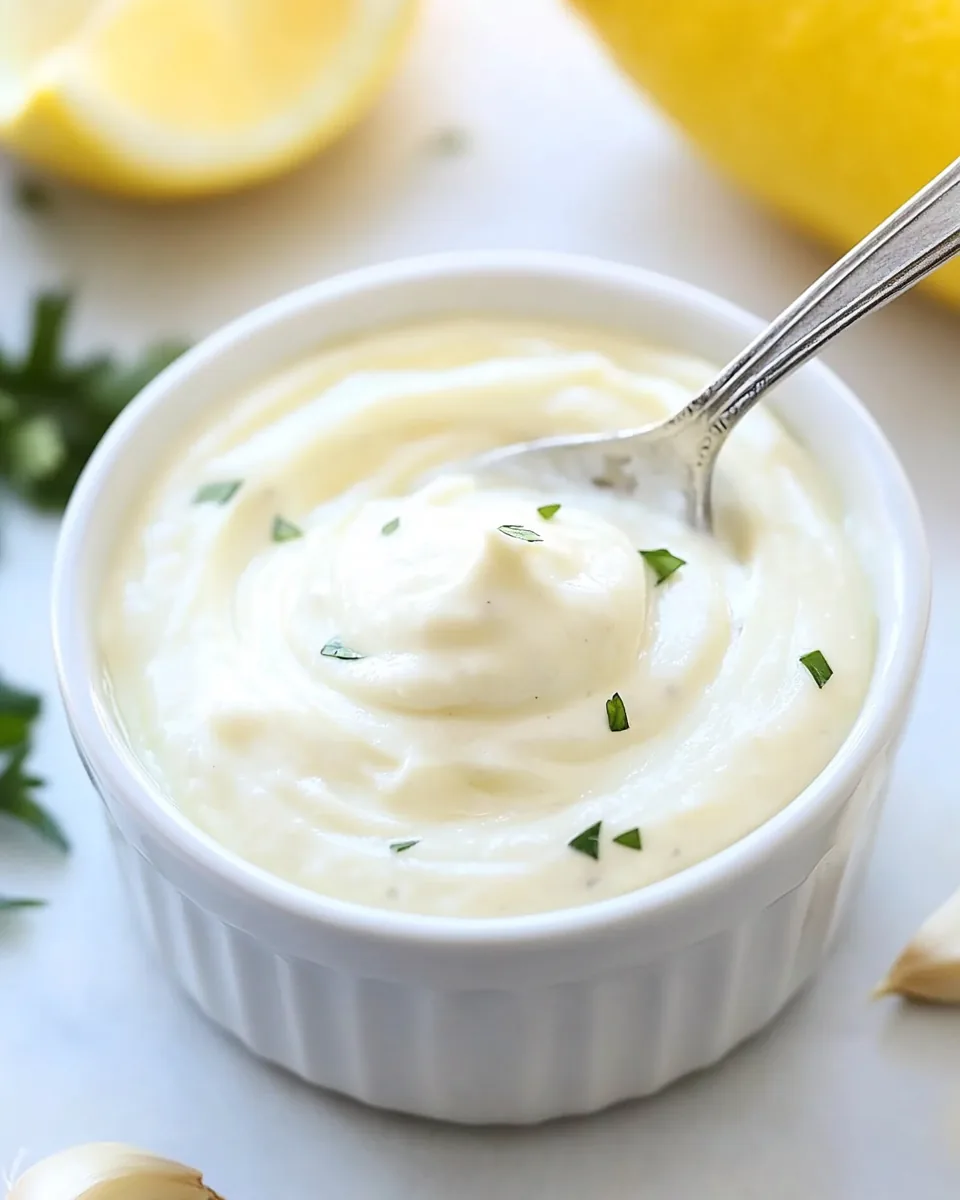
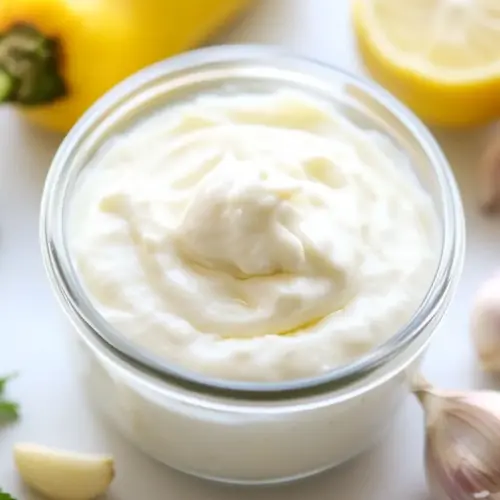
Roasted Garlic Aioli
There’s something almost magical about the aroma of roasted garlic wafting through the kitchen, and that’s exactly how I first fell in love with Roasted Garlic Aioli. I remember the first time I made it; I had friends over for dinner, and I wanted to impress them with a homemade dip. As the garlic roasted slowly in the oven, the sweet, nutty scent filled the air, making everyone curious about what was cooking. When it was finally time to blend everything together, I couldn’t help but sneak a taste. It was creamy, rich, and oh-so-delicious. I served it alongside crispy fries and fresh veggies, and it was an instant hit!
Recipe Snapshot
25 mins
5 mins
20 mins
Medium
100 kcal
1 g
Keto, Paleo, Whole30
10 g
Mixing Bowl, Skillet, Air Fryer, Baking Sheet, Oven
What Sets This Roasted Garlic Aioli Apart
It’s All About the Flavor
The depth of flavor in Roasted Garlic Aioli is what really sets it apart. The roasted garlic brings a sweet and mellow taste that’s far removed from raw garlic’s sharp bite. When blended with mayonnaise and lemon juice, it creates a creamy texture that’s perfect for dipping or spreading.
Versatile and Adaptable
This aioli isn’t just for fries; you can use it as a sandwich spread, a drizzle over grilled vegetables, or even as a dressing for salads. Its versatility means it can elevate so many dishes, and every time I use it, I get creative with how I incorporate it into meals.
Perfect for Any Occasion
Whether it’s a casual weeknight dinner or a festive gathering, Roasted Garlic Aioli fits right in. It’s a great addition to a charcuterie board or a perfect side for an outdoor barbecue. I love how it can transform an everyday meal into something special.
Easy to Make
One of my favorite things about this recipe is its simplicity. With just a few ingredients, you can whip up something that tastes gourmet without spending hours in the kitchen. Anyone can master this aioli, regardless of cooking skill.
Healthier than You Think
While it may seem indulgent, this aioli can actually be a healthier option compared to many store-bought sauces. You have control over the ingredients, and you can tailor it to your taste, making it a guilt-free pleasure.
Ingredient List for Roasted Garlic Aioli

When it comes to making Roasted Garlic Aioli, the ingredients work together in harmony to create a delightful flavor profile. The star player is, of course, the roasted garlic, which adds a rich sweetness. Alongside it, mayonnaise provides creaminess, while lemon juice brings a bright acidity that balances the dish perfectly. Each ingredient has a role to play, making this aioli not just delicious, but a well-rounded addition to any meal.
- 1 cup mayonnaise – The base of our aioli, providing a creamy texture and rich flavor that enhances the roasted garlic.
- 2 tablespoons lemon juice – Adds a tangy brightness that cuts through the richness, elevating the overall taste.
- 1 teaspoon salt – Essential for seasoning, it brings out the flavors of the other ingredients.
- 5 cloves roasted garlic – The star of the show, lending sweetness and depth to this creamy dip.
Making Roasted Garlic Aioli
Creating your own Roasted Garlic Aioli at home is incredibly satisfying. Follow these simple steps, and you’ll have a delicious dip ready in no time. Let’s get started!
-
First, prepare your garlic. If you’re roasting it in the oven, preheat it to 400°F (200°C). Slice the tops off the garlic bulbs and drizzle them with olive oil, then wrap them in foil. Place them directly on the oven rack for about 30 to 35 minutes or until the cloves are soft and golden brown.
Alternatively, if you’re using an air fryer, set it to 320°F (160°C) and place the wrapped garlic inside. Cook for about 20 to 25 minutes, checking for softness. Once done, cool the roasted garlic slightly.
Once your garlic is roasted and cooled, squeeze the cloves out of their skins into a bowl. You’re aiming for a smooth, spreadable consistency, so mash them with a fork until they reach that point.
-
In a separate bowl, combine the mayonnaise, lemon juice, and salt. Mix well until smooth and creamy. This blend is the foundation of your aioli, so make sure it’s well combined.
Add the mashed garlic to the mayonnaise mixture. Stir until everything is fully incorporated. The blend of flavors will already start to create that delicious aioli.
Taste your aioli and adjust the seasoning if necessary. If you prefer a tangier flavor, feel free to add more lemon juice. This is your creation, so make it how you like!
-
Transfer your Roasted Garlic Aioli to a clean jar or airtight container. Store it in the refrigerator for a few hours to let the flavors meld together. This step is essential to enhance the overall taste.
Before serving, give it a good stir. Serve with fresh veggies, crispy fries, or as a spread for sandwiches. Enjoy the compliments!
Leftovers? No problem! This aioli can be kept for up to a week in the fridge. Just remember to store it in a sealed container to maintain freshness.
Things Worth Knowing
- Roasting Timing: When roasting garlic, timing can vary based on the size of the bulbs. Larger bulbs may need a bit more time, so keep an eye on them.
- Texture Check: If you prefer a chunkier aioli, don’t mash the garlic too finely. You can leave some texture for added interest.
- Flavor Infusion: To add a twist, consider infusing your aioli with herbs like thyme or basil. Just chop them finely and mix in.
- Serving Ideas: This aioli can double as a salad dressing if you thin it out with a bit of water or broth.
Customization Ideas
When it comes to Roasted Garlic Aioli, there are endless ways to customize this recipe to suit your taste. Here are some ideas to get you started:
- Herbed Variation: Mix in fresh herbs like dill or parsley for an aromatic twist.
- Spicy Kick: Add a pinch of cayenne pepper or some crushed red pepper flakes to give your aioli a little heat.
- Smoky Flavor: Incorporate smoked paprika for a unique depth of flavor that pairs well with grilled foods.
- Citrus Infusion: Use lime juice instead of lemon for a zesty change that brightens your aioli.
- Extra Creamy: For a richer texture, add a touch of sour cream or Greek yogurt to the mix.
- Vegan Option: Substitute the mayonnaise with a plant-based version for a vegan-friendly aioli.
- Storage: For the best flavor, store your aioli in the fridge and consume it within a week.
What Complements This Roasted Garlic Aioli
- Fresh Veggies: Serve with a platter of colorful veggies like carrots, cucumbers, and bell peppers for a healthy snack.
- Crispy Fries: This aioli is a delightful dip for crispy fries or sweet potato fries.
- Grilled Meats: Use it as a sauce for grilled chicken, fish, or even burgers for added flavor.
- Sandwich Spread: Elevate your sandwiches or wraps by spreading a layer of this creamy aioli inside.
- Charcuterie Boards: Add it to a charcuterie board for a gourmet touch; it pairs beautifully with cheese and cured meats.
- Seasonal Pairings: In the summer, serve it alongside grilled corn on the cob, while in winter, it works well with roasted root vegetables.
FAQ
Conclusion
Roasted Garlic Aioli is more than just a dip; it’s a flavor enhancer that brings a touch of gourmet to any meal. The creamy texture combined with the sweet and savory notes of roasted garlic creates an irresistible blend that you’ll want to have on hand. I encourage you to whip up this easy recipe and enjoy it with your favorite dishes. It’s a sure way to impress your guests and elevate your everyday meals!
Roasted Garlic Aioli
Equipment
- Mixing Bowl
- Skillet
- Air Fryer
- Baking Sheet
- Oven
Ingredients
- 1 cup Mayonnaise
- 2 tablespoons Lemon juice
- 1 teaspoon Salt
- 5 cloves Roasted garlic
Instructions
- First, prepare your garlic. If you’re roasting it in the oven, preheat it to 400°F (200°C). Slice the tops off the garlic bulbs and drizzle them with olive oil, then wrap them in foil. Place them directly on the oven rack for about 30 to 35 minutes or until the cloves are soft and golden brown.
- Alternatively, if you’re using an air fryer, set it to 320°F (160°C) and place the wrapped garlic inside. Cook for about 20 to 25 minutes, checking for softness. Once done, cool the roasted garlic slightly.
- Once your garlic is roasted and cooled, squeeze the cloves out of their skins into a bowl. You’re aiming for a smooth, spreadable consistency, so mash them with a fork until they reach that point.
- In a separate bowl, combine the mayonnaise, lemon juice, and salt. Mix well until smooth and creamy. This blend is the foundation of your aioli, so make sure it's well combined.
- Add the mashed garlic to the mayonnaise mixture. Stir until everything is fully incorporated. The blend of flavors will already start to create that delicious aioli.
- Taste your aioli and adjust the seasoning if necessary. If you prefer a tangier flavor, feel free to add more lemon juice. This is your creation, so make it how you like!
- Transfer your Roasted Garlic Aioli to a clean jar or airtight container. Store it in the refrigerator for a few hours to let the flavors meld together. This step is essential to enhance the overall taste.
- Before serving, give it a good stir. Serve with fresh veggies, crispy fries, or as a spread for sandwiches. Enjoy the compliments!
- Leftovers? No problem! This aioli can be kept for up to a week in the fridge. Just remember to store it in a sealed container to maintain freshness.
Notes
- One serving: is 2 teaspoons.
- Roasted garlic: follow my recipe for oven method: https://www.crunchycreamysweet.com/how-to-roast-garlic/ or the air-fryer method: https://www.crunchycreamysweet.com/air-fryer-roasted-garlic/.
- Nutrition value: can vary depending on what product you use. The information below is an estimate. Always use a calorie counter you are familiar with.