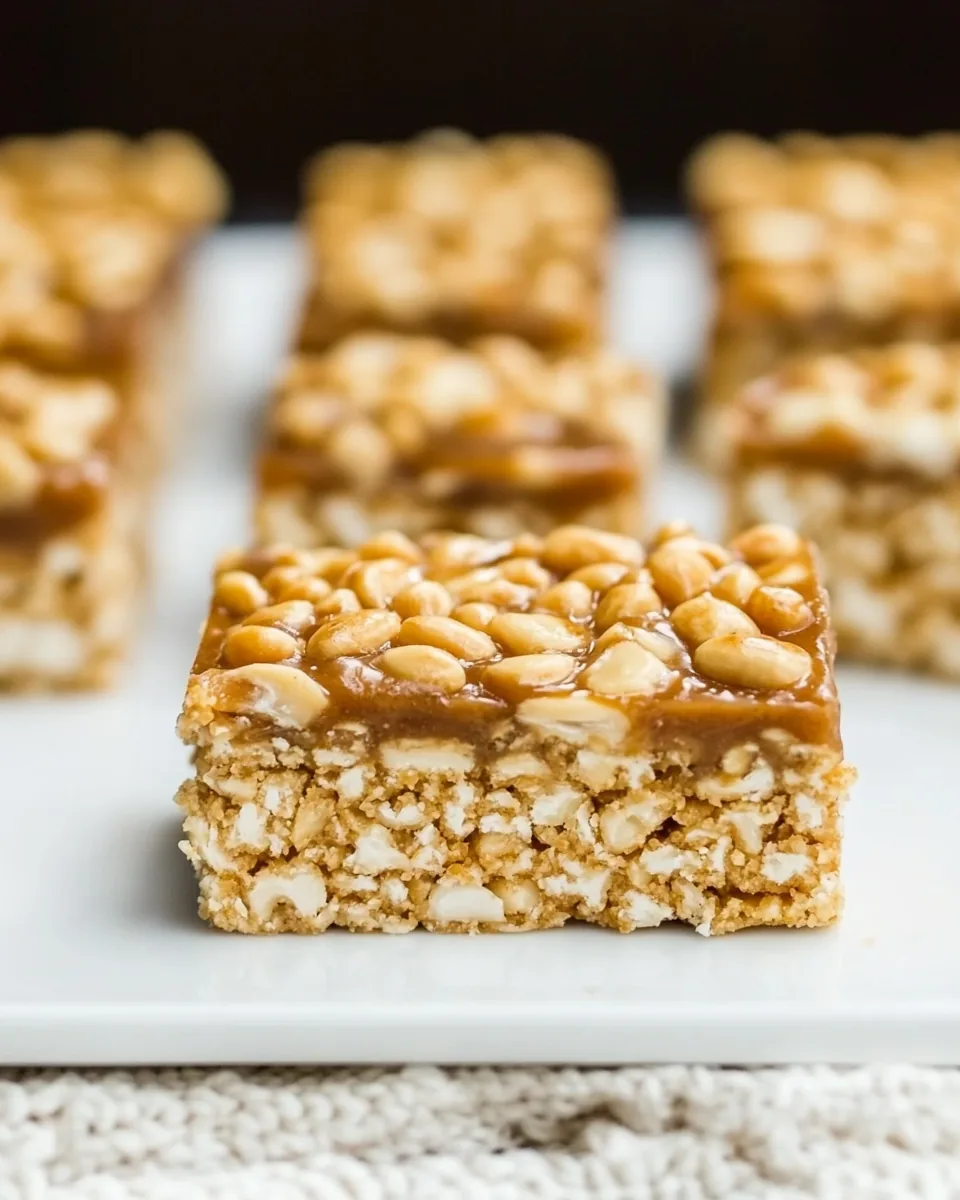
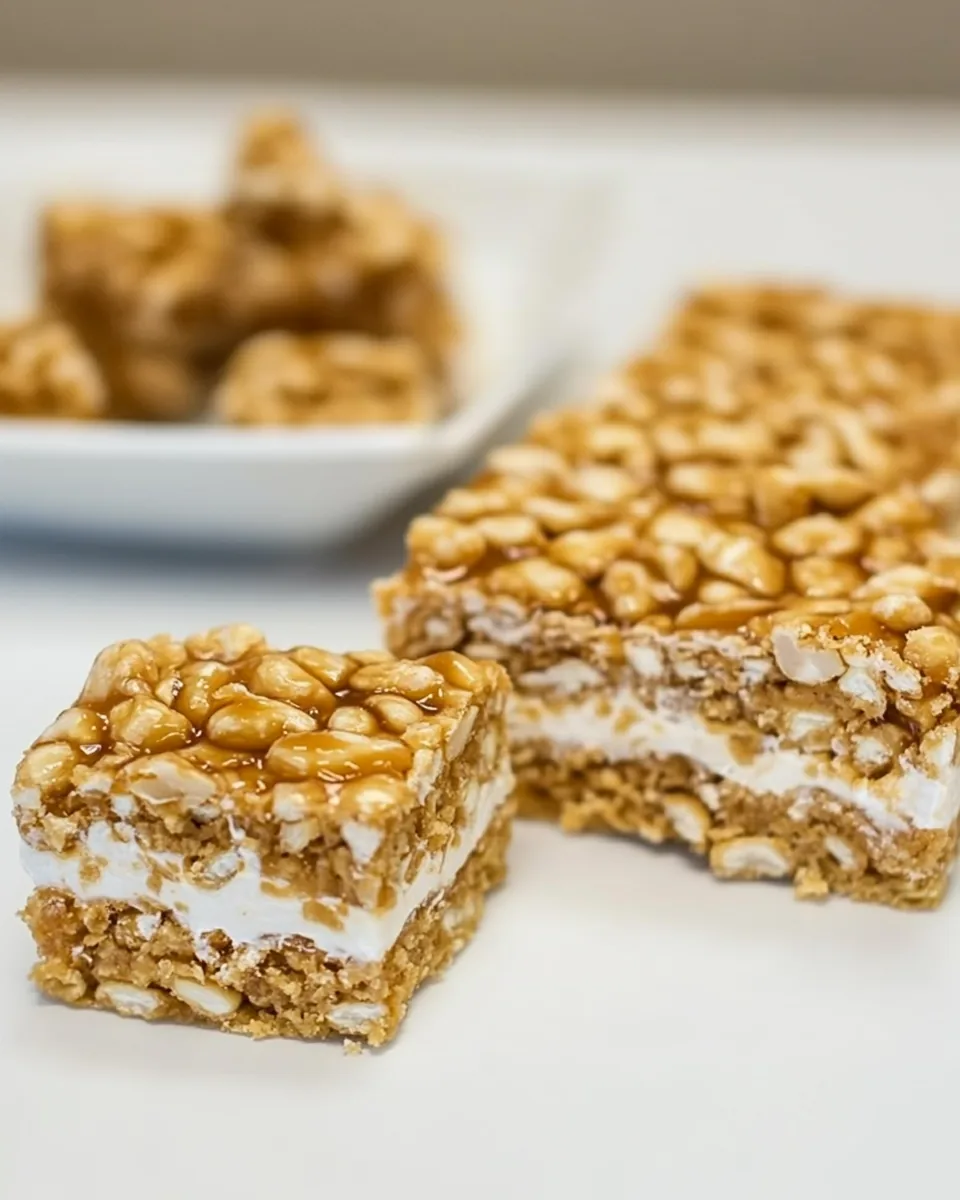
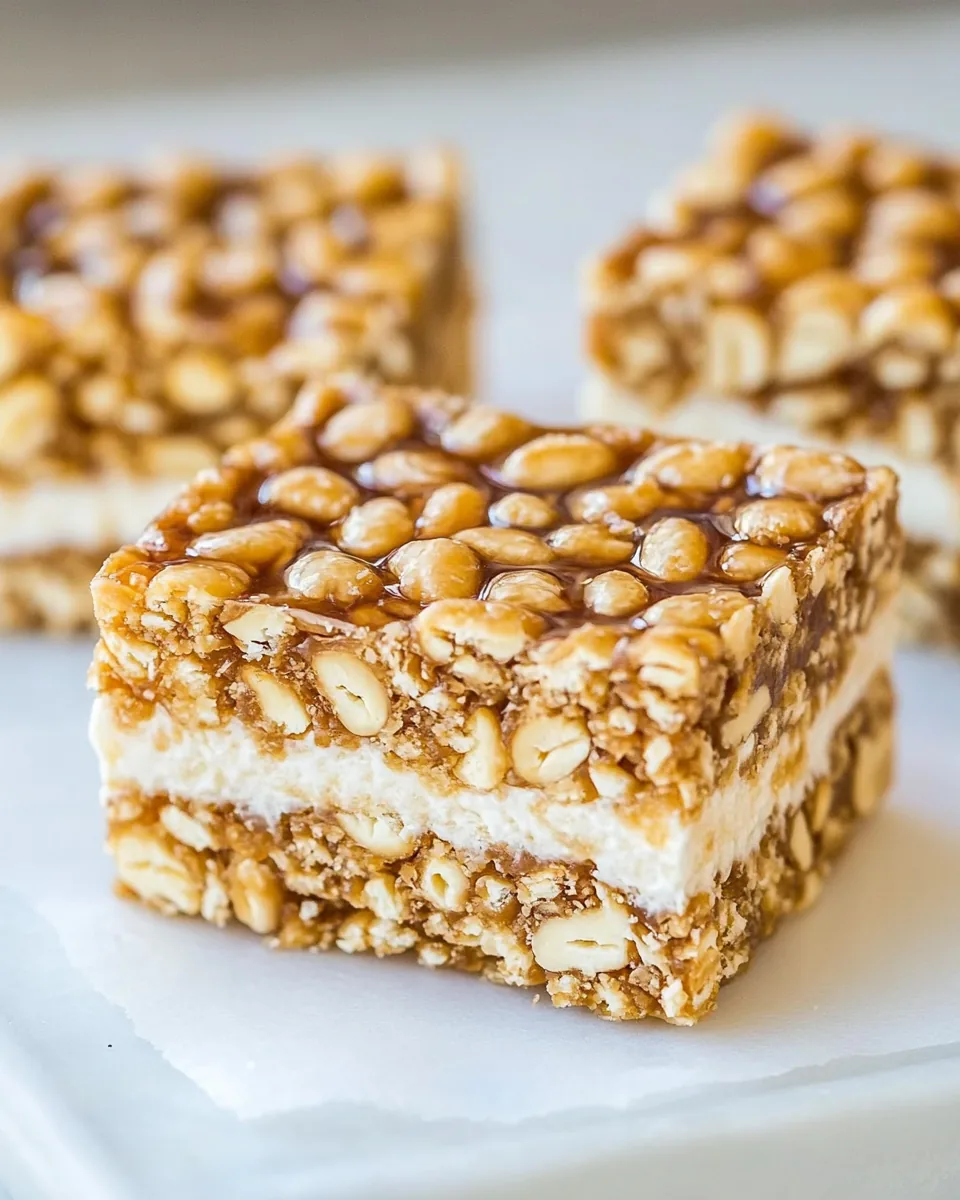
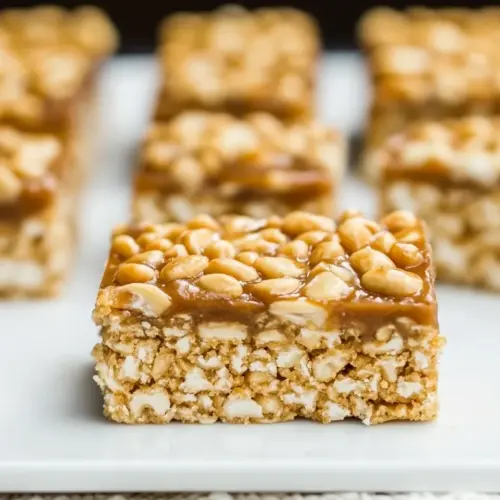
Peanut Chewy Payday Bars
Nothing hits quite like a good dessert, and that’s why I adore these Peanut Chewy Payday Bars. They bring back memories of childhood treats, often savored during family gatherings or after school. Each bite delivers a delightful combination of chewy textures and sweet, nutty flavors, making this dessert a favorite for both kids and adults alike. Imagine pulling a tray of these out of the oven, the aroma of melting chocolate and peanut butter wafting through the kitchen, instantly lifting everyone’s spirits. It’s one of those recipes that feels both indulgent and comforting, perfect for sharing or enjoying in solitude while curled up with a good book.
Recipe Snapshot
30 mins
15 mins
15 mins
Medium
250 kcal
4 g
Gluten-Free, Low FODMAP
12 g
Wooden Spoon, Mixing Bowl, Frying Pan, Chef’s Knife, Blender, Baking Sheet, Food Processor, Oven
The Magic of This Peanut Chewy Payday Bars
Sweet Nostalgia
When I think of Peanut Chewy Payday Bars, I’m transported back to summer days spent with friends. There’s something magical about sharing a sweet treat that brings everyone together, isn’t there? These bars are a reminder of those carefree days, each bite bursting with flavor and happiness.
Perfect for Any Occasion
Whether it’s a casual family gathering or a festive celebration, these bars are always a hit. They’re so versatile; you can easily make them for birthdays, holidays, or even just a simple weeknight treat. Plus, they’re incredibly easy to whip up, so you can spend less time in the kitchen and more time with your loved ones.
Texture That Delights
The combination of chewy marshmallows and crunchy peanuts creates a delightful contrast that keeps you coming back for more. Each texture plays its part, the marshmallows adding a softness that balances the crispy rice cereal and nuts perfectly. It’s a symphony of flavors and textures in every bite.
Child-Friendly Cooking
This recipe is a great way to get kids involved in the kitchen. They can help measure out the ingredients, mix everything together, and, of course, enjoy licking the spoon when you’re done. It’s an excellent way to teach them about baking while creating lovely memories in the process.
Customizable Delight
You can easily adjust this recipe to suit your taste. Want a little more chocolate? Toss in some chocolate chips. Prefer a different nut? Go ahead and swap the peanuts for your favorite. This adaptability makes them even more special, as you can tailor them to fit any flavor preference.
Long-Lasting Goodness
What’s more, these bars last for days if stored properly! You can make a batch ahead of time and enjoy them throughout the week. Just keep them in an airtight container, and you’ll have a delicious snack ready whenever the craving strikes.
Everything You Need for Peanut Chewy Payday Bars
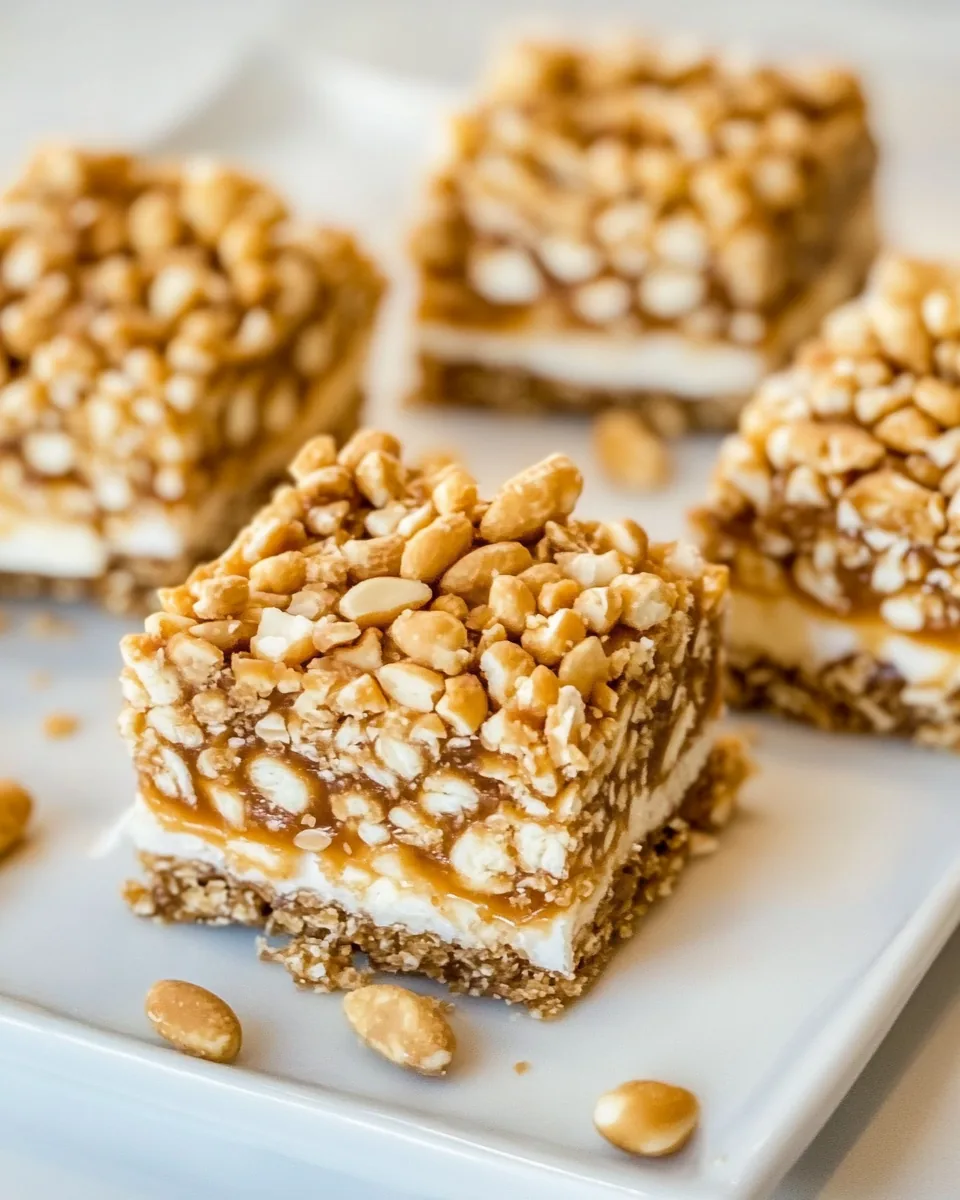
Gathering the right ingredients is essential to making scrumptious Peanut Chewy Payday Bars. Each component plays a vital role in ensuring these bars are not only delicious but also satisfying. From the sweet, chewy marshmallows to the crunchy peanuts, these ingredients come together to create the perfect treat. Let’s take a look at what you’ll need!
- 6 tablespoons unsalted butter, softened
- ¾ cup all-purpose flour
- ¼ cup light brown sugar, packed
- 3 cups miniature marshmallows
- 1 heaping cup creamy peanut butter
- ⅓ cup light corn syrup
- ¼ cup unsalted butter, (4 tablespoons, half of one stick)
- 1 ½ teaspoons vanilla extract
- 1 ½ cups peanuts (use roasted salted peanuts for added flavor)
- 1 ½ cups Rice Krispies (or a vegan and gluten-free cereal)
Cooking Instructions for Peanut Chewy Payday Bars
Making these delicious Peanut Chewy Payday Bars is straightforward and fun. Follow these steps closely, and you’ll be enjoying a batch in no time! Let’s get started on this sweet adventure.
- Preheat your oven to 350 degrees Fahrenheit. This is a crucial step as it ensures even cooking right from the start.
- Prepare the baking pan by lining an 8-by-8-inch baking pan with aluminum foil, leaving an overhang. This will help you lift the bars out later. Don’t forget to spray it with cooking spray to prevent sticking!
- Make the crust. In a medium bowl, combine 6 tablespoons of softened unsalted butter, ¾ cup all-purpose flour, and ¼ cup light brown sugar. Stir until the mixture is sandy and crumbly. It should feel a bit like wet sand.
- Transfer the mixture into the prepared pan. Press it down firmly with your fingertips, then pack it down using the bottom of a glass. This will form a sturdy crust that holds everything together.
- Bake the crust in your preheated oven for 10 to 12 minutes. Keep an eye on it; it should be set and pale in color. Don’t worry if it seems slightly under-baked; it will go back in the oven!
- Prepare the filling by evenly sprinkling 3 cups of miniature marshmallows over the baked crust. Return the pan to the oven and bake for about 5 minutes, just until the marshmallows start to melt. Watch closely to ensure they don’t brown.
- Make the topping. In a large microwave-safe bowl, combine 1 heaping cup of creamy peanut butter, ⅓ cup light corn syrup, and ¼ cup unsalted butter. Heat in the microwave for about one minute to melt everything together, then stir well.
- Add the flavor. Mix in 1 ½ teaspoons vanilla extract, followed by 1 ½ cups of peanuts and 1 ½ cups Rice Krispies. Stir until everything is fully combined.
- Pour this delicious mixture over the melted marshmallows, smoothing it down with a spatula to create an even layer. This step ensures every bite is packed with goodness!
- Cool the bars. Set the pan aside to cool for at least 4 hours before slicing. If you’re in a hurry, refrigerating the bars can expedite the cooling process!
- Slice the bars by lifting them out of the pan using the foil overhang. Transfer to a cutting board and cut them into squares. Store in an airtight container at room temperature for up to one week, or freeze for up to three months.
Things Worth Knowing
- Cooling Time: Allowing the bars to cool completely is essential for them to set properly. If you cut them too soon, they might fall apart.
- Ingredient Quality: Using high-quality peanut butter will enhance the flavor of your bars significantly. Choose a creamy version for the best texture.
- Storage Solutions: Keep your bars in an airtight container to maintain their freshness. If freezing, wrap them in plastic wrap first for added protection.
- Customizable Flavors: Feel free to add in chocolate chips or swap out the peanuts for other nuts like cashews or almonds for a different twist.
Variations to Try
If you’re looking to mix things up or tailor the recipe to your taste, here are some fun variations to try with your Peanut Chewy Payday Bars. These tips will not only diversify your treats but keep the excitement alive!
- Storage: Store leftovers in an airtight container at room temperature for up to a week, or freeze for longer-lasting goodness.
- Freezing: You can freeze the bars for up to three months. Just make sure to wrap them well to prevent freezer burn.
- Chocolate Drizzle: Drizzle some melted chocolate over the top before slicing for an added layer of decadence.
- Nut Variations: Substitute peanuts with chopped almonds or walnuts for a different crunch.
- Vegan Option: To keep this recipe vegan, simply replace the butter with margarine and use vegan marshmallows.
- Gluten-Free Version: Use gluten-free flour and cereal to make these bars suitable for a gluten-free diet.
Serving This Peanut Chewy Payday Bars
When it comes to serving Peanut Chewy Payday Bars, the possibilities are endless! Here’s how to elevate your dessert experience:
- Perfect Pairings: Serve these bars alongside a scoop of vanilla ice cream for a delightful contrast in temperatures and textures.
- Lunchbox Treat: These bars make for an excellent lunchbox treat, providing a sweet surprise for kids during school hours.
- Coffee Companion: Enjoy them with a hot cup of coffee or tea for a delightful afternoon pick-me-up.
- Special Occasions: They can be a great addition to birthday parties, potlucks, or even as a sweet treat for holiday gatherings.
- Storage Tips: While they can last up to a week at room temperature, I recommend keeping them in the fridge during hot weather to maintain their freshness.
- Cut with Care: Use a sharp knife to slice these bars to ensure clean edges and appealing presentation.
FAQ
Conclusion
These Peanut Chewy Payday Bars are not just a treat; they’re a celebration of flavors and textures that everyone can enjoy. Their chewy, crunchy goodness is irresistible and perfect for satisfying those sweet cravings. I encourage you to give this recipe a try and indulge in a nostalgic dessert that will surely become a favorite in your home.
Peanut Chewy Payday Bars
Equipment
- Wooden Spoon
- Mixing Bowl
- Frying Pan
- Chef's Knife
- Blender
- Baking Sheet
- Food Processor
- Oven
Ingredients
- 6 tablespoons Unsalted Butter Softened, three-quarters of one stick.
- ¾ cup All-Purpose Flour
- ¼ cup Light Brown Sugar Packed.
- 3 cups Miniature Marshmallows
- 1 heaping cup Creamy Peanut Butter
- ⅓ cup Light Corn Syrup
- ¼ cup Unsalted Butter 4 tablespoons, half of one stick.
- 1 ½ teaspoons Vanilla Extract
- 1 ½ cups Peanuts Roasted salted peanuts recommended.
- 1 ½ cups Rice Krispies Use gluten-free cereal if desired.
Instructions
- Preheat your oven to 350 degrees Fahrenheit. This is a crucial step as it ensures even cooking right from the start.
- Prepare the baking pan by lining an 8-by-8-inch baking pan with aluminum foil, leaving an overhang. This will help you lift the bars out later. Don’t forget to spray it with cooking spray to prevent sticking!
- Make the crust. In a medium bowl, combine 6 tablespoons of softened unsalted butter, ¾ cup all-purpose flour, and ¼ cup light brown sugar. Stir until the mixture is sandy and crumbly. It should feel a bit like wet sand.
- Transfer the mixture into the prepared pan. Press it down firmly with your fingertips, then pack it down using the bottom of a glass. This will form a sturdy crust that holds everything together.
- Bake the crust in your preheated oven for 10 to 12 minutes. Keep an eye on it; it should be set and pale in color. Don't worry if it seems slightly under-baked; it will go back in the oven!
- Prepare the filling by evenly sprinkling 3 cups of miniature marshmallows over the baked crust. Return the pan to the oven and bake for about 5 minutes, just until the marshmallows start to melt. Watch closely to ensure they don’t brown.
- Make the topping. In a large microwave-safe bowl, combine 1 heaping cup of creamy peanut butter, ⅓ cup light corn syrup, and ¼ cup unsalted butter. Heat in the microwave for about one minute to melt everything together, then stir well.
- Add the flavor. Mix in 1 ½ teaspoons vanilla extract, followed by 1 ½ cups of peanuts and 1 ½ cups Rice Krispies. Stir until everything is fully combined.
- Pour this delicious mixture over the melted marshmallows, smoothing it down with a spatula to create an even layer. This step ensures every bite is packed with goodness!
- Cool the bars. Set the pan aside to cool for at least 4 hours before slicing. If you're in a hurry, refrigerating the bars can expedite the cooling process!
- Slice the bars by lifting them out of the pan using the foil overhang. Transfer to a cutting board and cut them into squares. Store in an airtight container at room temperature for up to one week, or freeze for up to three months.
Notes
- Tip 1: Allowing the bars to cool completely is essential for them to set properly. If you cut them too soon, they might fall apart.
- Tip 2: Using high-quality peanut butter will enhance the flavor of your bars significantly. Choose a creamy version for the best texture.
- Tip 3: Keep your bars in an airtight container to maintain their freshness. If freezing, wrap them in plastic wrap first for added protection.
- Tip 4: Feel free to add in chocolate chips or swap out the peanuts for other nuts like cashews or almonds for a different twist.
- Tip 5: Make these bars vegan by replacing the butter with margarine and using vegan marshmallows.