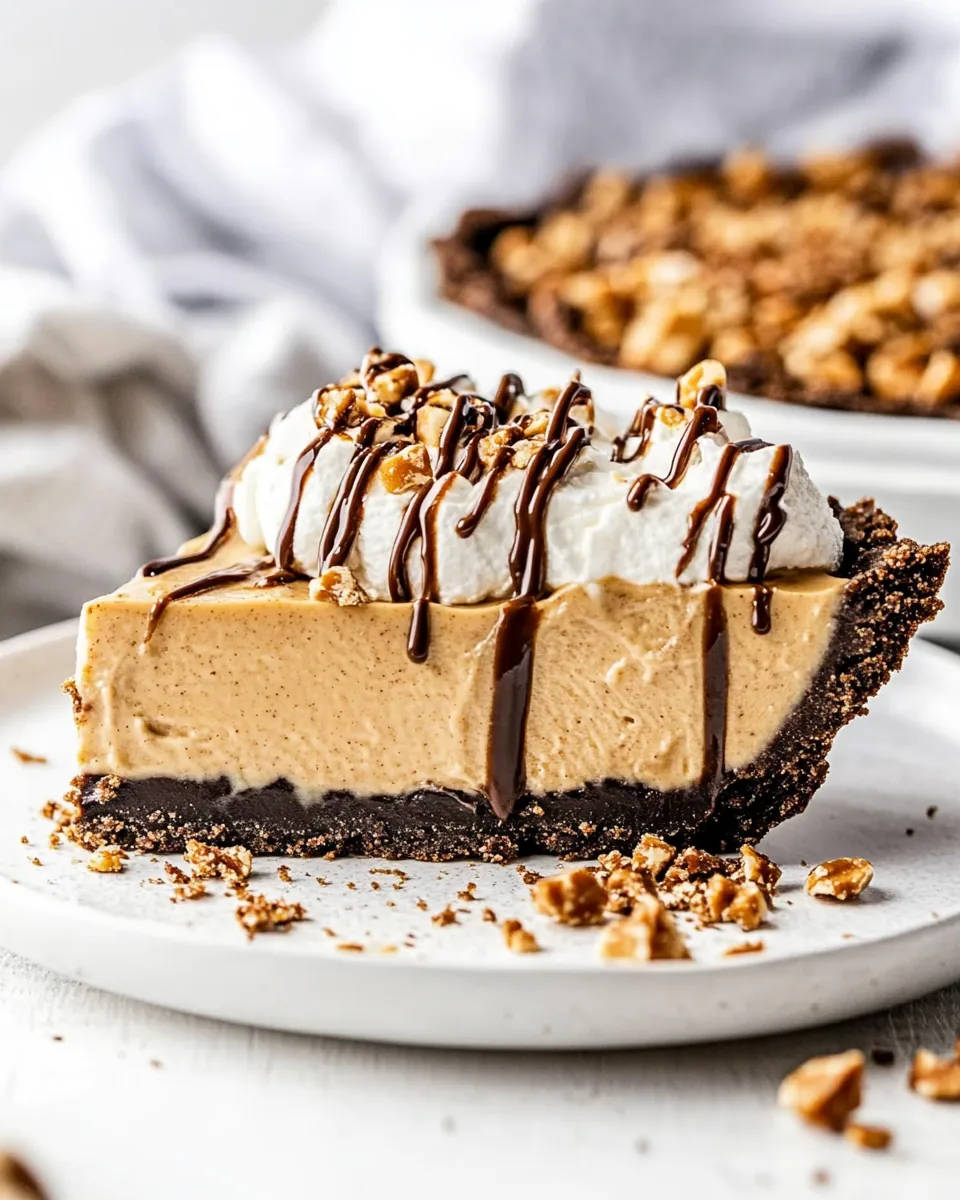
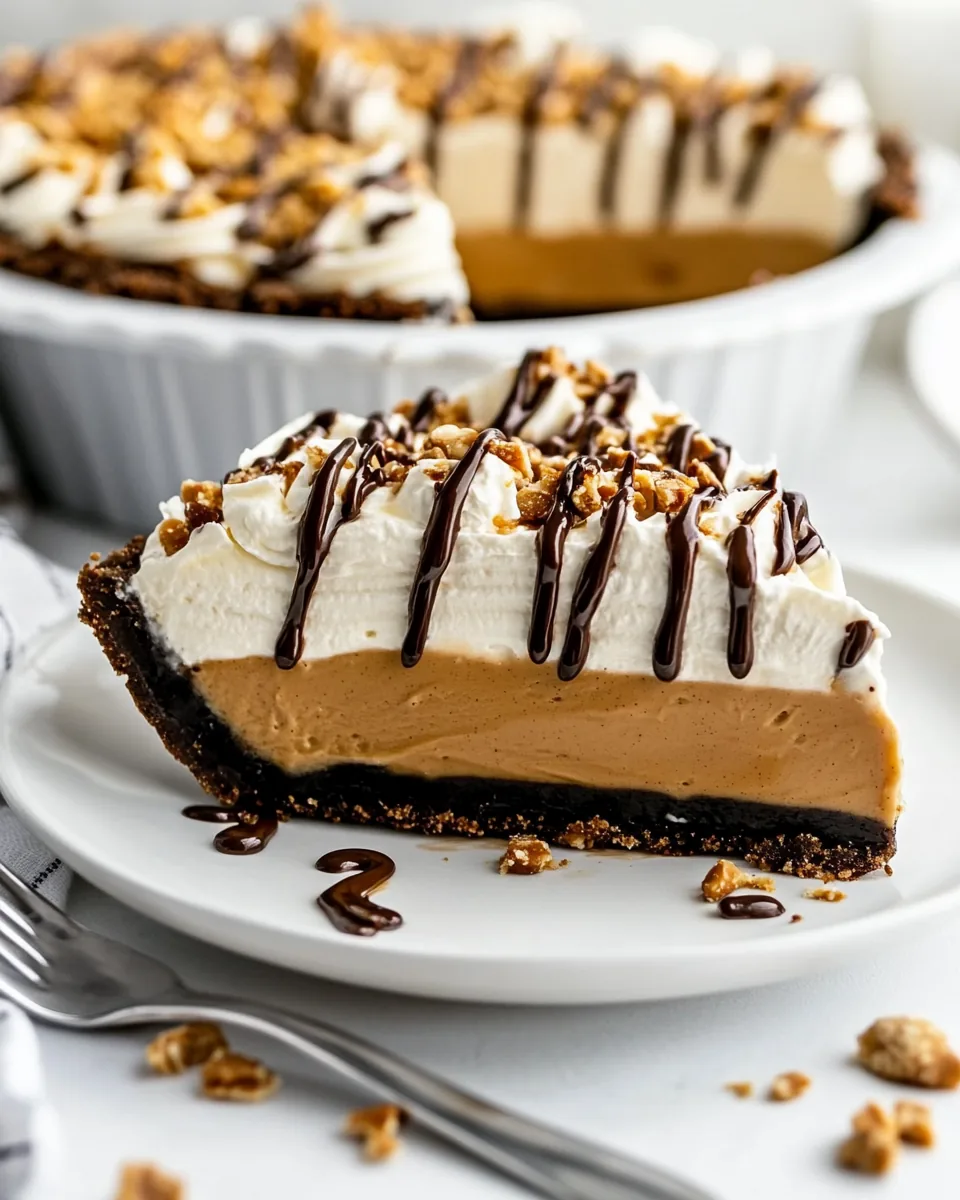
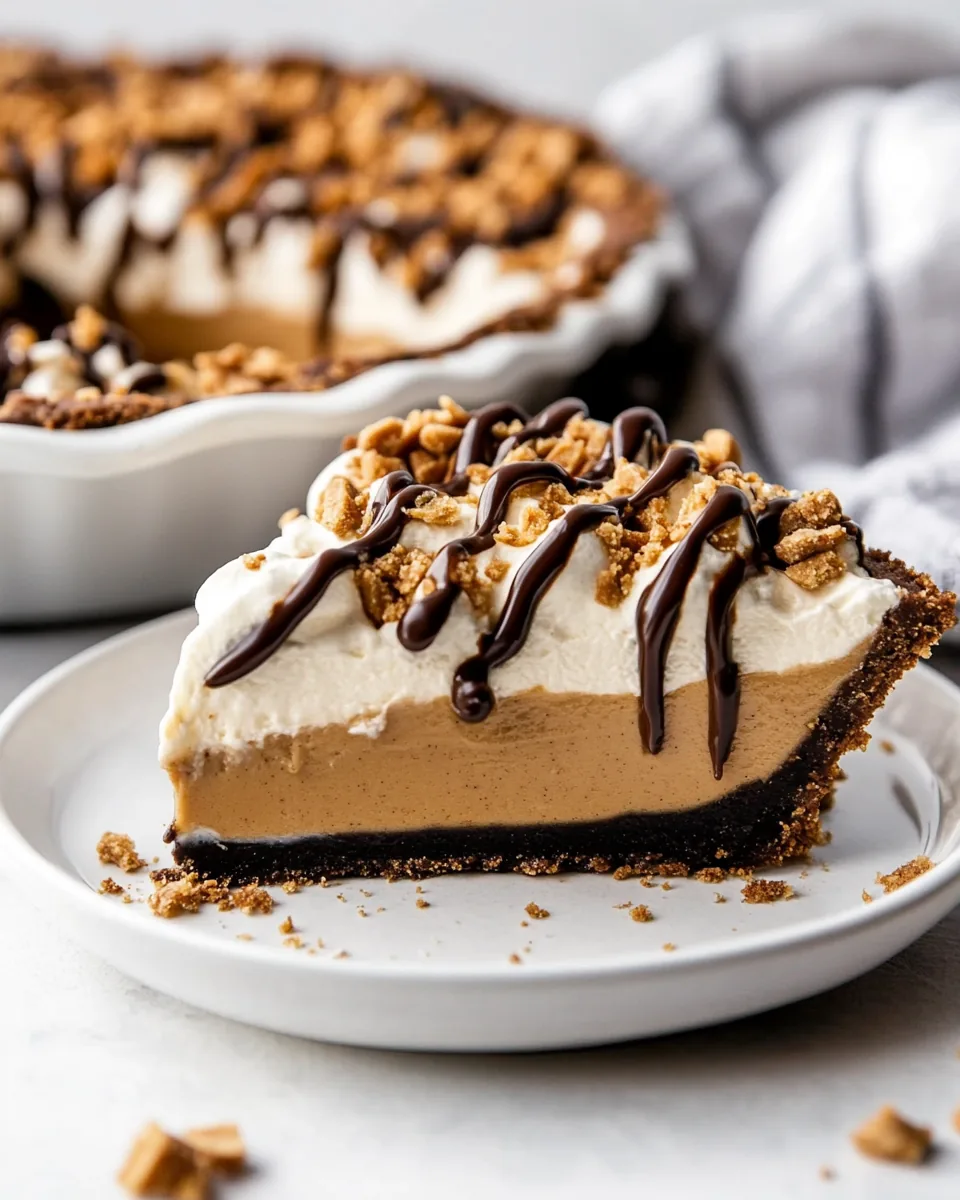
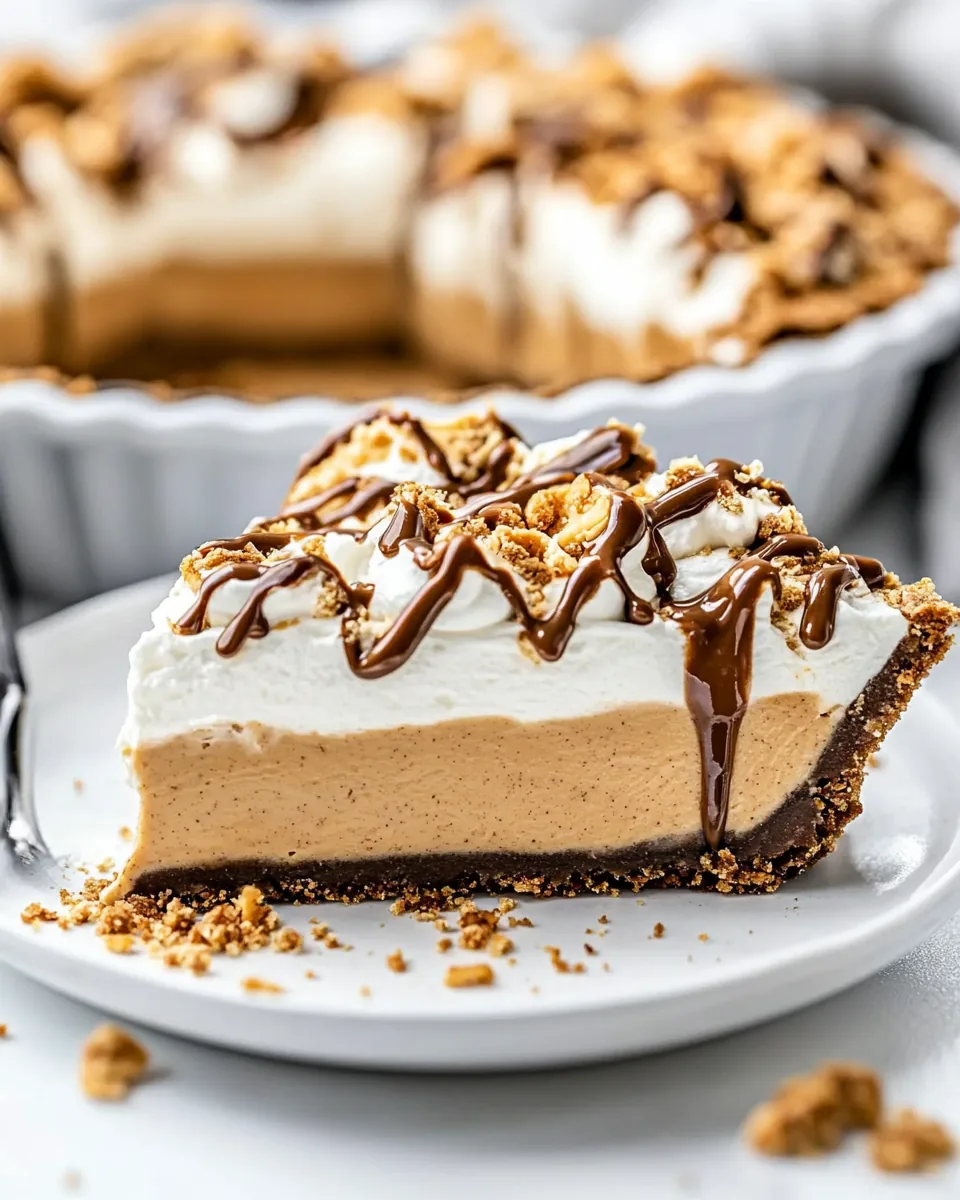
Peanut Butter Pie
Whenever I think of the Peanut Butter Pie, I am whisked away to my childhood kitchen, where the aroma of sweet, creamy peanut butter would waft through the air. My mother would whip up this indulgent dessert to celebrate birthdays, family gatherings, and those cozy evenings when we all needed a little something special to lift our spirits. The Peanut Butter Pie is more than just a dessert; it’s a nostalgic journey that brings everyone together, smiles and laughter filling the room as we eagerly awaited the first slice. The combination of the rich, velvety filling and the crumbly chocolate crust always left us craving more. With every bite, the creamy texture of the peanut butter mixed with the sweetness of the sugar and the crunch of the Oreo crust makes it an unforgettable treat.
Recipe Snapshot
30 mins
30 mins
0 mins
Medium
350 kcal
6 g
Gluten-Free, Low FODMAP
25 g
9-inch pie pan, Blender, Stand mixer, Hand mixer
The secret to a great Peanut Butter Pie lies in the balance of flavors and textures. You get the creaminess of the peanut butter filling wrapped in a crisp crust, creating a delightful contrast that keeps you coming back for more. Over the years, I’ve perfected this simple yet delicious recipe, ensuring it’s a staple in our home. Whether it’s a hot summer day or a chilly winter night, this dessert always fits the occasion. Gathering with friends and family around a slice of this pie is truly one of life’s simple pleasures, and I can’t wait for you to experience it.
What’s Great About This Peanut Butter Pie
Comfort in Every Bite
The Peanut Butter Pie doesn’t just satisfy your sweet tooth; it wraps you in a cozy embrace. Each bite is like a warm hug from the inside, making it perfect for when you need a little comfort food.
Easy to Make
This pie is incredibly simple to whip up. With a few ingredients and steps, you can have a delightful dessert ready to chill in the fridge. It’s a great option for beginner bakers or those who might feel daunted by more complex desserts.
Perfect for Any Occasion
From family gatherings to casual get-togethers, this pie is a hit. Its creamy peanut butter filling is a crowd-pleaser, ensuring you’ll have compliments flying around the table.
Versatility
Feel free to get creative with your Peanut Butter Pie. You can add toppings or mix-ins like chocolate chips or crushed peanuts for added texture and flavor. This adaptability means you can customize it to your taste!
Make Ahead
This pie is an excellent make-ahead option. The longer it sits, the better it gets, allowing flavors to meld and the filling to set perfectly. Just slice and serve whenever you’re ready!
A Memorable End
Ending any meal with a slice of Peanut Butter Pie is a guaranteed way to leave a lasting impression on your guests. It’s an iconic dessert that stands out and brings smiles.
What You’ll Need for Peanut Butter Pie
Gathering quality ingredients is key to making the perfect Peanut Butter Pie. The combination of these ingredients creates a harmonious blend of flavors that will tantalize your taste buds. The star of the show is, of course, the creamy peanut butter, which provides rich flavor and a smooth texture. The addition of cream cheese enhances the creaminess, while Oreo crumbs give us that delightful crunchy crust. Let’s dive into what you’ll need!
- 4 tablespoons unsalted butter, melted and cooled
- 1 and 3/4 cups Oreo crumbs (approximately 24 cookies)
- 1/8 teaspoon salt
- 8 ounces cream cheese (brick-style, full-fat, at room temperature)
- 1 cup creamy peanut butter (like Skippy)
- 1 cup granulated sugar
- 1 teaspoon vanilla extract
- 1/8 teaspoon salt
- 1 cup heavy cream (or use 1 (8-ounce) container of whipped topping)
- Whipped cream (for topping)
- Oreo crumbs (for garnish)
- Reese’s minis (for garnish)
Recipe Steps for Peanut Butter Pie
Making a Peanut Butter Pie is a fun and rewarding experience! Follow these steps to bring this creamy delight to your table. Remember to take your time and enjoy the process!
Preheat your oven to 350°F (175°C). While the oven is heating, grease a 9-inch pie pan to prepare it for the crust. This will help the pie come out easily once it’s baked.
In a separate bowl, melt the butter and let it cool slightly. While it cools, blend the Oreo cookies in a blender until you have fine crumbs. If you find any large chunks, reblend them to ensure an even texture.
-
Combine the Oreo crumbs with the melted butter and salt in a bowl. Mix well until the crumbs are evenly coated.
Transfer the crumb mixture to your prepared pie pan. Press the crumbs firmly along the sides first and then the bottom using a flat measuring cup. This will help create a solid crust.
Bake the crust for 10 minutes. Once baked, remove it from the oven and let it cool completely on a wire rack. This is crucial as the filling will be added later.
-
In a large bowl, beat the cream cheese with a mixer until creamy, about 1 to 2 minutes. Gradually add in the sugar, peanut butter, vanilla, and salt. Continue mixing until everything is well blended and creamy, about 3 minutes.
In another bowl, use a stand or hand mixer to whip the heavy cream until stiff peaks form. This step is essential for that light and airy texture.
Gently fold the whipped cream into the peanut butter mixture. Be careful not to deflate the whipped cream; you want to keep that lovely fluffiness.
-
Once blended, pour the filling into the cooled pie crust. Smooth the top out using a spatula, ensuring it’s even.
Cover the pie with plastic wrap and refrigerate for at least 8 hours. This allows the filling to set, making it easier to slice later.
When ready to serve, slice the pie using a sharp knife. For cleaner cuts, run the knife under hot water, dry it, then slice. Serve chilled, optionally garnished with whipped cream, crushed Oreos, and mini Reese’s cups.
Things Worth Knowing
- Let it Chill: Allowing the pie to chill for at least 8 hours is vital for the flavors to meld and the filling to firm up.
- Use Room Temperature Ingredients: Ensure your cream cheese is at room temperature for a smooth filling.
- Don’t Rush the Whipping: When whipping the heavy cream, take your time to achieve stiff peaks; this will give your pie a light texture.
- Customize Your Toppings: Feel free to experiment with toppings like chocolate shavings or additional crushed Oreo cookies.
Recipe Variations about Peanut Butter Pie
If you’re feeling adventurous, there are several delightful ways to customize your Peanut Butter Pie to suit your tastes or to make it festive! Explore these variations to keep your dessert game strong.
- Chocolate Drizzle: Drizzle melted chocolate over the top before serving for an extra layer of indulgence.
- Nutty Twist: Add chopped nuts to the filling for an added crunch and enhanced flavor.
- Different Crusts: Experiment with different crusts, like a graham cracker crust or a chocolate cookie crust for unique flavor profiles.
- Healthier Option: Substitute half the sugar with a natural sweetener like honey or maple syrup for a lighter version.
- Mini Variations: Make mini Peanut Butter Pies in muffin tins for individual servings, perfect for parties.
Serving This Peanut Butter Pie
Serving the Peanut Butter Pie can be just as fun as making it! Here are some tips to elevate your serving experience:
- Garnish Creatively: Top each slice with a dollop of whipped cream, a sprinkle of Oreo crumbs, or a mini Reese’s cup for a beautiful presentation.
- Pair with Drinks: This pie pairs wonderfully with coffee or a glass of cold milk, enhancing its flavors.
- Store Leftovers Properly: Any leftovers should be covered tightly and stored in the fridge for up to 5 days.
- Occasions: Serve this pie during summer barbecues, birthdays, or casual family dinners for an instant crowd-pleaser.
- Seasonal Themes: Consider decorating the pie for holidays using festive toppings such as colored sprinkles for birthdays or themed decorations for seasonal parties.
FAQ
Conclusion
The Peanut Butter Pie is a delightful dessert that brings a taste of nostalgia and joy to any gathering. Its creamy filling and crunchy crust create a perfect balance, making every bite a delightful experience. I encourage you to try making this pie yourself; you’ll be amazed at how easy it is and how quickly it disappears. Whether you’re hosting a celebration or just craving a sweet treat, this pie is sure to impress and satisfy.
Peanut Butter Pie
Equipment
- 9-inch pie pan
- Blender
- Stand mixer
- Hand Mixer
Ingredients
- 4 tablespoons unsalted butter melted and cooled
- 1 and 3/4 cups Oreo crumbs approximately 24 cookies
- 1/8 teaspoon salt
- 8 ounces cream cheese brick-style, full-fat, at room temperature
- 1 cup creamy peanut butter like Skippy
- 1 cup granulated sugar
- 1 teaspoon vanilla extract
- 1/8 teaspoon salt
- 1 cup heavy cream or use 1 (8-ounce) container of whipped topping
- 1 serving Whipped cream for topping
- 1 serving Oreo crumbs for garnish
- 1 serving Reese’s minis for garnish
Instructions
- Preheat your oven to 350°F (175°C). While the oven is heating, grease a 9-inch pie pan to prepare it for the crust. This will help the pie come out easily once it’s baked.
- In a separate bowl, melt the butter and let it cool slightly. While it cools, blend the Oreo cookies in a blender until you have fine crumbs. If you find any large chunks, reblend them to ensure an even texture.
- Combine the Oreo crumbs with the melted butter and salt in a bowl. Mix well until the crumbs are evenly coated.
- Transfer the crumb mixture to your prepared pie pan. Press the crumbs firmly along the sides first and then the bottom using a flat measuring cup. This will help create a solid crust.
- Bake the crust for 10 minutes. Once baked, remove it from the oven and let it cool completely on a wire rack. This is crucial as the filling will be added later.
- In a large bowl, beat the cream cheese with a mixer until creamy, about 1 to 2 minutes. Gradually add in the sugar, peanut butter, vanilla, and salt. Continue mixing until everything is well blended and creamy, about 3 minutes.
- In another bowl, use a stand or hand mixer to whip the heavy cream until stiff peaks form. This step is essential for that light and airy texture.
- Gently fold the whipped cream into the peanut butter mixture. Be careful not to deflate the whipped cream; you want to keep that lovely fluffiness.
- Once blended, pour the filling into the cooled pie crust. Smooth the top out using a spatula, ensuring it’s even.
- Cover the pie with plastic wrap and refrigerate for at least 8 hours. This allows the filling to set, making it easier to slice later.
- When ready to serve, slice the pie using a sharp knife. For cleaner cuts, run the knife under hot water, dry it, then slice. Serve chilled, optionally garnished with whipped cream, crushed Oreos, and mini Reese’s cups.
Notes
- Tip 1: Ensure cream cheese is softened to room temperature for a smooth pie. Microwave it outside of its packaging in 10-second bursts, for a total of 20–40 seconds, just until it reaches room temperature. Don’t melt.
- Tip 2: Use smooth commercial peanut butter. Natural types that separate can make the pie oily.
- Tip 3: Completely thaw frozen whipped topping before use. Or use heavy cream, whipped to Cool Whip consistency.
- Tip 4: Return any leftovers, covered tightly, to the fridge. Good for up to 5 days.