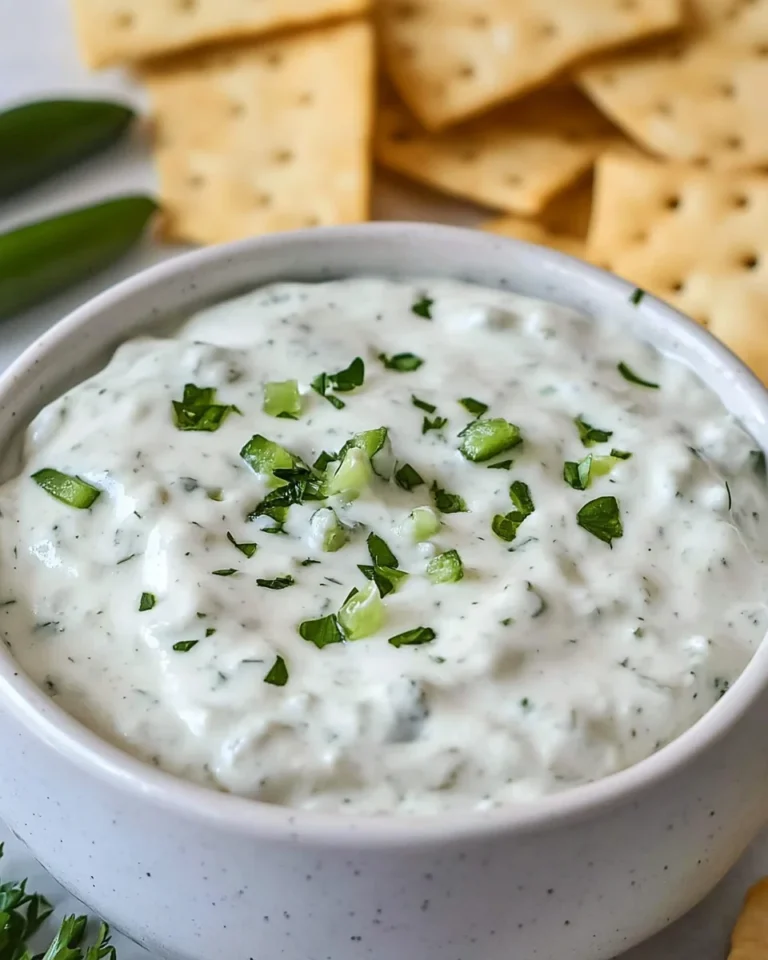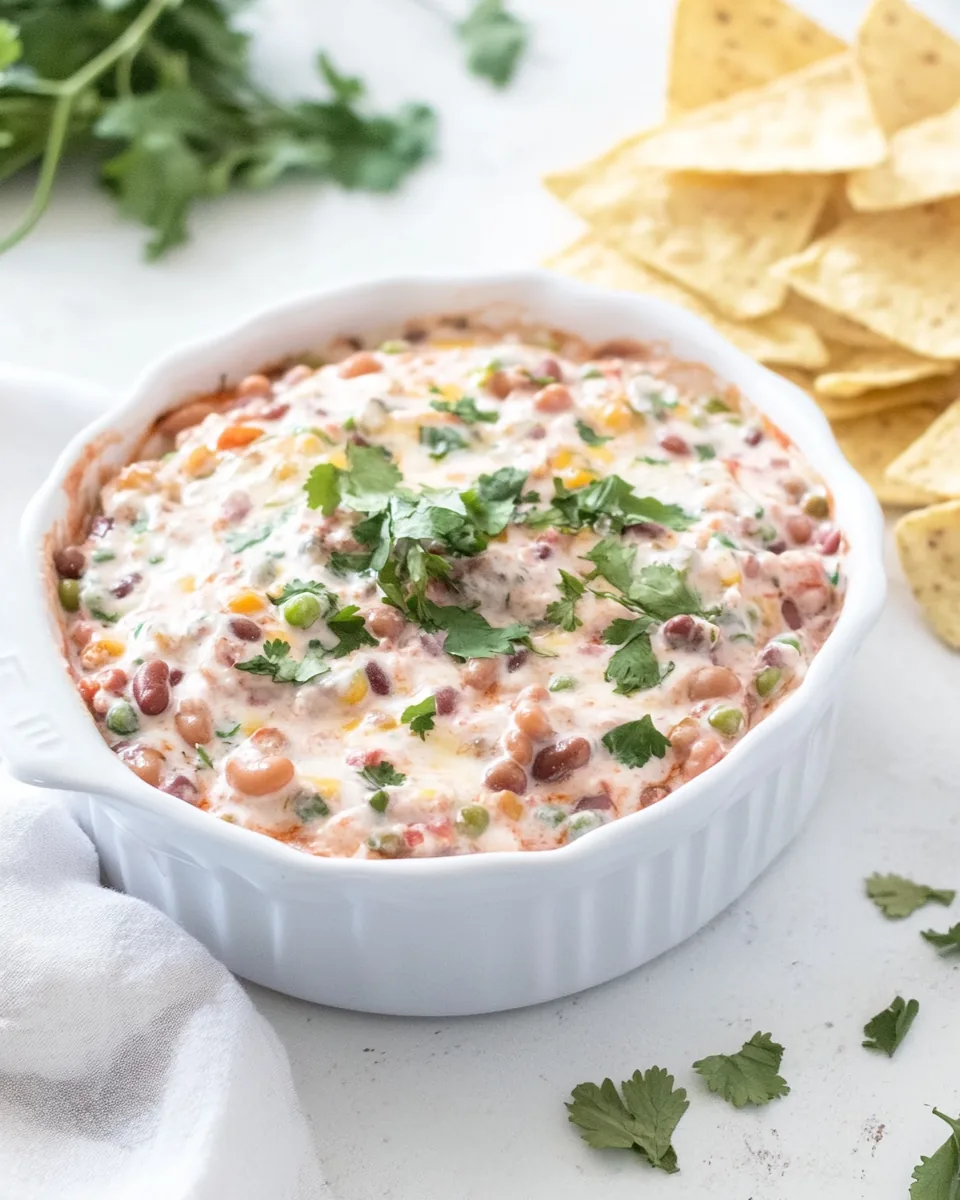
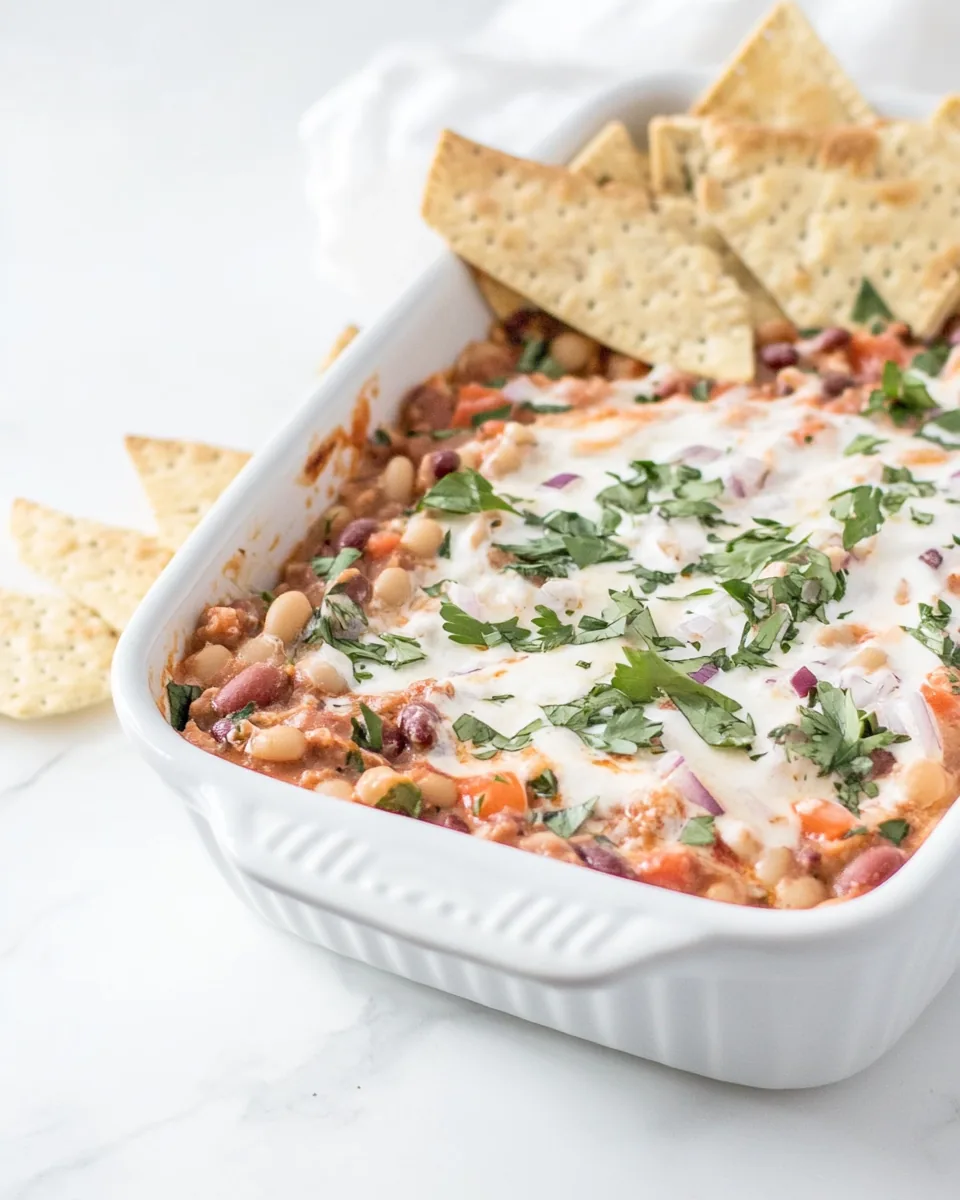
Party Bean Dip
Every gathering needs a standout dish, and the Party Bean Dip has become my go-to for any occasion. Whether it’s a game night with friends or a casual weekend barbecue, this dip never fails to bring people together. I still remember the first time I made it – the laughter, the crunch of the tortilla chips, and those satisfied nods as everyone dug in. It’s such a simple recipe, yet it feels like a celebration in a bowl. The blend of flavors from the refried beans, chunky salsa, and shredded cheese creates a delightful harmony that dances on your taste buds. Plus, it’s super easy to prepare, which means you can spend more time enjoying the company and less time in the kitchen.
Recipe Snapshot
50 mins
15 mins
35 mins
Medium
220 kcal
7 g
Gluten-Free, Low FODMAP
10 g
Wooden Spoon, Mixing Bowl, Chef’s Knife, Blender, Baking Sheet, Oven
What We Adore About This Party Bean Dip
It’s Incredibly Easy to Make
When it comes to entertaining, simplicity is key. The Party Bean Dip requires minimal prep and cooking time, making it a breeze even for novice cooks. You can whip it up in no time, and it always impresses guests.
Perfect for Any Occasion
This dip is incredibly versatile. Whether you’re hosting a birthday party, a family gathering, or just a cozy night in, it fits right in. Plus, the vibrant colors make it a visual treat on any table.
Loaded with Flavor
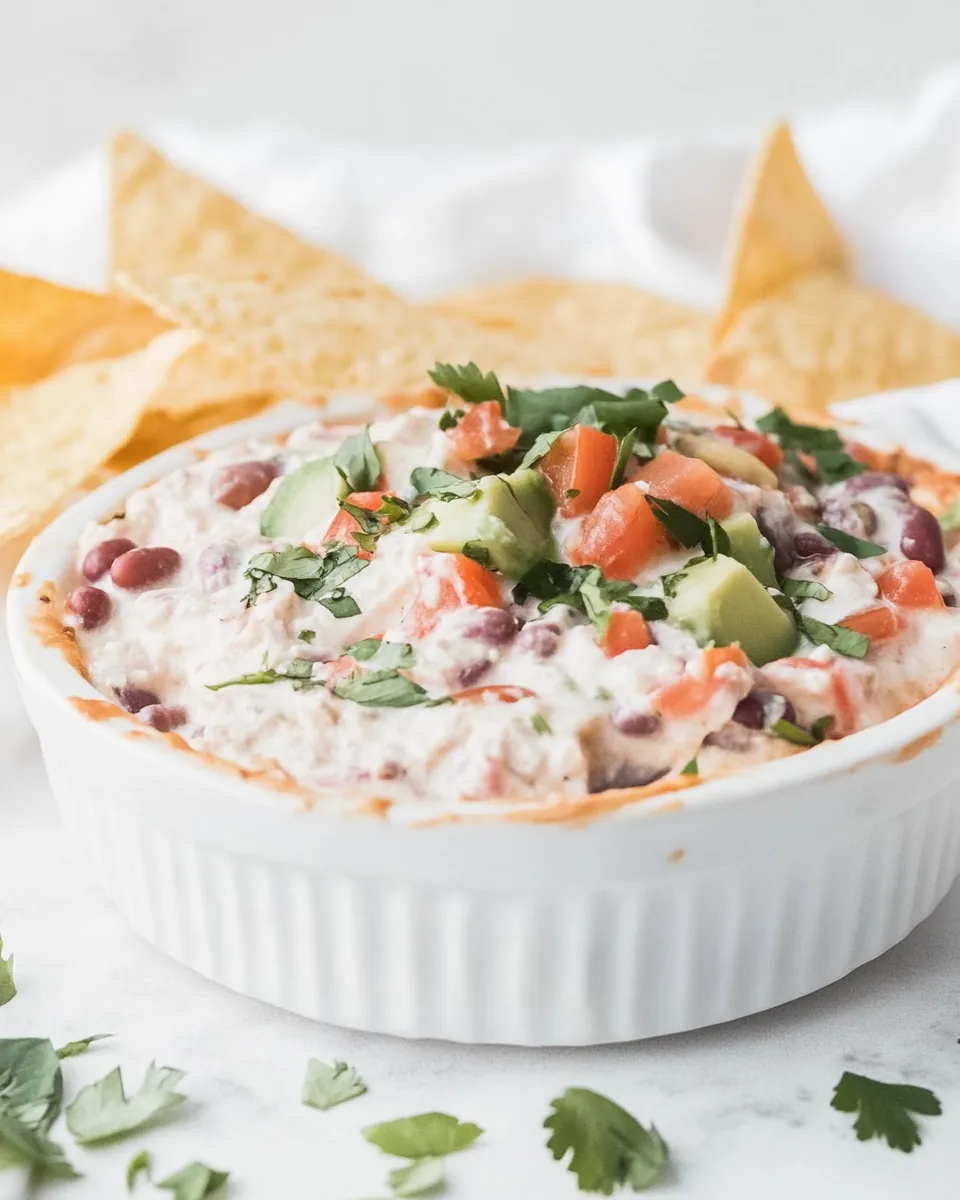
The combination of refried beans, cheese, and fresh vegetables brings incredible depth to the dish. Each bite is an explosion of taste, making it hard to stop at just one scoop. The added lime juice gives it a zesty kick, and it’s guaranteed to have your guests raving about it.
Great for Sharing
There’s something about a dip that encourages sharing and conversation. The Party Bean Dip is perfect for gathering around the table with friends and family. It invites everyone to dive in and enjoy together, creating a warm and welcoming atmosphere.
Customize It Your Way
One of the best things about this dip is its flexibility. You can easily tailor it to suit your taste. Add some chopped jalapeños for heat, swap out black olives for your favorite toppings, or even play with different types of cheese. The possibilities are endless!
What You’ll Need for Party Bean Dip
The ingredients for Party Bean Dip come together beautifully to create a deliciously satisfying dish. Each ingredient plays its part, from the creamy texture of refried beans to the crunch of the tortilla chips. The blend of flavors is what makes this dip truly special.
- Six 8-inch flour tortillas – These are the base for your crispy chips. Feel free to use corn tortillas for a gluten-free option.
- ½ teaspoon paprika – Adds a smoky flavor and a hint of color.
- One 16-ounce can fat-free refried beans – Creamy and hearty, these beans are essential for the base of the dip.
- 2 teaspoons freshly squeezed lime juice – This brightens the dip and adds a refreshing touch.
- ½ teaspoon ground cumin – A warm spice that enhances the flavor profile.
- 1 cup chunky salsa – Brings in the necessary moisture and a burst of flavor.
- ⅔ cup fresh corn kernels – Adds sweetness and a nice crunch; use fresh or frozen.
- ¼ cup chopped green onions – For a fresh bite and color contrast.
- 2 tablespoons chopped black olives – Provides a briny flavor that complements the other ingredients.
- ¾ cup (3 ounces) shredded 4-Cheese Mexican Blend – A melty topping that ties everything together.
- ¾ cup (6 ounces) light sour cream – Adds creaminess and tanginess.
- 2 tablespoons chopped fresh cilantro – For a pop of color and freshness.
Cooking Method for Party Bean Dip
Making the Party Bean Dip is a fun and engaging process that anyone can enjoy. Follow these simple steps, and you’ll have a crowd-pleasing dish ready in no time!
- Preheat your oven to 350°F. This step is crucial as it ensures that your dip will cook evenly and the cheese will melt beautifully.
- Cut each tortilla into 8 wedges. You’ll want to arrange them in a single layer on two baking sheets. This allows them to become perfectly crispy.
- Lightly spray the wedges with cooking spray and sprinkle with paprika. This will give them a lovely flavor and color.
- Bake the tortillas at 350°F for 15 minutes or until they are lightly browned and crisp. Keep an eye on them to ensure they don’t burn!
- While the chips are baking, combine the refried beans, lime juice, and cumin in a medium bowl. Stir until everything is well blended.
- Once the chips are ready, spread the bean mixture evenly into an 11×7-inch baking dish that has been coated with cooking spray. This will be the base of your dip.
- Next, spread the salsa evenly over the bean layer. This adds a wonderful, juicy element to the dip.
- In a separate small bowl, combine the corn, green onions, and black olives. Spoon this mixture evenly over the salsa, adding texture and flavor.
- Top with the shredded cheese, distributing it evenly over the corn mixture for that melty goodness.
- Bake everything for an additional 20 minutes, or until it’s bubbly. This is where the magic happens, and the aromas will fill your kitchen.
- Once done, let it stand for about 10 minutes. This allows the dip to settle slightly, making it easier to serve.
- Finally, generously top with sour cream and sprinkle with cilantro just before serving. Serve with the crispy tortilla chips.
Things Worth Knowing
- Ensure your tortilla chips are crispy. If they’re not baked long enough, they can become soggy when loaded with the dip.
- Consider using a mixture of cheeses for more depth. A combination of cheddar, Monterey Jack, and pepper jack can add flavor.
- Let the dip cool for a bit before serving. This will help the flavors meld together and make it easier to scoop.
- For added heat, incorporate diced jalapeños or a dash of hot sauce into your bean mixture.
Recipe Tips about Party Bean Dip
Here are some tips to help you get the most out of your Party Bean Dip. These suggestions will enhance your experience and make this dish even better!
- Storage: Store any leftovers in an airtight container in the refrigerator for up to four days. Reheat gently in the oven or microwave.
- Freezing: This dip can be frozen before baking. Assemble it, cover tightly, and freeze for up to three months. Bake from frozen, adding extra time.
- Pairing: Serve your dip with a variety of chips, like tortilla, potato, or even pita chips for a delightful mix.
- Variations: Feel free to add cooked ground turkey or beef for a heartier dip, or make it vegetarian by adding more veggies.
- Serving Suggestion: This dip is great served alongside fresh veggies like carrots and bell pepper strips for a healthier option.
Serving Options for Party Bean Dip
The Party Bean Dip is not just about flavor; it’s about how you present it. Here are some fantastic ways to serve this dish:
- With Tortilla Chips: The classic pairing. Set out a bowl of crispy tortilla chips right next to the dip for easy access.
- Fresh Veggies: Offer some sliced cucumbers, bell peppers, and carrots for a refreshing crunch alongside the dip.
- At Game Day Gatherings: This dip is a hit for any sports event. Serve it in a large bowl with chips nearby for everyone to dig in during the game.
- As Party Appetizers: Serve this dip at parties where you want to encourage mingling. Place small cups next to the bowl for individual servings.
- For a Movie Night: Pair the dip with popcorn for a fun twist on traditional movie snacks. It’s a fantastic way to indulge while enjoying your favorite films.
- Storage Tips: If you have leftovers, store them in an airtight container in the fridge. They’ll taste just as delicious the next day!
FAQ
Conclusion
The Party Bean Dip is not just a dip; it’s a celebration of flavors and textures that brings everyone together. Whether it’s for game day or a simple gathering, this recipe stands out as a true crowd-pleaser. I encourage you to give it a try; you won’t be disappointed! This dip is easy to make, full of flavor, and perfect for sharing with loved ones. Enjoy every bite and the smiles it brings!

Party Bean Dip
Equipment
- Wooden Spoon
- Mixing Bowl
- Chef's Knife
- Blender
- Baking Sheet
- Oven
Ingredients
- 6 tortillas Six 8-inch flour tortillas
- 0.5 teaspoon ½ teaspoon paprika
- 1 can One 16-ounce can fat-free refried beans
- 2 teaspoons 2 teaspoons freshly squeezed lime juice
- 0.5 teaspoon ½ teaspoon ground cumin
- 1 cup 1 cup chunky salsa
- ⅔ cup ⅔ cup fresh corn kernels
- 0.25 cup ¼ cup chopped green onions
- 2 tablespoons 2 tablespoons chopped black olives
- ¾ cup ¾ cup (3 ounces) shredded 4-Cheese Mexican Blend
- ¾ cup ¾ cup (6 ounces) light sour cream
- 2 tablespoons 2 tablespoons chopped fresh cilantro
Instructions
- Preheat your oven to 350°F. This step is crucial as it ensures that your dip will cook evenly and the cheese will melt beautifully.
- Cut each tortilla into 8 wedges. You'll want to arrange them in a single layer on two baking sheets. This allows them to become perfectly crispy.
- Lightly spray the wedges with cooking spray and sprinkle with paprika. This will give them a lovely flavor and color.
- Bake the tortillas at 350°F for 15 minutes or until they are lightly browned and crisp. Keep an eye on them to ensure they don’t burn!
- While the chips are baking, combine the refried beans, lime juice, and cumin in a medium bowl. Stir until everything is well blended.
- Once the chips are ready, spread the bean mixture evenly into an 11x7-inch baking dish that has been coated with cooking spray. This will be the base of your dip.
- Next, spread the salsa evenly over the bean layer. This adds a wonderful, juicy element to the dip.
- In a separate small bowl, combine the corn, green onions, and black olives. Spoon this mixture evenly over the salsa, adding texture and flavor.
- Top with the shredded cheese, distributing it evenly over the corn mixture for that melty goodness.
- Bake everything for an additional 20 minutes, or until it's bubbly. This is where the magic happens, and the aromas will fill your kitchen.
- Once done, let it stand for about 10 minutes. This allows the dip to settle slightly, making it easier to serve.
- Finally, generously top with sour cream and sprinkle with cilantro just before serving. Serve with the crispy tortilla chips.
Notes
- Tip 1: Store any leftovers in an airtight container in the refrigerator for up to four days. Reheat gently in the oven or microwave.
- Tip 2: This dip can be frozen before baking. Assemble it, cover tightly, and freeze for up to three months. Bake from frozen, adding extra time.
- Tip 3: Serve your dip with a variety of chips, like tortilla, potato, or even pita chips for a delightful mix.
- Tip 4: Feel free to add cooked ground turkey or beef for a heartier dip, or make it vegetarian by adding more veggies.
- Tip 5: This dip is great served alongside fresh veggies like carrots and bell pepper strips for a healthier option.