Oreo Poke Cake
There’s something undeniably magical about a Oreo Poke Cake. It brings me back to my childhood when my mom would whip this up for special occasions, and our house would be filled with the irresistible aroma of chocolate. The combination of a moist chocolate cake soaked with creamy pudding and topped with fluffy whipped topping is just heavenly. Every bite is a delightful surprise, especially when you hit that piece of Oreo cookie tucked inside. I’ve had friends and family beg for this dessert at birthdays, picnics, and even casual get-togethers. It’s the kind of cake that instantly puts a smile on your face and warms your heart.
Recipe Snapshot
1 hr 5 mins
30 mins
35 mins
Medium
320 kcal
4 g
Keto, Gluten-Free, Low FODMAP
15 g
Nordic Ware Metal 9×13 Covered Cake Pan, Pre-Cut Parchment Paper Baking Sheets, KitchenAid 9-Speed Digital Hand Mixer
Why This Oreo Poke Cake Is a Winner
Irresistible Flavor
The Oreo Poke Cake combines rich chocolate flavor with the crunch of Oreo cookies, creating a dessert that’s both satisfying and indulgent. Each spoonful bursts with flavor, making it impossible to stop at just one piece.
Perfect for Any Occasion
This cake is versatile and adaptable, making it suitable for everything from birthday parties to family gatherings. Whether it’s a summer barbecue or a holiday feast, the Oreo Poke Cake fits right in.
Easy to Prepare
You don’t have to be a baking expert to make this cake. With simple ingredients and straightforward instructions, even novice bakers can create a stunning dessert that looks and tastes like it took hours to prepare.
Fun for Everyone
Kids and adults alike love this cake. It’s a crowd-pleaser that can bring everyone together around the dessert table. Sharing it with loved ones makes the experience even more special.
Make Ahead of Time
The Oreo Poke Cake is perfect for preparing in advance. Just make it the night before, let it chill in the fridge, and it’s ready to serve the next day, making it a convenient option for busy days.
Customizable Delight
Feel free to mix things up! You can add your favorite toppings, like nuts or caramel, or even switch out the flavors of pudding. This cake is a blank canvas for your creativity.
Ingredients Overview for Oreo Poke Cake

When it comes to the ingredients for Oreo Poke Cake, simplicity is key. These elements come together harmoniously to create a dessert that’s both comforting and indulgent. The cake mix serves as a base, while the Oreo cookies add texture and flavor. The pudding and whipped topping bring creaminess, making each bite a delightful experience.
- 1 package devil’s food cake mix (15.25 ounces): This rich cake mix is the foundation of our dessert, providing a chocolatey base that’s moist and tender.
- 2 packages instant chocolate pudding mix (3.9 ounces each, divided use): The pudding mix adds extra chocolate flavor and moisture to the cake, creating delightful pockets of creaminess.
- ¾ cup sour cream: This ingredient adds tanginess and richness, making the cake incredibly moist.
- ¾ cup vegetable oil: The oil keeps the cake light and fluffy, contributing to its tender texture.
- 3 large eggs (slightly beaten): Eggs are crucial for binding the ingredients together, providing structure to the cake.
- 2 teaspoons pure vanilla extract: This enhances the overall flavor profile, adding a subtle warmth to the cake.
- ½ cup warm water: Water helps activate the cake mix, ensuring a smooth batter.
- 26 whole Oreo cookies (divided use): These classics add crunch and flavor, providing the iconic taste we all love.
- 2 cups whole milk: Used in the pudding, it brings creaminess and richness to the dessert.
- 8 ounces frozen whipped topping (thawed): The light and airy whipped topping gives the cake its signature fluffy finish.
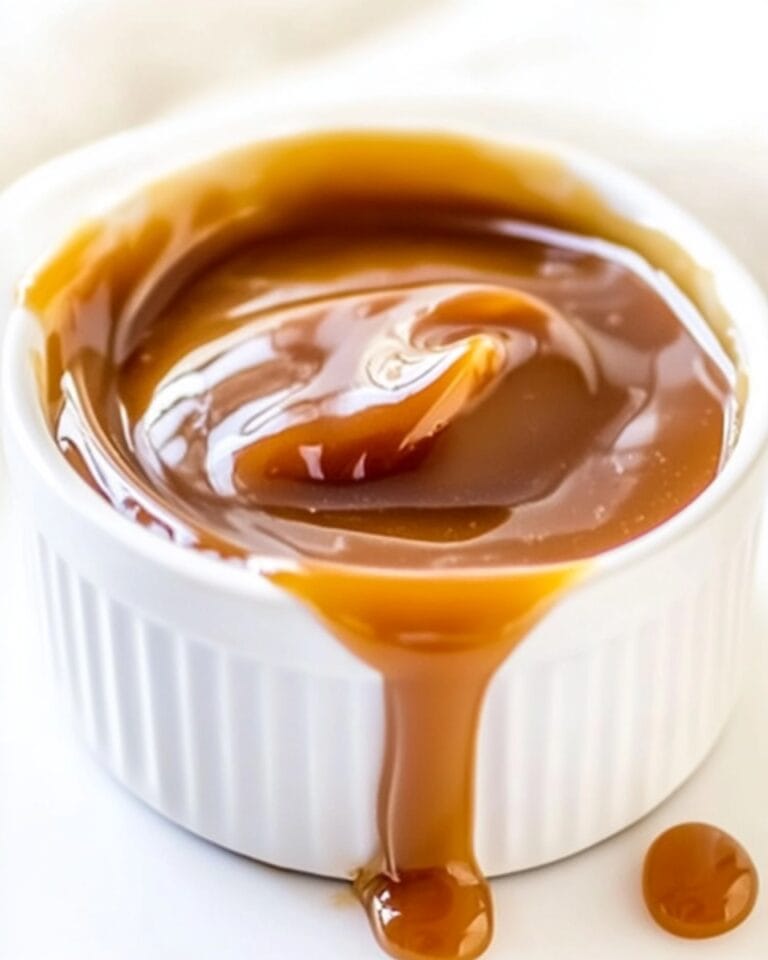
- ¼ cup chocolate fudge sauce (optional): Drizzling this on top adds an extra touch of decadence.
Oreo Poke Cake Instructions

Baking a Oreo Poke Cake is a delightful process that’s sure to fill your kitchen with sweet aromas. Let’s dive into how to create this masterpiece step-by-step. Follow these instructions closely to ensure your cake turns out perfectly!
Preheat your oven to 350°F (175°C). It’s crucial to get the temperature just right for the best baking results. Line a 9×13-inch pan with parchment paper or spray it with non-stick cooking spray. This will make it easier to remove the cake later and keep it from sticking.
In a large mixing bowl, combine the devil’s food cake mix, 1 box of instant chocolate pudding mix, sour cream, vegetable oil, eggs, vanilla extract, and warm water. Using a stand mixer fitted with a paddle attachment or a hand mixer, beat the mixture on medium speed until everything is well combined, typically about 2 minutes. Make sure to scrape down the sides of the bowl to incorporate all ingredients.
-
Next, take 10 of the Oreo cookies and coarsely chop them. Gently fold the chopped cookies into the cake batter. This will give the cake delightful bursts of Oreo flavor throughout.
Pour the batter into the prepared pan, using an offset spatula or spoon to spread it into an even layer. Ensure the batter is evenly distributed for consistent baking.
Place the pan in the preheated oven and bake for 30 to 35 minutes. You’ll know it’s done when the top springs back when lightly touched. Keep an eye on it towards the end to avoid overbaking.
-
Once baked, remove the cake from the oven and allow it to cool in the pan for about 10 minutes. After cooling, use a smoothie straw or the handle of a wooden spoon to poke holes across the surface of the cake, spacing them about one inch apart. This will allow the pudding mixture to seep into the cake, creating that signature poke effect.
In a medium bowl, whisk together the remaining box of instant chocolate pudding mix and whole milk for about 2 minutes until smooth. Immediately pour the pudding evenly over the cake, making sure it fills the holes you created. Let the cake cool completely after this step.
Now, finely chop the remaining 8 Oreo cookies and gently fold them into the whipped topping. This will add flavor and some texture to the topping.
-
Spread the whipped topping mixture evenly over the cooled cake. This layer should be fluffy and creamy, giving your cake a beautiful finish. Cover the cake and chill it in the fridge for at least 4 hours to allow the flavors to meld.
Just before serving, coarsely chop any leftover Oreo cookies and sprinkle them on top of the cake. If desired, drizzle some chocolate fudge sauce over the top for an extra touch of indulgence. Slice, serve, and enjoy!
Things Worth Knowing
- Oven Thermometer: Always check your oven’s temperature with a thermometer to ensure accurate baking.
- Poking Holes: When poking holes, make sure not to poke all the way through the cake to the bottom.
- Chilling Time: Allowing the cake to chill is vital for letting the pudding set and flavors develop.
- Customization: Feel free to experiment with different flavors of pudding or toppings to suit your taste.
Tips and Variations

Creating a perfect Oreo Poke Cake can be even more enjoyable with these handy tips. Whether you want to store it or try different flavors, these suggestions will help you elevate your baking game!
- Storage: To store leftovers, cover the cake tightly with plastic wrap or transfer it to an airtight container. It will keep well in the fridge for up to 4 days.
- Freezing: You can freeze the unassembled cake layers for up to 2 months. Just thaw them in the fridge before assembling.
- Pairing: Serve your Oreo Poke Cake with a scoop of vanilla ice cream or alongside fresh fruit for a refreshing contrast.
- Flavor Variations: Experiment with different pudding flavors, like vanilla or strawberry, for a unique twist.
- Garnishes: Add a sprinkle of crushed nuts or chocolate shavings on top of the whipped topping for an extra layer of flavor and texture.
Great Combinations for Oreo Poke Cake
Serving a Oreo Poke Cake? Here are some fantastic combinations and ideas to make your dessert experience even better:
- Perfect for Gatherings: This cake is an excellent choice for birthday parties, family reunions, or potlucks. Everyone loves it!
- Pair with Coffee: Serve slices alongside a cup of coffee for a delightful afternoon treat.
- Summer Barbecue: The chilled nature of this cake makes it a refreshing dessert option for warm-weather gatherings.
- Seasonal Toppings: In the fall, add chopped apples or caramel for a seasonal twist. In the summer, fresh berries can add a lovely touch.
- Storage Tips: Always store any leftovers in the refrigerator to keep the whipped topping fresh and fluffy.
FAQ
Conclusion
The Oreo Poke Cake is truly a special dessert that brings joy and satisfaction with every bite. Its rich, creamy layers combine the delightful flavor of Oreo cookies with a moist chocolate cake that everyone loves. I encourage you to try this recipe for your next gathering or just as a treat for yourself. It’s so easy to make and will surely impress your friends and family!

Oreo Poke Cake
Equipment
- Nordic Ware Metal 9×13 Covered Cake Pan
- Pre-Cut Parchment Paper Baking Sheets
- KitchenAid 9-Speed Digital Hand Mixer
Ingredients
- 1 package devil’s food cake mix 15.25 ounces
- 2 packages instant chocolate pudding mix 3.9 ounces each, divided use
- ¾ cup sour cream
- ¾ cup vegetable oil
- 3 large eggs eggs slightly beaten
- 2 teaspoons pure vanilla extract
- ½ cup warm water
- 26 whole Oreo cookies divided use
- 2 cups whole milk
- 8 ounces frozen whipped topping thawed
- ¼ cup chocolate fudge sauce optional
Instructions
- Preheat your oven to 350°F (175°C). It's crucial to get the temperature just right for the best baking results. Line a 9×13-inch pan with parchment paper or spray it with non-stick cooking spray. This will make it easier to remove the cake later and keep it from sticking.
- In a large mixing bowl, combine the devil’s food cake mix, 1 box of instant chocolate pudding mix, sour cream, vegetable oil, eggs, vanilla extract, and warm water. Using a stand mixer fitted with a paddle attachment or a hand mixer, beat the mixture on medium speed until everything is well combined, typically about 2 minutes. Make sure to scrape down the sides of the bowl to incorporate all ingredients.
- Next, take 10 of the Oreo cookies and coarsely chop them. Gently fold the chopped cookies into the cake batter. This will give the cake delightful bursts of Oreo flavor throughout.
- Pour the batter into the prepared pan, using an offset spatula or spoon to spread it into an even layer. Ensure the batter is evenly distributed for consistent baking.
- Place the pan in the preheated oven and bake for 30 to 35 minutes. You’ll know it’s done when the top springs back when lightly touched. Keep an eye on it towards the end to avoid overbaking.
- Once baked, remove the cake from the oven and allow it to cool in the pan for about 10 minutes. After cooling, use a smoothie straw or the handle of a wooden spoon to poke holes across the surface of the cake, spacing them about one inch apart. This will allow the pudding mixture to seep into the cake, creating that signature poke effect.
- In a medium bowl, whisk together the remaining box of instant chocolate pudding mix and whole milk for about 2 minutes until smooth. Immediately pour the pudding evenly over the cake, making sure it fills the holes you created. Let the cake cool completely after this step.
- Now, finely chop the remaining 8 Oreo cookies and gently fold them into the whipped topping. This will add flavor and some texture to the topping.
- Spread the whipped topping mixture evenly over the cooled cake. This layer should be fluffy and creamy, giving your cake a beautiful finish. Cover the cake and chill it in the fridge for at least 4 hours to allow the flavors to meld.
- Just before serving, coarsely chop any leftover Oreo cookies and sprinkle them on top of the cake. If desired, drizzle some chocolate fudge sauce over the top for an extra touch of indulgence. Slice, serve, and enjoy!
Notes
- Tip 1: To store leftovers, cover the cake tightly with plastic wrap or transfer it to an airtight container. It will keep well in the fridge for up to 4 days.
- Tip 2: You can freeze the unassembled cake layers for up to 2 months. Just thaw them in the fridge before assembling.
- Tip 3: Serve slices alongside a cup of coffee for a delightful afternoon treat.
- Tip 4: Experiment with different pudding flavors, like vanilla or strawberry, for a unique twist.
- Tip 5: Add a sprinkle of crushed nuts or chocolate shavings on top of the whipped topping for an extra layer of flavor and texture.