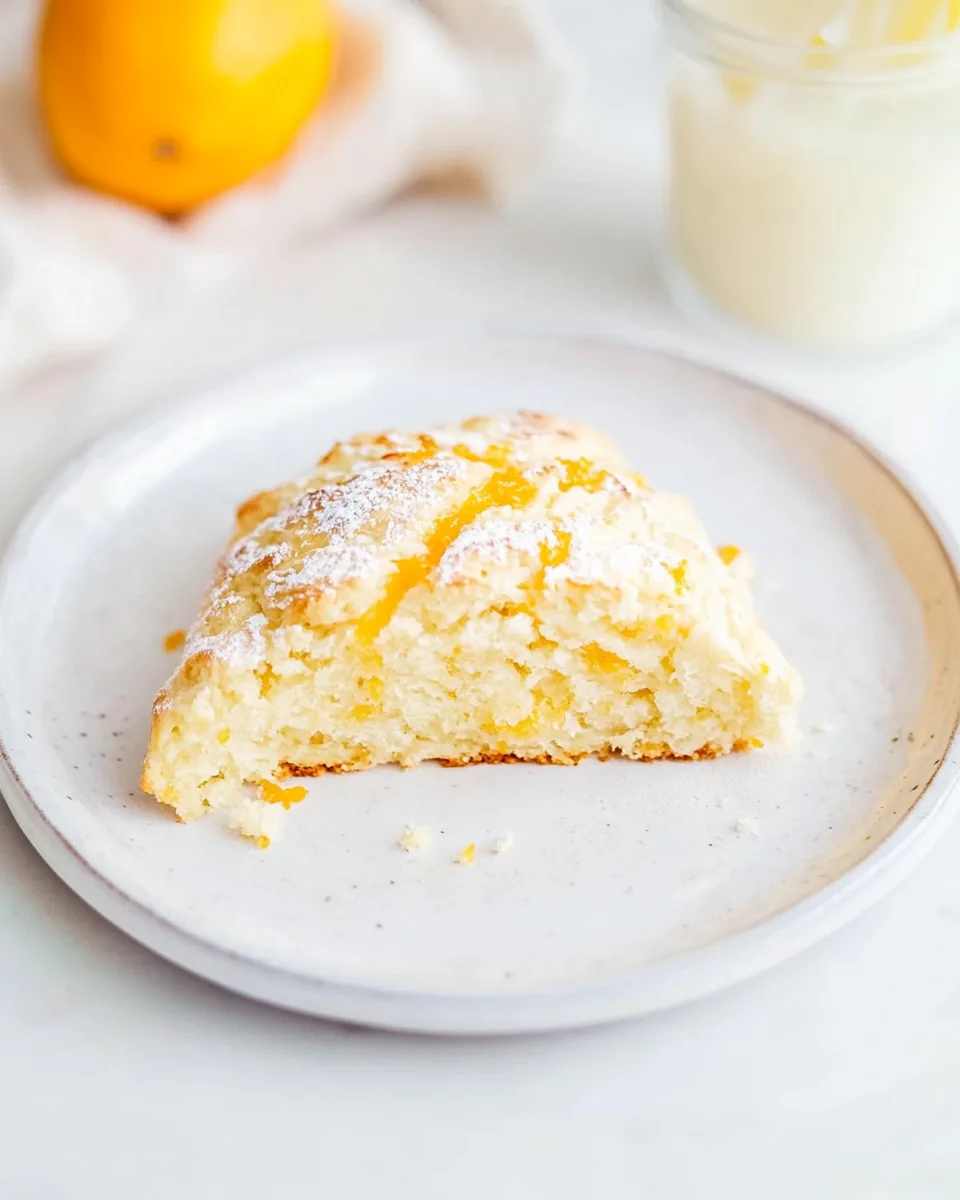
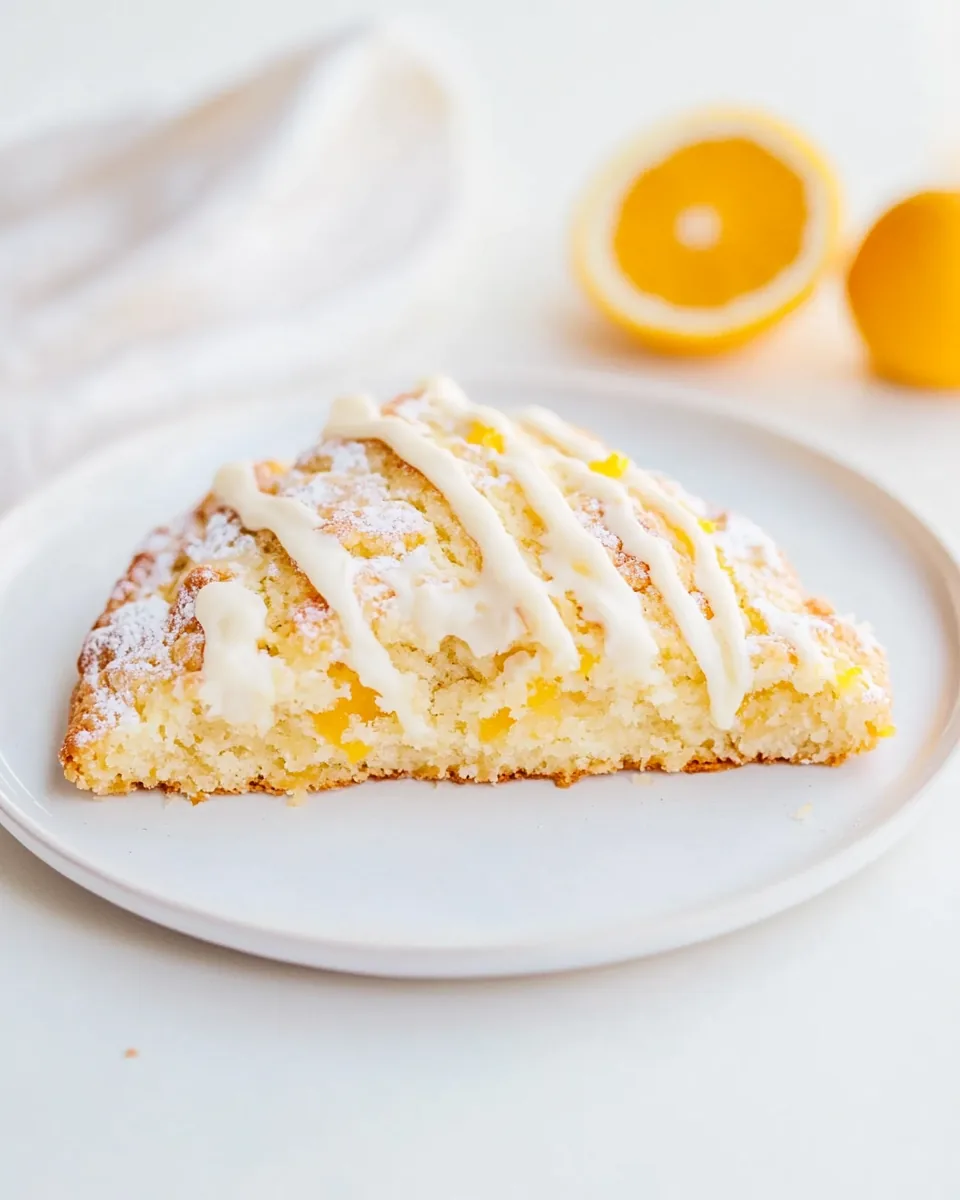
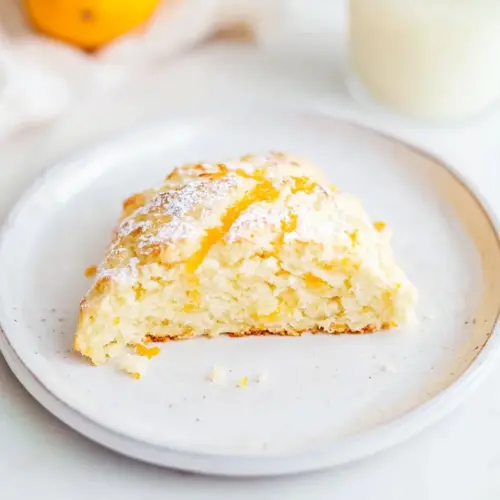
Orange Scone Recipe
There’s something truly magical about the aroma of freshly baked Orange Scone Recipe wafting through your kitchen. I remember the first time I made these delightful scones; it was a rainy Saturday morning, and I was craving something comforting yet light. I decided to experiment with bright, zesty oranges, and the result was nothing short of spectacular. The moment I took that first bite, I was transported to a charming café, where the sun peeked through the clouds, and life felt just right. These tender scones, with their hint of citrus, are perfect for a cozy breakfast or an indulgent afternoon tea.
Recipe Snapshot
25 mins
10 mins
15 mins
Medium
250 kcal
4g g
Gluten-Free, Low FODMAP
12g g
Mixing Bowl, Whisk, Baking Sheet, Food Processor, Oven
Why This Orange Scone Recipe Hits Different
1. A Burst of Flavor
One of the standout features of this Orange Scone Recipe is undoubtedly its flavor. The orange zest and juice bring a refreshing brightness that elevates the scone from ordinary to extraordinary. Each bite is a delightful balance of sweetness and citrus tang, making these scones a perfect pairing for your morning coffee or afternoon tea.
2. Versatile Enjoyment
These scones are incredibly versatile. You can enjoy them plain, drizzled with a simple glaze, or even topped with your favorite jam or cream. They adapt beautifully to any occasion, whether it’s a holiday brunch or a casual gathering with friends. You can serve them warm and fresh out of the oven, and they’ll be the star of the table.
3. Easy to Make
The simplicity of this recipe is another reason it holds a special place in my heart. You don’t need to be a baking expert to whip up these scones. With just a handful of ingredients and simple techniques, you can achieve bakery-worthy results right in your own kitchen. It’s a great way to build your baking confidence!
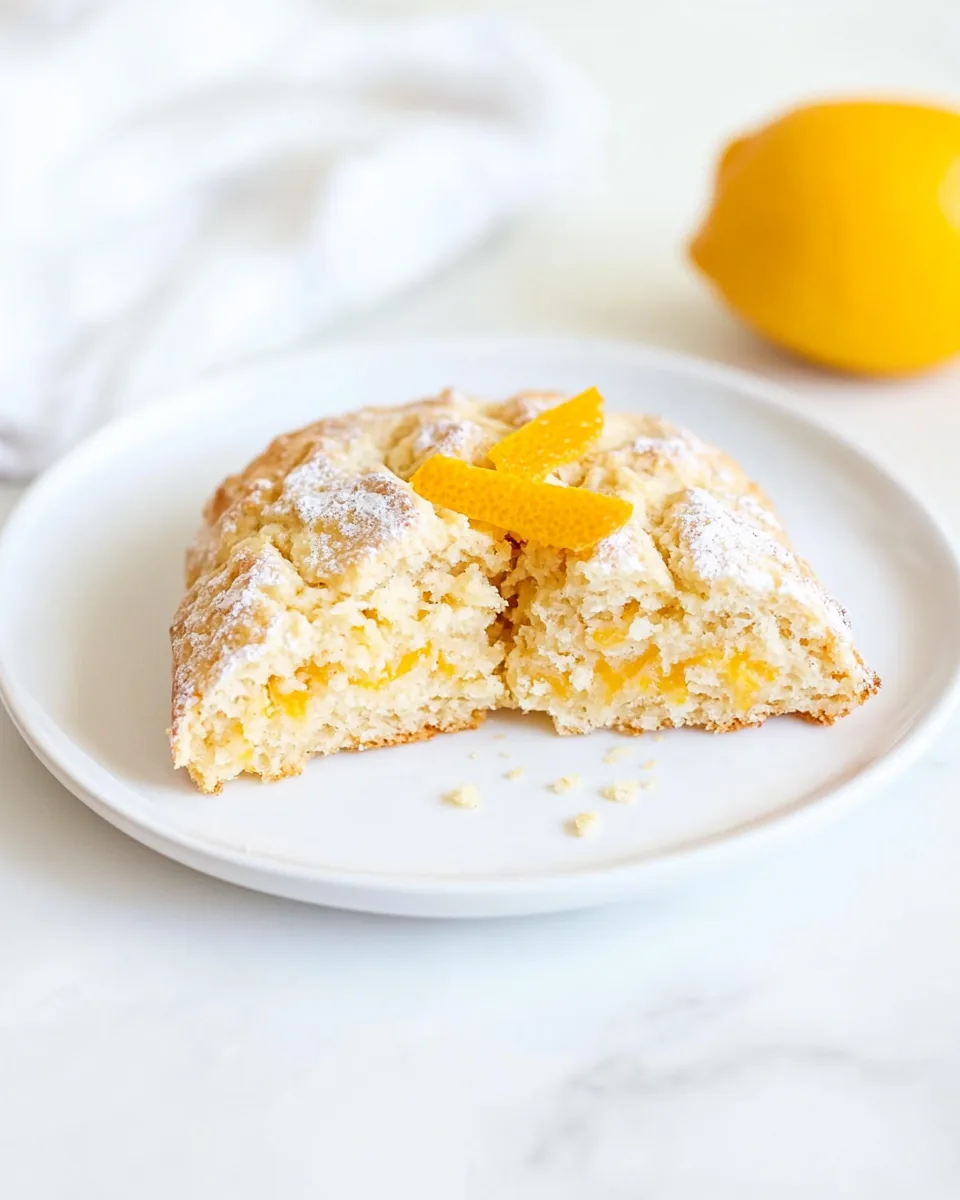
4. Perfect Texture
The texture of these scones is everything you want in a baked good: tender, flaky, and just a bit crumbly. The key is in the method of mixing; by incorporating the shortening into the dry ingredients thoroughly, you create those lovely little pockets of air that result in a perfectly fluffy scone. You won’t be able to resist going back for a second (or third) piece!
5. A Family Favorite
Every time I bake these scones, my family gathers in the kitchen, drawn in by the intoxicating smell. They’ve become a weekend tradition in our home, and I love seeing their faces light up with joy when they taste the first warm scone. It’s moments like these that remind me of the love and comfort food brings into our lives.
What’s In This Orange Scone Recipe
The key ingredients in this Orange Scone Recipe combine to create a delightful and flavorful treat. Each component plays an essential role, ensuring that the scones are both delicious and tender. The combination of zesty oranges and rich cream creates a unique balance of flavors that’s hard to resist.
- All-purpose flour – The foundation of our scone, providing structure and texture.
- Baking powder – This leavening agent ensures our scones rise beautifully, giving them that light, fluffy texture.
- Salt – A little bit of salt enhances the sweetness and balances the flavors.
- Granulated sugar – Sweetness is key, and we add a little more on top for an irresistible crunch.
- Shortening – This helps create a tender crumb by cutting into the flour.
- Egg – Provides moisture and richness to our scones.
- Heavy cream – Adds richness and helps bind the ingredients together, creating a moist dough.
- Vanilla extract and orange extract – These enhance the flavor profile, adding depth to the scone.
- Orange zest – The zest of one whole orange adds a fresh, aromatic quality.
- Confectioner’s sugar – Used in the glaze, it adds a sweetness that pairs perfectly with the citrus.
- Orange juice – Freshly squeezed juice not only enhances the glaze but also brings a lovely citrus flavor.
Recipe Steps for Orange Scone Recipe
Making these Orange Scone Recipe is a fun and rewarding process! With just a few simple steps, you’ll have fresh, zesty scones ready to enjoy. Let’s get started with our baking adventure!
-
Preheat your oven to 400°F (approximately 200°C). Line a baking sheet with parchment paper or a silicone baking mat to prevent sticking. This step is crucial for ensuring even baking and easy cleanup.
In a large bowl or the bowl of a food processor, measure out 2 cups of all-purpose flour, 4 teaspoons of baking powder, and 1 teaspoon of salt. Mix these dry ingredients together until well combined.
Add 1/3 cup of shortening to the dry mix. If using a food processor, pulse until the shortening is dispersed into tiny chunks. If you’re mixing by hand, use a pastry cutter or a fork to blend until it resembles coarse crumbs.
-
In a separate bowl, whisk together 1 large egg, 1 teaspoon of vanilla extract, 1 teaspoon of orange extract, and 3/4 cup of heavy cream. Whisk these ingredients until just combined.
Pour the wet ingredients into the dry mixture. Pulse the food processor or mix with a spatula until the dough starts to come together. Be careful not to overmix; it’s okay if there are a few dry spots.
Dump the dough onto a well-floured surface and gently press it into an 8 to 10-inch circle, about 1 inch thick. This will create an even surface for cutting.
-
Using a sharp knife, cut the dough into 8 triangles, similar to cutting a pie. Be sure to cut all the way through for even baking.
Transfer the dough triangles onto the prepared baking sheet. Brush the tops with a little extra cream and sprinkle with more sugar for a sweet, crunchy topping.
Bake in your preheated oven for about 15 minutes, or until the bottoms are lightly golden. Keep an eye on them, as baking times can vary.
-
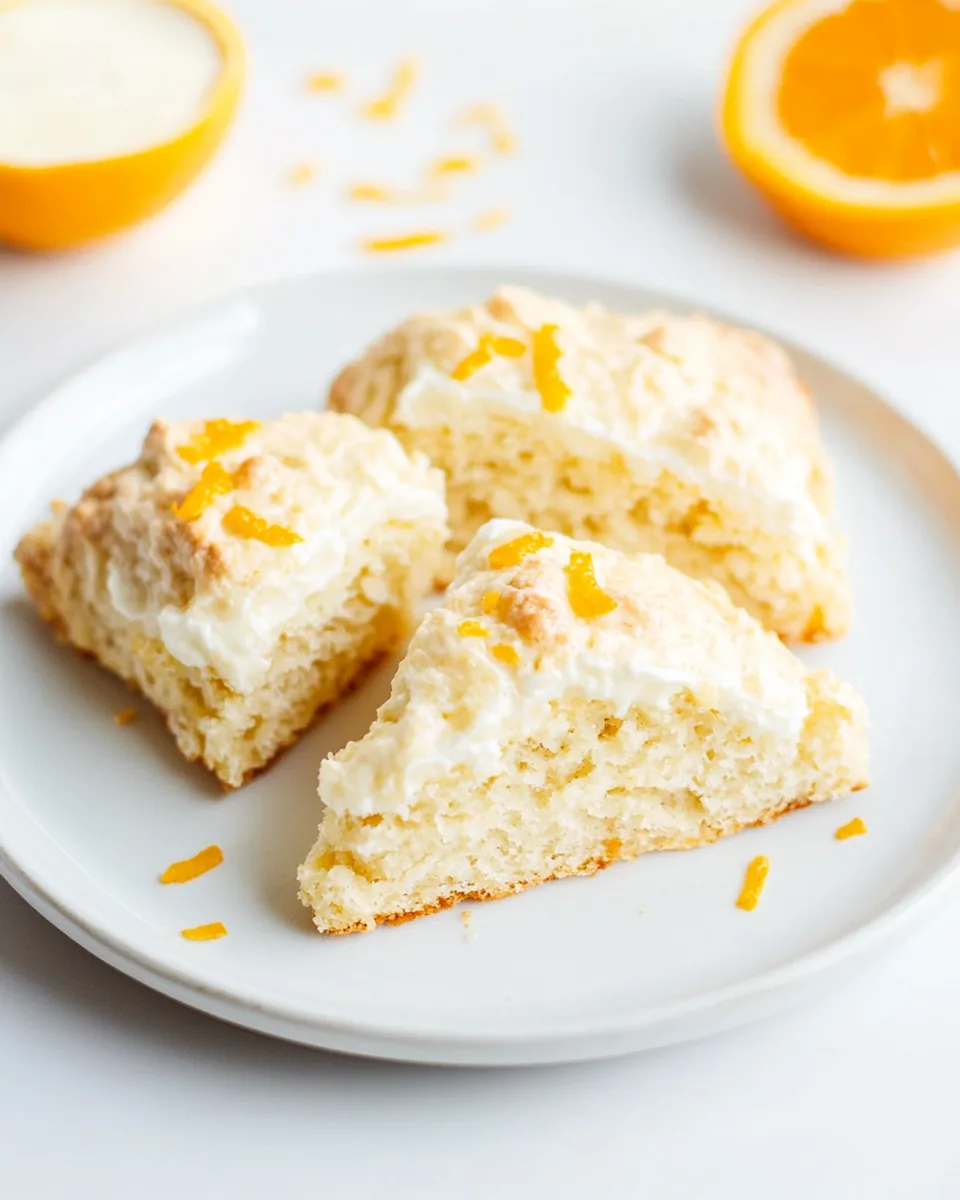
While the scones are cooling, make the glaze. In a small bowl, whisk together 3/4 cup of confectioner’s sugar and 1 tablespoon of freshly squeezed orange juice. Adjust the consistency with more juice as needed, until it reaches your desired thickness.
Once the scones are cool, drizzle the glaze over the tops and sprinkle with reserved orange zest. Serve and enjoy your delicious Orange Scone Recipe!
Things Worth Knowing
- Use fresh ingredients: Make sure your baking powder is fresh for the best rise.
- Don’t overmix: A light touch is essential; overmixing will result in dense scones.
- Measure accurately: Use the proper measuring cups and spoons for precision.
- Watch the baking time: Keep an eye on them in the oven to avoid overbaking.
Tips for Success
To ensure your Orange Scone Recipe turns out perfectly every time, consider the following tips:
- Storage: Store any leftover scones at room temperature for up to 4 days or in the fridge for up to 2 weeks. Make sure they are covered or in an airtight container to keep them fresh.
- Freezing: You can freeze baked scones in an airtight bag or container for up to 4 months. Thaw them at room temperature or warm them in the oven for a few minutes before enjoying.
- Pairing: These scones pair beautifully with clotted cream or your favorite fruit preserves.
- Variations: Feel free to add chocolate chips or nuts for a different twist on flavor.
- Oranges: Use fresh, juicy oranges for the best flavor. Avoid using bottled orange juice.
Pairing Suggestions for Orange Scone Recipe
There are so many ways to enjoy your Orange Scone Recipe! Here are some delicious pairing suggestions:
- Coffee or Tea: These scones are perfect alongside your morning coffee or afternoon tea.
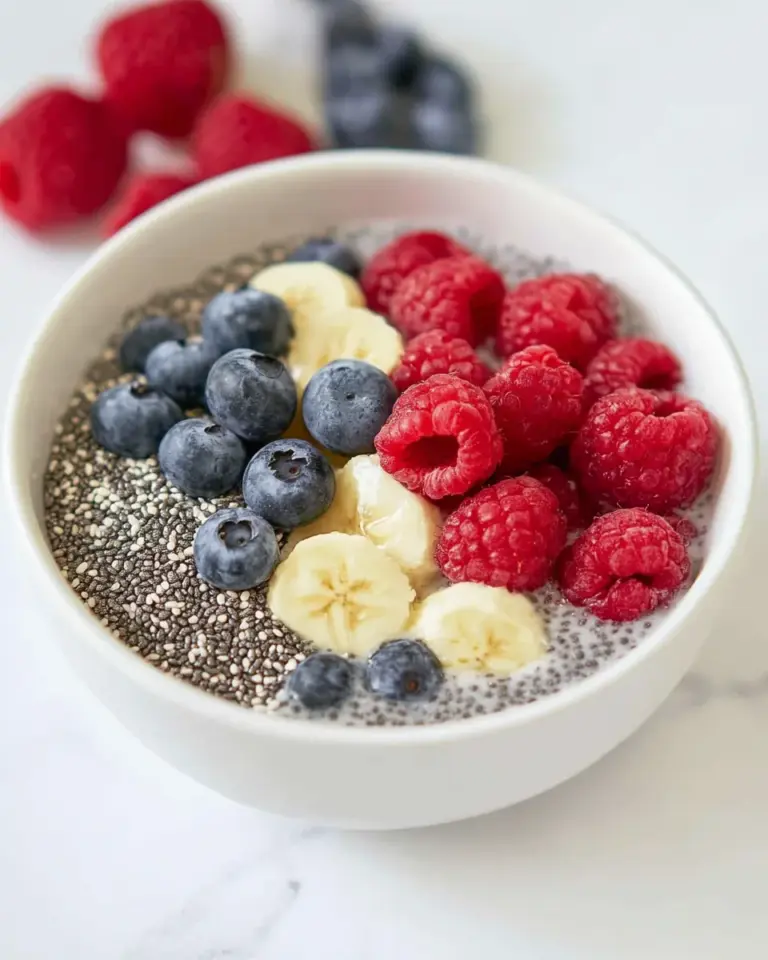
- Fresh Fruits: Serve with fresh berries or sliced fruits for a refreshing contrast.
- Brunch Buffets: They make a delightful addition to brunch spreads or holiday gatherings.
- Cheese Plate: Pair with mild cheeses for a savory twist.
- Sweet Spreads: Serve with honey or fruit preserves for added sweetness.
- Seasonal Occasions: They are great for holidays, special occasions, or just a cozy treat at home.
FAQ
Conclusion
This Orange Scone Recipe is a delightful treat that brings a burst of citrus flavor and a light, fluffy texture to your table. Whether it’s for breakfast, brunch, or a lovely afternoon snack, these scones are sure to impress. So why not gather your ingredients and try making them today? You won’t regret it, and your taste buds will thank you for this delightful indulgence!
Orange Scone Recipe
Equipment
- Mixing Bowl
- Whisk
- Baking Sheet
- Food Processor
- Oven
Ingredients
- 2 cups All-purpose flour
- 4 tsp Baking powder
- 1 tsp Salt
- 1/4 cup Granulated sugar plus more for topping
- 1/3 cup Shortening
- 1 large Egg
- 3/4 cup Heavy cream plus more for topping
- 1 tsp Vanilla extract
- 1 tsp Orange extract
- 1 whole Orange zest reserve some for topping
- 3/4 cup Confectioner's sugar
- 1 tbsp Orange juice freshly squeezed plus more as needed
Instructions
- Preheat your oven to 400°F (approximately 200°C). Line a baking sheet with parchment paper or a silicone baking mat to prevent sticking. This step is crucial for ensuring even baking and easy cleanup.
- In a large bowl or the bowl of a food processor, measure out 2 cups of all-purpose flour, 4 teaspoons of baking powder, and 1 teaspoon of salt. Mix these dry ingredients together until well combined.
- Add 1/3 cup of shortening to the dry mix. If using a food processor, pulse until the shortening is dispersed into tiny chunks. If you're mixing by hand, use a pastry cutter or a fork to blend until it resembles coarse crumbs.
- In a separate bowl, whisk together 1 large egg, 1 teaspoon of vanilla extract, 1 teaspoon of orange extract, and 3/4 cup of heavy cream. Whisk these ingredients until just combined.
- Pour the wet ingredients into the dry mixture. Pulse the food processor or mix with a spatula until the dough starts to come together. Be careful not to overmix; it’s okay if there are a few dry spots.
- Dump the dough onto a well-floured surface and gently press it into an 8 to 10-inch circle, about 1 inch thick. This will create an even surface for cutting.
- Using a sharp knife, cut the dough into 8 triangles, similar to cutting a pie. Be sure to cut all the way through for even baking.
- Transfer the dough triangles onto the prepared baking sheet. Brush the tops with a little extra cream and sprinkle with more sugar for a sweet, crunchy topping.
- Bake in your preheated oven for about 15 minutes, or until the bottoms are lightly golden. Keep an eye on them, as baking times can vary.
- While the scones are cooling, make the glaze. In a small bowl, whisk together 3/4 cup of confectioner's sugar and 1 tablespoon of freshly squeezed orange juice. Adjust the consistency with more juice as needed, until it reaches your desired thickness.
- Once the scones are cool, drizzle the glaze over the tops and sprinkle with reserved orange zest. Serve and enjoy your delicious Orange Scone Recipe!
Notes
- Rising: Use fresh baking powder. Don’t overmix. Measure your flour carefully.
- Storing: Any leftover English Scones can be stored at room temperature, for 4 days or in the fridge, for 2 weeks. Make sure to store covered or in an airtight container to preserve freshness.
- Freezing Baked: Bake scones as directed and cool. Freeze in an airtight bag or container for up to 4 months. To thaw, transfer the scones to the counter for a few hours or overnight in the fridge. Either warm in the microwave or in the oven, then enjoy!
- Freezing Unbaked: Once you are done cutting the dough into triangles, freeze on a plate or baking sheet for at least an hour. Then transfer to an airtight bag or container and freeze for up to 4 months. To bake, either bake from frozen, adding a few minutes to the baking time or thaw overnight and bake as normal.