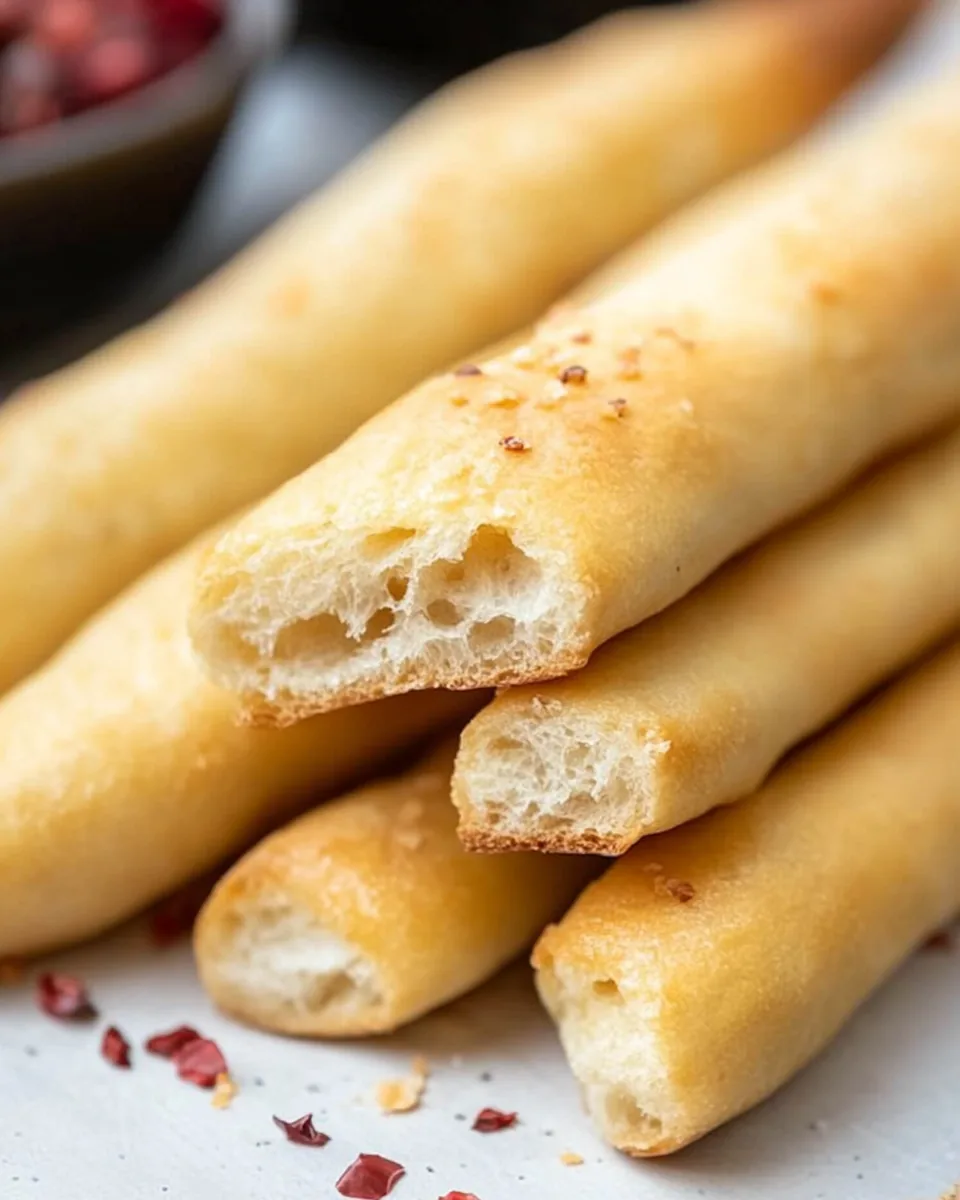
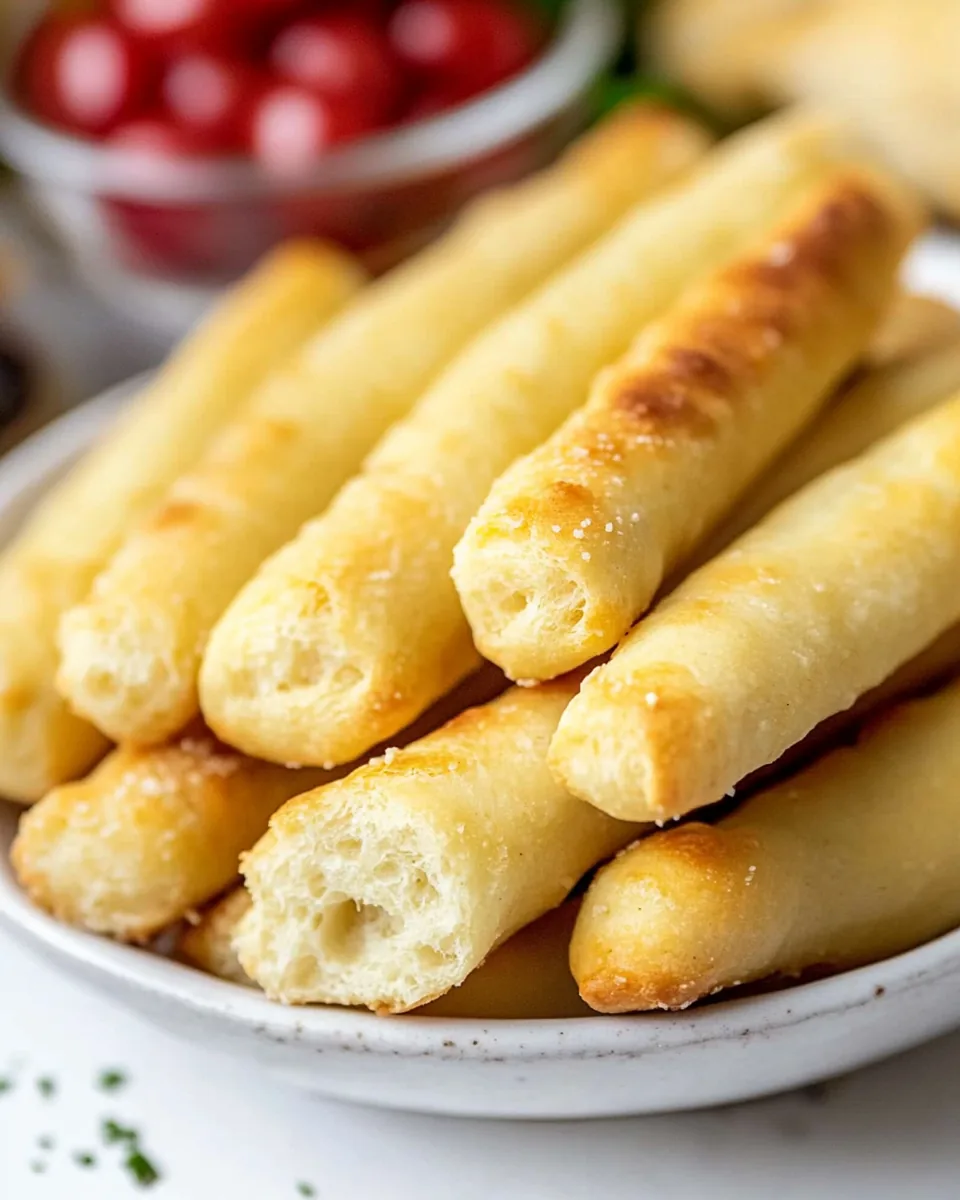
Olive Garden Breadsticks
There’s something magical about a warm batch of Olive Garden Breadsticks fresh from the oven, don’t you think? I remember the first time I walked into Olive Garden and was greeted with that unique aroma of freshly baked breadsticks. It was an experience that lingered, and from that day on, I was determined to recreate that unforgettable taste at home. As the dough rises and fills my kitchen with warmth, I can’t help but feel nostalgic, imagining those delightful moments with family and friends gathered around the table, eagerly reaching for the next breadstick. Today, I want to share my version of these Italian classics that everyone loves. The recipe is straightforward, and the result is simply irresistible. Trust me, once you taste these homemade breadsticks, you’ll never want to go back to store-bought again!
Recipe Snapshot
25 mins
10 mins
15 mins
Medium
150 kcal
3 g
Paleo, Whole30, Vegan
3 g
Baking Sheet, Oven, Mixing Bowl
Why This Olive Garden Breadsticks Shines
Perfectly Pillowy Texture
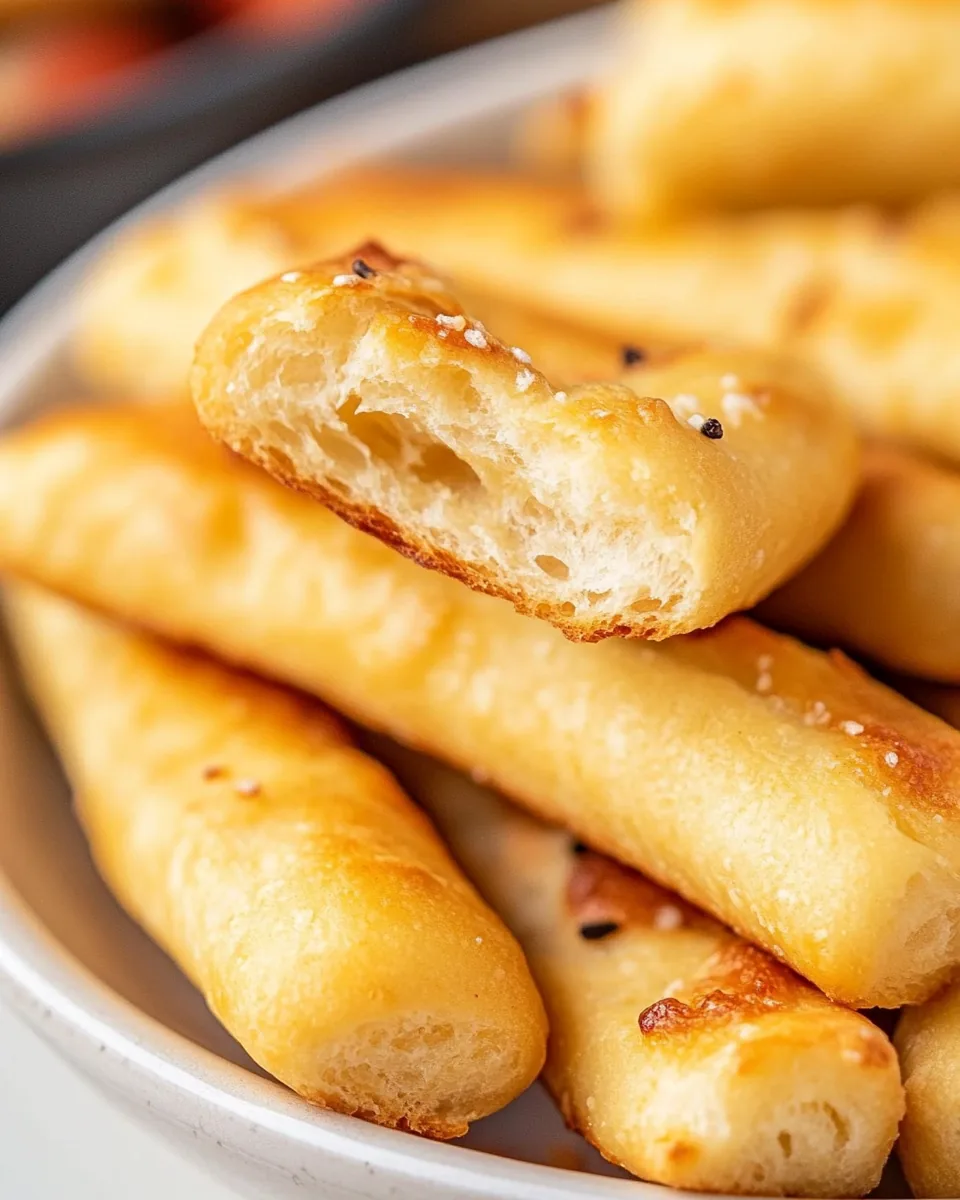
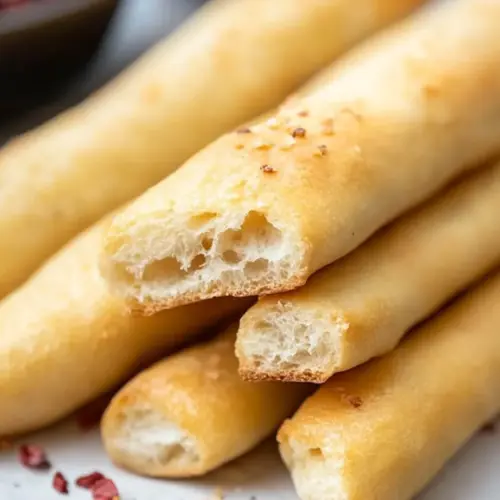
One of the first things that stands out about my Olive Garden Breadsticks is their texture. They are light and fluffy on the inside while still having a slightly crisp exterior. Achieving that perfect balance makes all the difference. It’s the kind of texture that makes you want to reach for just one more. After all, who can resist a warm, soft breadstick?
Flavorful Garlic Butter
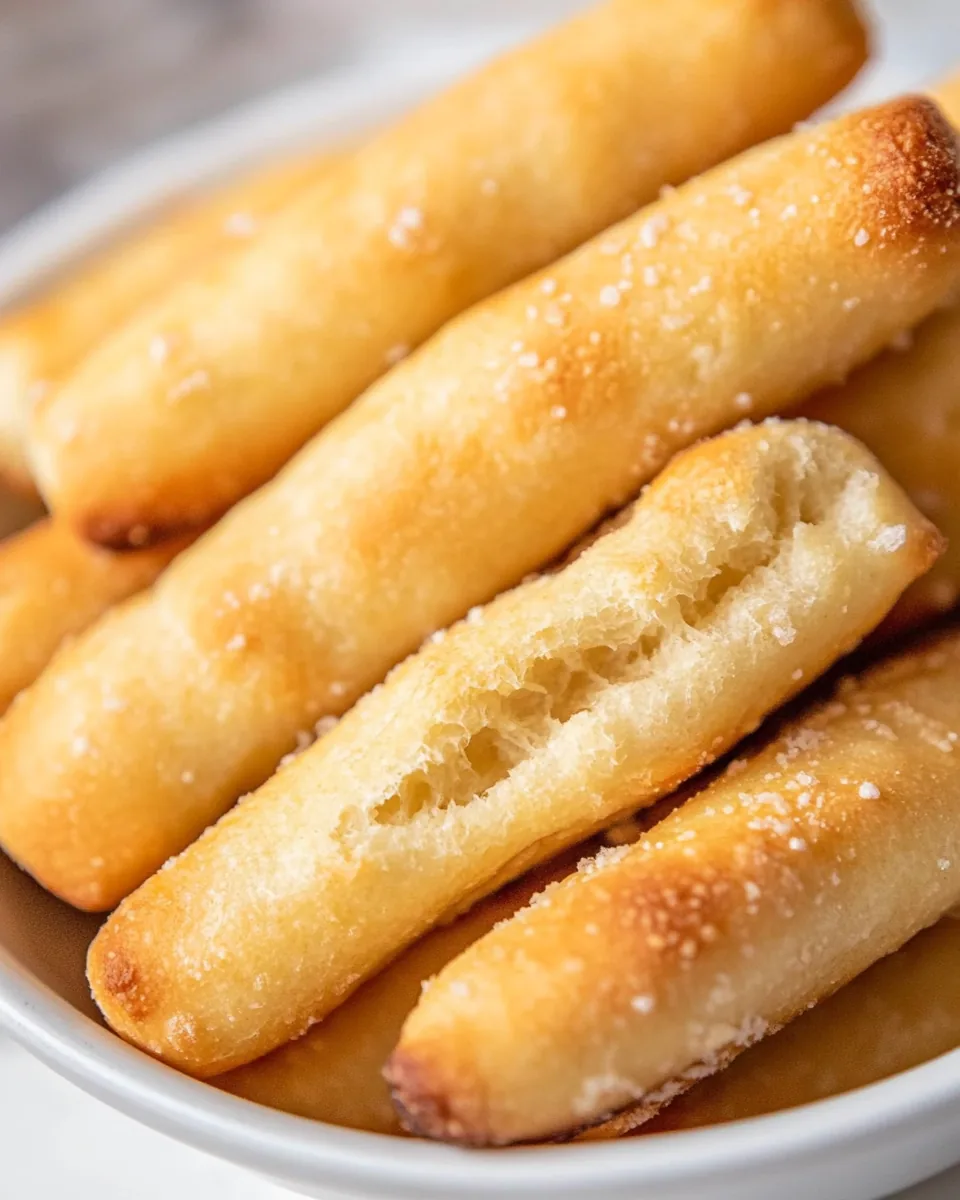
The secret to making these breadsticks taste authentic lies in the garlic butter glaze that I brush on top just before baking. The combination of melted butter and a touch of garlic powder gives these breadsticks a deliciously savory flavor that complements their fluffy texture. Every bite is a delightful mix of buttery goodness and just the right amount of garlic that lingers pleasantly on your palate.
Easy to Make
You don’t need to be a professional baker to whip up these Olive Garden Breadsticks. With just a few simple ingredients like warm water, sugar, and flour, you can create a delicious dough that will rise beautifully. The step-by-step process is easy to follow, making this a great recipe for both beginners and seasoned cooks. Trust me; you’ll feel like a pro in no time!
Perfect for Any Occasion
These breadsticks aren’t just for special occasions; they can elevate any meal! Whether you’re serving them at a family dinner, hosting a game night, or just enjoying a cozy evening at home, they fit perfectly into any scenario. They also make a fantastic appetizer when you have guests over. Everyone loves homemade breadsticks, and they are sure to impress!
Great for Leftovers
Another reason to love my Olive Garden Breadsticks is their adaptability. If you happen to have leftovers, they can be easily stored and reheated without losing their deliciousness. Wrap them well to keep them fresh, and when you’re ready to enjoy them again, just pop them in the oven for a quick warm-up. They taste just as good the next day, making them a great option for meal prep!
Family Friendly
Making these breadsticks can also be a fun family activity. Involving kids in the kitchen is a great way to bond while teaching them valuable cooking skills. They’ll love rolling the dough and shaping the breadsticks, and there’s nothing better than sharing the fruits of your labor together. Plus, who can resist that warm, yeasty aroma wafting through the house?
Essential Ingredients for Olive Garden Breadsticks
The ingredients for Olive Garden Breadsticks are simple and straightforward, yet they come together to create something truly special. Each component plays a vital role in achieving that authentic taste and texture we all crave. The star players here are the all-purpose flour and yeast, which form the base of the dough. With the right proportions and a little love, you’ll be on your way to creating these fluffy delights!
- 1 1/2 cups warm water: Essential for activating the yeast and creating a soft dough that rises beautifully.
- 2 tablespoons sugar: Provides sweetness and helps the yeast to bloom, resulting in a light and airy breadstick.
- 1 tablespoon instant or rapid-rise yeast: This is the magic ingredient that makes your dough rise quickly, giving you fresh breadsticks in no time.
- 1 tablespoon salt: Enhances the flavor of the breadsticks and regulates the yeast’s activity.
- 2 tablespoons butter (softened): Adds richness and moisture to the dough, making them soft and delicious.
- 4 cups all-purpose flour: The foundation of the dough, giving it structure and the ability to rise.
- 3 tablespoons butter (melted and divided): Used for brushing on the breadsticks for that buttery flavor, and also helps with browning.
- 1/2 teaspoon sea salt (to taste): For sprinkling on top, adding a burst of flavor that complements the garlic butter.
- 1/4 teaspoon garlic powder: Infuses the breadsticks with a delicious garlic flavor that makes them irresistible.
How to Make Olive Garden Breadsticks
Making Olive Garden Breadsticks is easier than you might think! The process is both fun and rewarding, and once you’ve made your dough, the aroma that fills your home will be irresistible. You’ll find yourself tempted to reach for a breadstick before they even come out of the oven. Let’s dive into the step-by-step guide!
- Start by preparing your ingredients. In a stand mixer, pour the warm water and sprinkle in the sugar and yeast. Allow this mixture to sit for about 10 minutes. You should see bubbles forming on the surface, indicating that the yeast is active and ready to work its magic.
- Once the yeast is frothy, add in the salt, butter, and 2 cups of the all-purpose flour. Begin mixing on low speed until combined. You want to create a smooth mixture before adding any more flour.
- Gradually add the rest of the flour, half a cup at a time. Continue mixing until the dough pulls away from the sides of the bowl and forms a cohesive ball. This should take about 5 minutes on medium speed. The dough should be soft, slightly sticky, and easy to work with.
- Once the dough has come together, transfer it to a lightly floured surface. Knead it for a minute or two to develop the gluten, which will give your breadsticks their wonderful chewiness.
- Next, roll the dough out into a long log and cut it into 12 to 14 equal pieces. Roll each piece into a rope about 6 inches long. This step is where you can get creative with the shape; they don’t have to be perfect!
- Spray two large cookie sheets with cooking spray to prevent sticking. Lay the breadsticks on the sheets, leaving about 2 inches of space between each one to allow for rising.
- Turn your oven to 170 degrees Fahrenheit and place the cookie sheets inside. This warm environment is perfect for helping your breadsticks rise. Allow them to sit for about 20 minutes, or until they have doubled in size.
- Once the breadsticks have risen, remove them from the oven and brush them with 1 and 1/2 tablespoons of the melted butter. Sprinkle the surface with sea salt for that classic flavor.
- Now it’s time to preheat your oven to 400 degrees Fahrenheit. This high temperature is key to achieving that beautiful golden brown color.
- Bake the breadsticks for about 12 to 15 minutes. You’ll know they are done when they are a lovely golden brown. As they bake, combine the remaining melted butter with the garlic powder.
- Once the breadsticks are golden brown, take them out of the oven and immediately brush them with the garlic butter mixture for an additional burst of flavor. Serve warm and enjoy!
Things Worth Knowing
- Choosing the Right Yeast: Make sure to use instant or rapid-rise yeast for the best results. This type of yeast activates quickly and helps your dough rise faster.
- Temperature Matters: The temperature of your water should be warm but not hot. Too hot can kill the yeast, while too cold won’t activate it properly.
- Proper Rising: Allowing the dough to rise in a warm, draft-free environment is crucial. If your kitchen is chilly, consider preheating the oven and then turning it off to create a cozy space for the dough.
- Serving Immediately: For the best texture and flavor, serve your Olive Garden Breadsticks warm right out of the oven. They’re best enjoyed fresh!
Pro Tips and Tweaks
To elevate your cooking game, here are some pro tips for making the best Olive Garden Breadsticks. These tips are designed to ensure your breadsticks turn out perfectly every time.
- Storage: If you have leftovers, let them cool completely before wrapping them in foil and plastic wrap. Store in the refrigerator for optimal freshness.
- Freezing: You can freeze baked breadsticks! Just wrap them tightly and store them in a freezer-safe bag. When ready to eat, bake them straight from the freezer at 325 degrees Fahrenheit until warmed through.
- Serving Suggestions: These breadsticks pair wonderfully with soups, salads, or pasta dishes. They can also serve as a delicious snack on their own!
- Variations: Feel free to experiment by adding different herbs or spices to the dough, such as rosemary or oregano, for added flavor.
- Garlic Butter Glaze: For an even richer flavor, consider adding freshly minced garlic to your melted butter!
Side Dish Ideas for Olive Garden Breadsticks
When it comes to serving Olive Garden Breadsticks, the possibilities are endless! Here are some ideas to enhance your meal:
- Classic Marinara Sauce: Serve with a side of marinara for dipping. The combination of soft breadsticks and savory sauce is irresistible.
- Caesar Salad: Pair these breadsticks with a crisp Caesar salad for a well-rounded meal that balances flavors and textures.
- Homemade Soup: A warm bowl of soup, such as minestrone or tomato basil, makes for a comforting meal alongside your breadsticks.
- Garlic Parmesan Chicken: For a heartier option, serve with garlic parmesan chicken, enhancing the Italian theme.
- Seasonal Vegetables: Roasted or steamed vegetables provide a bright, fresh contrast to the richness of the breadsticks.
- Occasions: These breadsticks are perfect for casual dinners, family gatherings, or even holiday meals. They add a special touch to any occasion!
FAQ
Conclusion
In conclusion, Olive Garden Breadsticks are a delightful addition to any meal, bringing warmth and comfort to your table. They are easy to make, flavorful, and perfect for serving on various occasions. I encourage you to try this recipe and experience the joy of creating your own delicious breadsticks at home. Your family and friends will be thrilled, and it will surely become a favorite in your household!
Olive Garden Breadsticks
Equipment
- Baking Sheet
- Oven
- Mixing Bowl
Ingredients
- 1.5 cups warm water
- 2 tablespoons sugar
- 1 tablespoon instant or rapid rise yeast
- 1 tablespoon salt
- 2 tablespoons butter (softened)
- 4 cups all-purpose flour
- 3 tablespoons butter (melted and divided)
- 0.5 teaspoon sea salt (to taste)
- 0.25 teaspoon garlic powder
Instructions
- Start by preparing your ingredients. In a stand mixer, pour the warm water and sprinkle in the sugar and yeast. Allow this mixture to sit for about 10 minutes. You should see bubbles forming on the surface, indicating that the yeast is active and ready to work its magic.
- Once the yeast is frothy, add in the salt, butter, and 2 cups of the all-purpose flour. Begin mixing on low speed until combined. You want to create a smooth mixture before adding any more flour.
- Gradually add the rest of the flour, half a cup at a time. Continue mixing until the dough pulls away from the sides of the bowl and forms a cohesive ball. This should take about 5 minutes on medium speed. The dough should be soft, slightly sticky, and easy to work with.
- Once the dough has come together, transfer it to a lightly floured surface. Knead it for a minute or two to develop the gluten, which will give your breadsticks their wonderful chewiness.
- Next, roll the dough out into a long log and cut it into 12 to 14 equal pieces. Roll each piece into a rope about 6 inches long. This step is where you can get creative with the shape; they don’t have to be perfect!
- Spray two large cookie sheets with cooking spray to prevent sticking. Lay the breadsticks on the sheets, leaving about 2 inches of space between each one to allow for rising.
- Turn your oven to 170 degrees Fahrenheit and place the cookie sheets inside. This warm environment is perfect for helping your breadsticks rise. Allow them to sit for about 20 minutes, or until they have doubled in size.
- Once the breadsticks have risen, remove them from the oven and brush them with 1 and 1/2 tablespoons of the melted butter. Sprinkle the surface with sea salt for that classic flavor.
- Now it’s time to preheat your oven to 400 degrees Fahrenheit. This high temperature is key to achieving that beautiful golden brown color.
- Bake the breadsticks for about 12 to 15 minutes. You’ll know they are done when they are a lovely golden brown. As they bake, combine the remaining melted butter with the garlic powder.
- Once the breadsticks are golden brown, take them out of the oven and immediately brush them with the garlic butter mixture for an additional burst of flavor. Serve warm and enjoy!
Notes
- Tip 1: Be sure to allow ample time for breadsticks to rise, about an hour, so they are fluffy.
- Tip 2: The closer the oven rack is to the element the more golden brown the top will be, so if you want them golden brown move your rack up one level.
- Tip 3: Make sure you use sea salt for the garlic butter as this is key to getting that Olive Garden taste.
- Tip 4: This recipe does make quite a few, so if you do have leftovers and need to store them allow them to cool completely. Then wrap them in foil and again in plastic and store them in the refrigerator.
- Tip 5: Wrap the breadsticks in foil to protect the crust. This will keep the crust from burning but allow the inside to reheat. If you reheat it without wrapping it in foil first, the breadsticks will be hard. Bake in a preheated oven at 325 degrees Fahrenheit for about 5 minutes to warm them up.