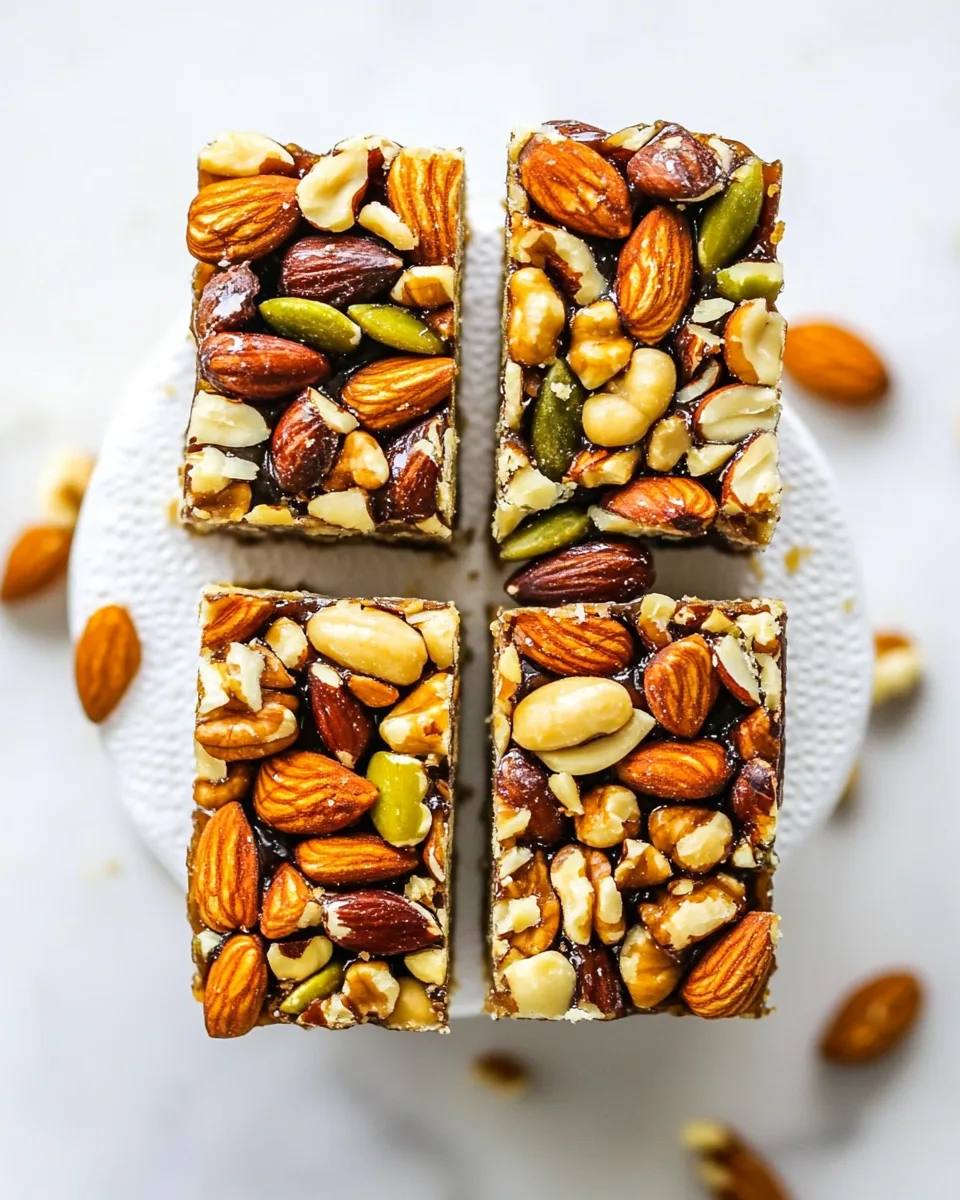
Nut Bar
Every time I make these Nut Bars, I’m reminded of the delightful chaos of family gatherings, where everyone is eager to sample my latest creation. The Nut Bar recipe has become a staple in our household, bringing smiles and satisfied munching to both kids and adults alike. With the perfect balance of crunchy nuts and a touch of sweetness, they make for an ideal snack or dessert. I remember the first time I shared these at a potluck; they vanished within minutes, leaving everyone asking for the recipe. As I watched my friends enjoy them, I felt a rush of joy, knowing I had contributed a little happiness to their day. Each bite is packed with wholesome ingredients, and I love that they’re easy to make ahead of time, perfect for those busy weeks when life gets a bit hectic.
Recipe Snapshot
1 hr 20 mins
5 mins
75 mins
Medium
210 kcal
5 g
Vegan, Gluten-Free, AIP
14 g
Wooden Spoon, Mixing Bowl, Frying Pan, Chef’s Knife, Saucepan, Large Pot, Baking Sheet, Oven
Why This Nut Bar Stands Out
Convenience at Its Best
The Nut Bar is not only delicious but also incredibly convenient. You can whip up a batch in no time, allowing you to focus on other tasks or enjoy time with family. Once baked, they store well, making them a go-to snack for rushed mornings or afternoon cravings.
Customizable to Your Liking
What I love most about this recipe is its versatility. You can mix and match your favorite nuts based on what you have on hand or what your family enjoys. This means that every batch can be a little different, keeping things exciting and fresh!
Healthier Than Store-Bought
When I compare these Nut Bars to store-bought options, I marvel at how much healthier they are. Made with simple, wholesome ingredients, you know exactly what goes into them. It’s satisfying to create a snack that’s not only tasty but also better for you.
Great for Any Occasion
These bars are perfect for any occasion—from lunchboxes to dessert trays at parties. They’re a great way to sneak in some nutrition while satisfying the sweet tooth. Everyone loves them, and they’re always a hit whether it’s a casual family gathering or a more formal event.
Perfect for Meal Prep
If you’re like me and enjoy planning ahead, these bars can be easily made in bulk. They freeze beautifully, so you can have a healthy snack ready to go whenever you need it. Just wrap them individually and toss them in the freezer!
Deliciously Satisfying
The combination of flavors in these Nut Bars is simply irresistible. The rich taste of nuts combined with the sweet syrup creates a satisfying crunch that’s hard to resist. Every bite is packed with flavor, making them a true indulgence.
What to Buy for Nut Bar
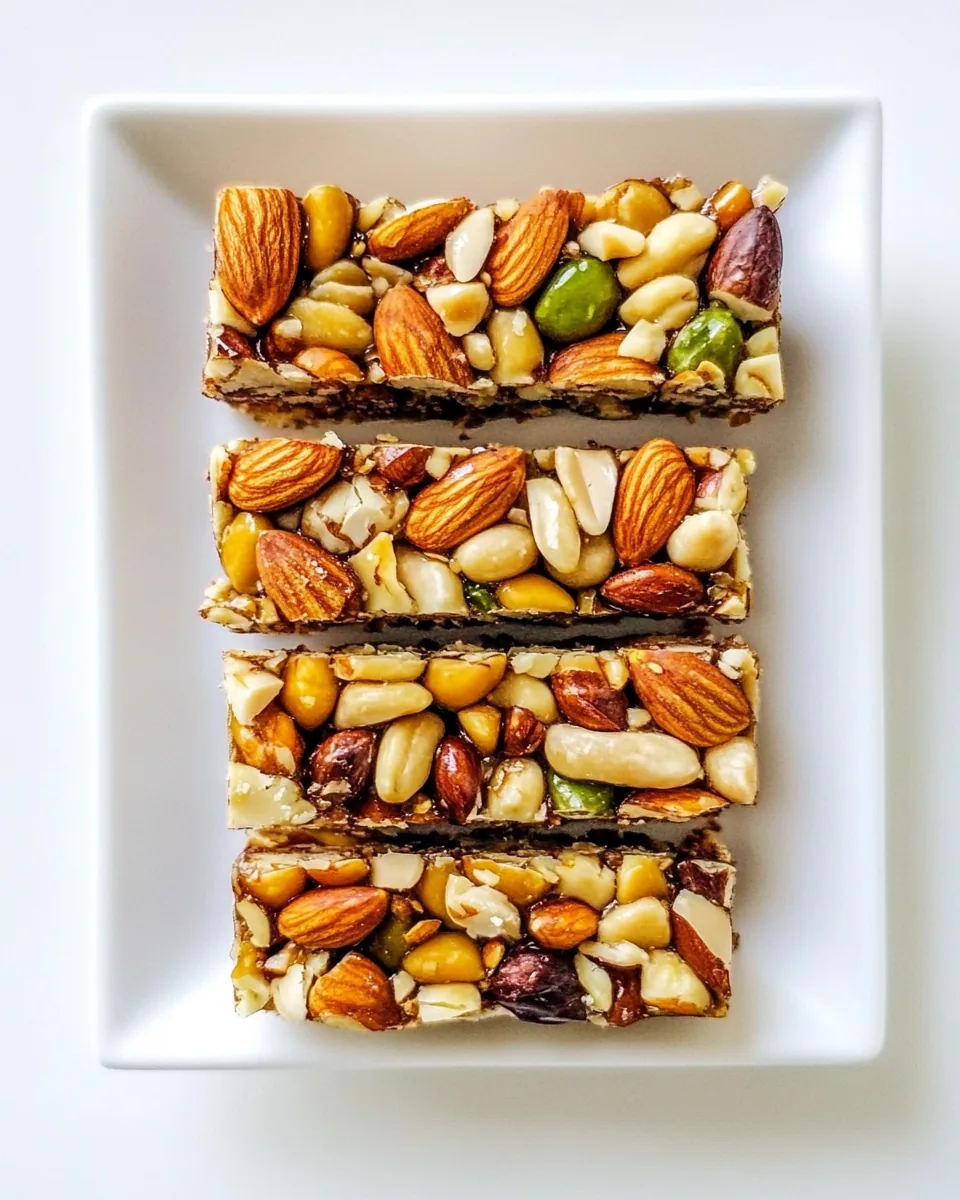
When it comes to making the perfect Nut Bar, the ingredients you choose matter. Each component works together to create a delicious treat, and understanding their roles can elevate your baking experience. The main players include various nuts that not only add texture but also provide healthy fats and proteins. Sweeteners like coconut palm sugar and agave syrup give that perfect sweetness, while a touch of salt and cinnamon enhances the overall flavor.
- Whole raw cashews: These bring a creamy texture and are rich in vitamins and minerals.
- Whole raw almonds: Almonds add crunch and are loaded with healthy fats, making them a great addition.
- Chopped raw pecans: Their buttery flavor pairs well with other nuts and provides a delightful chew.
- Chopped raw walnuts: Walnuts add an earthy flavor and are packed with omega-3 fatty acids.
- Raw pumpkin seeds (pepitas): These tiny seeds add a lovely crunch and are rich in magnesium and zinc.
- Wholesome!™ Organic Coconut Palm Sugar: A natural sweetener with a low glycemic index, making it a healthier option.
- Wholesome!™ Organic Blue Agave: This liquid sweetener helps bind the bars together while providing sweetness.
- Organic vanilla extract: Adds a warm, rich flavor that enhances the overall taste of the bars.
- Sea salt: Just a pinch is needed to balance the sweetness and uplift the flavors.
- Cinnamon: This spice adds warmth and complements the nuts beautifully.
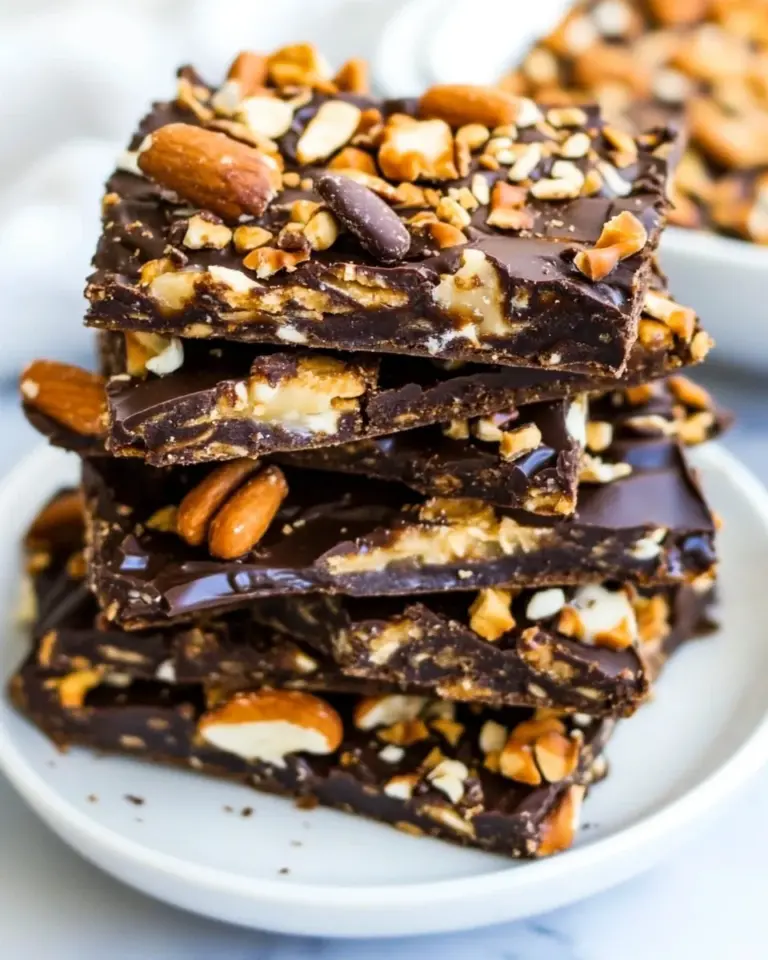
- Organic 80% dark chocolate (optional): A decadent topping that adds a rich chocolate flavor.
The Method for Nut Bar
Making Nut Bars is a straightforward process, and I love how easy it is to follow. You’ll be surprised at how quickly they come together, and the aroma that fills your kitchen is simply divine! Let’s get started on creating these mouthwatering snacks.
- Preheat your oven to 350 degrees F. Line a 9×13-inch baking dish with parchment paper to prevent sticking. This is an important step as it will help you lift the bars out easily once they’re baked.
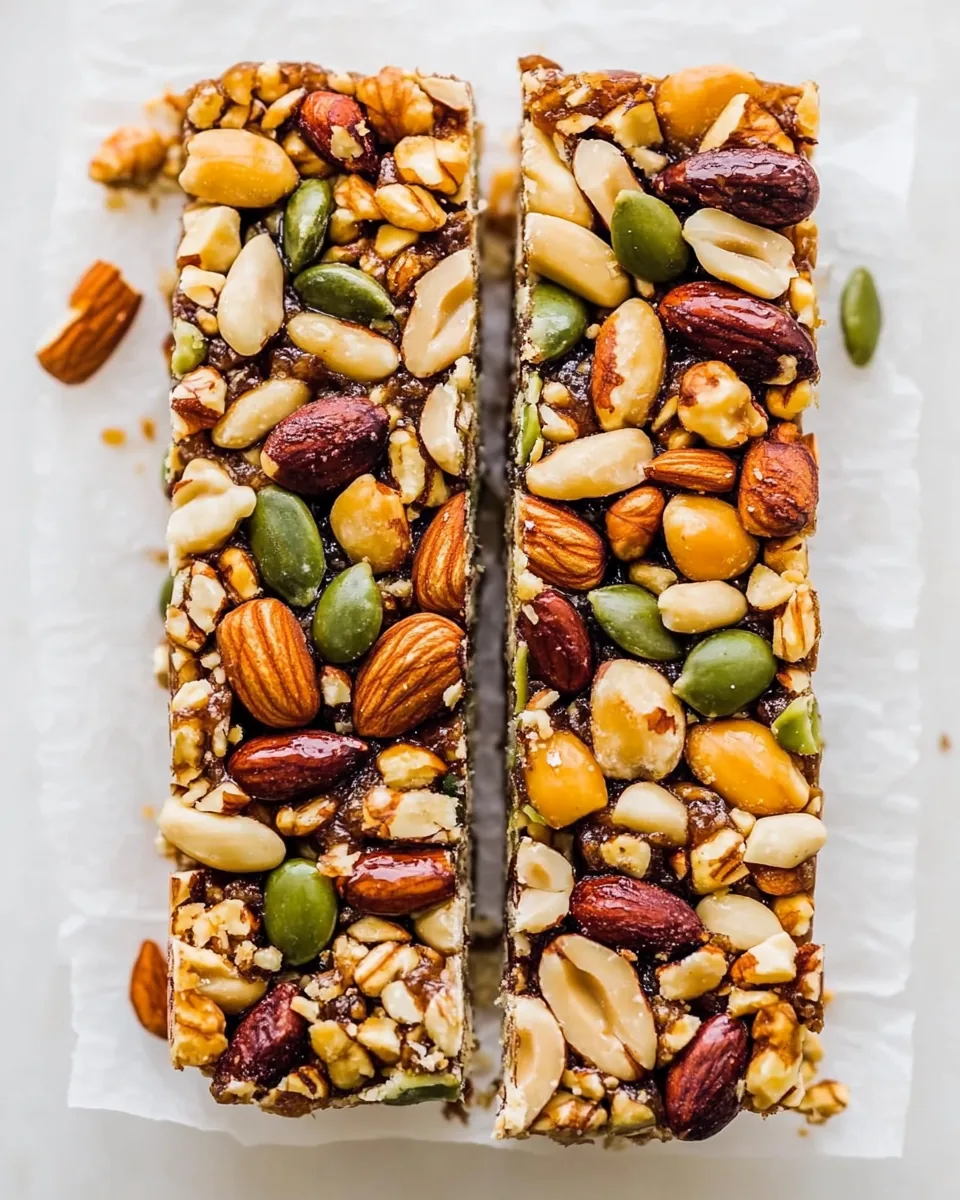
- In a large mixing bowl, combine the whole raw cashews, whole raw almonds, chopped raw pecans, chopped raw walnuts, and raw pumpkin seeds. Stir them well to mix, creating a wonderful medley of textures and flavors.
- In a large sauce pot, pour in the Wholesome!™ Organic Coconut Palm Sugar, Wholesome!™ Organic Blue Agave, organic vanilla extract, sea salt, and cinnamon. Place the pot over medium heat and bring the mixture to a simmer. Stir it gently to help dissolve the sugar completely.
- Once the sugar has melted and the edges start to bubble, remove the pot from the heat. This is a critical moment; you want to ensure the sugar doesn’t burn.
- Carefully pour the mixed nuts into the hot syrup. Using a wooden spoon, quickly mix the nuts into the syrup until they are fully coated. This process ensures every nut is packed with flavor.
- Next, pour the nut mixture onto the prepared baking sheet. Using a piece of wax paper, press the mixture firmly together to compact it. This helps the bars hold their shape once they’re baked.
- Place the baking sheet in the center of the oven. Bake the Nut Bars for approximately 20 minutes, watching closely until the tops turn golden and fragrant. The golden color indicates they’re ready!
- After baking, allow the bars to cool in the pan for at least 45 minutes. This step is crucial as it allows them to firm up before cutting.
- Once cooled, lift the pan out using the edges of the parchment paper. Cut the mixture into 24 bars. Spacing them apart helps them cool completely and makes it easier to enjoy later.
- If you choose to add dark chocolate, break a 4-ounce bar into pieces and melt it using a double boiler. Once melted, pour the chocolate into a plastic bag. Snip a tiny corner and pipe the chocolate over the cooled bars for a decadent finish.
- Allow the chocolate to dry, then store the Nut Bars in an air-tight container at room temperature for up to 1 week or in the fridge for up to a month. Trust me, they won’t last long!
Things Worth Knowing
- Cooling Time Matters: Allowing the bars to cool completely is essential for them to hold their shape. If you cut them too soon, they may crumble.
- Nut Variety: Feel free to experiment with different nuts. Just ensure you maintain the total volume of nuts for the best texture.
- Sweetness Level: Adjust the sweetness according to your preference by varying the amount of coconut sugar or agave used.
- Storage Tips: Keep the bars in an air-tight container to maintain freshness. They can also be individually wrapped for convenience.
Ways to Customize
If you’re looking to put your spin on these Nut Bars, here are some fantastic ways to customize them:
- Add a variety of nuts: Consider adding hazelnuts or macadamia nuts for a different flavor profile.
- Incorporate dried fruits: Chopped dates or cranberries can add a chewy texture and natural sweetness.
- Try different sweeteners: Experiment with maple syrup or honey for a unique taste.
- Mix in seeds: Chia seeds or sunflower seeds can add nutrition and crunch.
- Go chocolate crazy: Instead of just drizzling chocolate on top, try mixing in chocolate chips into the nut mixture.
- Make it spicier: A pinch of cayenne pepper can add a surprising kick that pairs well with the sweetness.
- Use nut butters: Swirling in some almond butter or peanut butter can enhance the richness of the bars.
What to Serve With Nut Bar
When considering what to serve alongside your delightful Nut Bars, think about pairing them with beverages or accompaniments that enhance their flavors:
- Fresh fruits: Slices of apples or bananas make for a refreshing contrast to the nutty bars.
- Coffee or tea: A warm cup of coffee or herbal tea complements the richness of the bars beautifully.
- Yogurt: Serve with a dollop of Greek yogurt for a creamy texture that balances the crunch.
- Cheese platter: A selection of soft cheeses can create a lovely contrast with the nutty sweetness.
- Salads: Pair these bars with a light salad for a wholesome lunch option.
- Ice cream: For a dessert option, serve with a scoop of vanilla ice cream to create a decadent treat.
- Occasions: These bars are perfect for lunchboxes, picnics, or as a snack during road trips.
- Gift idea: Wrap them individually for a charming homemade gift for friends and family.
FAQ
Conclusion
These Nut Bars are a delightful combination of flavor, nutrition, and convenience. They bring together the goodness of nuts and natural sweeteners into a satisfying snack that you can enjoy any time of the day. I encourage you to give this recipe a try; I promise you won’t be disappointed!
Nut Bar
Equipment
- Wooden Spoon
- Mixing Bowl
- Frying Pan
- Chef's Knife
- Saucepan
- Large Pot
- Baking Sheet
- Oven
Ingredients
- 1 1/2 cups whole raw cashews
- 1 1/2 cups whole raw almonds
- 1 cup chopped raw pecans
- 1 cup chopped raw walnuts
- 1 cup raw pumpkin seeds
- 1 cup Wholesome!™ Organic Coconut Palm Sugar
- 1/3 cup Wholesome!™ Organic Blue Agave
- 1 tablespoon organic vanilla extract
- 2 teaspoons sea salt
- 1 teaspoon cinnamon
- 4 ounces organic 80% dark chocolate (optional)
Instructions
- Preheat your oven to 350 degrees F. Line a 9×13-inch baking dish with parchment paper to prevent sticking. This is an important step as it will help you lift the bars out easily once they’re baked.
- In a large mixing bowl, combine the whole raw cashews, whole raw almonds, chopped raw pecans, chopped raw walnuts, and raw pumpkin seeds. Stir them well to mix, creating a wonderful medley of textures and flavors.
- In a large sauce pot, pour in the Wholesome!™ Organic Coconut Palm Sugar, Wholesome!™ Organic Blue Agave, organic vanilla extract, sea salt, and cinnamon. Place the pot over medium heat and bring the mixture to a simmer. Stir it gently to help dissolve the sugar completely.
- Once the sugar has melted and the edges start to bubble, remove the pot from the heat. This is a critical moment; you want to ensure the sugar doesn’t burn.
- Carefully pour the mixed nuts into the hot syrup. Using a wooden spoon, quickly mix the nuts into the syrup until they are fully coated. This process ensures every nut is packed with flavor.
- Next, pour the nut mixture onto the prepared baking sheet. Using a piece of wax paper, press the mixture firmly together to compact it. This helps the bars hold their shape once they’re baked.
- Place the baking sheet in the center of the oven. Bake the Nut Bars for approximately 20 minutes, watching closely until the tops turn golden and fragrant. The golden color indicates they're ready!
- After baking, allow the bars to cool in the pan for at least 45 minutes. This step is crucial as it allows them to firm up before cutting.
- Once cooled, lift the pan out using the edges of the parchment paper. Cut the mixture into 24 bars. Spacing them apart helps them cool completely and makes it easier to enjoy later.
- If you choose to add dark chocolate, break a 4-ounce bar into pieces and melt it using a double boiler. Once melted, pour the chocolate into a plastic bag. Snip a tiny corner and pipe the chocolate over the cooled bars for a decadent finish.
- Allow the chocolate to dry, then store the Nut Bars in an air-tight container at room temperature for up to 1 week or in the fridge for up to a month. Trust me, they won't last long!